Brown butter maple pumpkin cookies land with a soft center, crisp edges, and a glaze that sets just enough to crack when you bite into it. The brown butter gives them a toasted, nutty depth that keeps the pumpkin from tasting flat, and the maple ties everything together without turning the dough sticky or cakey.
The trick is drying the pumpkin puree and using brown butter after it has been fully solidified again. That step keeps the dough from spreading too much and gives the cookies a more bakery-style chew instead of a puffed-up muffin texture. The maple glaze goes on after the cookies are completely cool, which keeps it glossy instead of melting into the tops.
Below, you’ll find the detail that matters most for getting the texture right, plus a few smart swaps if you need to adjust for what you have on hand.
The cookies baked up with crisp edges and a soft middle, and the maple glaze set beautifully instead of soaking in. I also loved that the pumpkin flavor came through without making the dough cakey.
Save these brown butter maple pumpkin cookies for the days when you want a soft center, crisp edges, and that maple glaze finish.
The Part That Keeps Pumpkin Cookies From Turning Cakey
Pumpkin cookies often go wrong for one simple reason: there is too much moisture in the dough. Pumpkin puree brings tenderness, but it also brings water, and that water pushes cookies toward a puffed, muffin-like crumb if you don’t control it. Blotting the puree dry before it goes into the bowl makes a bigger difference than most people expect.
The other piece is the butter. Brown butter adds flavor, but it has to cool and solidify before you cream it with the sugar. If you use it while it is still liquid, the cookies spread too fast and bake up greasy at the edges. Once it is solid again, it behaves like regular butter with a lot more character.
- Blotted pumpkin puree — This keeps the dough from getting loose. Press it between paper towels until it looks thicker and a little pasty.
- Brown butter — The nutty flavor is what makes these taste deep instead of one-note. Refrigerate it until firm enough to scoop and beat.
- Maple syrup — It sweetens and flavors the dough, but it also adds moisture, so the amount is kept modest. Using pancake syrup won’t give the same taste or structure.
What Each Ingredient Is Actually Doing in These Cookies
- All-purpose flour — Gives the cookies enough structure to hold the pumpkin and glaze without turning heavy. Measure it lightly; packed flour makes these dry.
- Baking soda — Helps the cookies spread just enough and encourages browning. Don’t swap in baking powder here or you’ll lose that balanced lift.
- Pumpkin pie spice and cinnamon — These bring the warm spice note that keeps the maple from tasting one-dimensional. If your pumpkin pie spice is old and dull, the cookies will taste flat.
- Unsalted butter — Browning it builds the base flavor. Salted butter will work in a pinch, but reduce the added salt slightly.
- Brown sugar — Adds moisture and chew. It also echoes the caramel notes in the brown butter.
- Eggs and vanilla — Eggs bind the dough, and vanilla rounds out the maple. Room-temperature eggs mix in more evenly with the solidified butter.
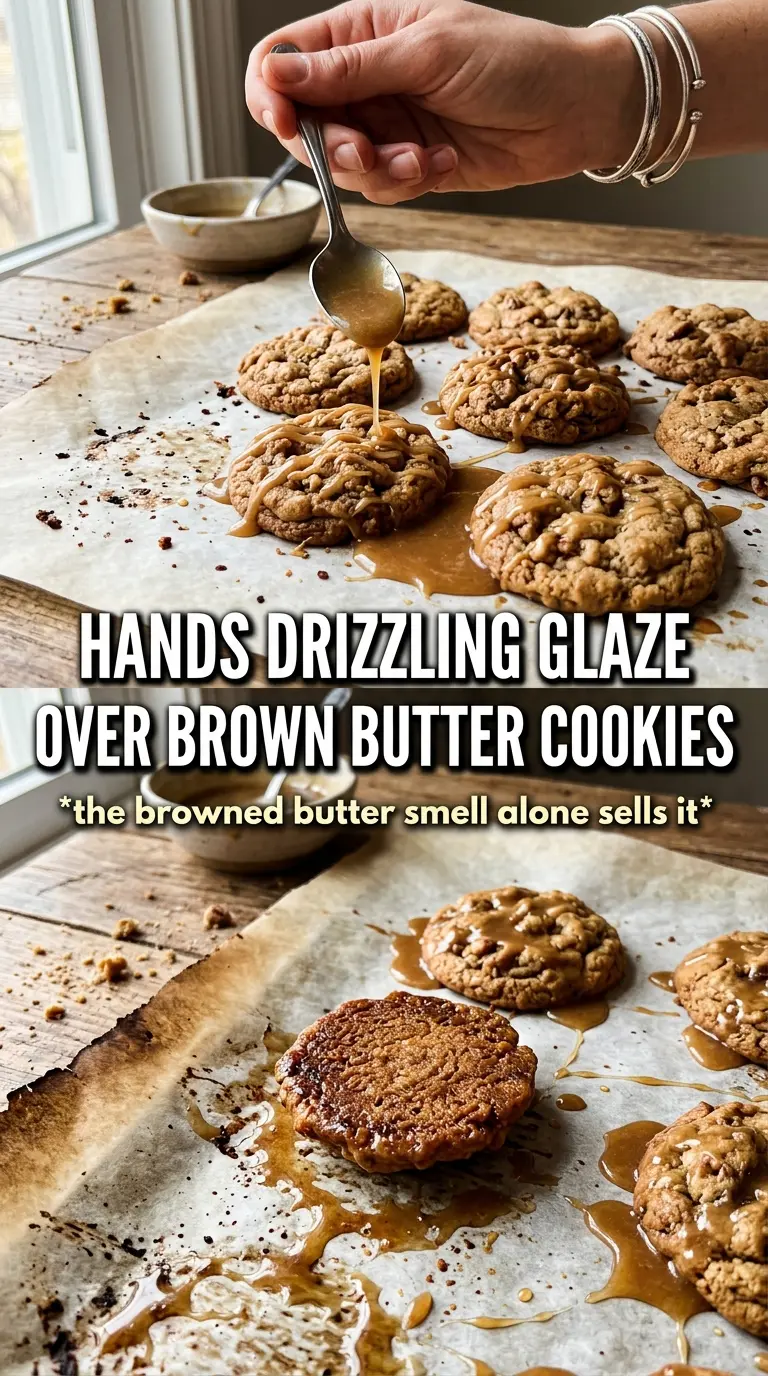
- Maple glaze — Powdered sugar gives body; maple syrup gives flavor; milk loosens it to a drizzle. Add the milk a little at a time so the glaze stays thick enough to sit on top of the cookies.
Building the Dough So the Cookies Bake Up Soft, Not Puffy
Brown the butter all the way
Cook the butter until the milk solids sink, foam, and then turn a deep amber with a nutty smell. Pull it off the heat as soon as you see brown specks; a few seconds longer can take it from toasted to burnt. Chill it until it is fully solid, not half-soft. If it is even a little loose, the dough will spread too much in the oven.
Mix the wet ingredients until they look creamy
Beat the solidified brown butter with the brown sugar and maple syrup until the mixture looks fluffy and thick. Then add the dried pumpkin, eggs, and vanilla. The dough should look smooth and glossy, but not runny. If it starts to look separated, keep mixing; the butter was probably still too cold in the center or the pumpkin was too wet.
Stop mixing as soon as the flour disappears
Fold in the dry ingredients just until no streaks of flour remain. Overmixing at this stage tightens the dough and makes the cookies less tender. Scoop the dough into even rounds so they bake at the same rate, and leave enough space for light spreading. They are done when the edges look golden and the centers still look a little soft.
Three Ways to Adjust These Without Losing the Good Texture
Dairy-Free Version
Use a plant-based butter that browns well, then chill it until firm before mixing the dough. The cookies will still spread a little more than the original, but the flavor stays close if you use a butter-style substitute with some salt built in.
Gluten-Free Swap
Replace the flour with a cup-for-cup gluten-free baking blend that includes xanthan gum. The cookies will be a little more delicate, so let them cool on the pan for several minutes before moving them.
Extra Maple Glaze for a Sweeter Finish
Double the glaze if you want a thicker drizzle and a more bakery-style look. Keep the glaze thick enough to fall in ribbons off a spoon; if it gets too thin, it will soak into the warm cookies instead of sitting on top.
Make-Ahead Dough
Scoop the dough balls and chill them before baking, or freeze them on a tray and bake from frozen with an extra minute or two. Chilled dough gives you a thicker cookie and a slightly deeper brown edge.
Storage and Reheating
- Refrigerator: Store in an airtight container for up to 5 days. The glaze may soften a bit, but the cookies stay chewy.
- Freezer: Freeze the baked cookies without glaze for up to 2 months. Add the glaze after thawing so it stays smooth and glossy.
- Reheating: Warm unglazed cookies in a 300°F oven for 3 to 4 minutes. Microwaving makes them soft and a little sticky, which works against the edges you worked to get.
Answers to the Questions Worth Asking
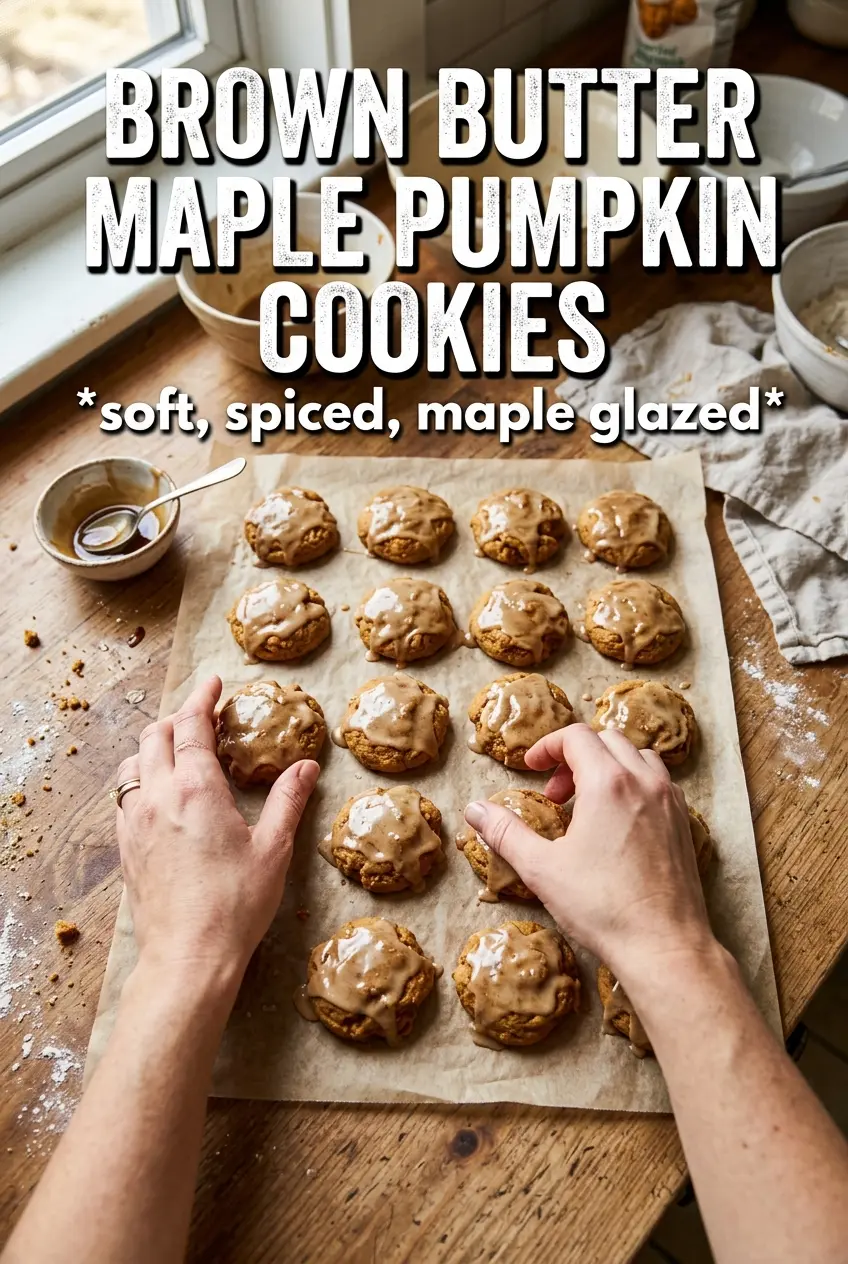
Brown Butter Maple Pumpkin Cookies
Ingredients
Equipment
Method
- Brown the butter until deeply golden, then pour off and refrigerate until solid, about 1 hour, until it no longer feels oily at the edges.
- Preheat the oven to 375F and line baking sheets with parchment, leaving a little space between rows for spreading.
- Whisk together all-purpose flour, baking soda, pumpkin pie spice, cinnamon, and salt until evenly combined and speckled with spices.
- Beat the solidified brown butter, brown sugar, and pure maple syrup until creamy, scraping down the sides as needed so it looks smooth.
- Add the pumpkin puree (blotted very dry), then mix just until incorporated and the batter thickens.
- Beat in the eggs one at a time until the batter looks glossy, then mix in the vanilla extract.
- Fold in the flour mixture until no dry streaks remain, then scoop into 2-tablespoon rounds and space them on the parchment.
- Bake for 10-12 minutes at 375F until the edges are golden and the centers look slightly set.
- Cool completely, then drizzle with maple glaze and sprinkle with flaky salt so the topping catches on the warm surface before it sets.
- Stir powdered sugar with pure maple syrup and enough milk to make a thick drizzle glaze, then keep it loose enough to ribbon over the cookies.