Brown butter pumpkin chocolate chip cookies bake up with crisp edges, soft centers, and those little pockets of melted chocolate that make the whole tray disappear faster than you planned. The browned butter gives them a nutty depth that regular butter just can’t match, while the pumpkin keeps the crumb tender without turning the cookies cakey. A light sprinkle of flaky salt on top pulls all of it together.
The trick here is that the pumpkin has to be dried out before it goes into the dough, and the browned butter has to cool all the way back to solid. If either one is off, the cookies spread oddly or bake up heavy instead of thick and chewy. Once you get those two details right, the dough comes together easily and bakes into cookies with deep caramel notes and a warm spice finish.
Below, I’ll walk you through the part that matters most: how to keep the pumpkin from watering down the dough and how to get the best texture from brown butter. There’s also a storage note if you want to bake these ahead or save a few for later.
I dried the pumpkin like you said and the cookies stayed thick instead of spreading out flat. The chocolate stayed puddly in the middle and the brown butter flavor came through even the next day.
Save these brown butter pumpkin chocolate chip cookies for the days when you want thick centers, crisp edges, and chocolate in every bite.
The Brown Butter and Pumpkin Balance That Keeps These Cookies from Going Cakey
Pumpkin cookies often fail for one reason: the pumpkin brings too much moisture and the dough never sets up with any real structure. Browning the butter helps offset that by concentrating flavor and changing the fat’s behavior in the dough, but it only works if the butter cools back to solid before you cream it with the sugars. That solid stage gives the cookies body and keeps them from baking into soft little puddles.
The other thing that matters is how dry the pumpkin puree is before it goes in. If it still looks wet or loose, blot it again with paper towels until it feels like a thick paste. That one step makes the difference between a cookie with a tender chew and one that bakes up dense and gummy in the middle.
- Brown butter: This is the flavor anchor. You want a deep golden color and nutty smell, not dark specks that taste burnt. If you rush the cooling step, the dough will go greasy and spread too much.
- Pumpkin puree: Use canned pumpkin, then blot it dry. Fresh pumpkin puree usually carries even more water, which makes the texture harder to control.
- Pumpkin pie spice: This gives the cookies their warm background note. If you don’t have it, use cinnamon with a little ginger and nutmeg, but the blend won’t taste quite as rounded.
- Chocolate chips: Dark chocolate gives the best contrast against the pumpkin and brown butter. Semi-sweet works too, but milk chocolate can get lost under the spice.
Building the Dough So the Cookies Stay Thick in the Oven
Cooling the Brown Butter Until It Sets
Brown the butter in a light-colored pan so you can see the color change, then chill it until it firms back up. It should be solid but still soft enough to beat with the sugars. If it stays liquid, the dough won’t cream properly and the cookies will spread more than they should.
Whisking the Dry Ingredients First
Combine the flour, baking soda, pumpkin pie spice, and salt before they ever meet the butter mixture. That keeps the leavener and spice evenly distributed, which matters in a cookie dough this rich. A quick whisk now saves you from biting into one cookie that tastes bland and another that tastes overloaded with spice.
Mixing in the Pumpkin Without Overworking the Dough
Beat the solidified brown butter with both sugars until creamy, then add the blotted pumpkin, eggs, and vanilla. The mixture may look a little looser than a standard cookie dough, and that’s fine as long as the pumpkin was dried well. Once the flour goes in, stop mixing as soon as the last streak disappears so the cookies stay tender instead of tough.
Baking Until the Edges Set
Scoop the dough into 2-tablespoon rounds and bake until the edges are golden and the centers still look slightly soft. That small underbake is what gives you the chewy middle after the cookies cool on the pan. Sprinkle with flaky salt right away so it sticks to the warm tops instead of falling off later.
Make Them Gluten-Free
A good 1:1 gluten-free flour blend usually works here because the dough already has plenty of richness from the butter and eggs. The cookies may spread a little less and bake up slightly more delicate, so let them cool on the pan before moving them.
Use White Chocolate Instead of Dark
White chocolate makes these sweeter and softer in flavor, which leans more dessert-like than bakery-style. It works best if you want the pumpkin spice to lead, but the cookies will taste less balanced than they do with dark or semi-sweet chips.
Add Toasted Pecans for Extra Crunch
Fold in up to 1 cup of toasted chopped pecans with the chocolate chips. They add a crisp bite that plays well with the soft centers and browned butter, but they also make the cookies feel a little more rustic and less chocolate-forward.
Storage and Reheating
- Refrigerator: Store in an airtight container for up to 5 days. The cookies stay soft, though the edges lose a little crispness after the first day.
- Freezer: Freeze baked cookies for up to 2 months, or freeze scooped dough balls and bake from frozen with 1 to 2 extra minutes.
- Reheating: Warm a cookie in the microwave for about 10 seconds or in a low oven for a few minutes. Don’t overheat them or the chocolate will seize up and the centers will dry out.
Questions I Get Asked About This Recipe
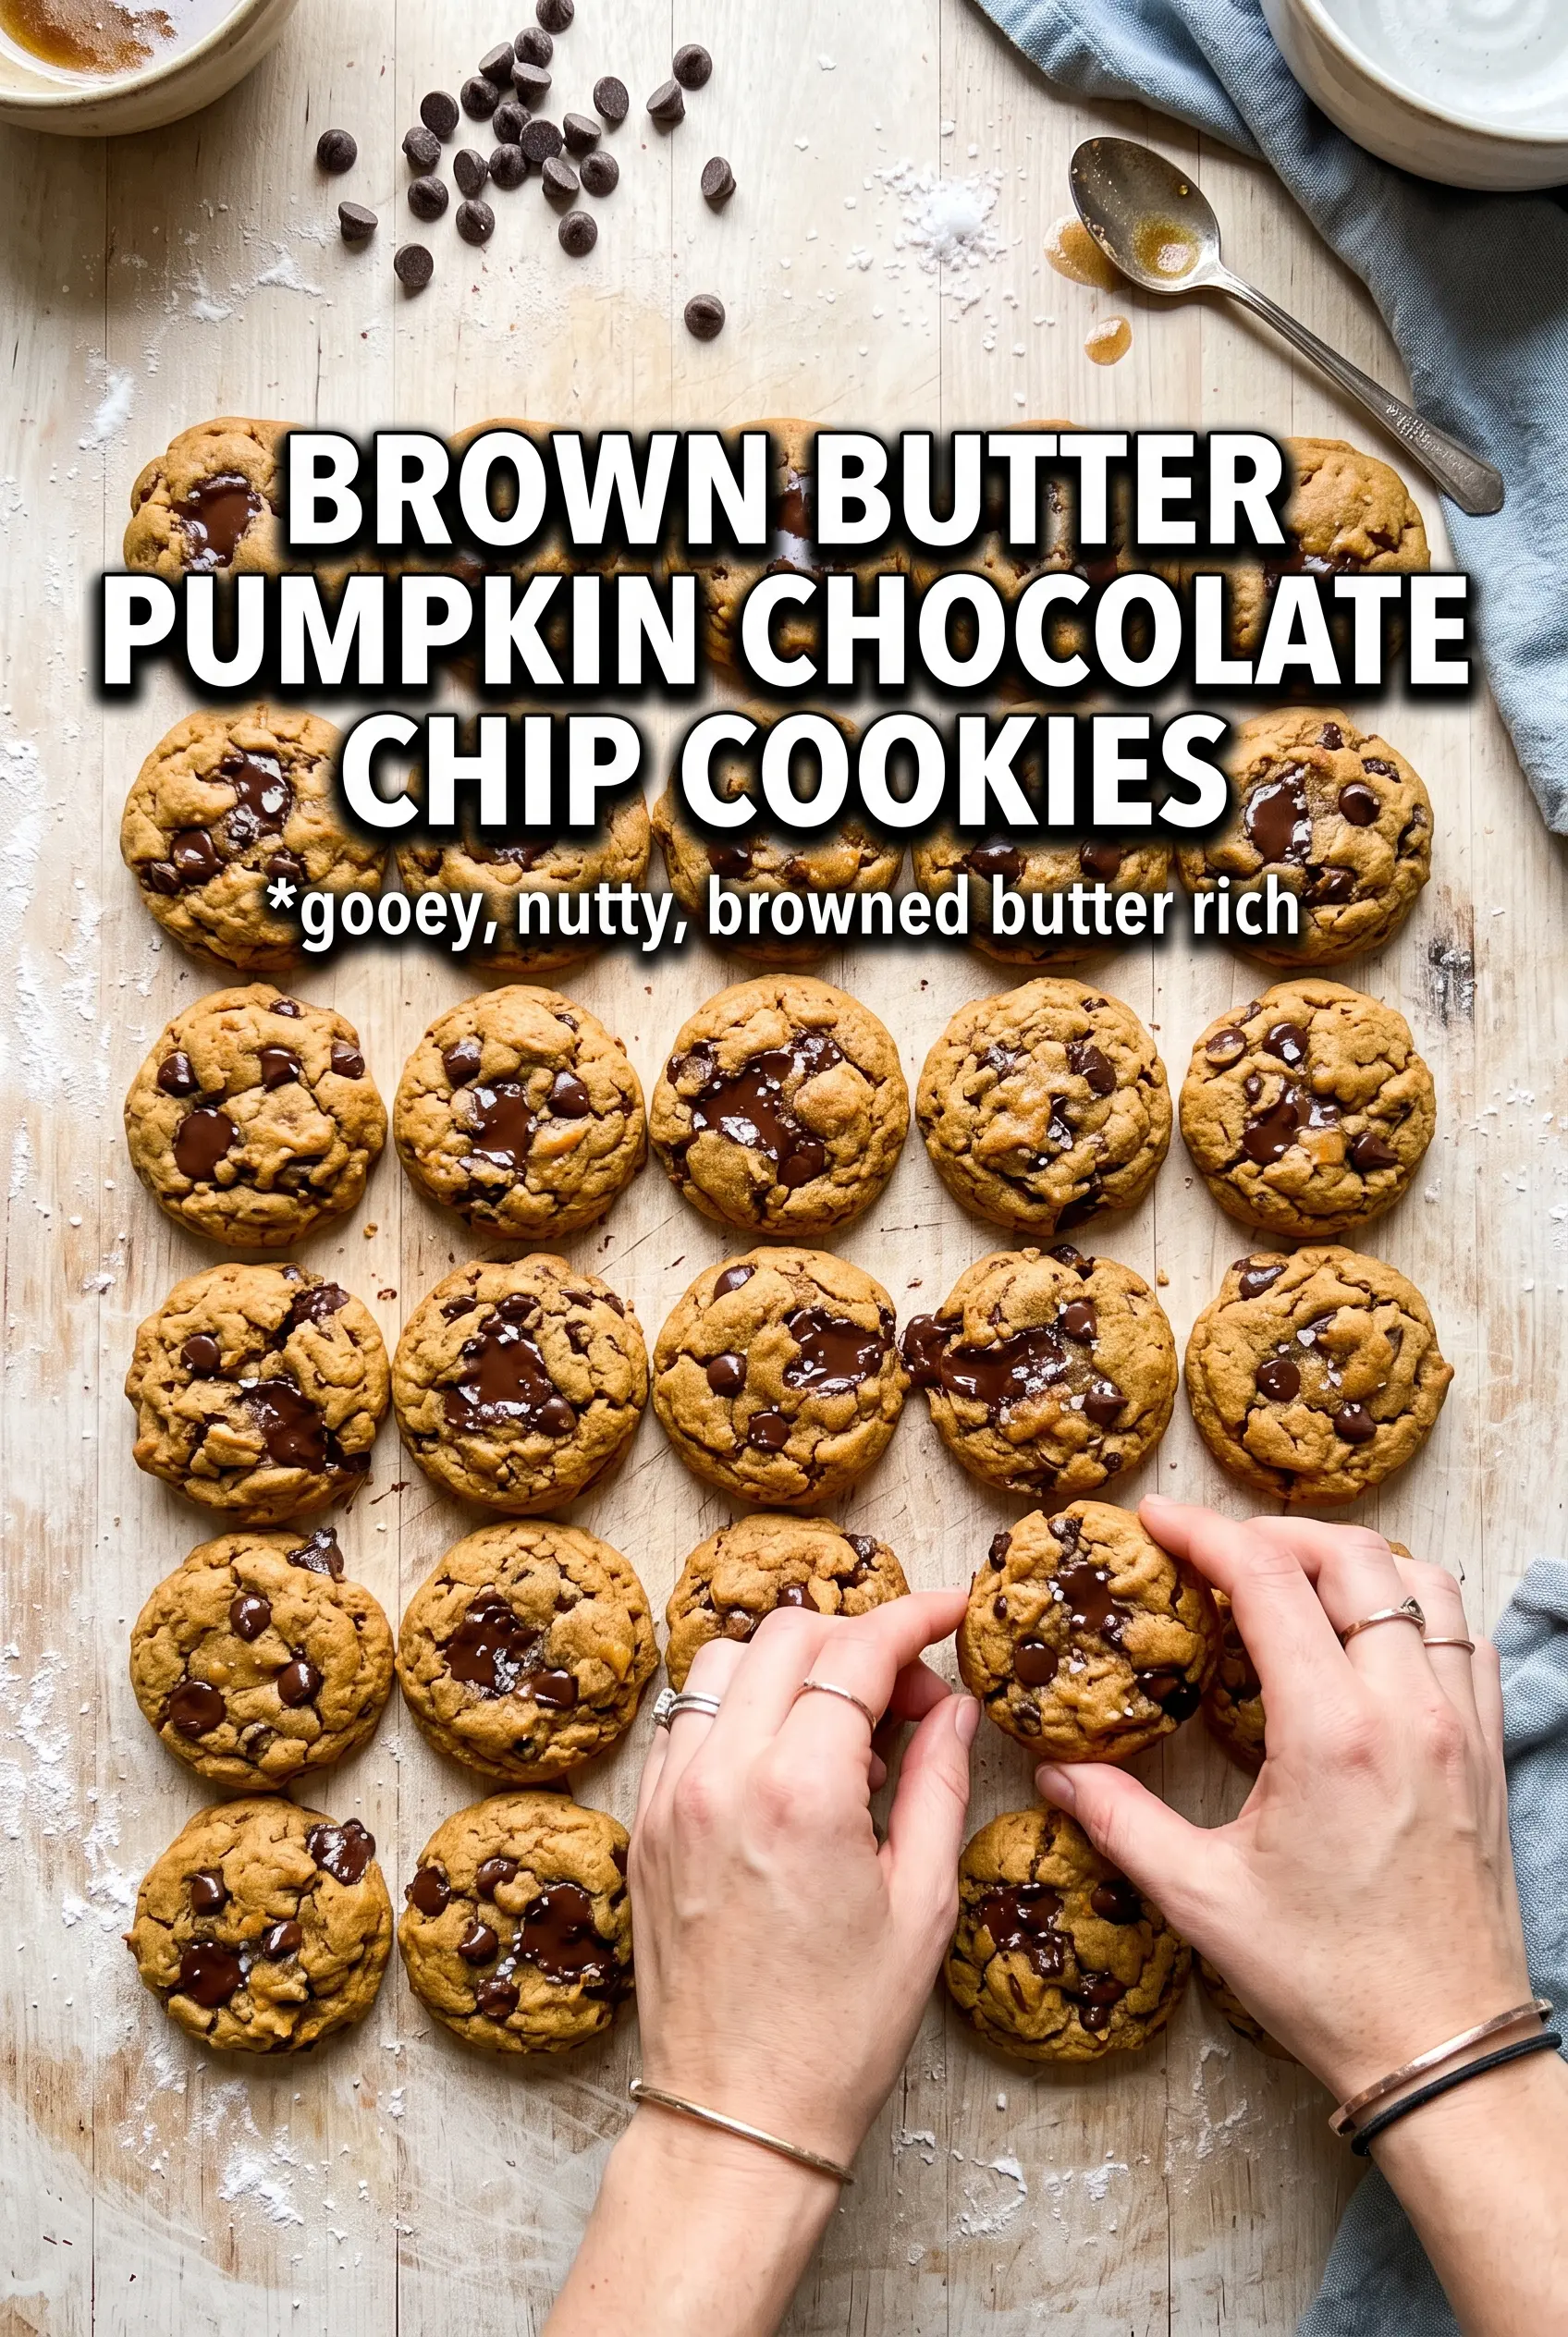
Brown Butter Pumpkin Chocolate Chip Cookies
Ingredients
Equipment
Method
- Brown the butter in a saucepan until it turns golden-brown with a nutty aroma, then cool it until solid. Transfer to the fridge to solidify for 1 hour (visual cue: butter looks firm and set).
- Preheat the oven to 375°F and line baking sheets with parchment (visual cue: parchment-covered trays ready for scooping).
- Whisk together all-purpose flour, baking soda, pumpkin pie spice, and salt until evenly combined (visual cue: evenly speckled dry mixture).
- Beat the solidified browned butter with brown sugar and granulated sugar until creamy (visual cue: lighter, smooth, and thick).
- Mix in the blotted very-dry pumpkin puree, then add the eggs and vanilla extract until fully incorporated (visual cue: cohesive dough with no dry streaks).
- Fold the flour mixture into the wet ingredients until just combined (visual cue: no visible flour pockets).
- Fold in the chocolate chips (visual cue: chips evenly distributed throughout the dough).
- Scoop the dough into 2-tablespoon rounds and space them on the lined baking sheets (visual cue: consistent mounds).
- Bake at 375°F for 10 to 12 minutes until the edges look golden (visual cue: set edges with slightly soft centers).
- Sprinkle the cookies immediately with flaky sea salt, then cool on the pan for 5 minutes (visual cue: salt adheres to warm tops).