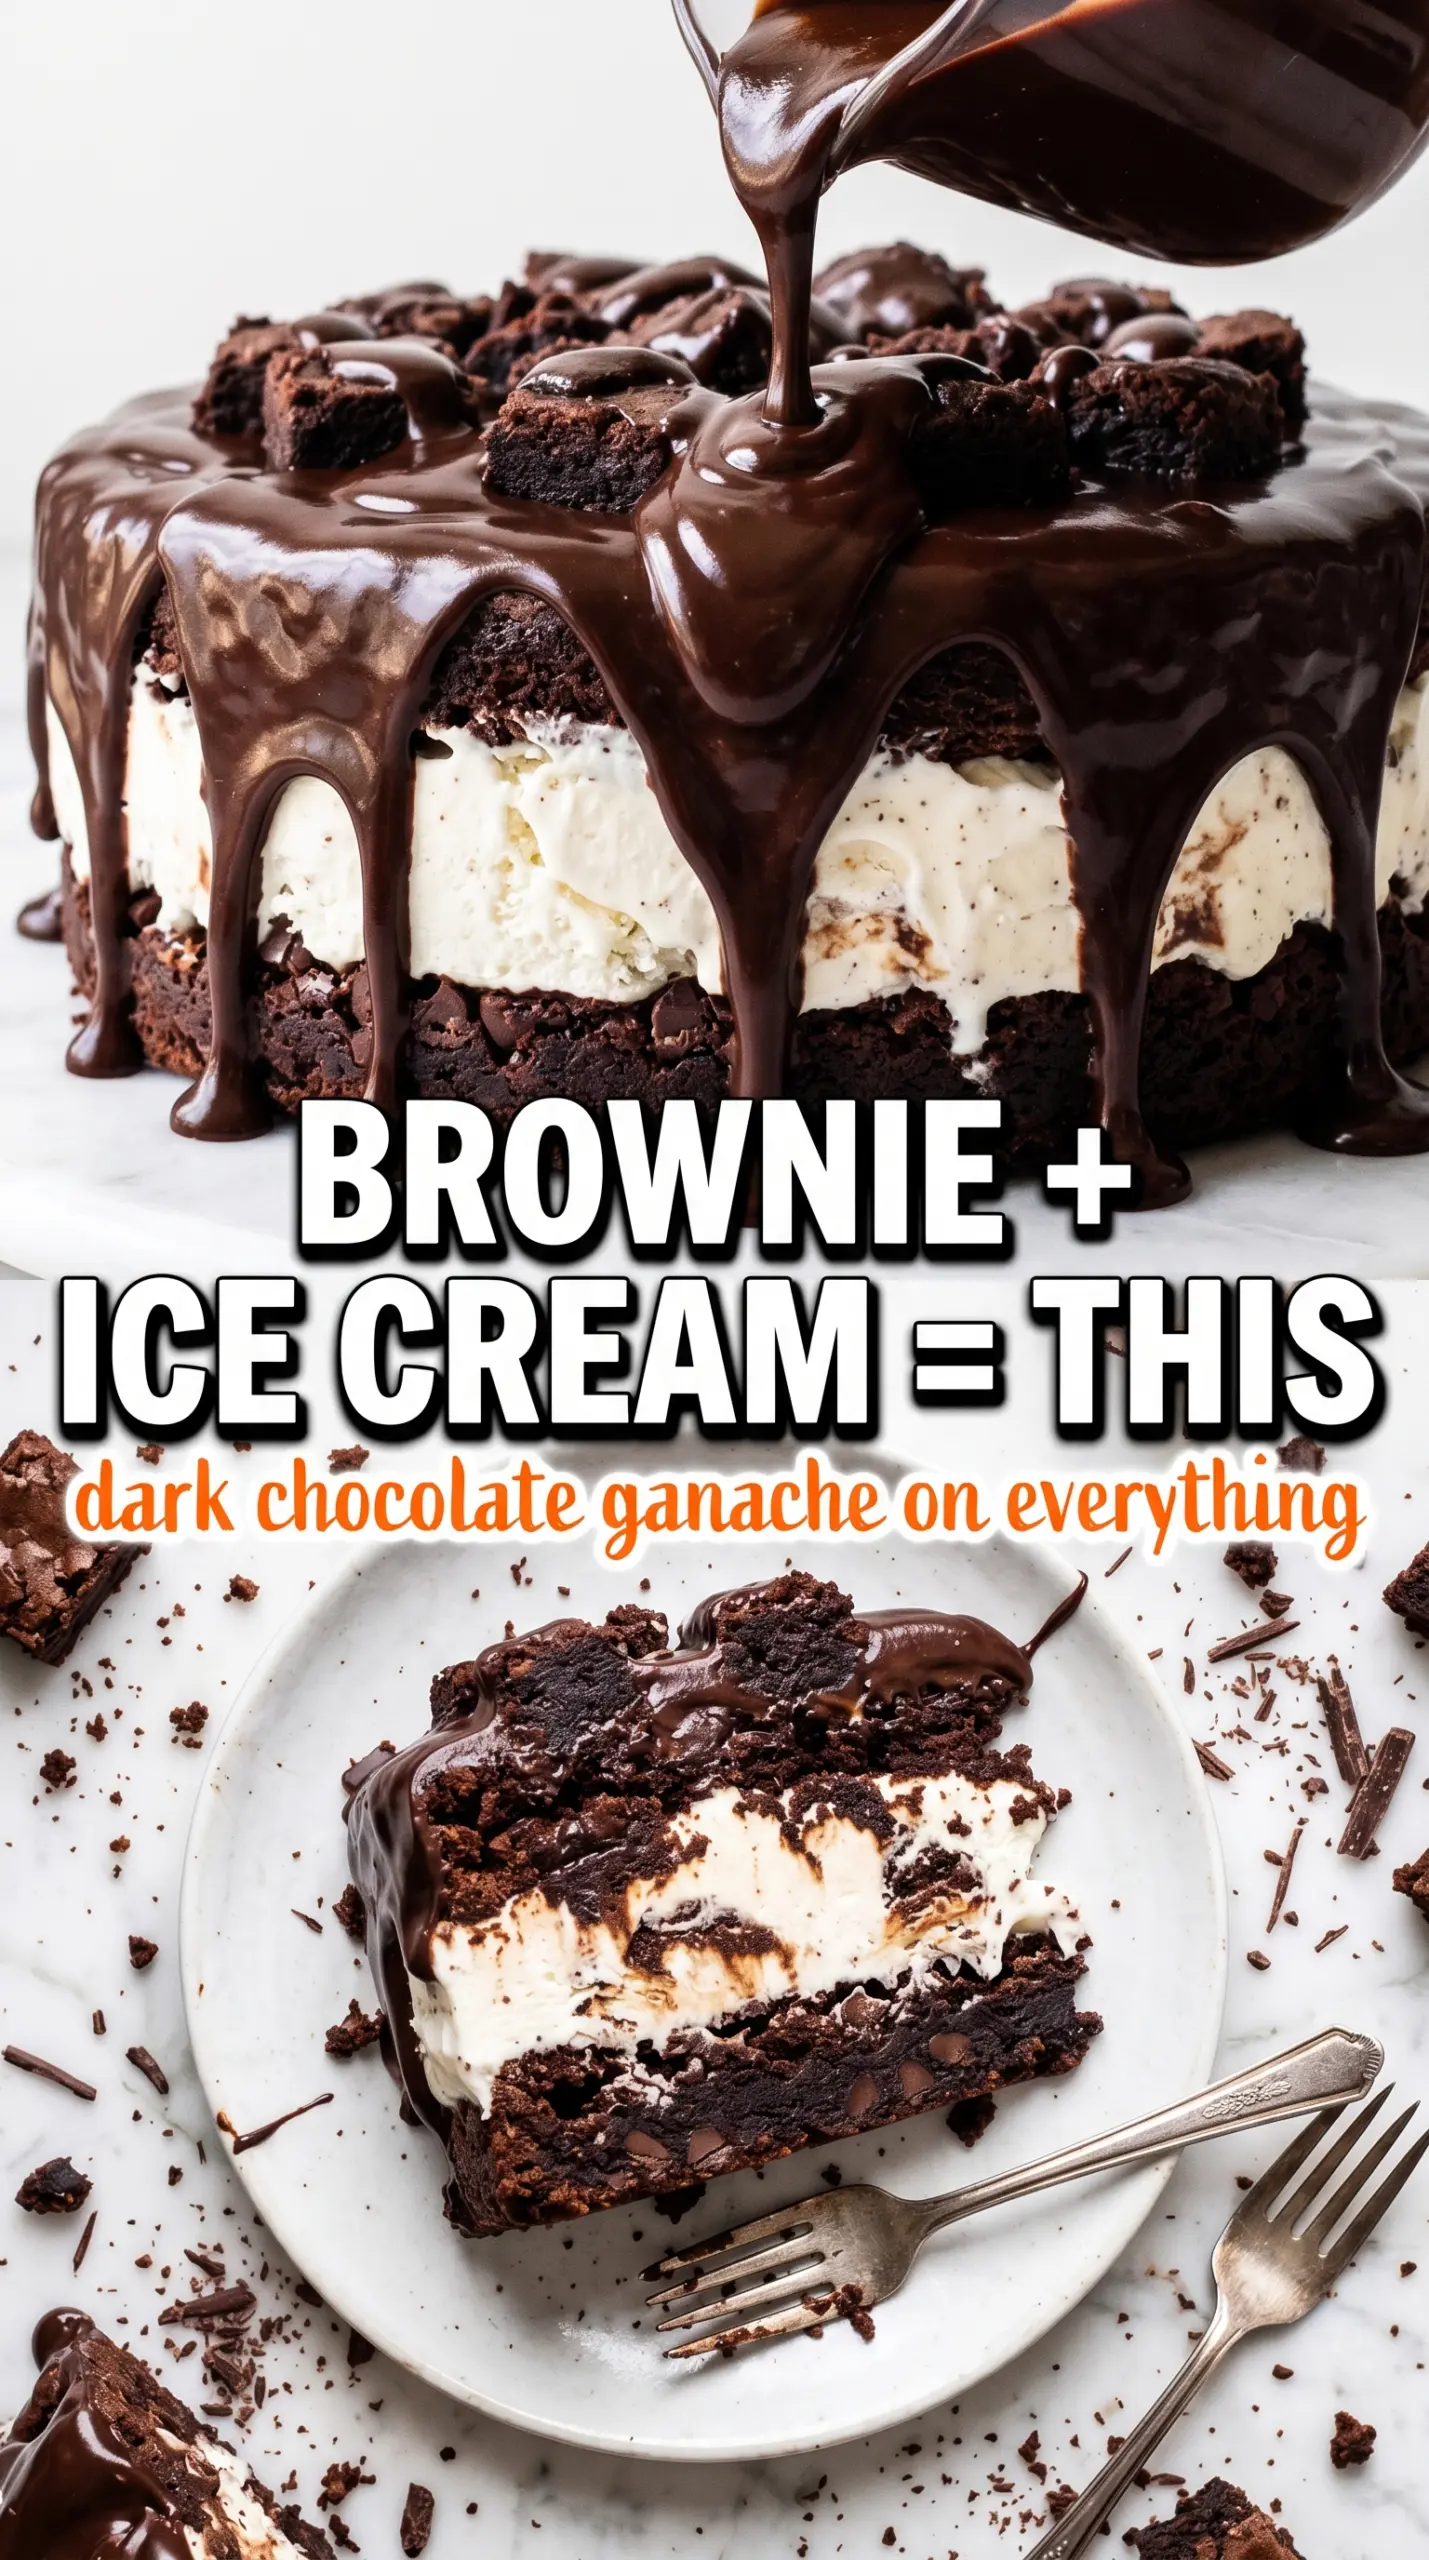
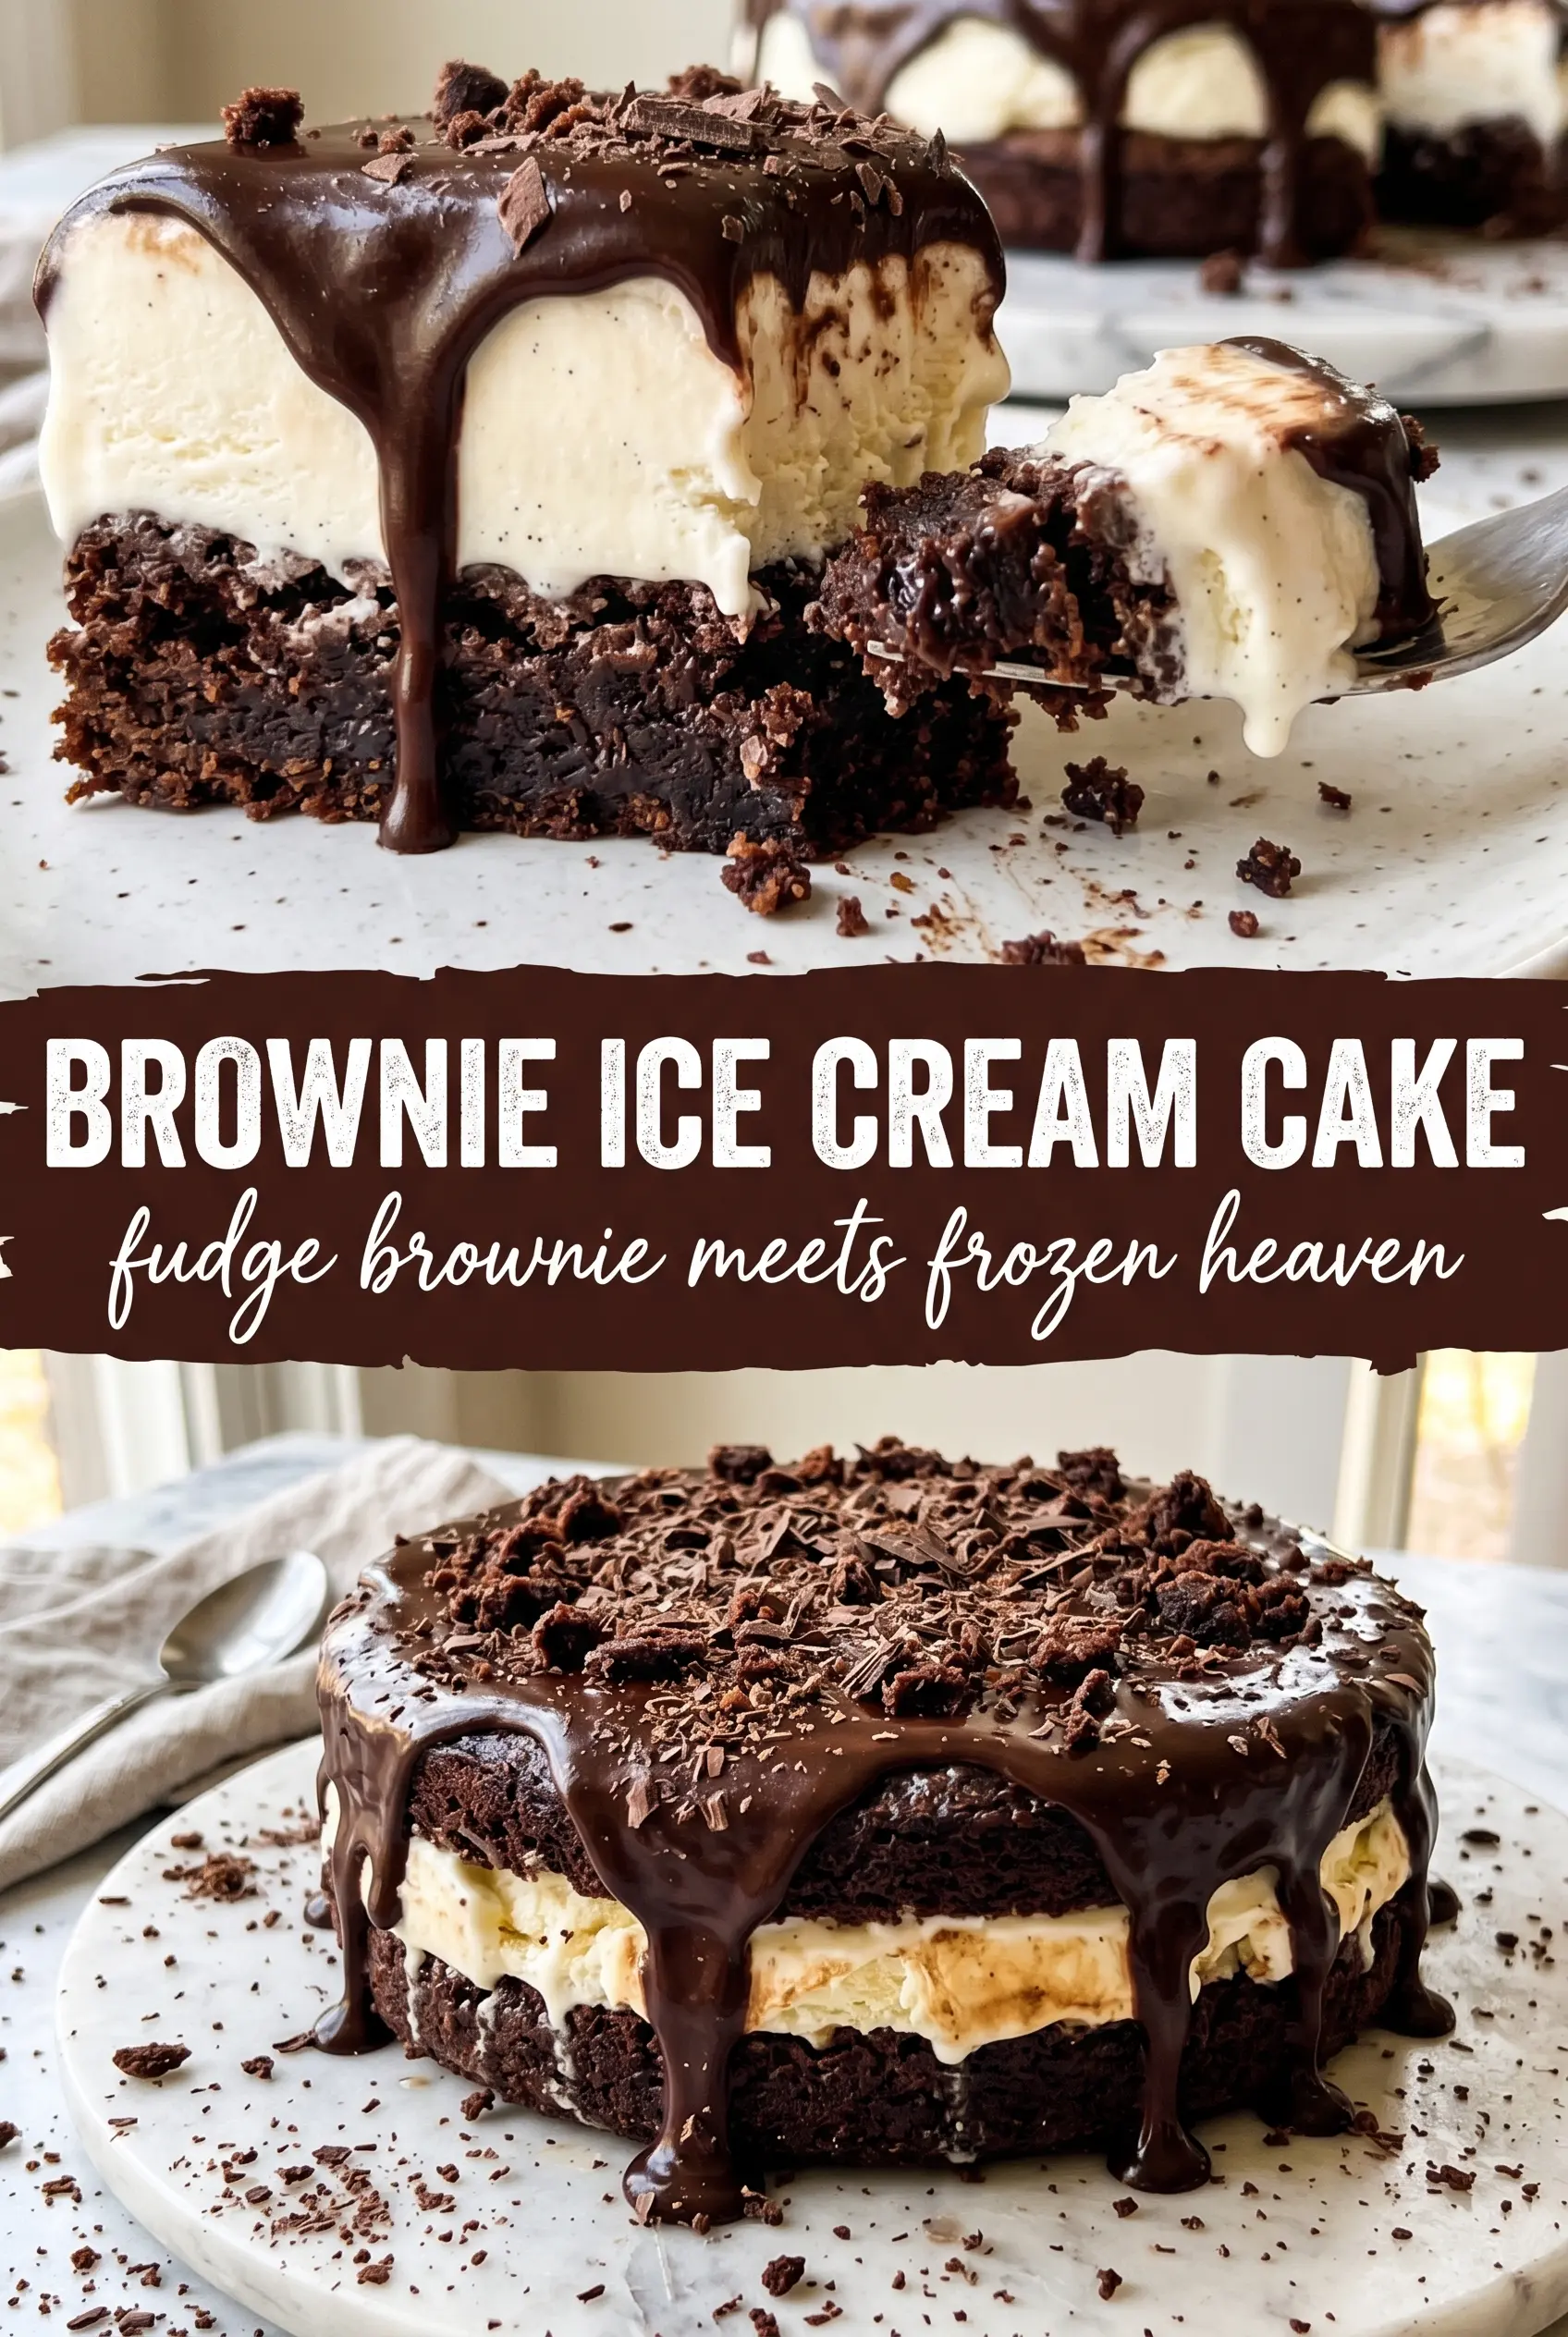
Brownie ice cream cake hits that sweet spot between nostalgic and over-the-top in the best way. You get a fudgy brownie base that stays chewy under a thick, cold layer of ice cream, then the whole thing gets capped with a glossy chocolate ganache that cracks softly when you cut into it. The contrast is the point here: dense, creamy, cold, and rich all in one slice.
The part that makes this version work is the order. The brownie has to be completely cool before the ice cream goes on, or the bottom layer turns slushy and the whole cake gets muddy. Softened ice cream spreads cleanly, but it still needs to be firm enough to hold its shape. Then the ganache gets poured when it’s cool and fluid, not hot, so it settles into a smooth top instead of melting through the ice cream.
Below, I’ve included the few details that matter most: how to keep the layers distinct, what to do if you’re using boxed brownie mix, and how to keep the cake sliceable straight from the freezer.
The brownie stayed chewy even after freezing, and the ganache set up with that perfect thin snap on top. I let it sit 10 minutes before slicing, and it came out in clean layers.
Save this brownie ice cream cake for birthdays, cookouts, or any night that calls for fudgy layers and a chocolate shell.
The Freezer Is Doing the Final Baking Here
The biggest mistake with brownie ice cream cake is treating it like a normal cake assembly job. Once the brownie is baked and cooled, the freezer becomes part of the structure. If the brownie is even slightly warm when the ice cream goes on, the base softens unevenly and you lose that sharp layer contrast that makes each slice hold together.
Texture matters at every stage. The brownie should be dense, not airy, because a light crumb can turn icy after freezing. The ice cream should be softened enough to spread, but not melted into soup. And the ganache needs to be cool enough to pour slowly; if it goes on hot, it will carve channels through the ice cream instead of sitting neatly on top.
- Brownie mix or homemade brownies — Boxed mix works fine here because you want a reliable, fudgy base that freezes well. If you bake from scratch, aim for a dense brownie, not a cakey one, or the layers won’t feel as cohesive.
- Vanilla or chocolate ice cream — Good-quality ice cream gives you the cleanest slice because it softens and refreezes with less iciness. Let it sit at room temperature just until spreadable; if it melts, you’ll end up with streaks instead of a thick middle layer.
- Heavy cream — This is what makes the ganache smooth and pourable. Don’t swap in milk here; it won’t carry the chocolate the same way and the topping can turn thin and dull.
- Dark chocolate — Dark chocolate keeps the topping from tasting too sweet against the ice cream. Chop it finely so it melts evenly when the hot cream hits it.
- Butter — A small amount helps the ganache stay glossy and slice more cleanly after freezing. If you leave it out, the topping still works, but it can set a little firmer and lose some shine.
What Each Ingredient Is Actually Doing in This Ice Cream Cake
- Base layer (cookies, cake, or graham cracker) — This provides structure and stability. Crushed and mixed with butter creates a firm foundation.
- Ice cream (the main star) — Use quality ice cream or make homemade. Softness matters for layering.
- Sauce or topping between layers (fudge, caramel, or fruit) — This adds moisture, flavor, and prevents dryness. Don’t skip this layer.
- Frosting or whipped cream (optional outer layer) — This prevents freezer burn and adds creaminess. Stabilized whipped cream works best.
- Freezing time (at least 4-6 hours) — This sets the layers so cake slices cleanly. Longer freezing prevents melting during serving.
- Room temperature before serving (5-10 minutes) — This softens the cake slightly for better texture. Serve immediately after thawing.
- Toppings (chocolate, nuts, cookies, or sprinkles) — These add visual appeal and texture. Add right before serving.
- Storage (in freezer at 0°F or below) — This prevents ice crystal formation and maintains quality. Cover with plastic wrap.
Building the Layers Without Melting the Middle
Cool the brownie all the way through
Bake the brownie in a 9×13 pan and let it cool completely before you even think about the ice cream. The pan should feel neutral, not warm, when you touch the bottom. If you rush this, the ice cream starts to melt from underneath and the brownie soaks up the runoff, which gives you a dense, gummy base instead of clean layers.
Spread the ice cream while it’s soft, not soupy
Let the ice cream sit out just long enough that a spoon can dig in with some resistance. Spread it into an even layer over the brownie, pressing gently so it reaches the corners without tearing the cake underneath. If it gets too soft, park the pan in the freezer for a few minutes before you finish smoothing it out. That little pause keeps the layer thick and even.
Freeze until the cake is solid enough to handle
After the ice cream layer goes on, freeze the cake for at least 4 hours. You want it firm all the way through, not just set on top, because the ganache will be warm when it goes over the surface. If the center is still soft, the topping sinks instead of sitting on the cake.
Pour the ganache at the right consistency
Heat the cream until it’s steaming, then pour it over the chocolate and butter and stir until smooth. Let it cool until it pours in a thick ribbon, not a hot stream. Pour it over the frozen cake and tilt the pan to cover the top. If the ganache looks grainy, it usually means the chocolate wasn’t chopped fine enough or the cream was too hot and the mixture split.
Freeze again before slicing
Give the finished cake at least 2 more hours in the freezer so the topping sets and the layers lock together. For clean slices, let the pan sit on the counter for about 10 minutes before cutting. A hot knife helps too, especially if you want neat edges instead of a cracked shell on top.
Ways to Change the Cake Without Losing the Good Part
Dairy-Free Version
Use a dairy-free brownie mix if needed, then swap in a coconut-based or almond-based ice cream and a dairy-free dark chocolate with full-fat coconut cream for the ganache. The result will still slice well, but the topping may taste a little more coconut-forward depending on what you use.
Chocolate Ice Cream Instead of Vanilla
Chocolate ice cream makes the whole dessert lean darker and richer, almost like a frozen brownie sundae in cake form. It’s a good move if you want the chocolate ganache to feel less sweet, but it does mute the contrast a little, so the brownie needs to be especially fudgy.
Make It Ahead for a Party
This cake is a strong make-ahead dessert because it actually benefits from extra freezer time. Assemble it the day before, wrap it well once the ganache is set, and keep it frozen until serving. The only thing I’d hold until the end is the whipped cream and chocolate shavings, since those look freshest right before the cake hits the table.
Storage and Reheating
- Refrigerator: Not a good storage method for this dessert; it softens too fast and loses the clean layers.
- Freezer: Wrap tightly and freeze for up to 2 weeks for the best texture. After that, the brownie can start to take on freezer flavor.
- Reheating: Don’t reheat this cake. Let slices sit at room temperature for 8 to 12 minutes before serving so the brownie softens slightly and the ganache cuts cleanly.
Answers to the Questions Worth Asking
Brownie Ice Cream Cake
Ingredients
Equipment
Method
- Heat oven to the temperature listed on the brownie mix package and bake the brownie in a 9x13 pan according to package instructions until set. Cool completely so the ice cream layer won’t melt on contact.
- Spread softened vanilla or chocolate ice cream in an even, thick layer over the cooled brownies. Use gentle pressure to level the surface for clean slices.
- Freeze the cake for 4 hours until completely firm. The firm set helps the ganache pour without mixing into the ice cream.
- Heat heavy cream until steaming (hot but not boiling), then pour over chopped dark chocolate and butter. Stir until smooth and glossy.
- Cool ganache until pourable, then pour over the frozen ice cream layer. Tilt the pan to cover evenly for a uniform top.
- Freeze at least 2 more hours until the ganache is set. Keep frozen until ready to serve.
- Top the brownie ice cream cake with whipped cream and chocolate shavings just before serving. Slice with a sharp knife for neat edges.