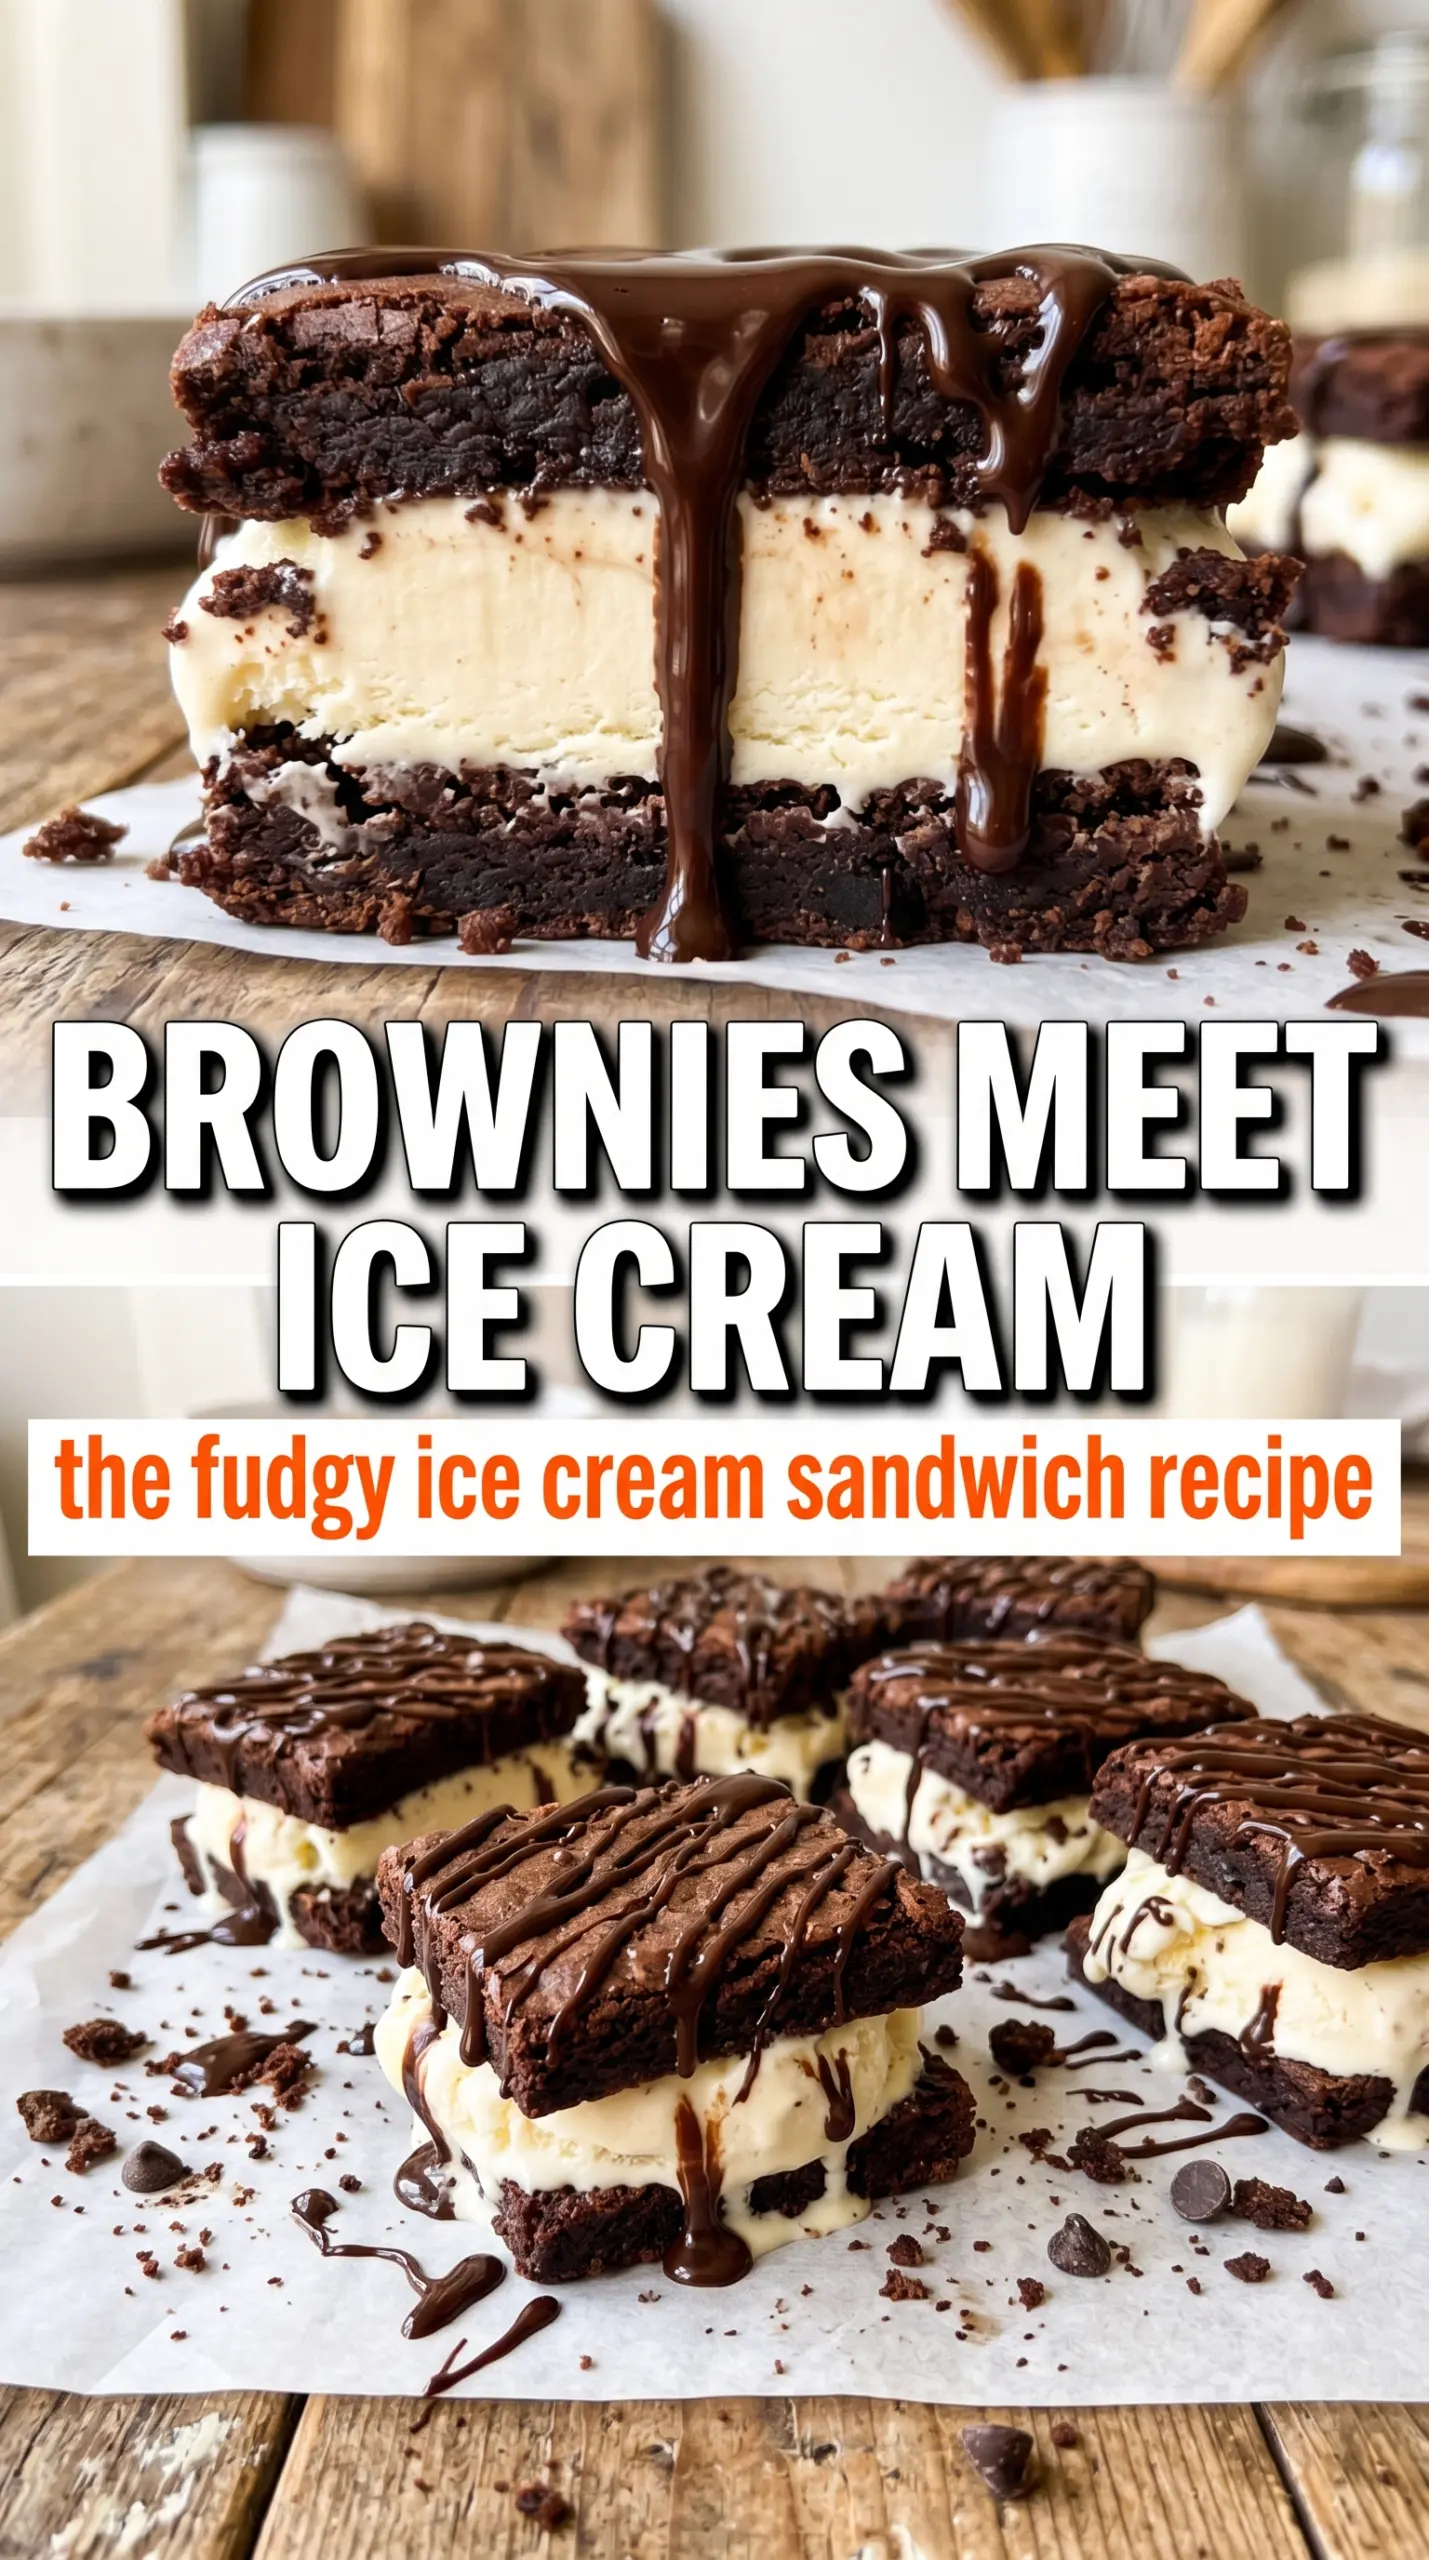
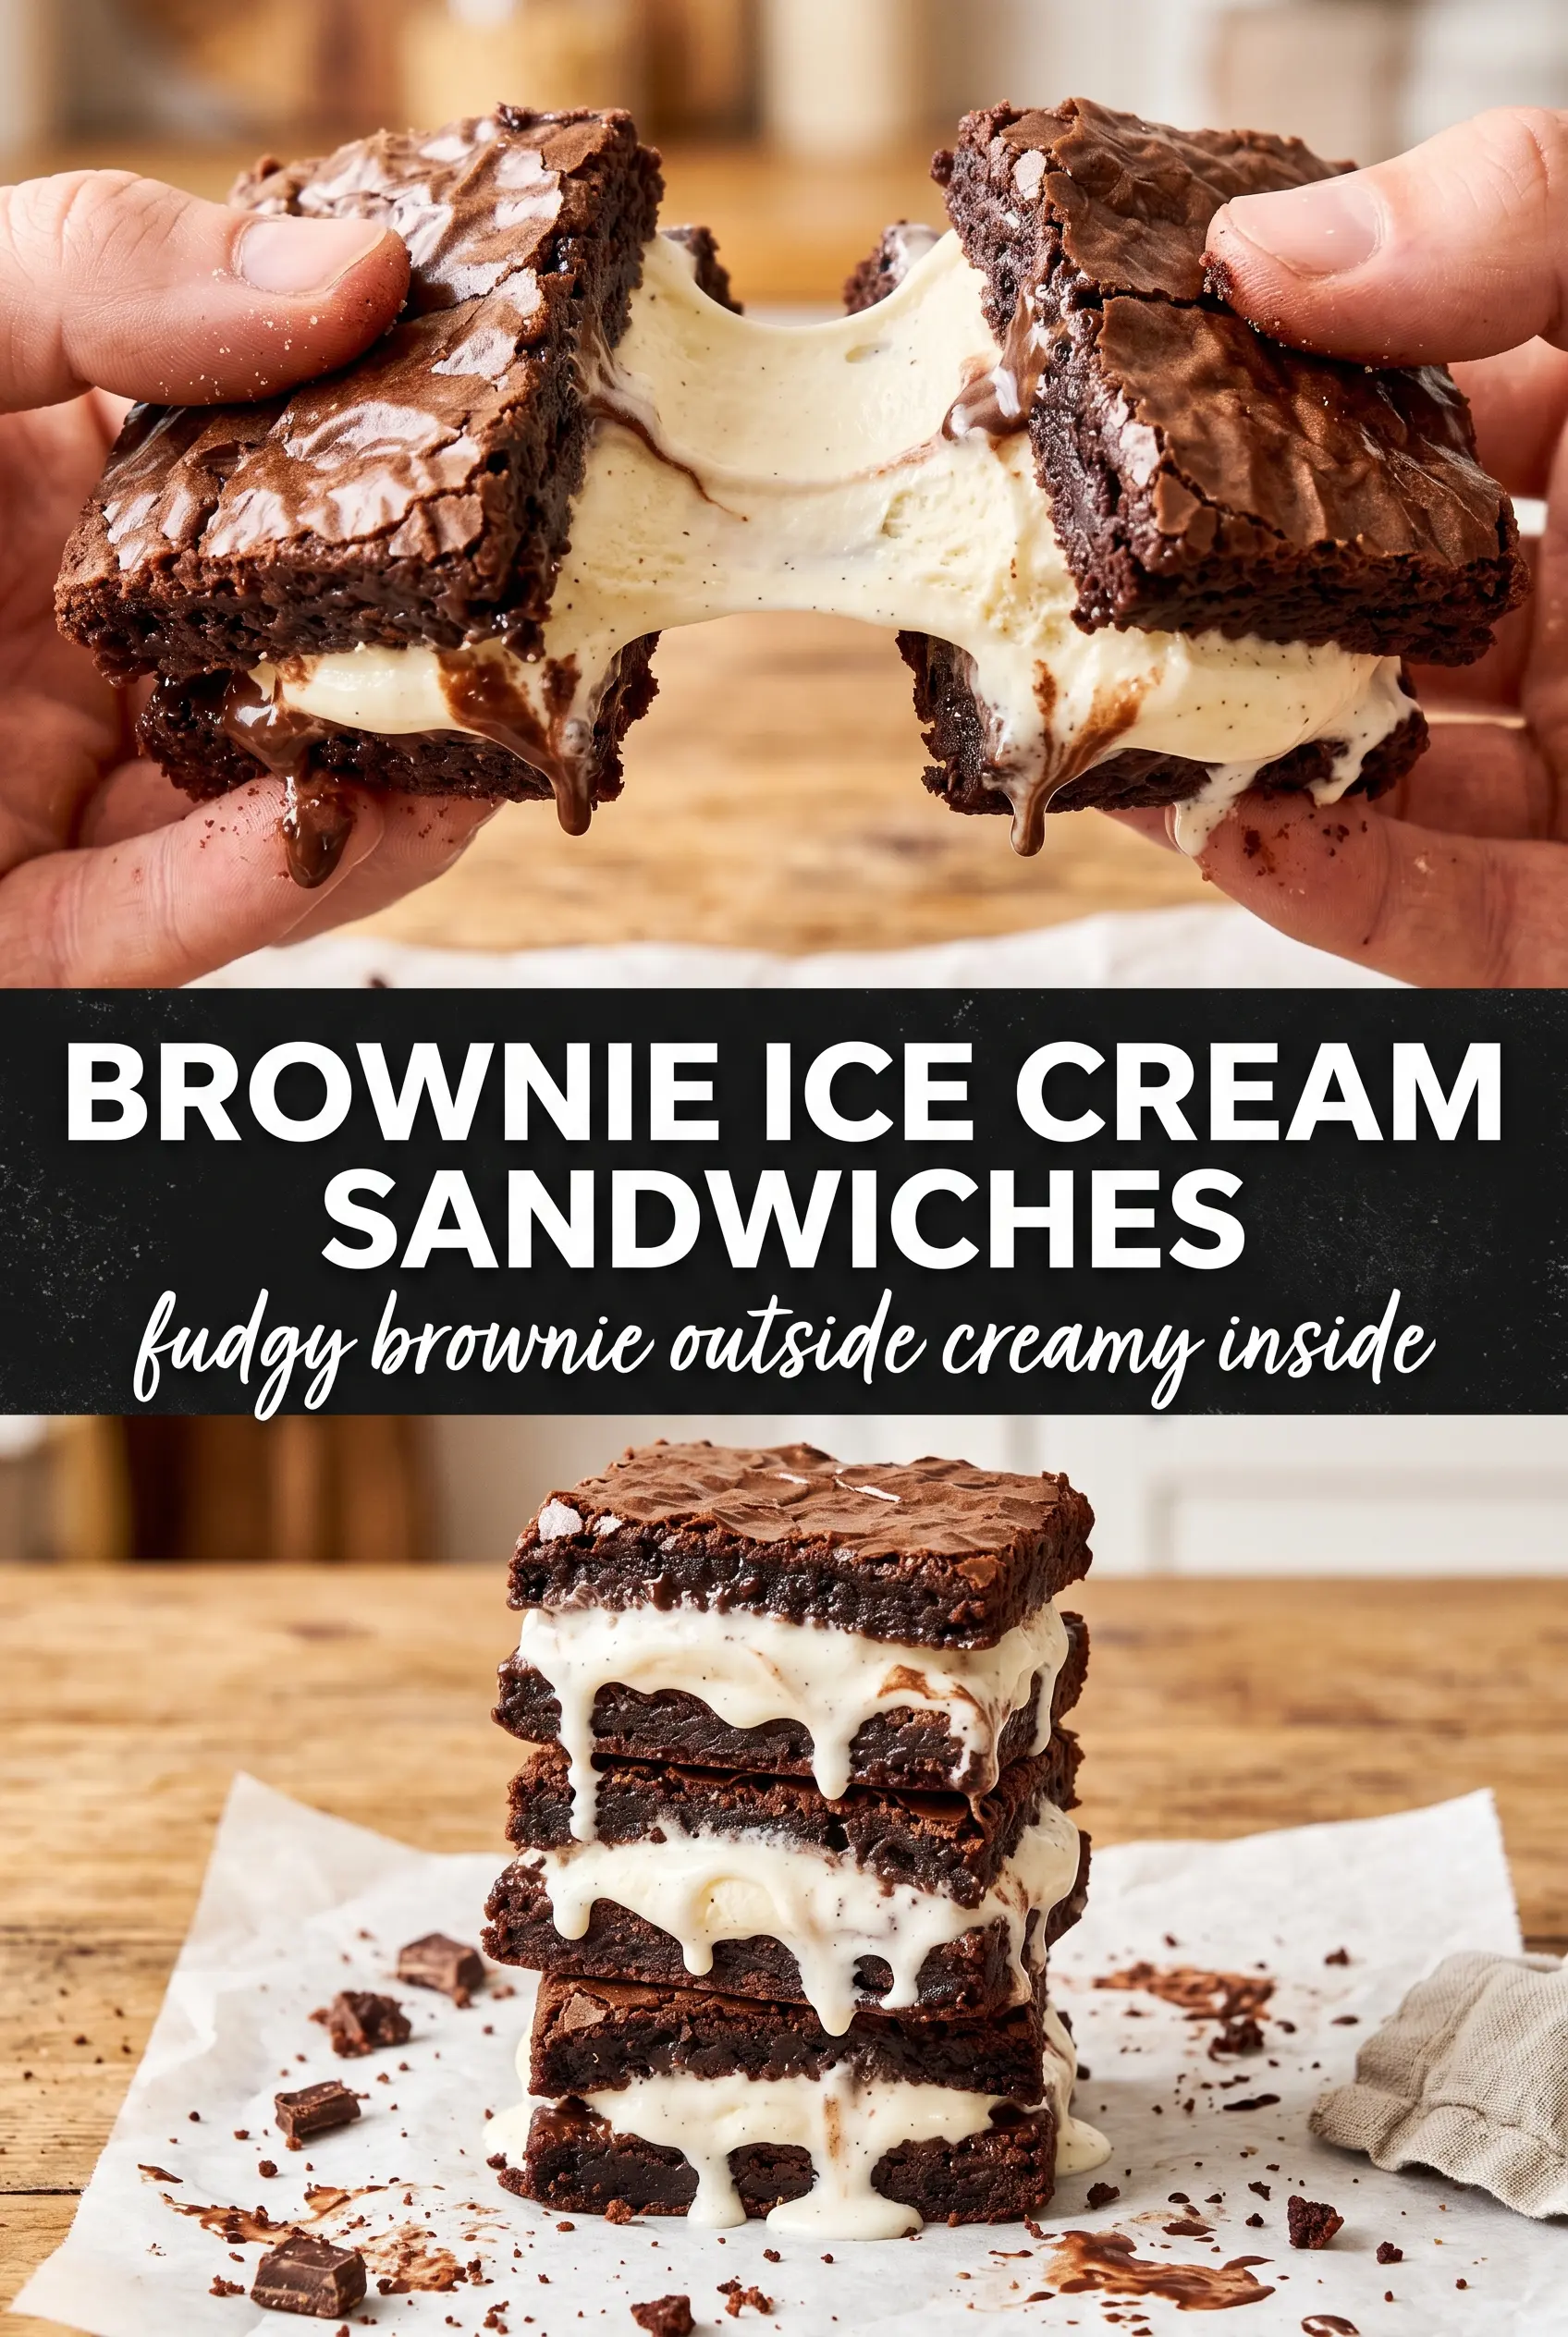
Fudgy brownie ice cream sandwiches land with the kind of contrast people remember: a dense, bittersweet chocolate crust on the outside and a cold, creamy center that presses out just a little at the edges when you bite in. The brownie layer stays chewy instead of cakey, which matters here because soft brownies turn muddy once the ice cream starts to melt into them. What you want is a thin sheet with enough structure to bend slightly, not crack or crumble.
The trick is keeping the brownie batter on the dense side and pulling it from the oven while the center is just set. That gives you a base that freezes firm without going hard. Slightly softened ice cream is another piece of the puzzle. If it’s too soft, it leaks into the brownie and makes the whole thing sloppy; if it’s too cold, it tears the brownie apart when you spread it. This version makes a serious dessert that slices cleanly if you give it the freezer time it needs.
The brownies stayed fudgy even after freezing, and the ice cream layer spread without tearing the base. I cut them with a warm knife and they came out neat, just like the photo.
Save these fudgy brownie ice cream sandwiches for when you want a freezer dessert with a thick chocolate shell and a creamy center.
The Freeze That Keeps the Brownies Chewy Instead of Hard
The biggest mistake with brownie ice cream sandwiches is treating the brownie like a regular bar cookie. If it bakes too long, it turns dry once frozen and the whole sandwich eats like cold cake. This recipe works because the brownie sheet is baked just until set, then cooled and frozen before the ice cream goes on. That extra chill firms the slab enough to assemble cleanly without sacrificing the fudgy middle.
Another thing that helps is the thin layer. Thick brownies sound luxurious, but they crack when you fold or stack them and make the sandwich too bulky to bite neatly. A shallow, even sheet gives you clean edges and a better ratio of brownie to ice cream. The goal is a dessert that holds together in the hand, not one that needs a fork.
What Each Ingredient Is Doing in These Brownie Ice Cream Sandwiches
- Dark chocolate — This gives the brownies their deep, bittersweet backbone. Cocoa alone won’t give the same molten, almost truffle-like flavor, so use real chopped chocolate here if you want that dense result.
- Butter — Butter carries the chocolate and keeps the crumb tender after freezing. Salted butter works in a pinch, but unsalted gives you cleaner control over the final flavor.
- Eggs — Two eggs provide structure without turning the brownies cakey. Whisk them in until smooth, but don’t beat in a lot of air or the texture gets lighter than you want for sandwiches.
- Cocoa powder — This sharpens the chocolate flavor and helps the brownie stay intensely dark. Natural unsweetened cocoa is perfect here; Dutch-process will work too, but the flavor gets a little smoother and less sharp.
- Vanilla or coffee ice cream — Vanilla keeps the chocolate front and center, while coffee makes the brownies taste even darker and more grown-up. Slightly soften it before spreading so it glides over the frozen brownie instead of tearing it up.
Building the Sheet, Filling It, and Getting Clean Cuts
Melting the Chocolate Base
Melt the butter and chopped dark chocolate together until glossy and smooth, then let it cool for about 5 minutes before the eggs go in. If the mixture is too hot, the eggs can start to cook and turn grainy. You want warm, not steaming, so the batter stays silky and easy to spread.
Mixing the Brownie Batter
Whisk in the sugar, eggs, and vanilla until the mixture looks thick and shiny, then add the flour, cocoa, and salt just until no dry streaks remain. Overmixing at this stage builds structure you don’t want and makes the brownies less fudgy. The batter should be dense but spreadable, almost like a thick paste.
Baking the Thin Pan Sheet
Spread the batter into a parchment-lined 9×13 pan in an even layer. Bake until the center is just set and the edges pull slightly from the pan, usually 18 to 22 minutes. If you wait for a dry top and firm center, the brownies will freeze up too hard for easy sandwiching.
Freezing and Assembly
Cool the brownie completely, then freeze it for 30 minutes so the ice cream won’t melt on contact. Spread the softened ice cream over half the sheet, top with the remaining brownie half, and press lightly so the filling reaches the corners. Freeze the whole slab for 2 hours before cutting; a warm knife gives you the cleanest squares without shattering the frozen brownie.
Chocolate Mint Version
Swap the vanilla ice cream for mint chip or peppermint ice cream and add a few crushed chocolate wafers inside the filling. The mint lifts the dark brownie and makes the whole sandwich taste colder and sharper, which is a nice change if you want something less heavy.
Coffee Shop Style
Use coffee ice cream instead of vanilla and finish the cut squares with a pinch of flaky salt. The coffee makes the chocolate taste deeper and less sweet, which works especially well if you want a more grown-up dessert.
Gluten-Free Swap
Replace the all-purpose flour with a 1:1 gluten-free baking blend that includes xanthan gum. The brownies will still hold together, though they may be a touch more fragile when fully frozen, so let them sit at room temperature for a few minutes before cutting.
Extra-Neat Party Squares
After assembling, chill the slab overnight instead of just 2 hours if you want the cleanest possible cuts. The filling firms up enough that the edges stay square, which is helpful when you’re serving a crowd or packing them individually.
Storage and Reheating
- Refrigerator: These don’t belong in the fridge for long because the ice cream melts and refreezes unevenly. Keep them frozen until serving.
- Freezer: Wrap each sandwich tightly in parchment and then plastic wrap, or store in an airtight container for up to 2 weeks. After that, the brownies can pick up freezer smell and the ice cream loses its clean texture.
- Reheating: Don’t reheat them. Let a sandwich sit at room temperature for 3 to 5 minutes so the brownie softens just enough to bite without the filling sliding out.
Questions I Get Asked About This Recipe
Brownie Ice Cream Sandwiches
Ingredients
Equipment
Method
- Preheat oven to 350F, then melt the butter and dark chocolate together and cool for 5 minutes until smooth and glossy.
- Whisk in the granulated sugar, eggs, and vanilla extract until smooth and thickened, with no streaks.
- Stir in the all-purpose flour, unsweetened cocoa powder, and salt until just combined, stopping as soon as the batter looks uniform.
- Spread the batter into a parchment-lined 9x13 pan in a thin, even layer, then bake for 18-22 minutes at 350F until just set with a set center and slightly fudgy edges.
- Cool completely, then freeze the brownie sheet for 30 minutes so it firms enough to handle.
- Spread the slightly softened vanilla or coffee ice cream over half the brownie sheet, creating an even thick layer.
- Fold the other half of the brownie over the ice cream layer to form a sandwich, pressing gently just to seal.
- Freeze for 2 hours until firm, then cut into squares using a warm knife and serve or wrap individually.