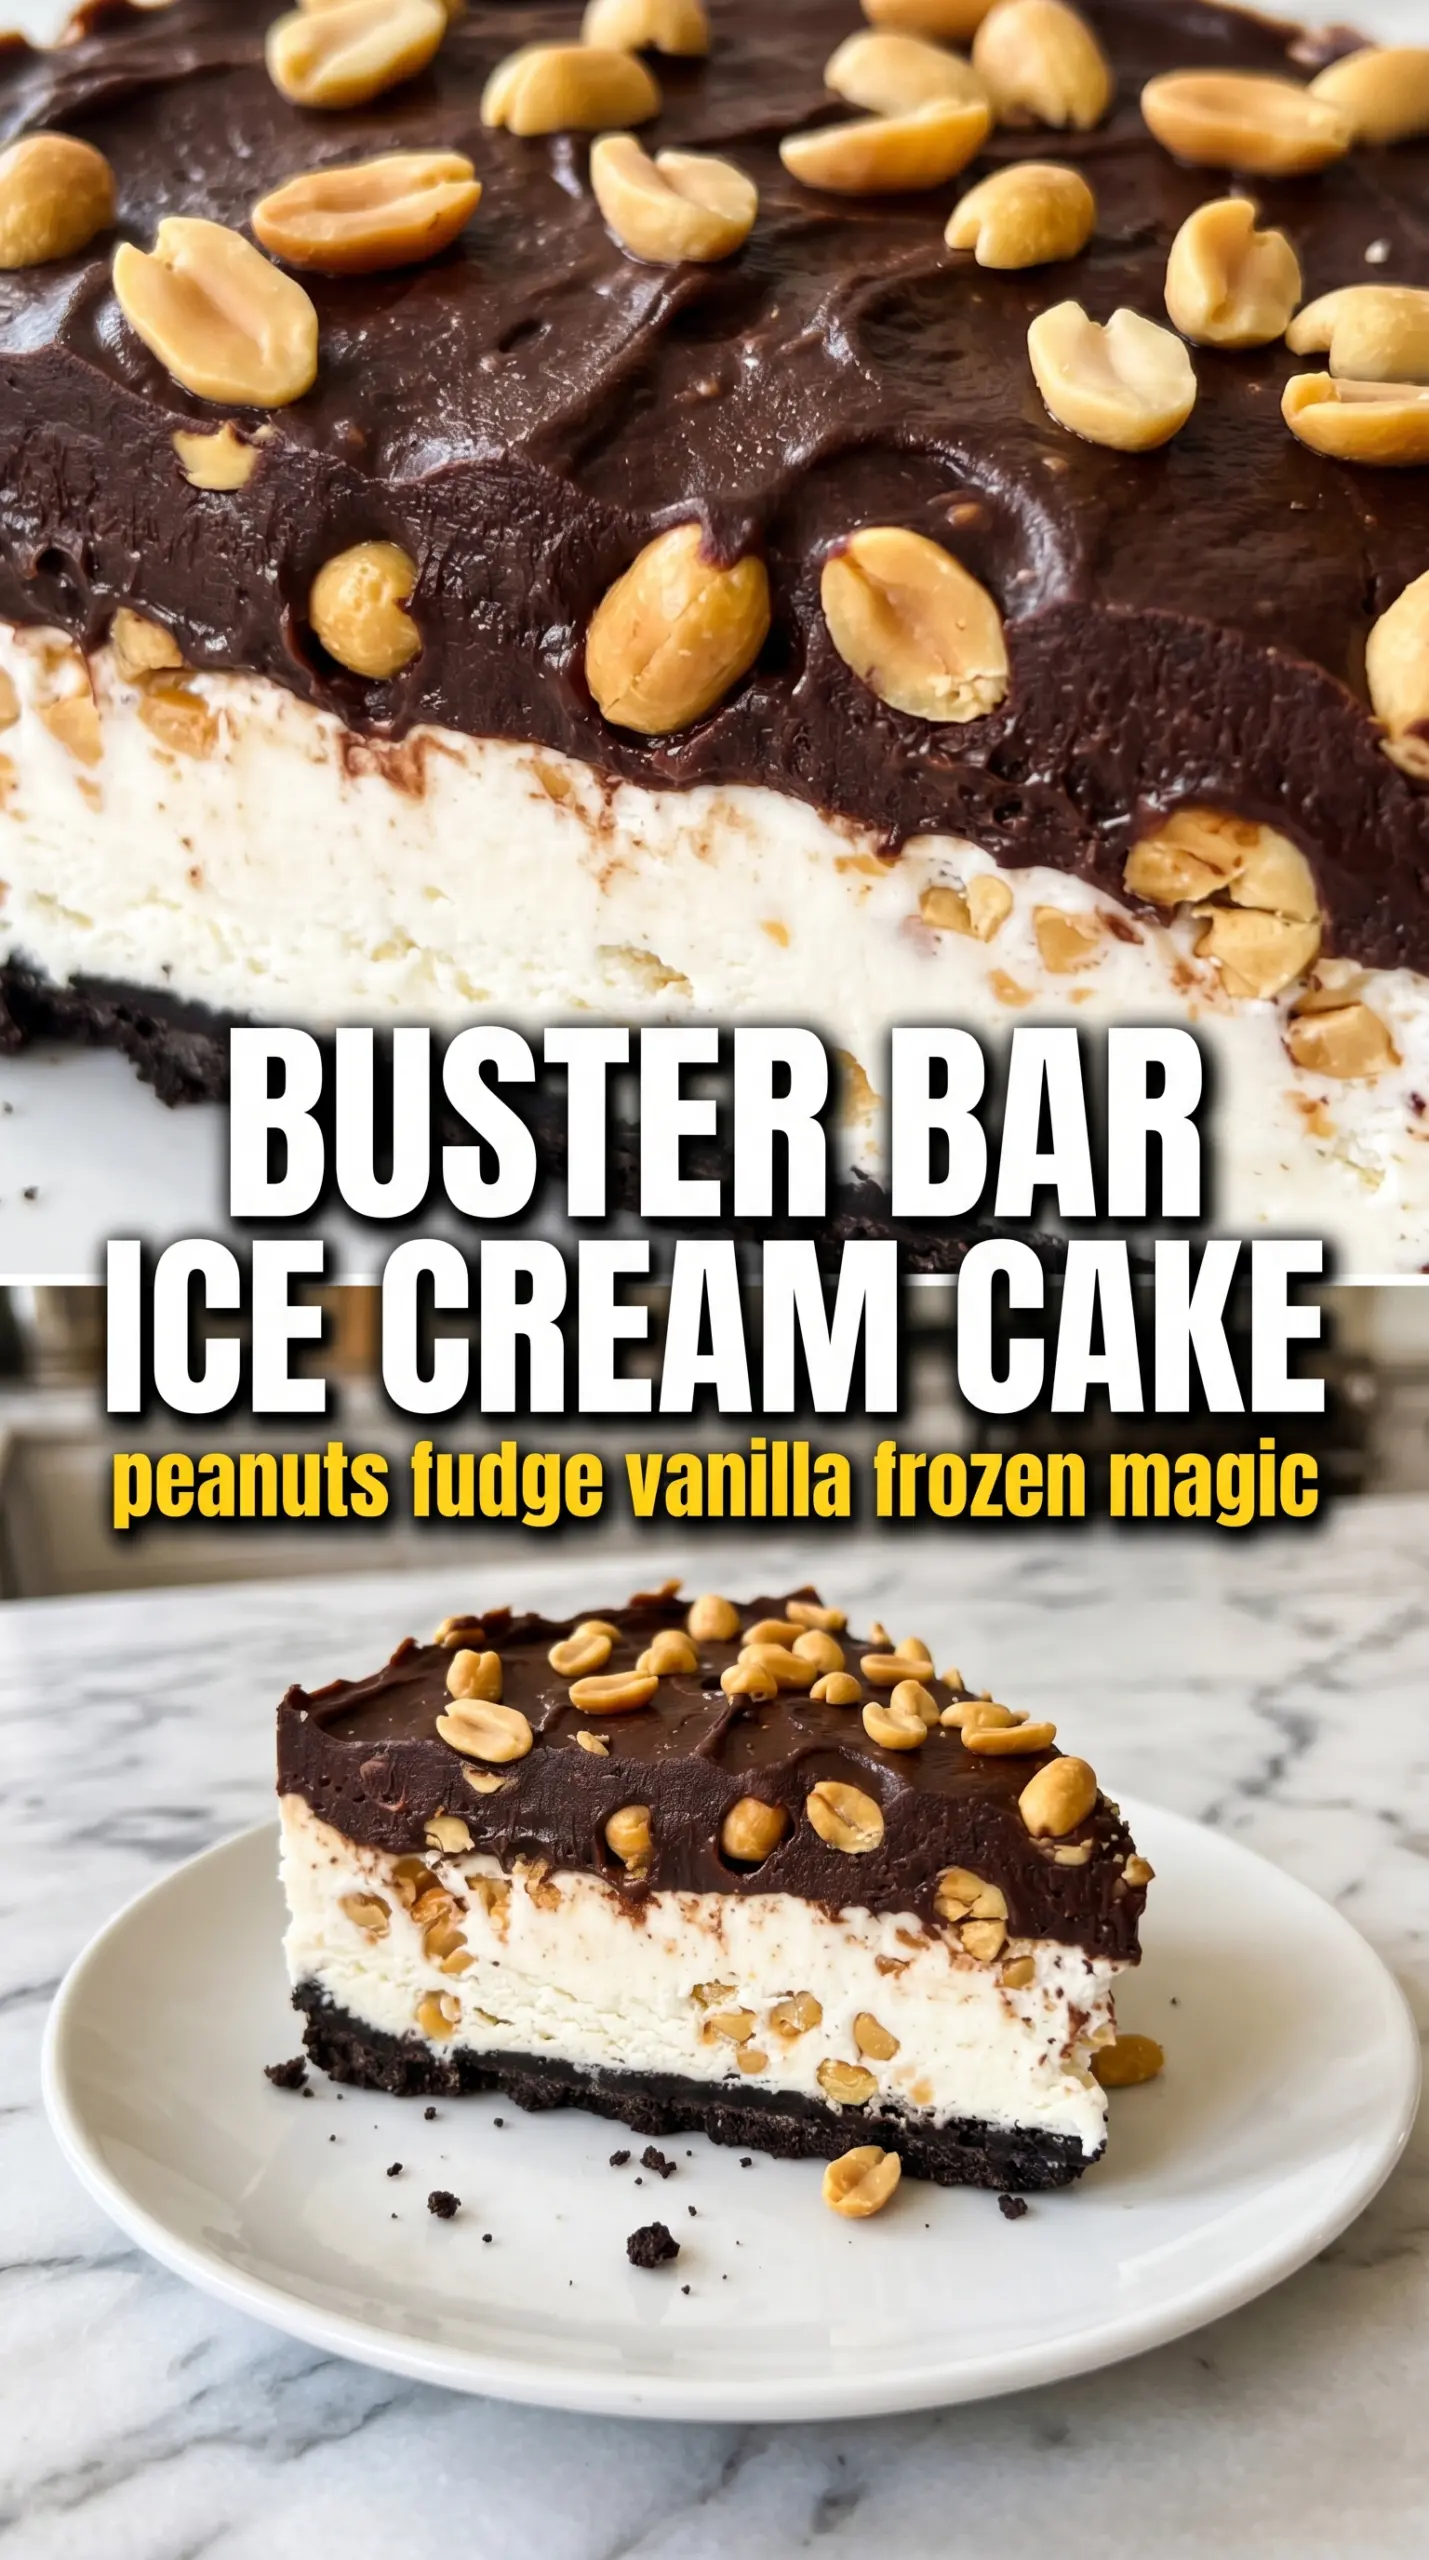
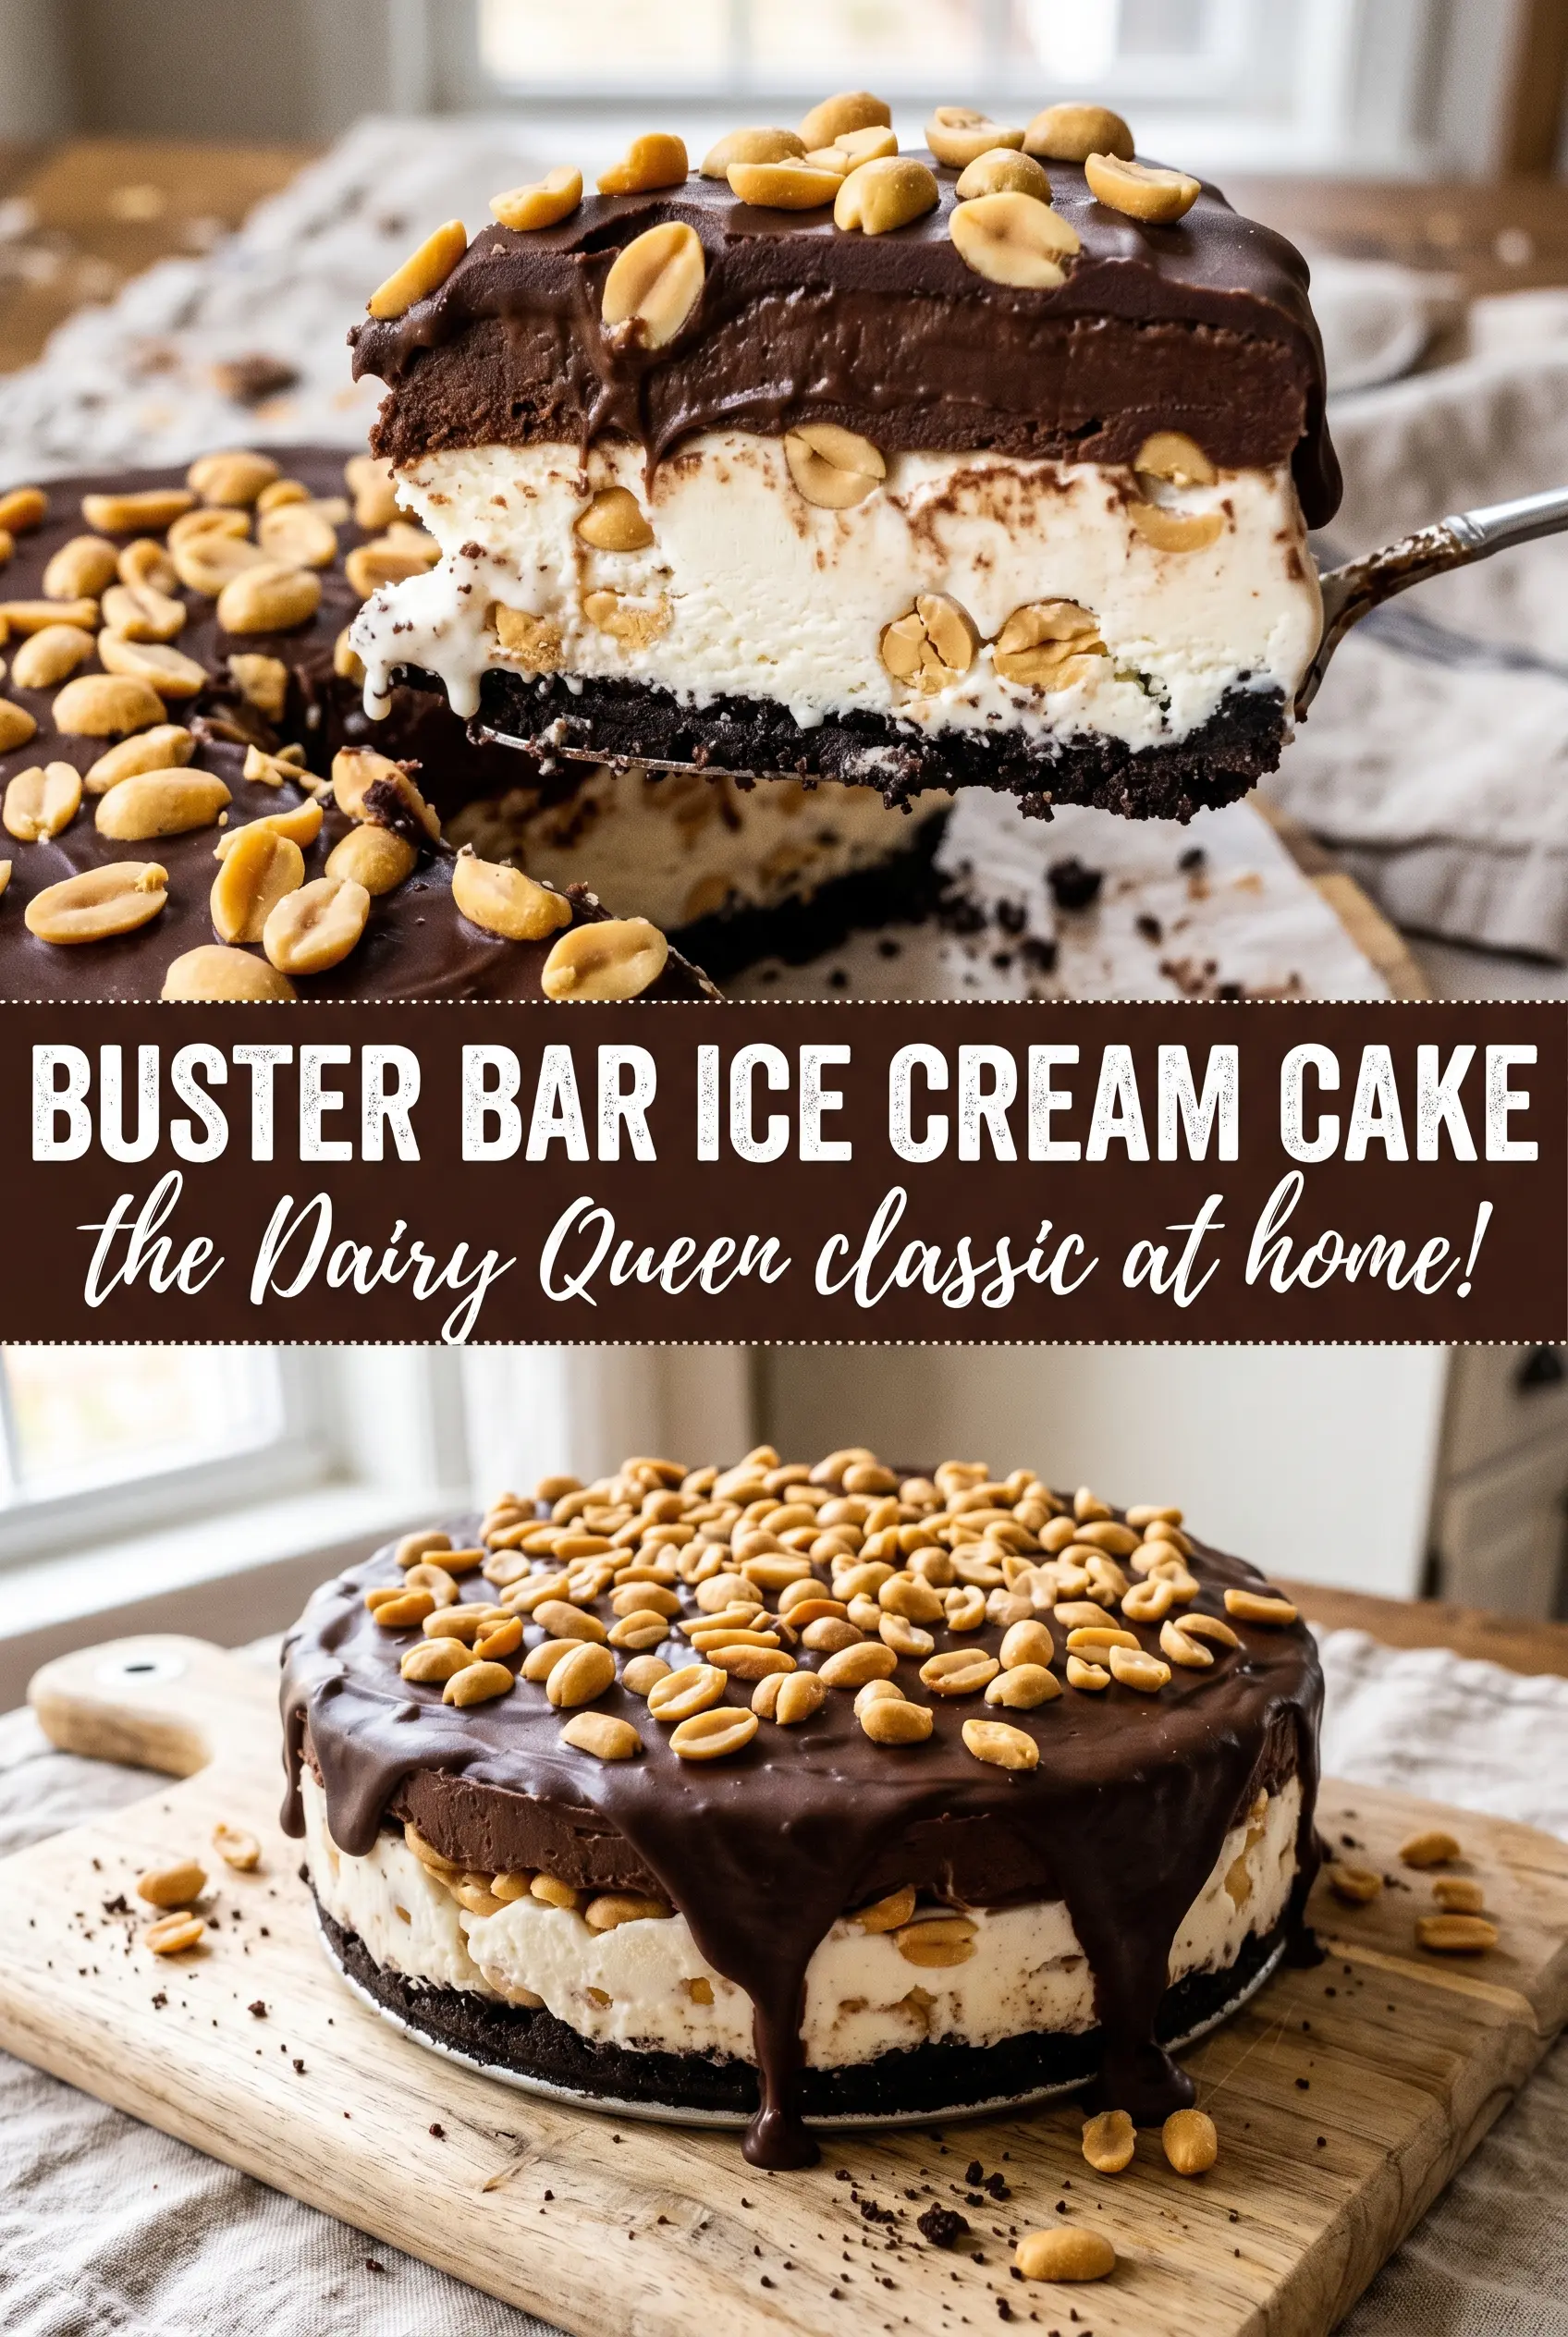
Cold, creamy slices with a crackly fudge-peanut top and a dark Oreo crust make this Buster Bar Ice Cream Cake the kind of dessert people remember long after the plates are cleared. It has the same salty-sweet balance as the Dairy Queen favorite, but in a party-sized version that cuts cleanly and holds its shape on the table. The best part is how each layer stays distinct: crunchy crust, soft vanilla ice cream, thick fudge, and peanuts in every bite.
The trick is keeping each layer firm before the next one goes on. Softened ice cream spreads without tearing up the crust, and the fudge only gets poured once it’s warm enough to move but not hot enough to melt straight through. Stirring half the peanuts into the fudge gives you that classic Buster Bar bite all the way through, instead of just sprinkling nuts on top and calling it done.
Below, you’ll find the small timing details that keep the layers neat, plus a few easy swaps if you want to make it ahead or change the pan shape.
The layers froze up perfectly and the fudge stayed thick instead of soaking into the ice cream. My kids said it tasted like the real DQ bar in cake form.
Save this Buster Bar Ice Cream Cake for a frozen dessert with layers that slice clean, freeze firm, and bring that chocolate-peanut crunch to every piece.
The Layer Order That Keeps This Cake Sliceable
Frozen ice cream cakes fail when one layer melts into the next before it has a chance to set. That’s why this one moves from crust to ice cream to fudge, with a freeze in between each major layer. The crust has to firm up first so the ice cream doesn’t sink into crumbs, and the fudge layer goes on only after the ice cream is fully frozen. If the ice cream is even a little soft at that stage, the hot fudge will cut through it instead of sitting neatly on top.
- Oreos — The cookie filling helps bind the crust, so you don’t need extra sugar. Crush them fine enough that the crust presses together without big dry chunks, but leave a little texture so it doesn’t turn sandy.
- Unsalted butter — This holds the crust together and adds richness. Salted butter works in a pinch, but the filling and peanuts already bring plenty of salt, so unsalted keeps the balance cleaner.
- Vanilla ice cream — Use a good-quality full-fat ice cream. Lower-fat versions freeze harder and iceier, which makes the center less creamy and harder to slice cleanly after a long freeze.
- Hot fudge sauce — Choose one that stays soft when warmed, not a thin chocolate syrup. You want a thick, glossy layer that sets up on the ice cream instead of running into it.
- Salted peanuts — The salt is part of what makes this taste like the original. Rough chopping gives you crunch in every bite without making the top impossible to cut.
- Whipped topping — It keeps the finished cake light on top and easy to spread over the frozen fudge layer. Homemade whipped cream can work, but it softens faster and won’t hold as long if the cake sits out.
What Each Ingredient Is Actually Doing in This Ice Cream Cake
- Base layer (cookies, cake, or graham cracker) — This provides structure and stability. Crushed and mixed with butter creates a firm foundation.
- Ice cream (the main star) — Use quality ice cream or make homemade. Softness matters for layering.
- Sauce or topping between layers (fudge, caramel, or fruit) — This adds moisture, flavor, and prevents dryness. Don’t skip this layer.
- Frosting or whipped cream (optional outer layer) — This prevents freezer burn and adds creaminess. Stabilized whipped cream works best.
- Freezing time (at least 4-6 hours) — This sets the layers so cake slices cleanly. Longer freezing prevents melting during serving.
- Room temperature before serving (5-10 minutes) — This softens the cake slightly for better texture. Serve immediately after thawing.
- Toppings (chocolate, nuts, cookies, or sprinkles) — These add visual appeal and texture. Add right before serving.
- Storage (in freezer at 0°F or below) — This prevents ice crystal formation and maintains quality. Cover with plastic wrap.
Building the Fudge Layer Without Melting the Ice Cream
Pressing the Crust Hard Enough
Mix the crushed Oreos with the melted butter until every crumb looks evenly coated, then press the mixture firmly into the pan. Use the bottom of a measuring cup or glass to pack it down, especially in the corners, because a loose crust breaks apart when you serve the cake. A 15-minute freeze gives the butter time to reset before the ice cream goes on.
Spreading the Ice Cream in One Clean Layer
Let the ice cream soften just until it’s spreadable, not soupy. If it gets too warm, it will glide around and pull up the crust; if it’s too cold, you’ll tear the crust trying to force it across the pan. Work quickly and smooth it into an even layer, then freeze until it’s firm all the way through.
Pouring the Fudge at the Right Temperature
Warm the fudge sauce just until it loosens and pours easily. You want it fluid, not hot, because heat is what melts the top of the ice cream and blurs the layers. Stir in the chopped peanuts after warming the sauce so they stay coated and evenly suspended instead of sinking.
Finishing and Freezing for Clean Slices
Spread the fudge-peanut mixture over the frozen ice cream layer, then freeze until it’s firm before adding the whipped topping. Once the topping and remaining peanuts are on, give the cake at least one last hour in the freezer so the top sets enough to slice without dragging. For the cleanest pieces, use a sharp knife dipped in hot water and wiped dry between cuts.
Cookie Crust Swap
If you don’t have Oreos, chocolate graham crackers work, but the crust will be a little lighter and less intense. You’ll need enough crumbs to make the same packed layer, and the result is less like a candy bar base and more like a classic icebox cake crust.
Dairy-Free Version
Use dairy-free vanilla ice cream, a vegan butter substitute for the crust, and a dairy-free hot fudge that stays pourable when warmed. The texture will still be creamy if you choose a rich coconut- or almond-based ice cream, but it may freeze a touch harder, so let the cake sit at room temperature a few minutes before slicing.
Nut-Free Version
Swap the peanuts for chocolate chips, chopped toffee, or extra Oreo crumbs if you need to avoid nuts. You lose the salty crunch that makes this taste like a Buster Bar, but the cake still keeps its layered fudge-and-vanilla character.
Make It in a Springform Pan
A 10-inch springform pan makes prettier slices and cleaner sides. Line the bottom with parchment if you want extra insurance, then release the ring after the cake has frozen solid; the shape is taller and more dramatic, but it needs a little more patience to set before serving.
Storage and Reheating
- Refrigerator: Don’t store this in the fridge. It softens fast and the layers collapse.
- Freezer: Keep tightly covered for up to 2 weeks for the best texture. After that, the crust can start to take on freezer flavor.
- Reheating: No reheating needed. Let slices sit at room temperature for 5 to 10 minutes before serving so the knife goes through the fudge layer without cracking it.
Answers to the Questions Worth Asking
Buster Bar Ice Cream Cake
Ingredients
Equipment
Method
- Combine crushed Oreo cookies and melted unsalted butter, then press firmly into a 9x13 pan or 10-inch springform to form an even layer. Freeze for 15 minutes to set the crust.
- Spread the softened vanilla ice cream over the frozen crust, smoothing the top with an even thickness. Freeze for 3 hours until the surface feels set.
- Warm the hot fudge sauce until it becomes pourable, then stir in 1 cup of the salted peanuts. Keep it warm enough to spread smoothly.
- Pour the fudge-peanut mixture over the frozen ice cream and spread evenly to the edges. Freeze for 2 hours, until the fudge layer is firm.
- Top the cake with whipped topping and scatter the remaining peanuts over the top for a crunchy, peanut-studded finish. Freeze for 1 hour before serving so the cake slices cleanly.