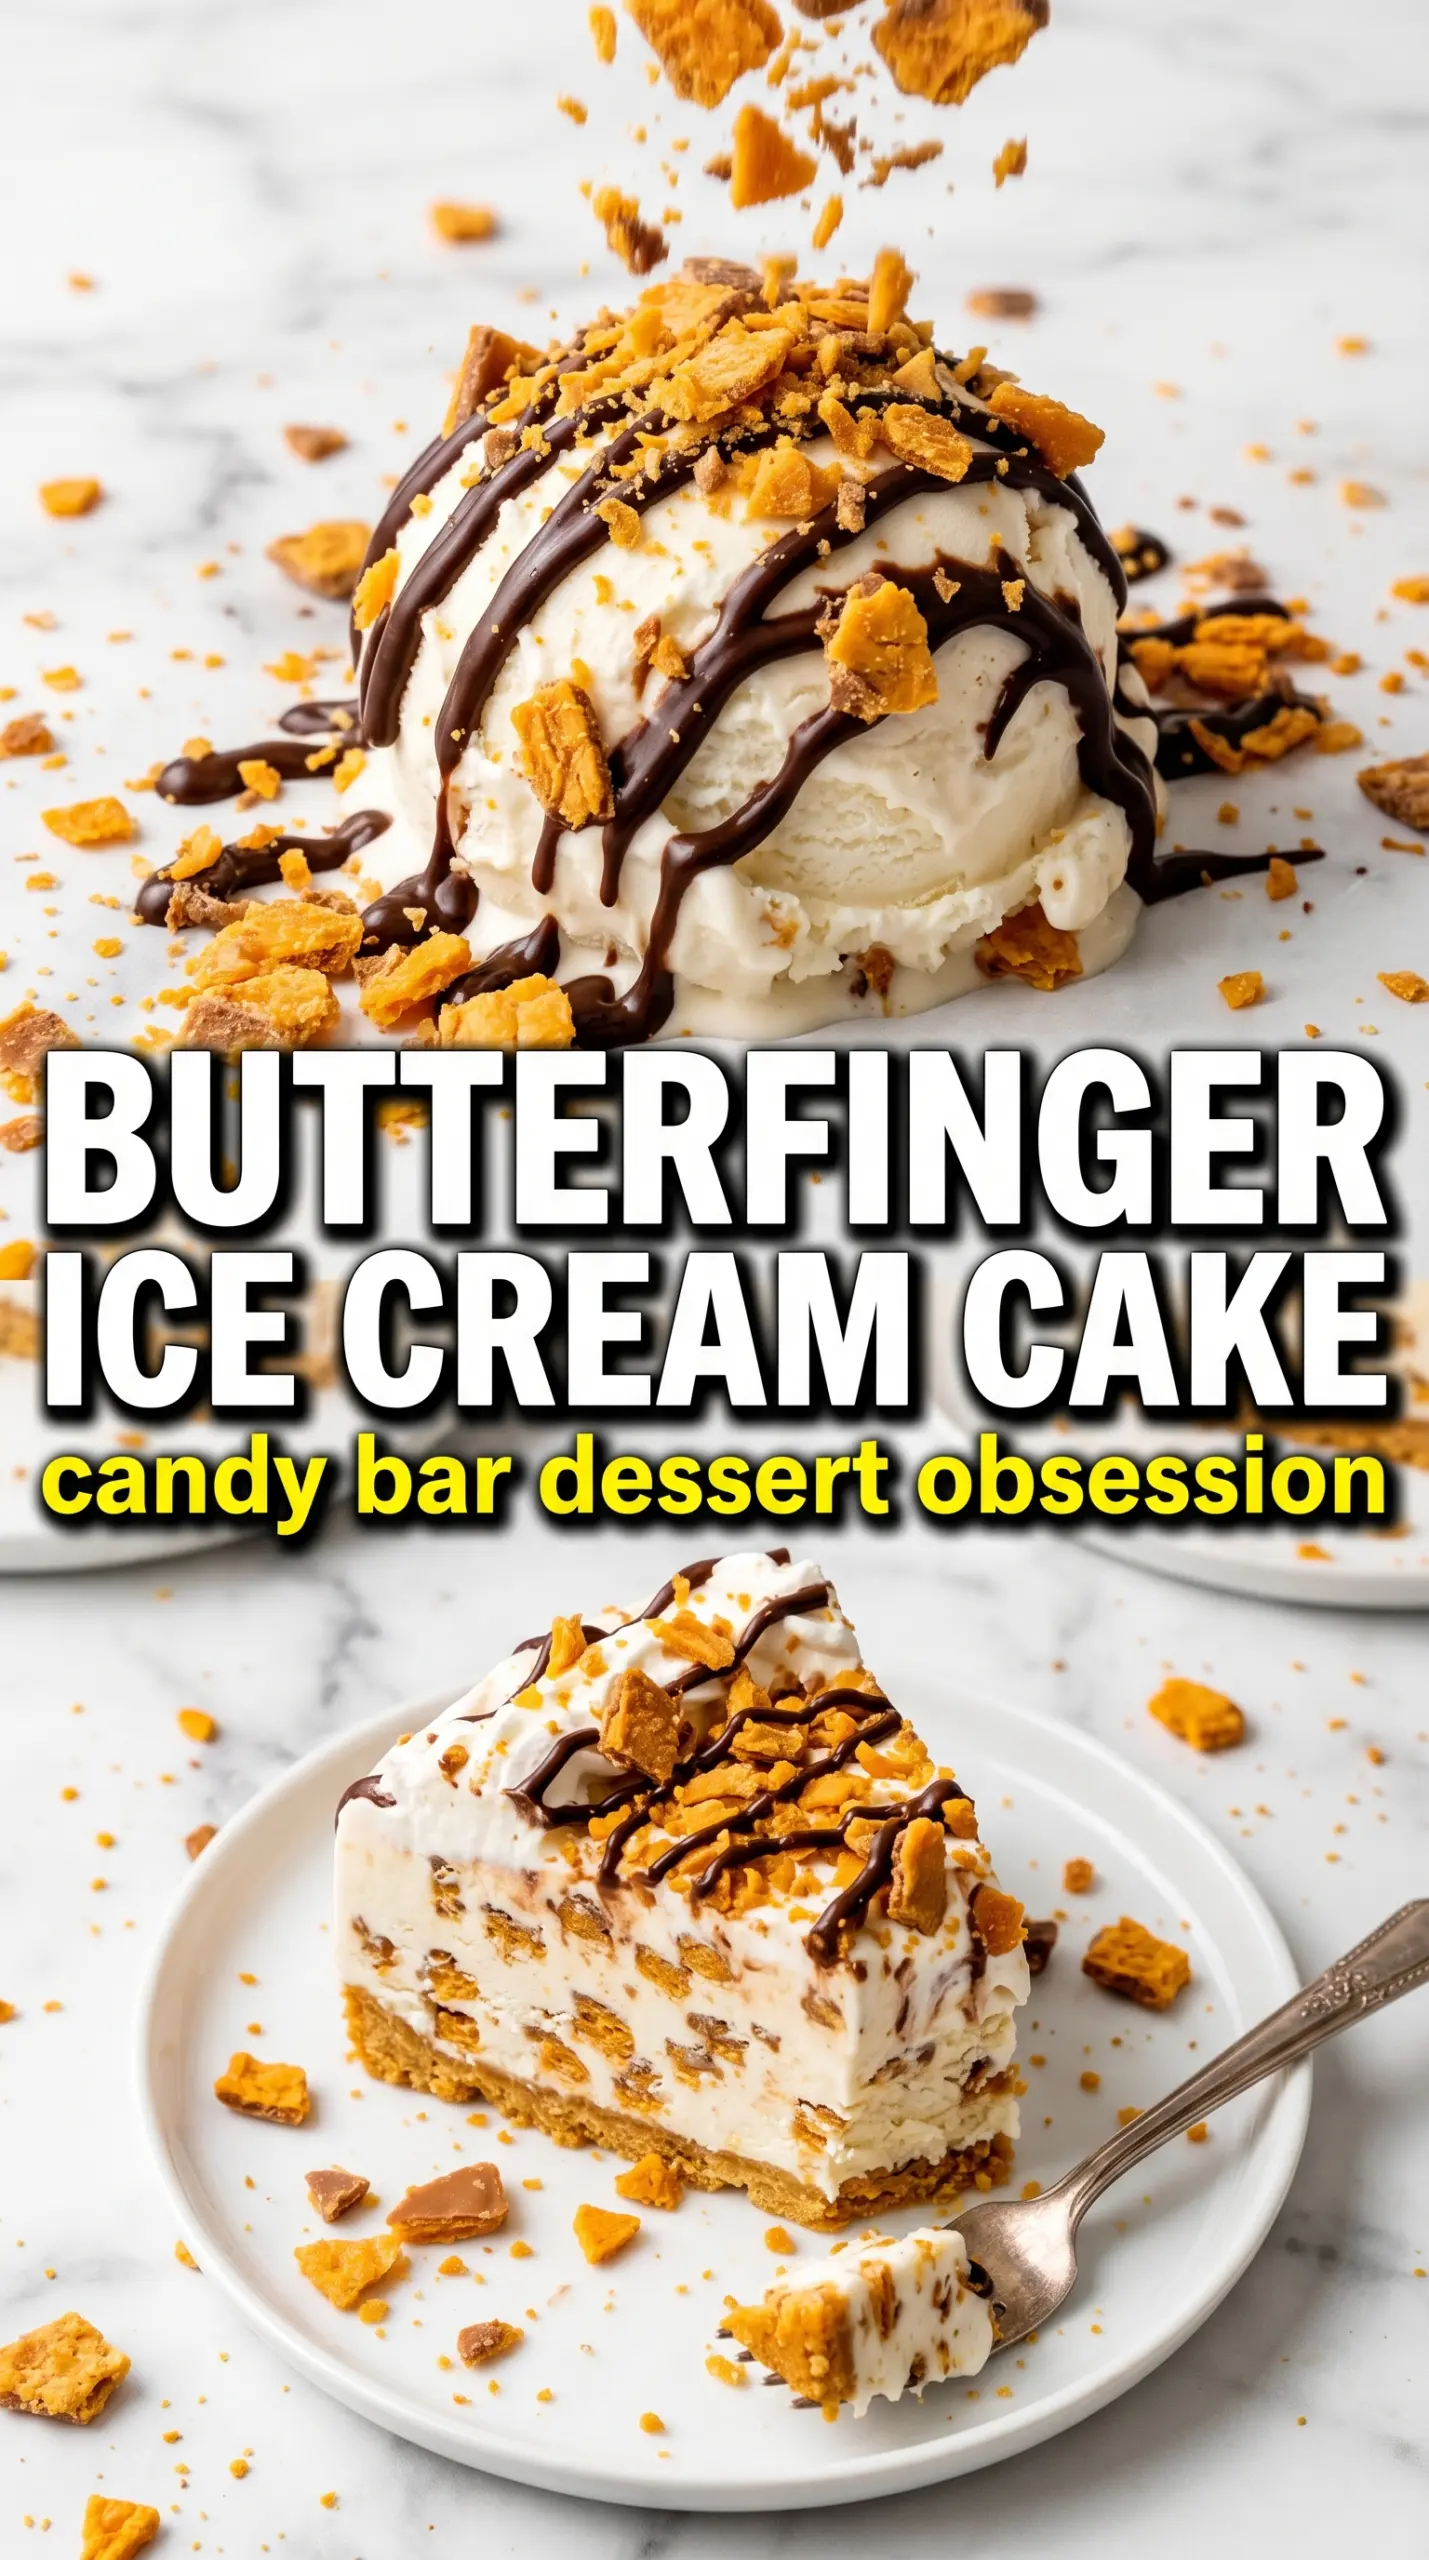
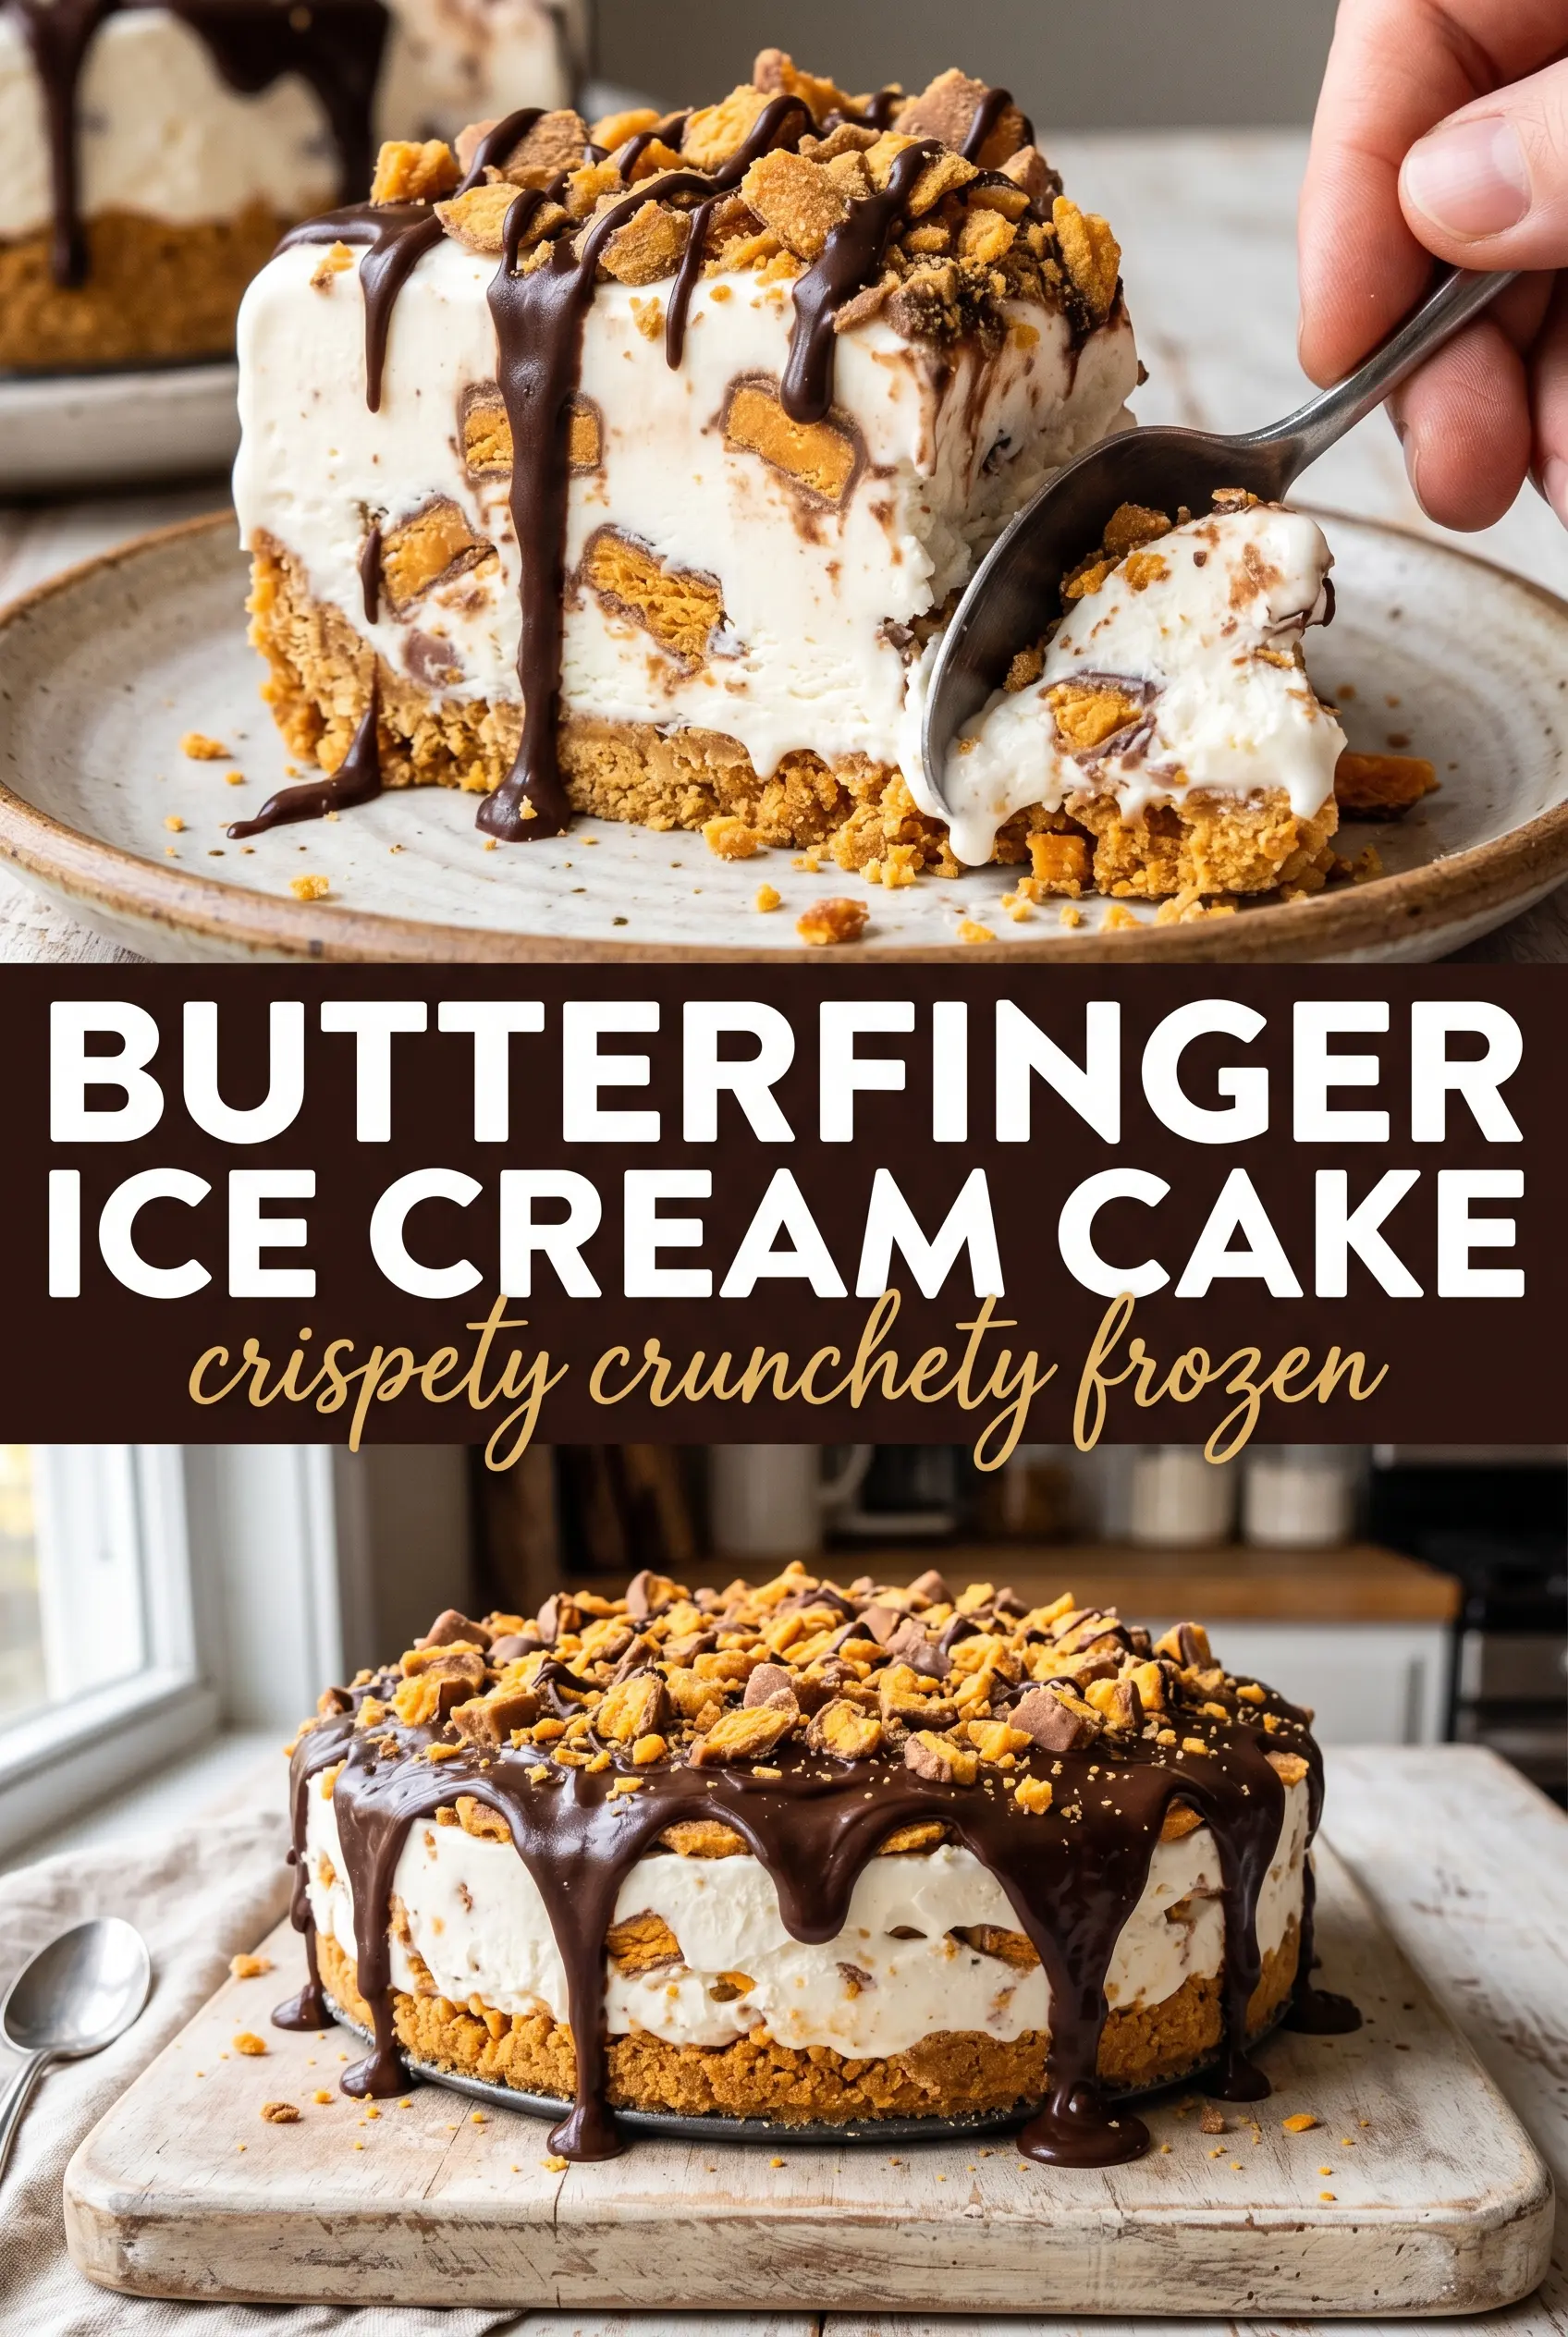
Creamy vanilla ice cream, a chocolate cookie crust, and those unmistakable Butterfinger shards make this cake the kind of dessert people remember after the plates are cleared. The texture is what gets everyone: cold and smooth in the middle, crunchy at the edges, with peanut butter ribbons that cut through the sweetness instead of letting it turn flat. It slices cleanly after a proper freeze and holds onto that candy-bar crunch instead of melting into a generic frozen dessert.
The key is working fast and keeping the ice cream soft enough to spread without being soup. Crushed Butterfingers go into the filling, not just on top, so every slice has that orange, peanut-buttery crunch all the way through. The warmed peanut butter matters too; cold peanut butter will tear the ice cream as you try to swirl it. A chocolate ganache finish gives the top a neat, glossy layer that sets against the whipped topping and candy.
Below you’ll find the small details that make this cake slice well instead of slump, plus the swap I use when I want a slightly saltier crust or a more peanut-forward finish.
The ice cream layer stayed creamy, the Butterfinger stayed crunchy, and the peanut butter swirl gave each slice that candy bar taste without making it greasy.
Save this Butterfinger Ice Cream Cake for the days when you want a frozen dessert with a chocolate crust, peanut butter swirl, and crunchy candy in every slice.
The Part That Keeps the Layers from Turning Muddy
The failure point in a candy ice cream cake is usually the filling. If the ice cream is too soft, the Butterfinger pieces sink and the peanut butter streaks disappear into the base. If it’s too hard, you’ll tear the crust and end up with ragged layers instead of clean ones. The sweet spot is softened enough to fold, but still thick and spoonable.
The other thing that matters here is restraint. The ice cream should be spread in one thick layer, then swirled once with the peanut butter. Overmixing turns the cake into beige ice cream with candy bits, and that’s not what you want. The distinct layers are what give each slice that bakery-style look when you cut into it.
- Softened vanilla ice cream — Let it sit just until a spoon can move through it easily. If it melts around the edges, it will freeze with icy patches and won’t hold the Butterfinger pieces evenly.
- Butterfinger bars — Crush them in uneven pieces, not powder. Larger shards keep the crunchy candy-bar bite alive after freezing.
- Peanut butter — Warm it just enough to drizzle. Thin, pourable peanut butter swirls through the ice cream cleanly; thick peanut butter drags and clumps.
- Chocolate wafer crust — Oreos or plain chocolate wafers both work. Oreo filling makes the crust sweeter and a little softer, while plain wafers give you a drier, firmer base.
What Each Ingredient Is Actually Doing in This Ice Cream Cake
- Base layer (cookies, cake, or graham cracker) — This provides structure and stability. Crushed and mixed with butter creates a firm foundation.
- Ice cream (the main star) — Use quality ice cream or make homemade. Softness matters for layering.
- Sauce or topping between layers (fudge, caramel, or fruit) — This adds moisture, flavor, and prevents dryness. Don’t skip this layer.
- Frosting or whipped cream (optional outer layer) — This prevents freezer burn and adds creaminess. Stabilized whipped cream works best.
- Freezing time (at least 4-6 hours) — This sets the layers so cake slices cleanly. Longer freezing prevents melting during serving.
- Room temperature before serving (5-10 minutes) — This softens the cake slightly for better texture. Serve immediately after thawing.
- Toppings (chocolate, nuts, cookies, or sprinkles) — These add visual appeal and texture. Add right before serving.
- Storage (in freezer at 0°F or below) — This prevents ice crystal formation and maintains quality. Cover with plastic wrap.
Building the Crust, Filling, and Finish Without Ruining the Texture
Pressing in the crust
Mix the crushed cookies with melted butter until every crumb looks damp, then press the mixture firmly into the bottom of a 9-inch springform pan. Use the bottom of a measuring cup to compact it; a loose crust falls apart when you slice the cake. A 15-minute freeze is enough to set the butter so the ice cream layer doesn’t slide around on top.
Folding in the candy
Stir three crushed Butterfinger bars into the softened ice cream just until the candy is distributed. Don’t beat it hard or you’ll deflate the ice cream and leave streaks where it starts to melt. Spread it over the crust in an even layer, pushing it to the edges so the cake slices cleanly later.
Swirling the peanut butter
Warm the peanut butter until it loosens and drizzles, then trail it over the ice cream in ribbons. Use a knife or skewer for just a few gentle turns. If you swirl too much, the peanut butter disappears into the ice cream; if you leave it completely untouched, you get clumps instead of a ribboned layer.
Finishing the top and freezing fully
Let the cake freeze until firm before adding the ganache, then spread the chocolate over the top and finish with the remaining Butterfinger pieces and whipped topping. The final two hours of freezing matter just as much as the first four; that’s what sets the top layer so it doesn’t smear when sliced. For the cleanest cut, run a knife under hot water and wipe it dry between slices.
How to Change the Cake Without Losing the Crunch
Use a chocolate cookie crust for a deeper base
Oreos give the crust a sweeter, darker flavor that plays well with the Butterfinger filling. If you want a less sweet base, use plain chocolate wafers so the candy and ganache stay in front.
Swap in almond butter for a less peanut-forward finish
Almond butter works if you want a milder nutty note, but it won’t taste like the classic candy-bar version. Warm it first, because thick nut butter will drag through the ice cream instead of ribboning across it.
Make it gluten-free with certified gluten-free cookies
The filling is naturally gluten-free as long as your Butterfinger bars are the variety you trust and your cookie base is certified gluten-free. The texture stays the same; the only thing that changes is the crust flavor.
Turn it into an ice cream pie in a pie dish
Press the crust into a deep pie plate instead of a springform pan and keep the filling layer a little shallower. It still freezes beautifully, but the slices will be wider and a little less towering than the round cake version.
Storage and Freezing
- Freezer: Keep the cake covered tightly for up to 2 weeks. After that, the ice cream still tastes fine, but the cookie crust starts to pick up freezer smell.
- Serving: Let it sit at room temperature for 8 to 10 minutes before slicing. If you cut it straight from the freezer, the crust can crack and the knife will drag the ganache.
- Leftovers: Wrap individual slices so they freeze back in neat portions. That keeps the top from getting scraped up every time someone opens the pan.
Answers to the Questions Worth Asking
Butterfinger Ice Cream Cake
Ingredients
Equipment
Method
- Combine crushed cookies and melted butter, then press the mixture firmly into a 9-inch springform pan. Freeze for 15 minutes so it sets.
- Fold 3 crushed Butterfinger bars into the softened vanilla ice cream, then spread it over the crust. Press gently to level the top.
- Drizzle the warmed peanut butter over the ice cream and swirl gently to create ribbons. The surface should show distinct peanut butter streaks.
- Freeze the cake for 4 hours until firm. It should slice with clean edges.
- Pour the chocolate ganache over the top evenly so it coats the surface. Use a spoon to smooth any thick spots.
- Top with the remaining crushed Butterfingers and whipped topping for a crunchy, layered finish. The orange crumbles should be visible on top.
- Freeze for 2 more hours before slicing and serving. Chilled firmness helps keep the candy and ganache from shifting.