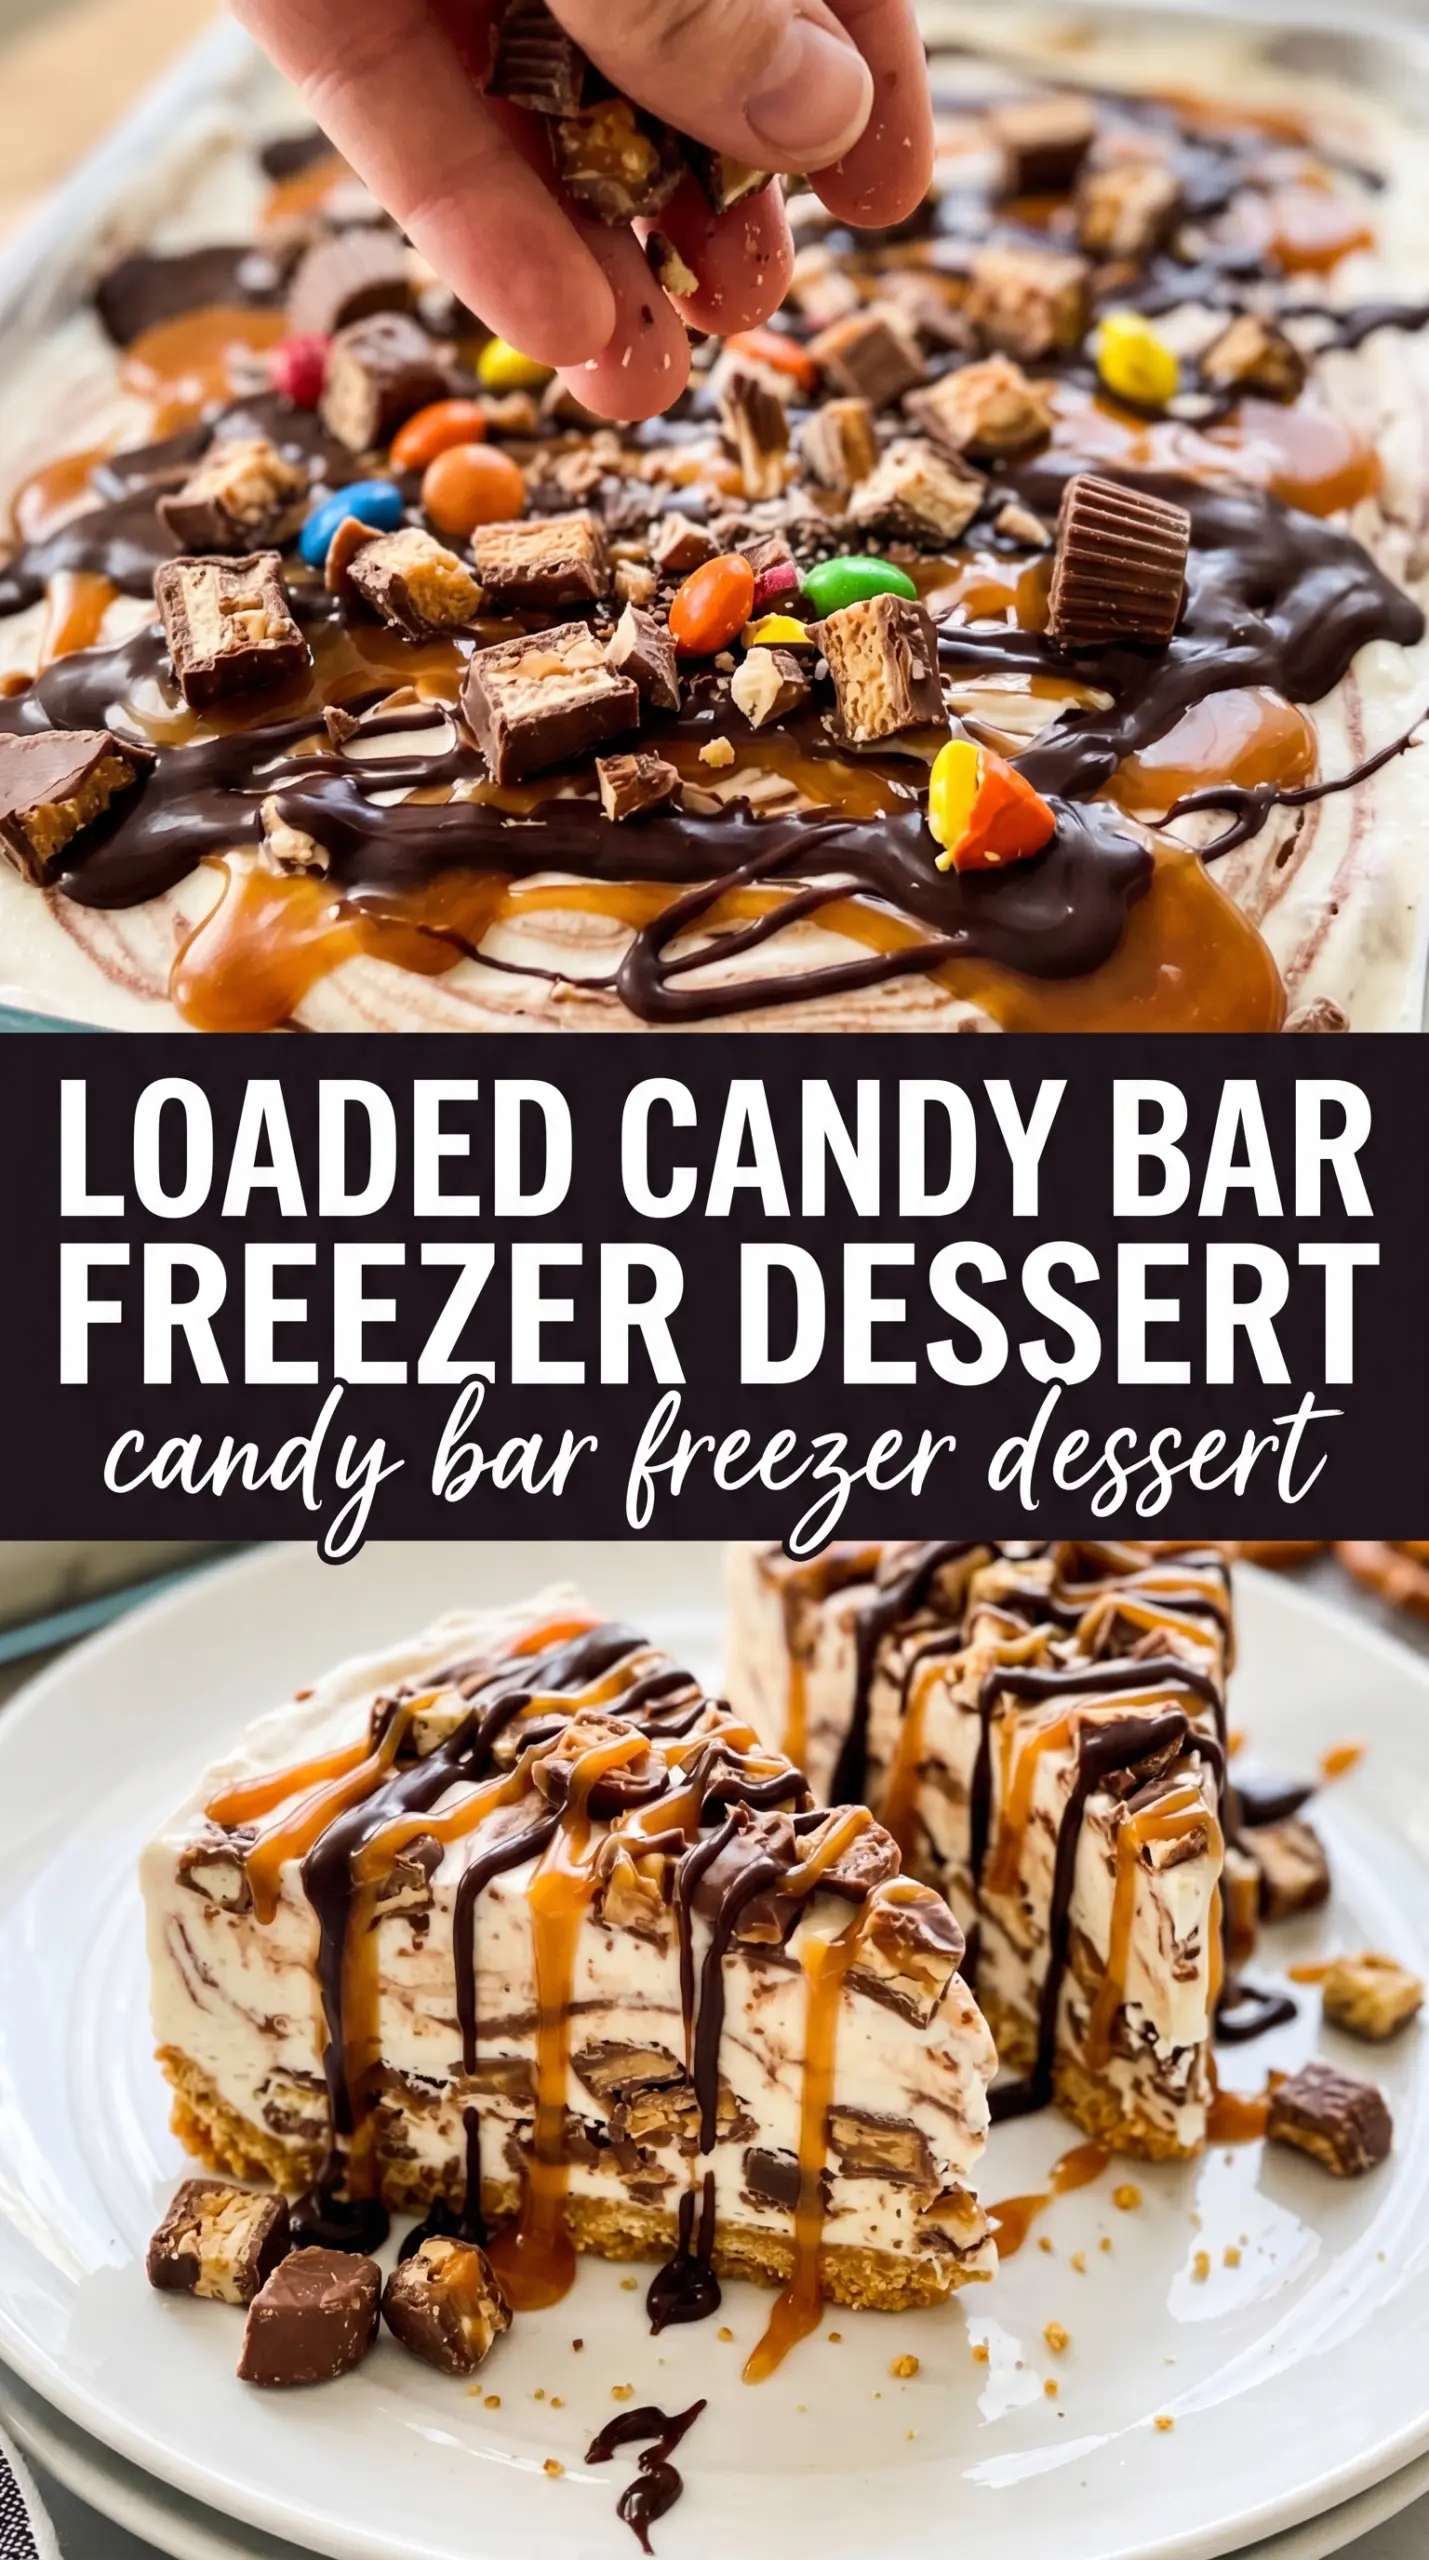
A candy bar freezer dessert is the kind of pan dessert that disappears fast because every slice hits the same sweet spot: a crunchy Oreo crust, creamy vanilla ice cream, ribbons of caramel, and chunks of candy bar in every bite. It’s cold, rich, and a little nostalgic in the best way, with enough texture that it never tastes flat or one-note.
What makes this version work is the balance between softened ice cream and chopped candy bars. The ice cream needs to be soft enough to fold, not melted, so the caramel stays swirled through the base instead of sinking to the bottom. The crust gets a short freeze before the filling goes in, which keeps the layers clean and helps the dessert slice instead of slump.
You’ll find the exact freezing times below, plus the small details that keep the candy bars from turning into a sticky blur. There’s also a storage note worth reading if you want to make it ahead for a party without losing that crisp crust.
The crust stayed firm, the caramel didn’t get icy, and every slice had actual chunks of Snickers and Kit Kat. I made it the night before a cookout and it cut beautifully after the last freeze.
Pin this candy bar freezer dessert for the next potluck when you need a no-bake pan dessert packed with caramel, Oreos, and chunks of real candy bars.
The Secret to Clean Slices Is the Final Freeze, Not the Filling
The biggest mistake with a dessert like this is rushing the layers. If the crust is still soft when the ice cream goes in, the bottom turns muddy instead of staying defined. If the ice cream is too melted, the candy pieces sink and the whole pan freezes into a dense block instead of a scoopable dessert.
The rhythm matters here: press the crust, freeze it briefly, then spread in the filling while it’s soft enough to move but still holds body. That middle ground is what keeps the candy bars suspended in the ice cream instead of streaking through it. The last two hours in the freezer matter just as much as the first four, because that’s what gives you neat squares and firm scoops.
What the Candy Bars and Ice Cream Are Doing Here
- Vanilla ice cream — This is the base that carries everything. Use a good standard vanilla with enough fat to stay creamy after freezing; the bargain tub works fine here because the candy and caramel do most of the heavy lifting.
- Caramel sauce — The caramel adds chew and keeps the filling from tasting like straight ice cream. A thick store-bought sauce is ideal because it folds in without disappearing; thin ice cream topping can bleed into the base and freeze icier.
- Oreos and butter — This crust is fast and dependable. The butter should be just enough to hold the crumbs together when pressed; if it looks greasy, there’s too much and the crust will freeze hard instead of cutting cleanly.
- Mixed candy bars — Use a mix with different textures. Snickers gives chew, Butterfingers add crunch, Kit Kats bring wafer crispness, and Milky Ways melt into softer caramel pockets. Chop them roughly so you still get distinct pieces in each bite.
- Whipped topping — This gives the top a lighter finish and helps the candy pieces sit on the surface instead of sliding around. Homemade whipped cream can work, but it softens faster and won’t hold as long in the freezer.
Building the Layers So the Dessert Stays Scoopable
Pressing and Freezing the Crust
Mix the crushed Oreos with the melted butter until the crumbs look evenly damp, then press them firmly into the bottom of a 9×13 pan. Use the bottom of a measuring cup to pack the crust tight, especially in the corners, because loose crumbs break apart when you scoop. A 15-minute freeze gives the butter time to set, which keeps the crust from mixing into the ice cream layer.
Folding in the Candy Without Melting the Base
Let the ice cream soften on the counter until it yields to a spoon but still feels cold in the center. Stir in the caramel and about half of the chopped candy bars with a spatula, not a mixer, so you keep the texture instead of beating in air. If the ice cream gets slushy, the filling will freeze grainy and the candy will sink.
Spreading, Topping, and Freezing Again
Spread the filling over the crust in an even layer and work quickly so it doesn’t start melting into the base. Freeze until firm, then add the whipped topping and scatter the remaining candy pieces generously over the top. The final freeze matters because it locks the topping in place and gives you clean cuts instead of a soft, sticky top layer.
Three Ways to Adapt This Candy Bar Freezer Dessert
Make it gluten-free with one crust swap
Use certified gluten-free chocolate sandwich cookies in place of Oreos, then keep the rest of the recipe the same. The crust will still set firmly, and the filling stays unchanged. Just check the candy bars too, since a few brands use wafers or cookie bits that contain gluten.
Turn it into a peanut-heavy version
Swap some of the mixed bars for chopped peanut butter cups or extra Snickers. That makes the dessert a little saltier and richer, with a more pronounced peanut note. If you go heavier on peanut butter cups, cut the caramel back a touch so the filling doesn’t turn overly sweet.
Use a dairy-free frozen dessert base
A dairy-free vanilla frozen dessert works here as long as it softens cleanly and refreezes well. Pick a brand with a creamy texture, not one that gets icy straight from the container, because the filling is only as smooth as the base underneath it. Use dairy-free whipped topping if needed and keep the freezing time the same.
Make it ahead for a party without losing the crust
This dessert is built for advance prep. Assemble it the day before, then keep it covered in the freezer until serving time. If you’re topping it with extra candy, add a handful right before serving so the pieces stay crisp and don’t get frosty.
Storage and Reheating
- Refrigerator: Not recommended. This dessert softens too quickly and the layers lose their shape.
- Freezer: Keeps well for up to 2 weeks when tightly covered. After that, the candy starts to lose texture and the top can pick up freezer flavor.
- Reheating: No reheating needed. Let it sit at room temperature for 8 to 10 minutes before slicing so the knife goes through the crust cleanly instead of cracking it.
Answers to the Questions Worth Asking
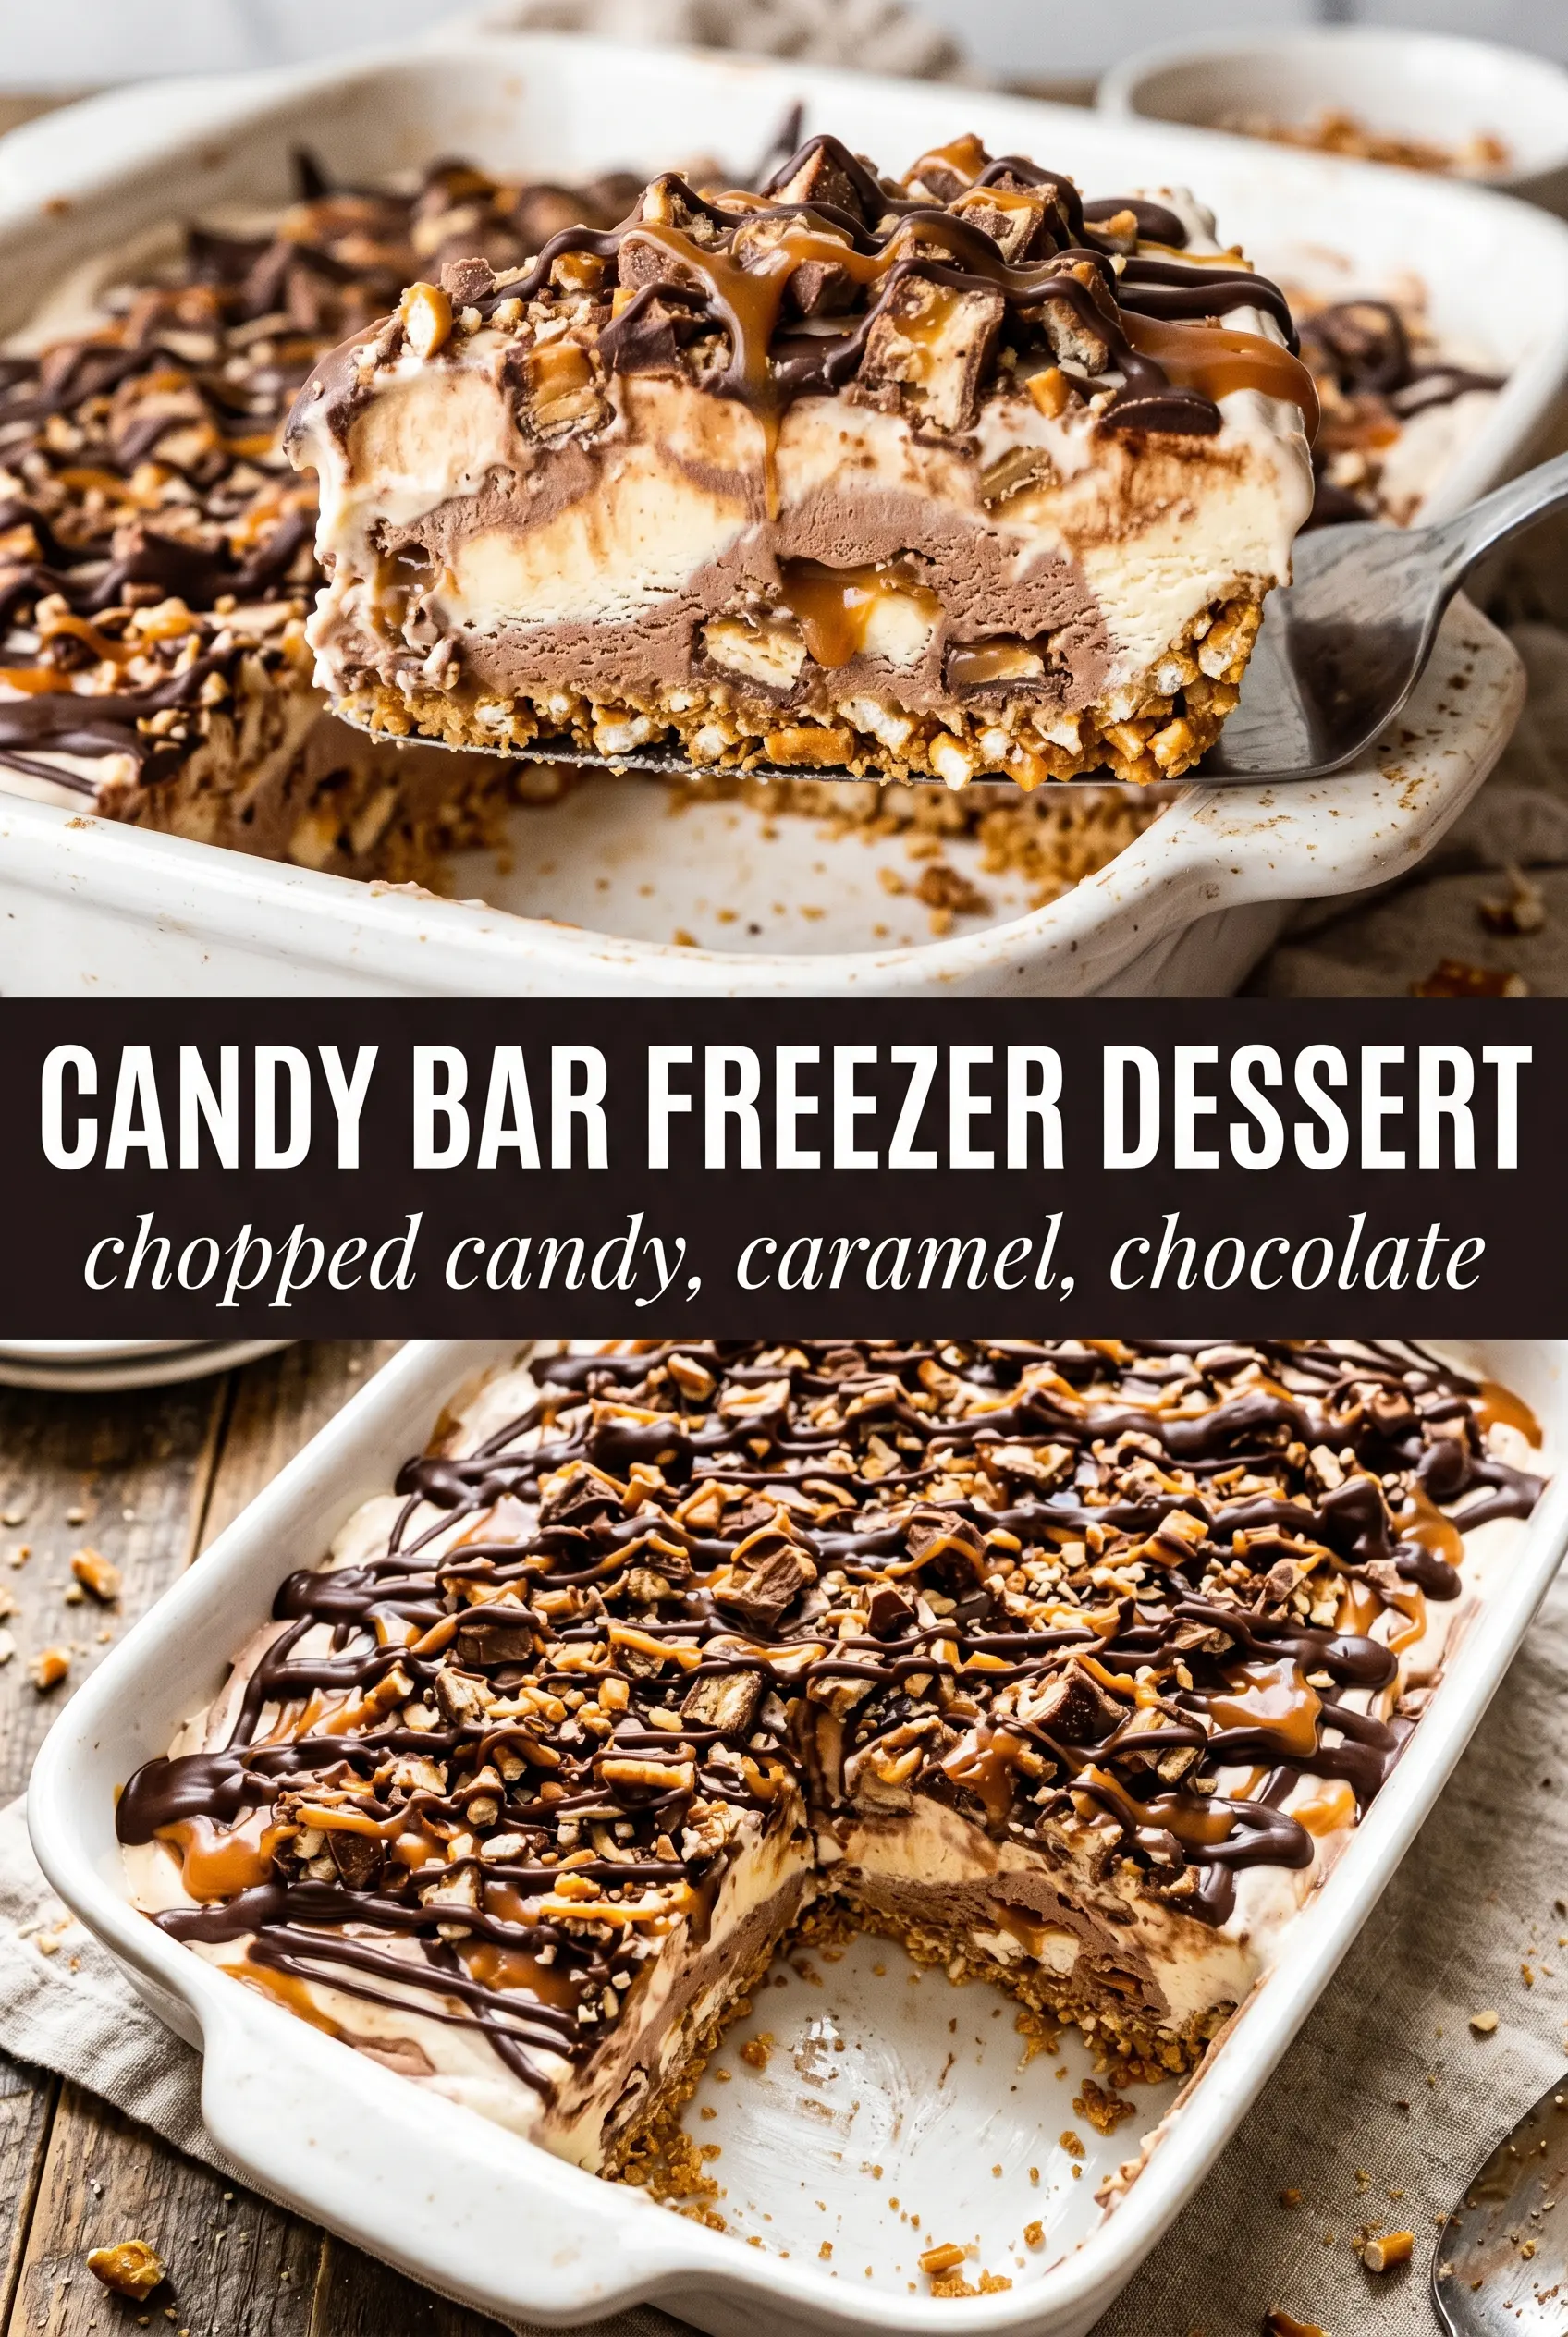
Candy Bar Freezer Dessert
Ingredients
Equipment
Method
- Combine crushed Oreos and melted butter, then press firmly into a 9x13 pan for an even layer. Freeze for 15 minutes until set.
- Fold 1-1/2 cups chopped mixed candy bars and caramel sauce into softened vanilla ice cream until evenly streaked with caramel and candy pieces. Keep the ice cream workable so it spreads without tearing.
- Spread the candy ice cream over the chilled Oreo crust in a smooth, even layer. Return to the freezer to firm up.
- Freeze for 4 hours until completely firm and scoopable. The surface should hold its shape when pressed gently.
- Spread the whipped topping over the top in an even coat. Cover all edges so no crust shows through.
- Arrange the remaining candy bar pieces generously across the top. Press lightly so the pieces adhere.
- Freeze for 2 more hours before scooping. Slice and scoop straight from the freezer for clean cuts.