Glossy whole berry cranberry sauce with a bright orange edge is the kind of canned good that earns its shelf space fast. It sets up with enough body to spoon cleanly onto turkey, biscuits, yogurt, or a holiday cheese board, but it still keeps that loose, jammy texture that makes cranberry sauce worth opening in the first place. When the jars seal properly, you get a pantry shelf full of ready-made color and flavor with almost no last-minute work.
This version leans on orange juice and zest instead of plain water alone, which gives the sauce more depth without turning it heavy. Bottled lemon juice is the quiet insurance policy here; in canning, acidity isn’t optional, and using the bottled kind keeps the batch consistent and safe. The sugar isn’t just for sweetness either. It helps the sauce set, balances the tart berries, and keeps the finished texture glossy instead of sharp and thin.
Below you’ll find the timing that keeps the berries intact without overcooking them, plus the jar-filling details that matter when you’re canning something this thick. If you’ve ever ended up with cranberry sauce that was either runny or too jammy to spoon, this method lands in the middle where it should.
The sauce thickened up beautifully and the orange zest made the whole batch taste fresh, not flat. I had five half-pints seal on the first try.
Save this canned cranberry sauce for a bright, glossy batch of half-pint jars that seals cleanly and tastes fresh all year.
The Part That Keeps Cranberry Sauce from Turning Gluey in the Jar
Cranberry sauce can cross from spoonable to pasty fast if you cook it down too far before it ever reaches the canner. The berries need enough time to burst and release their natural pectin, but not so much time that the mixture reduces into a stiff preserve before processing. Once it thickens enough to coat a spoon and the bubbles slow from sharp pops to a softer simmer, it is ready for the jars.
The other piece people miss is headspace. Because this sauce expands and then settles as it processes, a full jar is a failed jar waiting to happen. Leave that 1/4-inch space, wipe the rims carefully, and don’t overtighten the bands. Finger-tight is enough. The canner will do the rest.
What Each Ingredient Is Actually Doing in This Batch
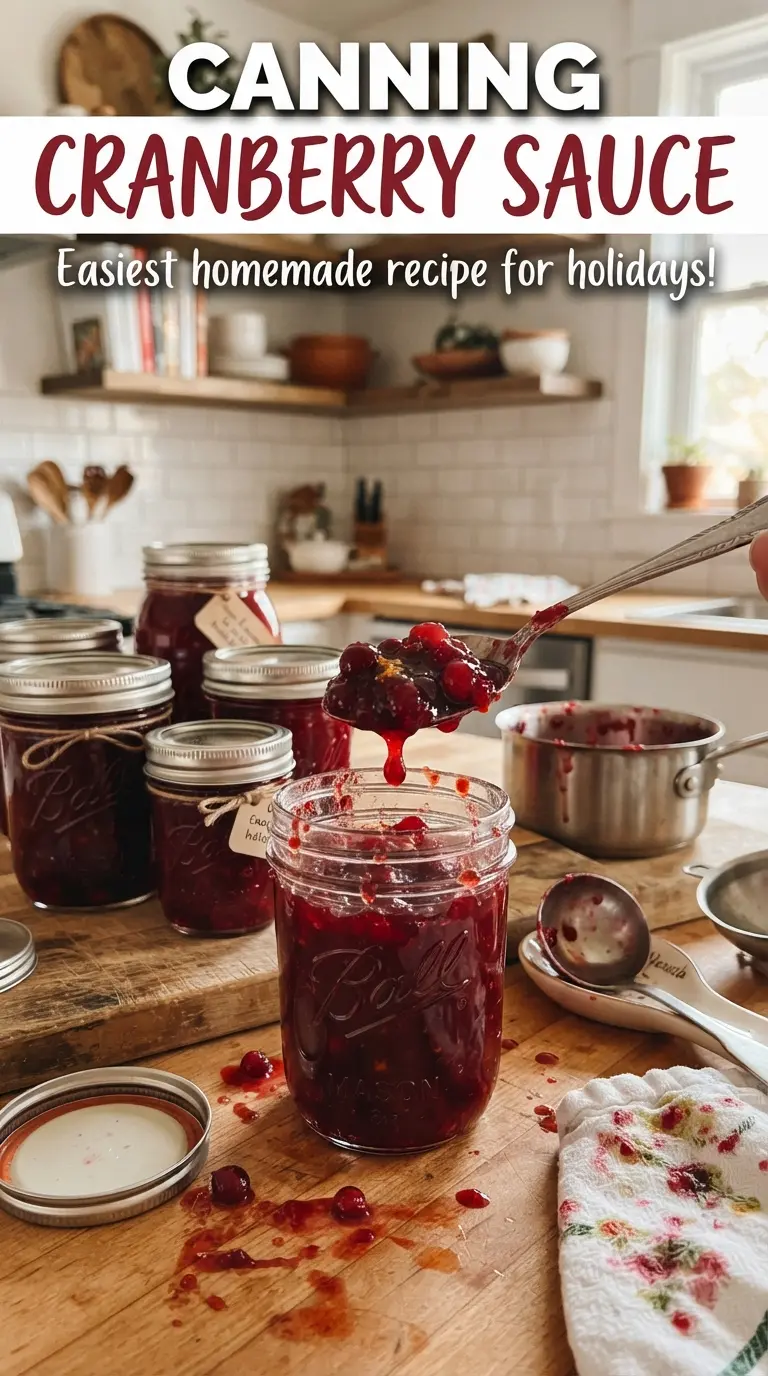
- Fresh cranberries — These are the body of the sauce and the reason it sets with that signature whole-berry texture. Frozen cranberries work too if that’s what you have, and you can use them straight from frozen; don’t thaw them first or they’ll soften before the syrup has a chance to thicken around them.
- Sugar — This balances the tart berries and helps the sauce finish glossy instead of harsh. You can reduce it a little for a less sweet sauce, but don’t cut it dramatically or the texture and finished yield will change enough to make the batch less predictable.
- Water and orange juice — Water gives the berries room to cook, while orange juice adds flavor that plain water can’t fake. If your orange juice is very sweet, the sauce will lean softer and sweeter; if you only have water, the sauce will still can safely, but it will taste flatter.
- Bottled lemon juice — This is the acid that keeps the recipe in safe canning range. Fresh lemon juice isn’t the best choice here because bottled juice has a consistent acidity that matters in a preserved recipe.
- Orange zest — Add it at the end so the oils stay bright instead of cooking off. The zest is what gives the sauce that fresh citrus note after the jar has been opened, and that’s the part you miss if you skip it.
Getting the Boil, the Fill, and the Seal in the Right Order
Heating the Syrup First
Start by bringing the sugar, water, and orange juice to a full boil and stir until every grain of sugar is dissolved. If the sugar is still sandy when the cranberries go in, it tends to settle and scorch on the bottom. A smooth syrup gives the berries an even start and keeps the finished sauce from tasting cooked-on at the base of the pot.
Cooking the Cranberries Until They Burst
Add the cranberries and lemon juice, then keep the boil gentle enough that the pot doesn’t foam wildly over. You’ll hear the berries pop as they split, and that sound tells you the pectin is working. Cook 10 to 12 minutes, just until the sauce thickens and most berries have burst; if you push it much longer, the sauce can tighten too much once it cools in the jar.
Jarring While It’s Still Hot
Stir in the orange zest off heat, then ladle the sauce into hot jars. Hot sauce into hot jars is important here because a big temperature swing can stress the glass and lead to poor seals. Leave 1/4-inch headspace, wipe the rims with a clean damp cloth, and center the lids before tightening the bands fingertip tight.
Processing and Cooling Without Disturbance
Process the jars in a boiling water bath canner for 15 minutes, adjusting for altitude as needed. When the timer ends, turn off the heat and let the jars rest in the canner for 5 minutes before lifting them out. That short rest helps prevent siphoning; if you rush the transfer, the sauce can bubble out under the lids and leave you with weak seals. Set the jars on a towel and don’t move them for 24 hours.
How to Adjust This Batch Without Losing the Texture
Make it a little less sweet
You can trim the sugar slightly if you prefer a sharper cranberry flavor, but don’t cut it in half. The sugar isn’t only for sweetness; it also supports the glossy finish and helps the sauce hold its spoonable texture after processing.
Use all orange juice for a brighter batch
If you want a stronger citrus note, replace part of the water with a little more orange juice, but keep the total liquid the same. The sauce will taste more rounded and fragrant, though it may finish a touch sweeter.
Make a small-batch freezer version instead of canning
If you aren’t planning to process jars, cook the sauce the same way and let it cool before freezing in containers with headspace. The texture will stay a little looser after thawing, but the flavor holds well and the orange zest stays bright.
Storage and Reheating
- Refrigerator: Opened jars keep up to 2 weeks once chilled. The sauce will thicken more in the cold.
- Freezer: If you choose not to can it, cranberry sauce freezes well for up to 3 months in freezer-safe containers.
- Reheating: Warm gently over low heat or in short microwave bursts. High heat can make the sauce separate and can scorch the sugars at the edges.
Answers to the Questions Worth Asking
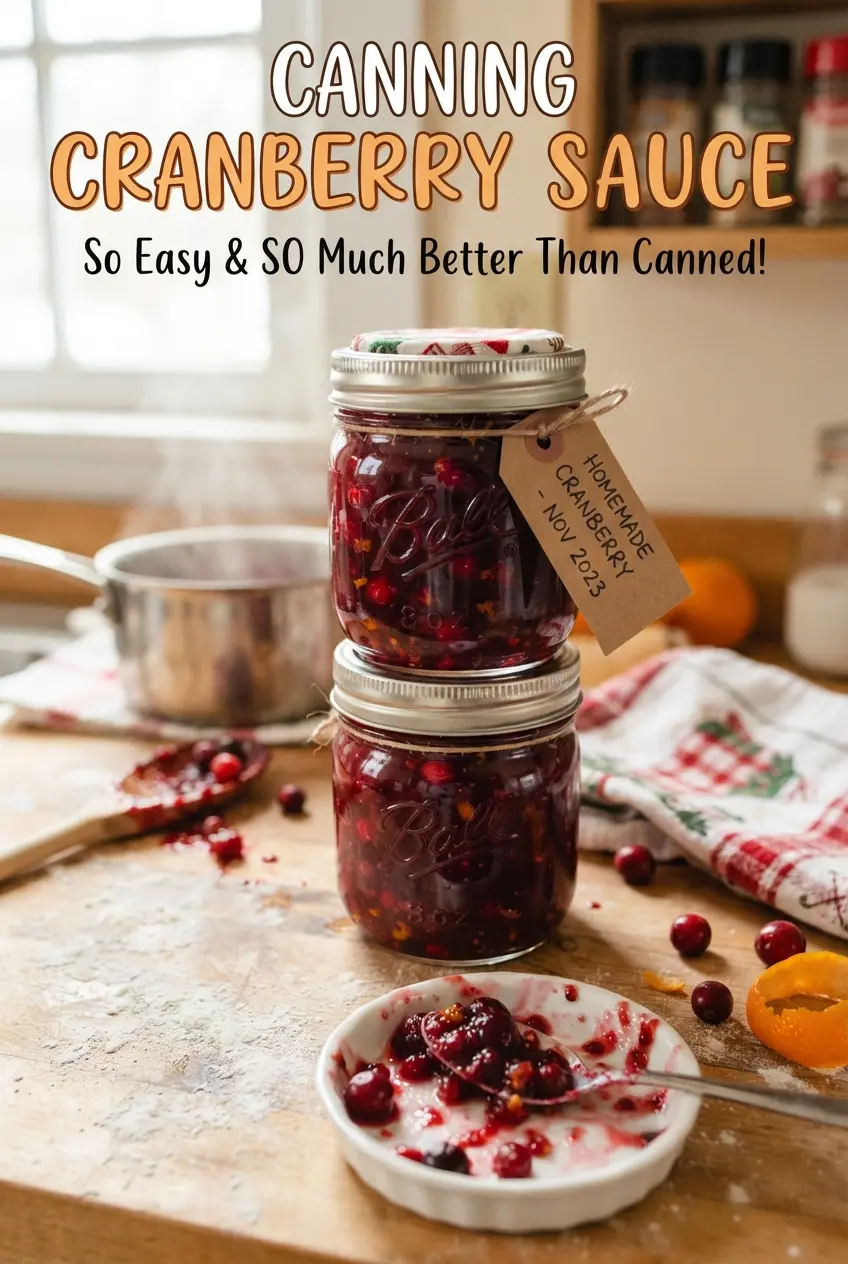
Canning Cranberry Sauce
Ingredients
Equipment
Method
- Wash 12 half-pint jars, lids, and bands, then keep the jars hot in simmering water so they don’t crack when filled.
- Bring sugar, water, and orange juice to a boil in a large pot, stirring until the sugar is fully dissolved.
- Add fresh cranberries and bottled lemon juice, then boil gently for 10-12 minutes until berries burst and the sauce thickens.
- Stir in orange zest and heat just until combined, keeping the sauce glossy and well-mixed.
- Ladle hot sauce into the hot jars, leaving 1/4-inch headspace, then wipe the rims clean for a proper seal.
- Apply lids and bands fingertip tight.
- Process in a boiling water bath canner for 15 minutes, adjusting the time for altitude as needed.
- Turn off the heat and rest the jars in the canner for 5 minutes to settle the seals.
- Lift jars out and cool undisturbed at room temperature for 24 hours.
- Check that the lids have sealed, and store sealed jars in a cool dark place for up to 1 year.