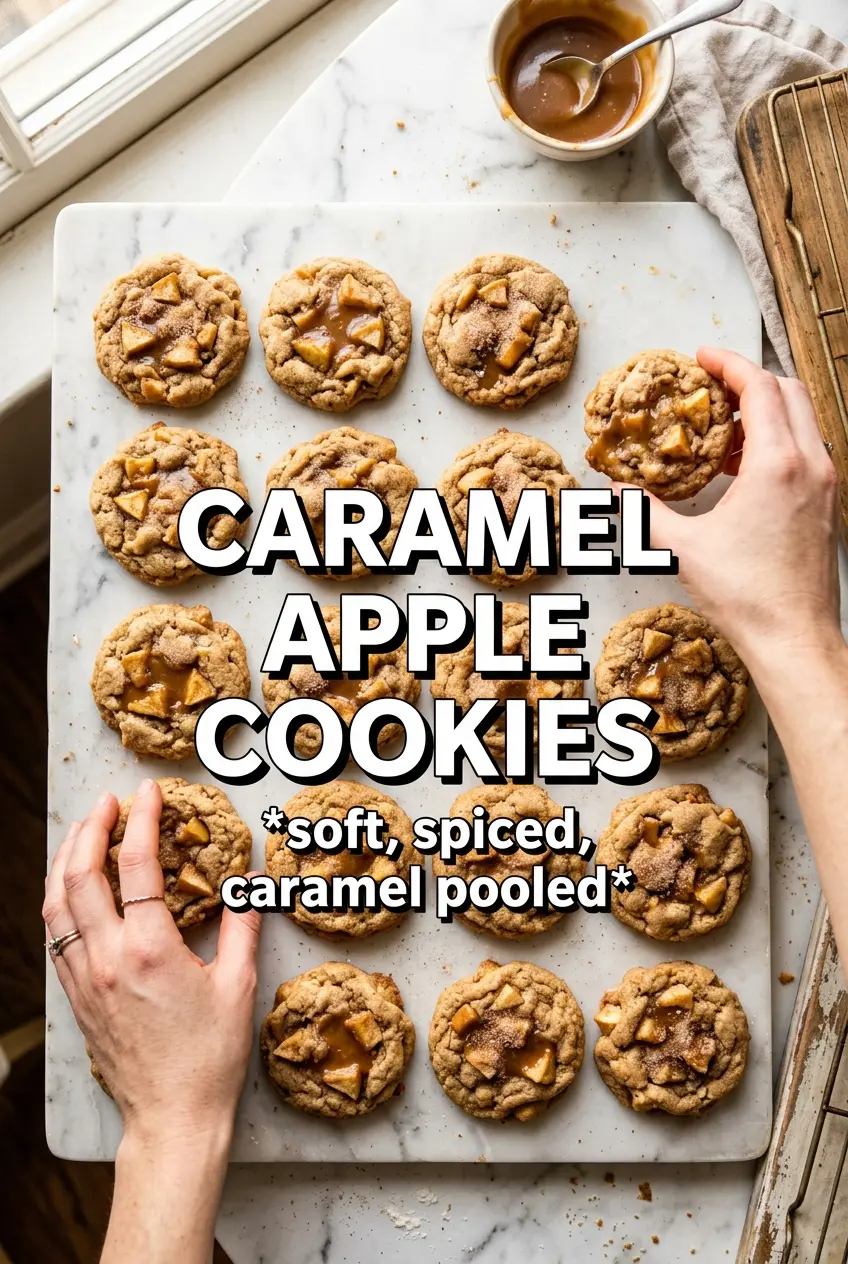
Caramel apple cookies bake up soft in the center with lightly crisp edges, and the little pockets of caramel melt into each bite without turning the dough sticky or heavy. The diced apple keeps them tasting fresh and gives the cookies a tender, almost cakey middle that still holds together when you pick one up. A final drizzle of caramel and a pinch of flaky salt make the whole batch taste like a bakery version of a caramel apple, only easier to share.
The part that matters most here is drying the apple well before it goes into the dough. Fresh apple carries a lot of moisture, and if you skip that step, the cookies can spread too much and bake up gummy instead of soft. I also like chopping the caramel bits small enough that they melt into little pockets rather than oozing out all over the pan.
Below, I’ve included the texture cue I watch for at the end of baking, plus a few smart swaps if you want to work with what’s already in the pantry.
The cookies stayed soft for days, and the tiny apple pieces baked in perfectly instead of making the dough wet. The caramel on top set up just enough that they weren’t messy to pack in lunch boxes.
These caramel apple cookies bake soft, chewy, and full of little caramel pockets — save this one for the next time you want a fall-style cookie without a lot of fuss.
The Apple Moisture Problem That Changes Everything
Most cookie dough can absorb a little extra moisture and still behave. Apple pieces are different. Even a small amount of juice left on the dice can soften the dough, push the cookies outward in the oven, and leave you with a center that feels underbaked long after the edges look done. That’s why the apple needs to be peeled, chopped very fine, and patted dry until the paper towel comes away mostly clean.
The other thing that helps here is size. Tiny apple pieces melt into the dough just enough to keep each cookie tender, but they don’t create big wet pockets that break the texture. If you leave the dice chunky, the cookies can bake unevenly and turn a little fragile when warm.
- Dry apple pieces: this is what keeps the dough from turning slack and cakey in the wrong way.
- Small dice: the apple disperses through the dough instead of dropping into soggy bits.
- Caramel bits: they melt into pockets better than large chunks, which can leak and harden on the pan.
What Each Ingredient Is Actually Doing in These Cookies
- All-purpose flour: the structure here needs enough strength to hold the apple pieces and caramel, but not so much that the cookies bake up dry. Measure it lightly and don’t pack it into the cup.
- Butter and brown sugar: butter brings tenderness, while brown sugar adds chew and that deeper caramel note that belongs in this cookie. Granulated sugar helps the edges set instead of staying too soft.
- Cinnamon, nutmeg, and allspice: this trio gives the cookies the warm apple-pie background flavor that makes the apples taste more like apples. Don’t skip the nutmeg and allspice if you want the cookies to taste complete.
- Caramel bits or chopped soft caramels: caramel bits are the easiest option because they hold their shape just enough before melting. If you use soft caramels, chop them small or they’ll clump into a few big sticky spots.
- Flaky salt: this isn’t garnish for looks. It sharpens the caramel and keeps the cookies from reading flat or overly sweet.
Getting the Dough to Bake Soft Instead of Spreading
Whipping the butter and sugars until fluffy
Beat the butter with both sugars until the mixture looks pale and a little airy, not just combined. That step traps small pockets of air that help the cookies rise and stay tender. If the butter is too cold, the mixture stays dense and the cookies can bake up thick in the middle with weak edges.
Folding in the dry ingredients without overworking them
Once the flour mixture goes in, stir only until the streaks disappear. Overmixing builds gluten and tightens the dough, which makes these cookies tougher than they should be. The dough should look soft and studded, not smooth like cake batter.
Baking until the edges set but the centers still look soft
Pull the cookies when the edges are golden and the centers still look slightly underdone. They finish setting on the hot pan, and that carryover heat is what keeps them chewy instead of dry. If you wait until the centers look firm in the oven, they’ll bake past the soft stage by the time they cool.
Finishing with caramel and salt while warm
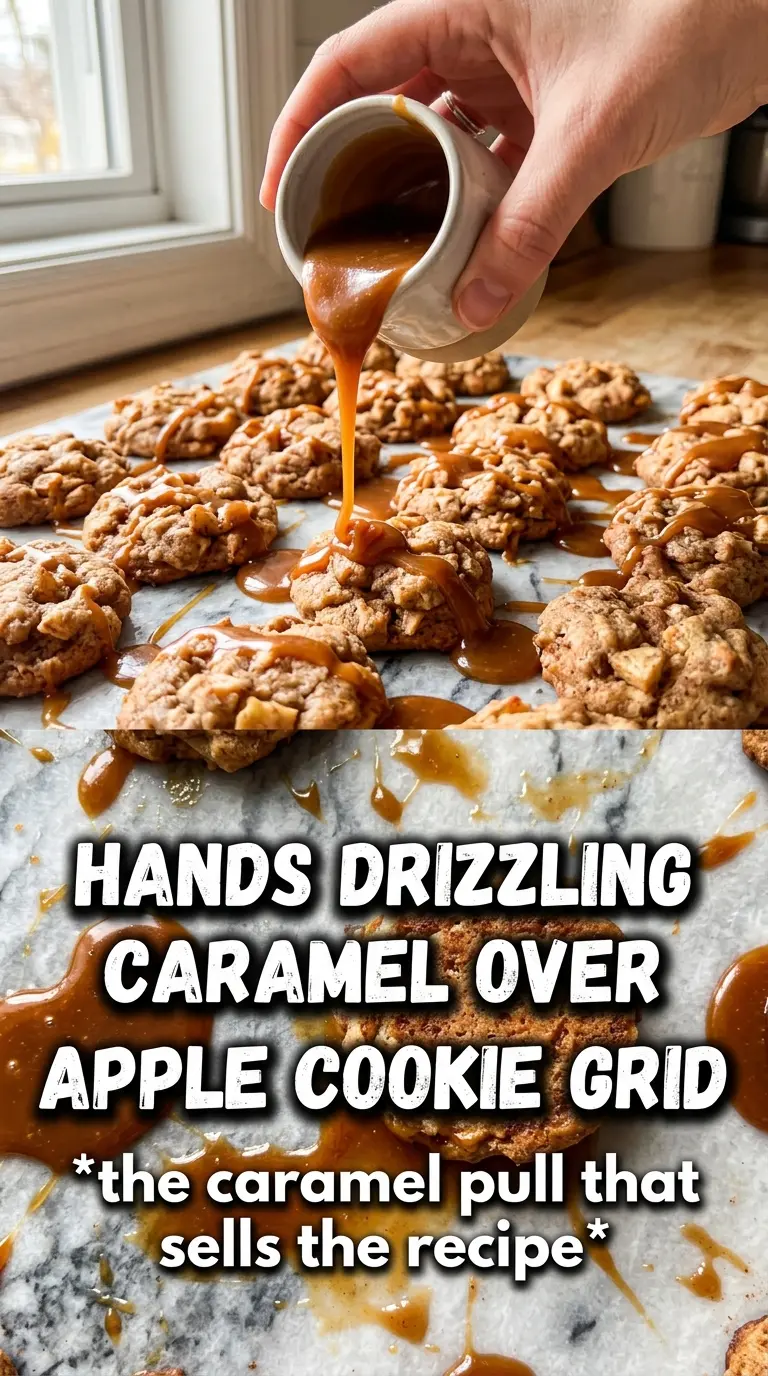
Drizzle the caramel sauce while the cookies are still warm so it settles into the top instead of sitting in one sticky layer. A small pinch of flaky salt goes on right away so it sticks. Once the cookies cool, the caramel still stays glossy, but it won’t drip off the sides as much.
How to Adapt These for Different Kitchens and Different Eaters
Make Them Gluten-Free
Use a 1:1 gluten-free baking blend with xanthan gum already included. The cookies will still be soft and chewy, though they may spread a touch less and need the full cooling time on the pan before moving them.
Use Soft Caramels Instead of Caramel Bits
Chop the caramels into small pieces before folding them in. You’ll get richer melted pockets, but the cookies can be a little messier on the pan if the pieces are too large.
Add Toasted Pecans
A half cup of chopped toasted pecans adds crunch and makes the cookies lean a little more pie-like. Stir them in with the caramel so they distribute evenly and don’t sink.
Storage and Reheating
- Refrigerator: Store in an airtight container for 4 days. The cookies stay soft, though the caramel topping can firm up a bit.
- Freezer: Freeze baked cookies without the caramel drizzle for up to 2 months. Add the caramel and salt after thawing so the finish stays neat.
- Reheating: Warm for 8 to 10 seconds in the microwave, just until the center feels soft again. Longer heating makes the caramel sticky and can dry out the edges.