Caramel apple crisp earns its place because it gives you everything people hope pie will deliver without the fussy crust. The filling turns soft and syrupy underneath a thick oat topping, and every spoonful gets a mix of tender apples, browned butter flavor, and caramel that tastes baked into the dish instead of just drizzled on top at the end. Warm from the oven, it’s the kind of dessert that gets scooped past the edges of the baking dish before it even reaches the table.
The trick is building enough structure in the filling so it bakes up saucy, not watery. Cornstarch thickens the apple juices as they come out, while lemon juice keeps the sweetness from going flat and helps the apples hold their shape. The crumble stays rustic and chunky because the butter goes in cold, which gives you those crisp golden bits instead of a sandy topping that melts away.
Below, you’ll find the exact cue for when the crisp is done, why the caramel goes in with the apples instead of just on top, and a few smart swaps if you need to work with what’s in your kitchen.
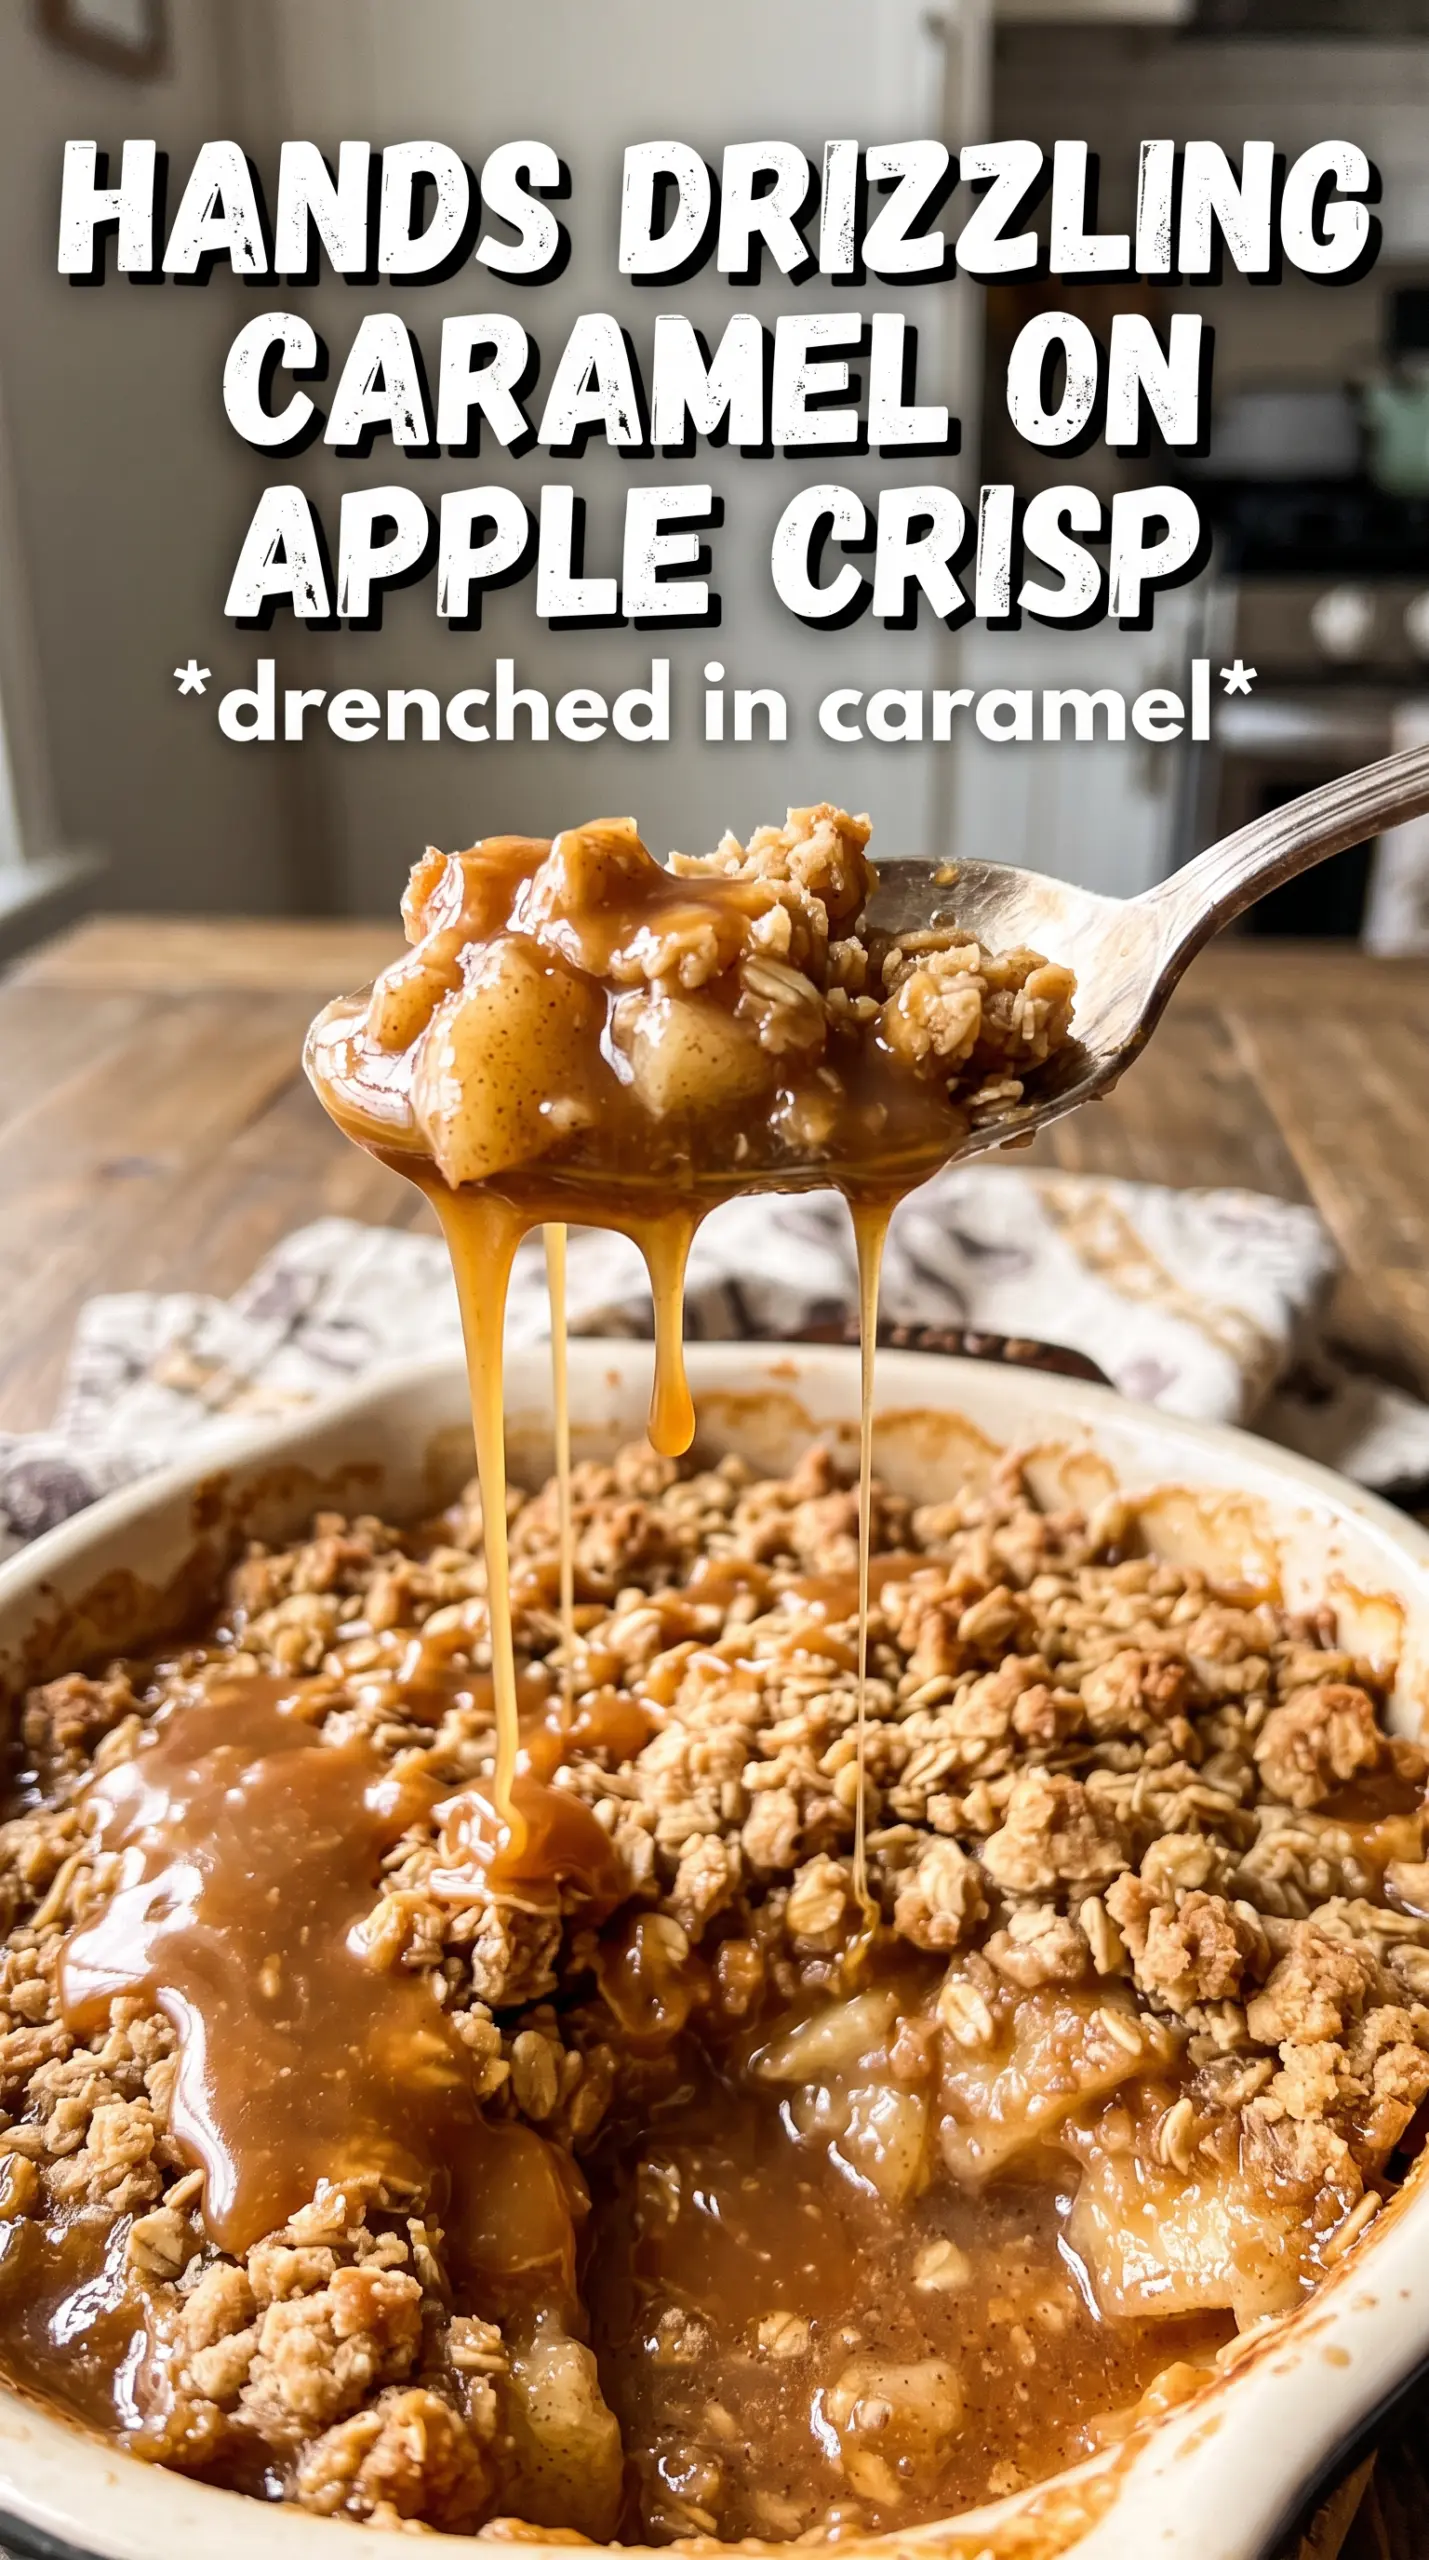
The apples baked up tender without turning mushy, and the caramel bubbled through the crumble just enough to make every bite taste like a caramel apple in dessert form. I added the extra drizzle at the end and it set up beautifully once it cooled for a few minutes.
Pin this caramel apple crisp for the nights when you want tender baked apples, a thick oat crumble, and extra caramel on top.
The Reason the Filling Stays Saucy Instead of Watery
The biggest mistake with apple crisp is under-thickening the fruit. Apples release a lot of juice as they bake, and if you skip the cornstarch or use too little, the bottom turns thin and the topping sits on top of a puddle instead of a glossy filling. Here, the cornstarch starts working as soon as the fruit heats up, so the bubbling juice turns into a spoonable caramel sauce that clings to the apples.
The other thing that matters is the balance of sweet and sharp. Caramel adds depth, but it also softens the tartness that makes baked apples taste like apples instead of just sugar. A little lemon juice keeps the whole pan from tasting flat, and the salt makes the caramel note taste fuller without turning the dessert salty.
- Corstarch — This is what gives you that thick, glossy filling. Flour can work in a pinch, but it makes the juices cloudier and takes longer to thicken.
- Caramel sauce — Use a sauce that pours smoothly. A very thick caramel can clump in the apples, while a thinner sauce blends into the juices and bakes into the filling.
- Apples — A mix of tart and sweet apples gives the best texture. If all you have are very soft apples, the filling will lean mushier, so bake it a few minutes less and watch the edges closely.
What the Oats, Butter, and Brown Sugar Are Each Doing
- Rolled oats — These give the topping its crisp, nubby texture. Quick oats can work, but they make the crumble denser and less defined.
- Brown sugar — This brings molasses depth and helps the topping brown. If you swap in white sugar, you lose some of that warm, toasty note.
- Cold butter — Cold cubes are the difference between a crumbly top and a paste. Cut it in until you still see pebbles and small clumps; those pockets of butter are what bake into crisp, golden clusters.
- Flour — Flour holds the crumble together just enough so it stays on top of the fruit instead of sinking in. Too much mixing turns it dense, so stop as soon as the mixture looks rough and clumpy.
Building the Crisp So the Top Browns Before the Apples Turn Mushy
Coating the Apples Evenly
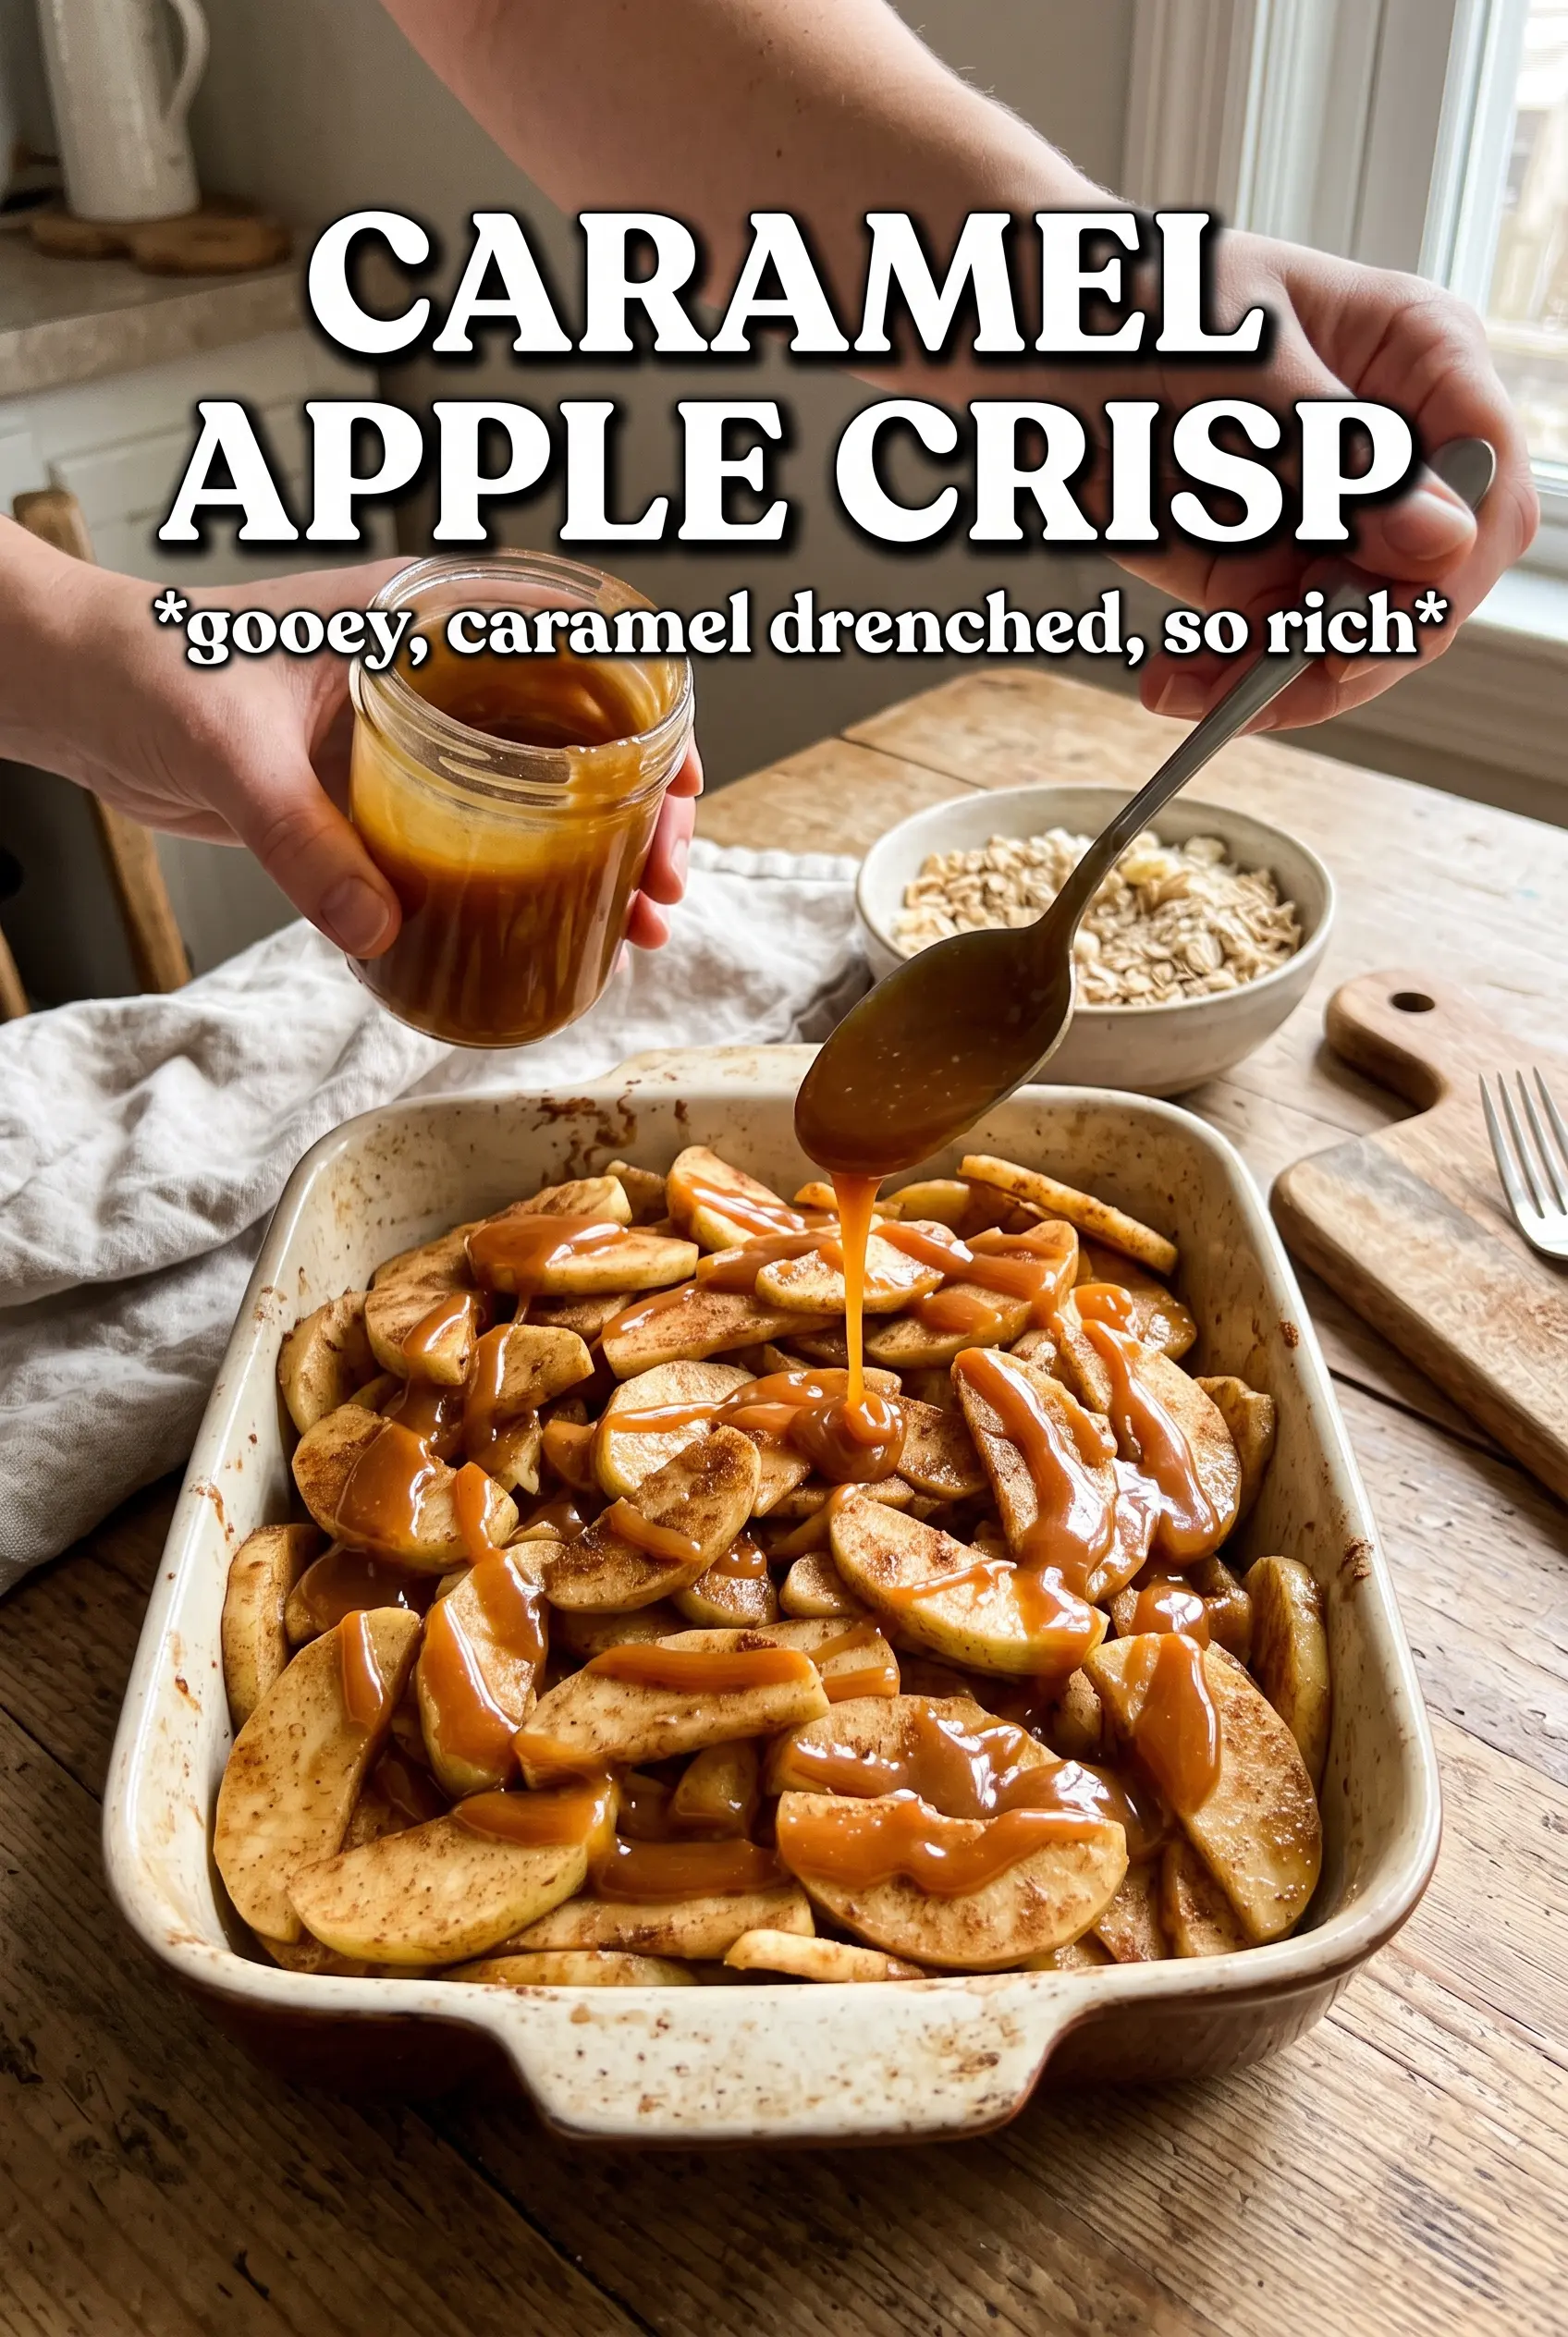
Toss the sliced apples with the sugar, caramel, spices, cornstarch, lemon juice, and salt until every piece looks lightly coated. The mixture should look glossy and a little syrupy before it goes into the pan. If you see dry spots of cornstarch, those will bake up chalky, so take a minute to stir from the bottom of the bowl and spread everything evenly in the dish.
Making a Real Crumble, Not a Paste
Combine the oats, flour, brown sugar, cinnamon, and salt first, then work in the cold butter with your fingers or a pastry cutter. Stop when you have uneven clumps ranging from pea-sized to walnut-sized. If the butter warms too much, the topping melts into a flat layer instead of baking into a craggy crust, so don’t linger over it.
Knowing When It’s Done
Bake until the topping is deeply golden and the filling is bubbling all around the edges and peeking through the center. That bubbling matters; it tells you the cornstarch has reached the point where it thickens properly. If the top browns too fast, lay a sheet of foil loosely over the dish and keep baking until the fruit is tender when pierced with a knife.
Finishing with Caramel at the End
Drizzle the extra caramel over the crisp during the last few minutes of baking, not right at the beginning. Adding it near the end keeps the caramel flavor bright and keeps the sugar from scorching on top. Serve it warm so the filling stays loose enough to spoon and the ice cream melts into the crumble.
How to Adapt This for Different Kitchens and Different Eaters
Make It Gluten-Free
Swap the all-purpose flour for a good 1:1 gluten-free baking blend and use certified gluten-free oats. The topping stays crisp, but it may brown a little faster, so start checking a few minutes early.
Dairy-Free Version
Use a plant-based butter that bakes well and keep the rest of the recipe the same. The crumble will still brown, though the flavor will be a little less rich than the dairy version, so a little extra pinch of salt helps bring it back.
Using Pears Alongside the Apples
Replace up to half the apples with firm pears if that’s what you have on hand. Pears bake softer and a little faster, so this version comes out silkier and more delicate, but you’ll want to keep the slices thick so they don’t disappear into the filling.
Storage and Reheating
- Refrigerator: Store covered for up to 4 days. The topping will soften a bit, but the flavor holds up well.
- Freezer: Freeze baked crisp in a tightly wrapped dish for up to 2 months. Thaw overnight in the fridge before reheating, or freeze unbaked and bake from thawed for the best texture.
- Reheating: Warm in a 325F oven until the center is hot and the topping re-crisps, about 15 to 20 minutes for a portion and longer for the full dish. The microwave works in a hurry, but it softens the topping instead of bringing it back to life.
Answers to the Questions Worth Asking
Caramel Apple Crisp
Ingredients
Equipment
Method
- Preheat oven to 375F and grease a 9x13 baking dish with thin, even coating for easy release.
- Toss apples with granulated sugar, caramel sauce, cinnamon, nutmeg, cornstarch, lemon juice, and sea salt until every slice looks evenly coated, then spread in the greased dish.
- Combine rolled oats, all-purpose flour, brown sugar, cinnamon, and salt, then cut in cold cubed butter until chunky clumps form with a crumbly, pebbled look.
- Scatter the crumble evenly over the caramel apples so the surface is fully covered for crisp browning.
- Bake for 40-45 minutes at 375F until the top is deeply golden and the filling bubbles at the edges.
- Drizzle extra caramel sauce over the top during the last 5 minutes of baking, then serve warm with vanilla ice cream and more caramel.