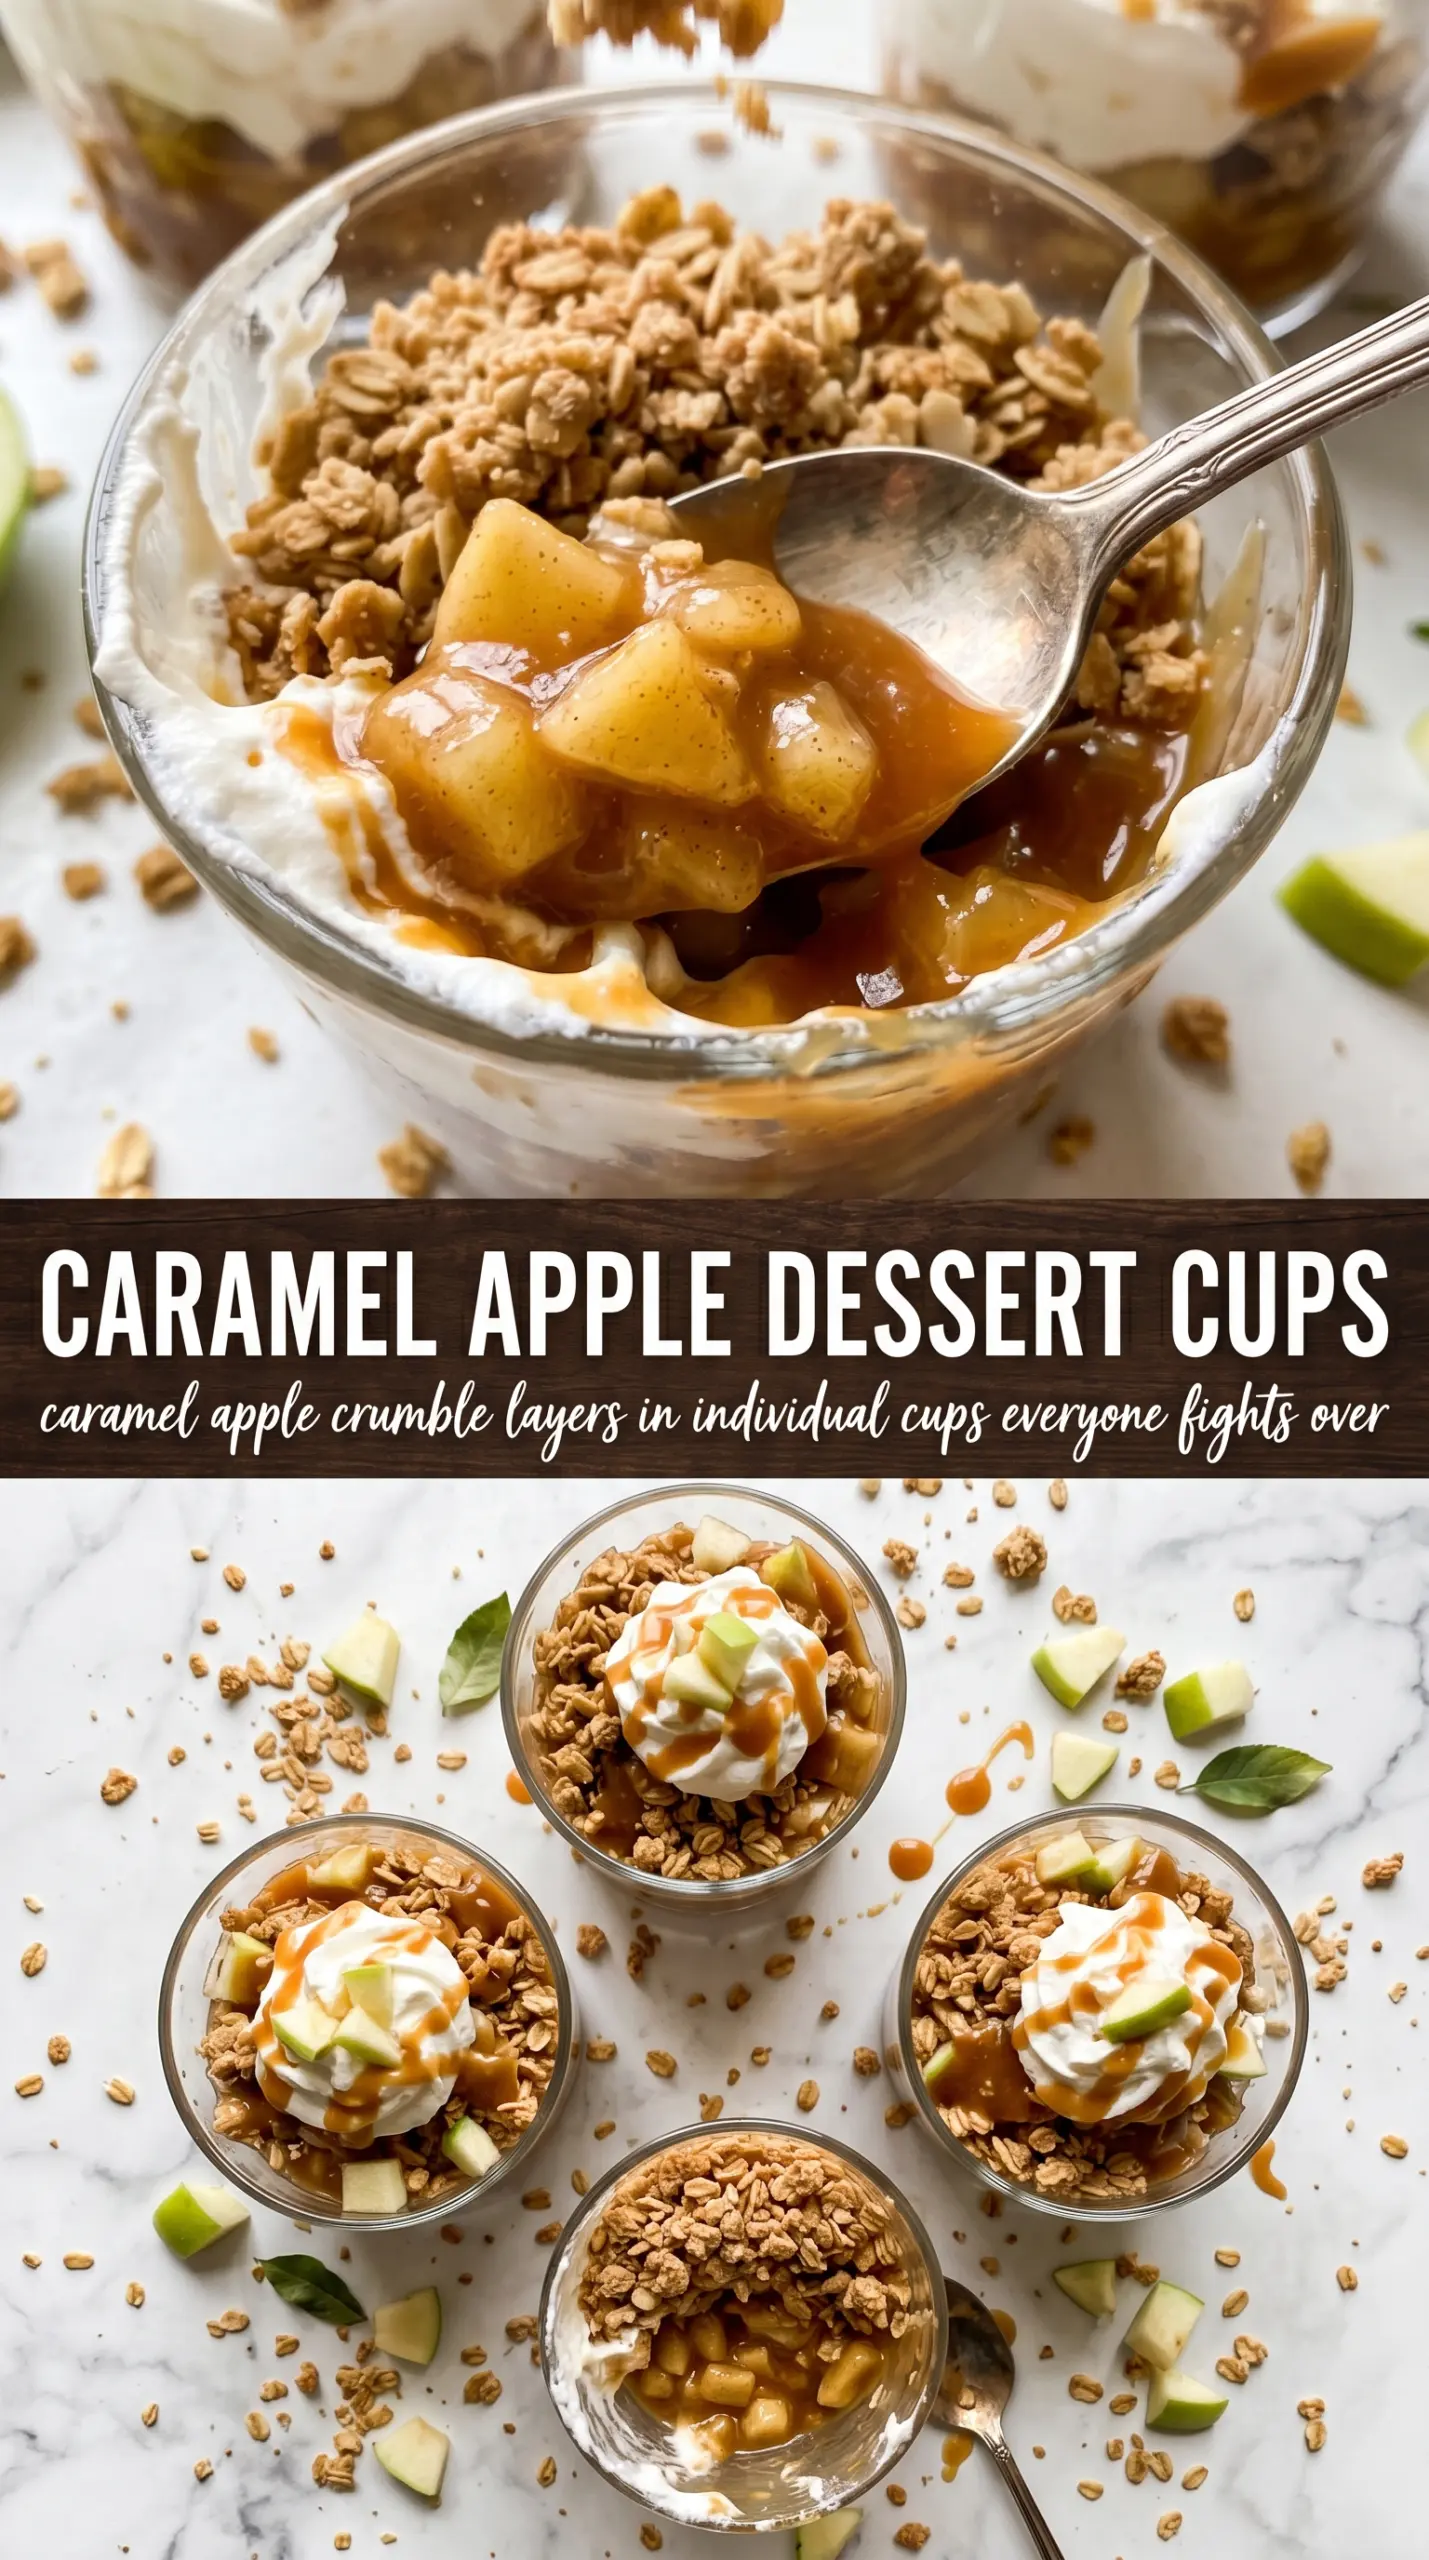
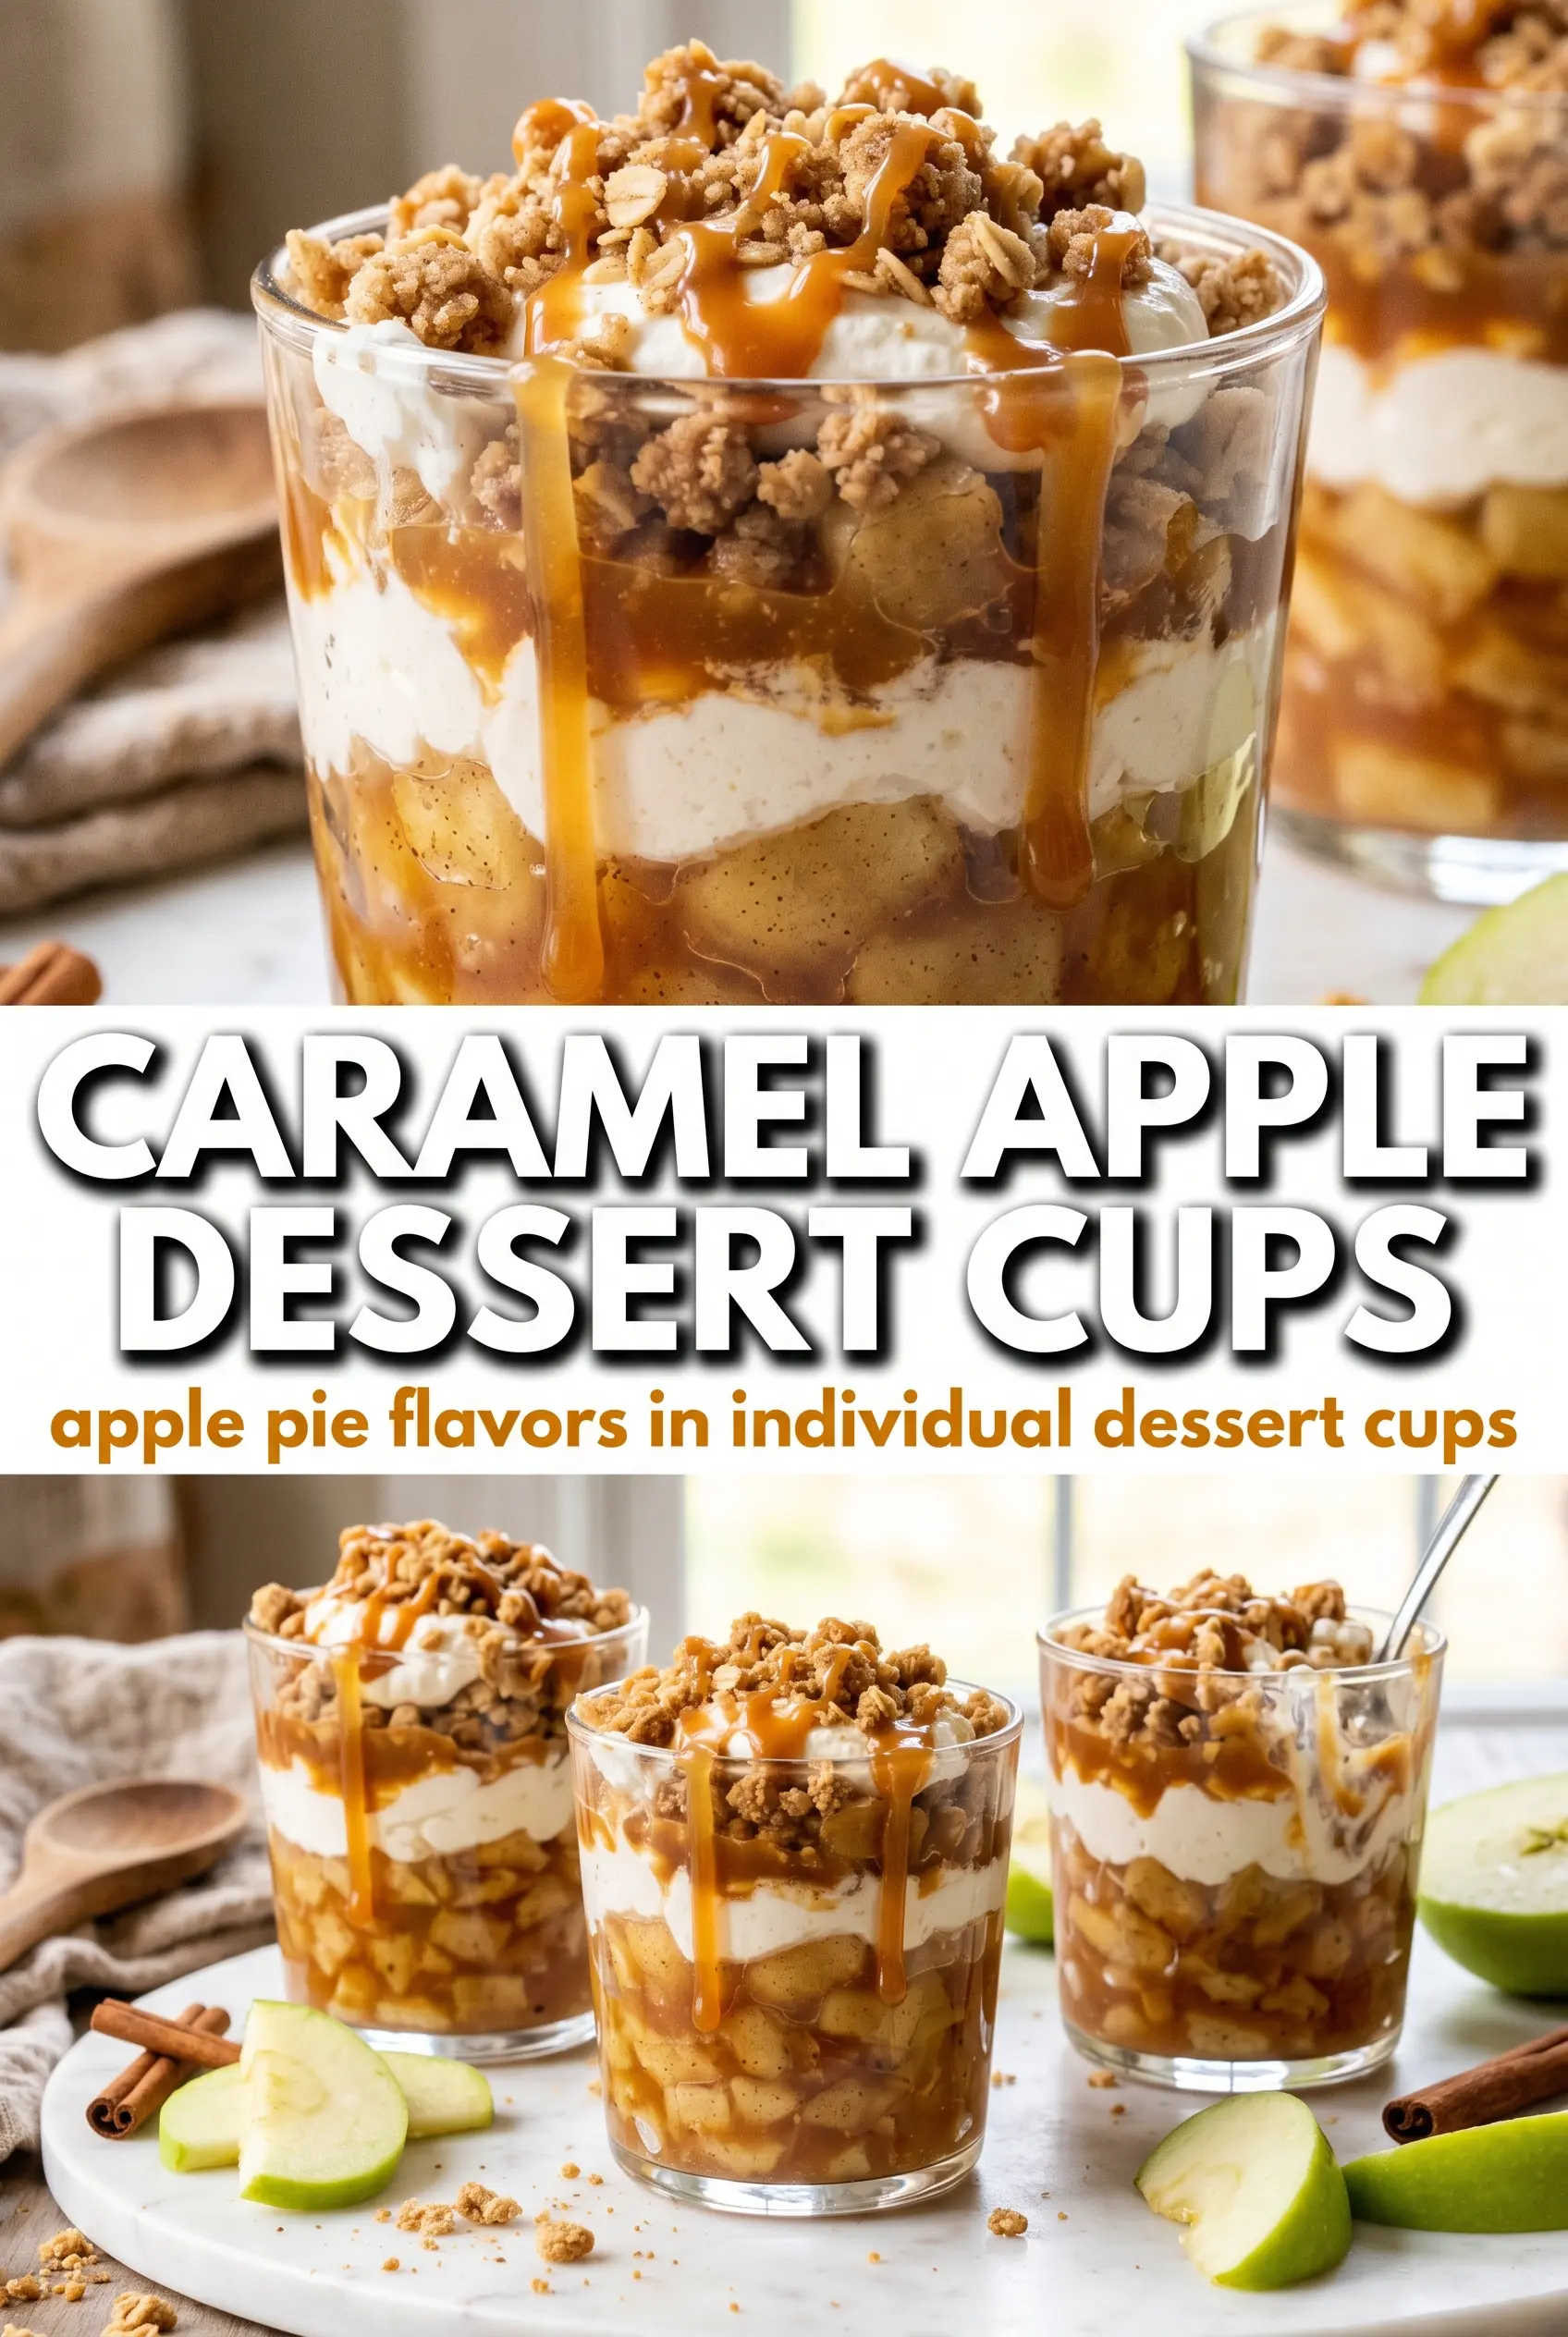
Caramel apple dessert cups hit that sweet spot between nostalgic and polished: a buttery graham cracker base, a cool cinnamon cream cheese layer, and spoonfuls of soft caramelized apples that still taste bright. The layered look does half the work for you, and the flavor lands like apple pie and cheesecake shared the same spoon.
What makes this version work is the contrast. The crust needs just enough melted butter to hold together without turning greasy, the cream cheese layer stays light because the whipped topping is folded in gently, and the apples are cooked long enough to soften and pick up caramel notes without losing their shape. That little bit of chill time matters too; it firms everything up so the cups hold clean layers instead of sliding into each other.
Below, you’ll find the small details that make these cups stand up in clear glasses, plus the easiest way to swap the toppings or make them ahead for a party.
The apples stayed tender but not mushy, and the cinnamon cream layer set up beautifully after chilling. I served them in little glasses for a party and every single one disappeared.
These caramel apple dessert cups are made for make-ahead parties, with crisp graham layers, fluffy cinnamon cream, and glossy apples that hold their shape.
The Trick to Keeping the Layers Separate Instead of Slumping Together
Layered dessert cups fail when one part is too loose. The crust crumbles if the butter isn’t evenly mixed in, the filling weeps if the cream cheese is lumpy or the whipped topping gets beaten too hard, and the apples slide if they go into the cups hot. This dessert works because each layer is handled on its own terms before anything gets stacked.
The other thing that matters is thickness. A thin cream layer disappears once the apples go on top, and watery apples will soak right through the crust. Cook the apples just until they’re tender and glossy. They should still look like apple pieces, not sauce.
What Each Layer Is Really Doing Here
- Graham cracker crumbs — These give you the sturdy, sandy base that tastes like pie crust without any rolling or baking. If you only have whole crackers, crush them finely so the cups pack down evenly.
- Butter — Melted butter binds the crust and gives it that rich, toasty flavor. If the mixture looks dry and won’t hold when pinched, add a teaspoon more butter.
- Cream cheese — Softened cream cheese is what gives the middle layer its cheesecake-like body. Cold cream cheese leaves little lumps, so let it sit out until it’s fully pliable before mixing.
- Whipped topping — This lightens the filling and keeps it spoonable instead of dense. Fold it in gently; stirring hard knocks out the air and makes the layer heavy.
- Apples — Choose a firm, crisp apple that won’t collapse in the skillet. Softer apples turn mushy fast, which makes the topping look more like compote than a layered dessert.
- Caramel sauce — Drizzling it at the end gives the cups that glossy finish and pushes the caramel flavor over the top. Store-bought works fine here, but warm it slightly first so it ribbons across the apples instead of clumping.
Building the Cups So the Crust Stays Tight and the Apples Stay Glossy
Pressing the Crust
Mix the graham cracker crumbs, melted butter, and sugar until every crumb looks lightly damp. When you press it into the bottoms of the cups, use the back of a spoon or a small glass to compact it firmly. A loose crust will crumble the second you scoop into it, while a well-packed crust gives the whole dessert its structure. If your mixture feels sandy and won’t hold, the butter didn’t distribute evenly enough.
Whipping the Cinnamon Cream
Beat the cream cheese with the powdered sugar, vanilla, and cinnamon until the mixture turns smooth and fluffy with no visible lumps. Then fold in the whipped topping by hand until the filling is even and airy. Don’t rush this part with high-speed mixing after the topping goes in, or you’ll deflate the filling and lose that soft cheesecake texture. Spoon or pipe it over the crusts in a thick layer so the apple topping has something to sit on.
Cooking the Apples Just Enough
Melt the butter in a skillet, then add the diced apples, brown sugar, and cinnamon. Cook over medium heat for 5 to 6 minutes, stirring often, until the apples are tender at the edges and coated in a glossy syrup. The goal is softened fruit with some shape left, not jam. If the pan gets too hot, the sugar can scorch before the apples are done, so keep the heat steady and pull the skillet off the burner as soon as the apples look caramelized.
Chilling Before Serving
Spoon the cooled apple mixture over the cream layer, then drizzle with caramel sauce. Chill the cups for at least 1 hour so the filling sets and the layers settle into clean lines. If you serve them too early, the filling can slump and the crust may soften faster than you want. The chill time is what turns these from a bowl of good ingredients into a dessert that holds its shape in the glass.
Three Smart Ways to Adjust These Dessert Cups
Make Them Gluten-Free
Swap in gluten-free graham-style crumbs or crushed gluten-free vanilla cookies for the base. The texture stays almost the same as long as you still use enough melted butter to help the crumbs pack firmly.
Go Dairy-Free
Use a dairy-free cream cheese and a coconut-based whipped topping, then swap the butter for a plant-based baking stick. The filling will still be creamy, though the flavor will lean a little more toward vanilla-coconut than classic cheesecake.
Turn It Into a Bigger Crowd Dessert
Layer everything in a trifle bowl or 9×13-inch dish instead of individual cups. You’ll lose the dramatic glass look, but it becomes easier to serve for a crowd and still gives you the same crust, creamy middle, and caramel apple topping in every spoonful.
Storage and Reheating
- Refrigerator: Store covered for up to 3 days. The crust softens a little over time, but the flavor holds well.
- Freezer: I don’t recommend freezing these assembled cups. The cream layer and apples change texture after thawing and turn a little grainy.
- Reheating: These are served cold, so there’s nothing to reheat. If you want the caramel looser, warm the sauce separately and drizzle it just before serving.
Questions I Get Asked About This Recipe
Caramel Apple Dessert Cups
Ingredients
Equipment
Method
- Mix graham cracker crumbs, melted butter, and sugar until evenly combined, then spoon about 1-2 tablespoons into each of 12 cups and press firmly to form a flat base.
- Place the cups in the refrigerator while you prepare the filling so the crust sets slightly.
- Beat cream cheese, powdered sugar, vanilla extract, and cinnamon until smooth and creamy.
- Fold in whipped topping until the mixture is thick and smooth, then spoon or pipe onto the chilled crusts.
- In a skillet over medium heat, cook diced apples with butter, brown sugar, and cinnamon for 5-6 minutes, stirring until tender and caramelized.
- Transfer the cooked apples to a plate or bowl and cool completely so they don’t melt the cream cheese layer.
- Spoon the caramel apple mixture over the cream cheese layer in each cup, piling it high.
- Drizzle generously with caramel sauce, letting it run slightly over the sides for a dramatic finish.
- Refrigerate for 1 hour before serving to set the layers.