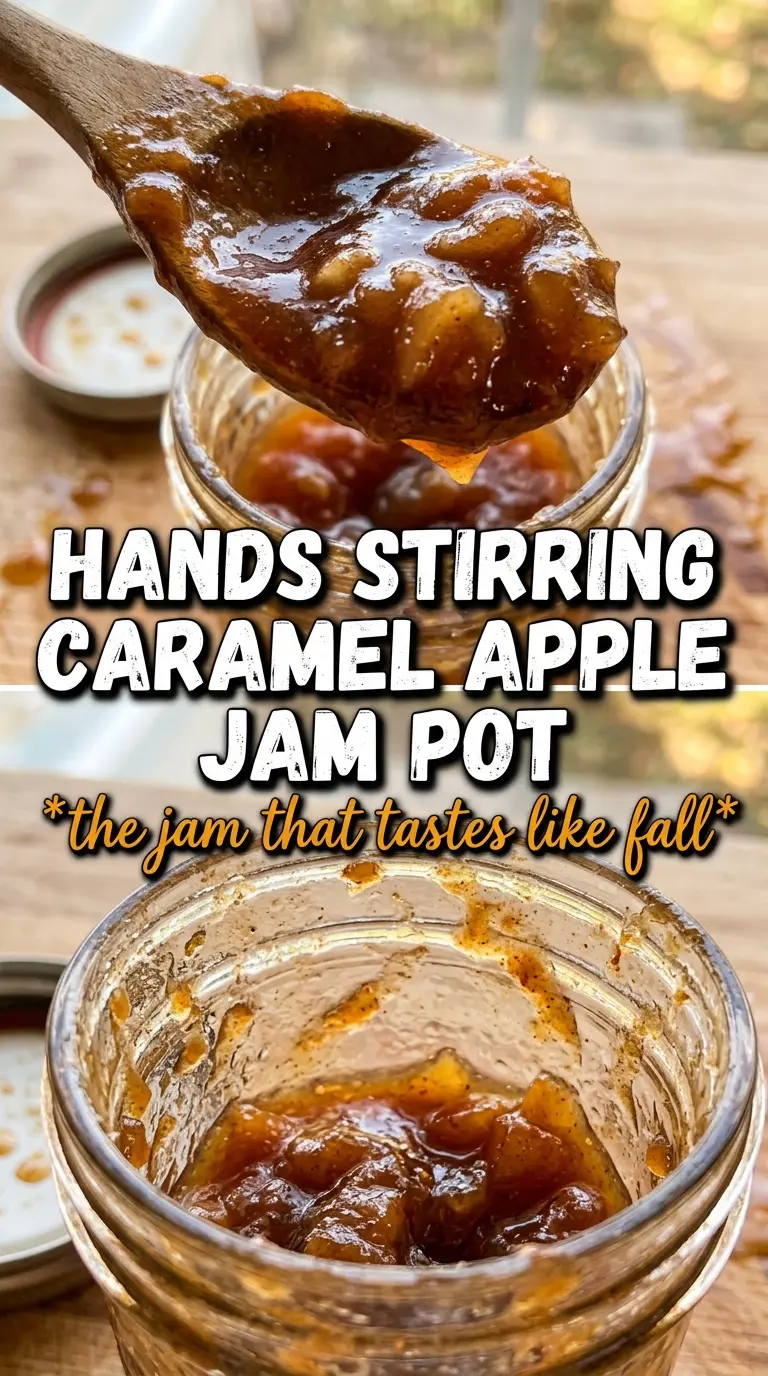
Caramel apple jam lands somewhere between a classic fruit preserve and the kind of spiced apple topping you’d want warm over toast, biscuits, or pancakes. It cooks down into a glossy, spreadable jam with soft apple pieces still visible, and the flavor stays bright instead of turning flat or one-note. The brown sugar and cinnamon give it that caramel-like depth without needing actual caramel, which keeps the texture clean and the process straightforward.
The trick is patience in the pot. Apples release a lot of liquid at first, and if you rush the boil or walk away from the stove, you end up with either watery jam or scorched sugar on the bottom of the pan. A heavy saucepan helps the heat stay even, and adding the spices near the end keeps their flavor warm and present instead of dull and cooked out. The lemon juice matters too; it sharpens the sweetness and helps the jam set with a more balanced finish.
Below, I’ve included the details that matter most: how to know when the jam has reached the right thickness, which apple choices give the best texture, and what to do if you want to skip the canning step and keep it in the fridge instead.
The jam thickened up right when the recipe said it would, and the apple pieces stayed soft instead of turning to mush. I used it on toast the next morning and the cinnamon-brown sugar flavor tasted like apple pie filling in spreadable form.
Save this caramel apple jam for the mornings when you want a thick, spiced spread with real apple pieces and that brown sugar finish.
The Part That Keeps This Jam Thick Instead of Runny
The biggest mistake with fruit jams is stopping at the first sign of bubbling. Apples need time to break down, and the liquid has to cook off enough that the mixture goes from saucy to glossy and heavy on the spoon. If you pull it too early, it will look fine in the pot and then turn loose again once it cools in the jar.
The cold plate test matters here. A spoonful that wrinkles when pushed has reached a place where the natural pectin in the apples and the sugar concentration can hold the spread together. Keep the heat at a steady medium once the sugar dissolves, because a hard boil is more likely to catch on the bottom than help the jam set faster.
- Finely diced apples cook down more evenly than chunky pieces, which helps the jam reach a spreadable texture without long simmering.
- Brown sugar adds the caramel note this jam is named for. White sugar alone will still set the jam, but it loses that deep, warm edge.
- Lemon juice brightens the sweetness and helps the jam set. Bottled works in a pinch, but fresh tastes cleaner.
- Heavy-bottomed saucepan keeps the bottom from scorching while the apples soften and the sugar reduces.
What Each Ingredient Is Actually Doing in the Pot
- Apples provide the body of the jam. Use a firm baking apple if you want noticeable pieces at the end, or a mix of sweet and tart apples for a fuller flavor.
- Granulated sugar does the heavy lifting for preservation and set. There isn’t a true swap here if you want standard jam texture, because the final balance depends on how it cooks with the fruit.
- Brown sugar brings the caramel-like depth. Light brown sugar is perfect, and dark brown sugar will push the flavor a little richer and more molasses-heavy.
- Apple cider or apple juice gives the apples enough liquid to start cooking without watering down the flavor. Cider tastes more rounded; juice is a little milder.
- Cinnamon, nutmeg, and allspice need to go in near the end so they stay warm and fragrant. If they simmer too long, the spices can taste flat.
- Vanilla smooths out the sharp edges at the finish. Add it off the heat if your jam is close to done and you want the scent to stay brighter.
Cooking the Apples Down Without Burning the Sugar
Starting the Base
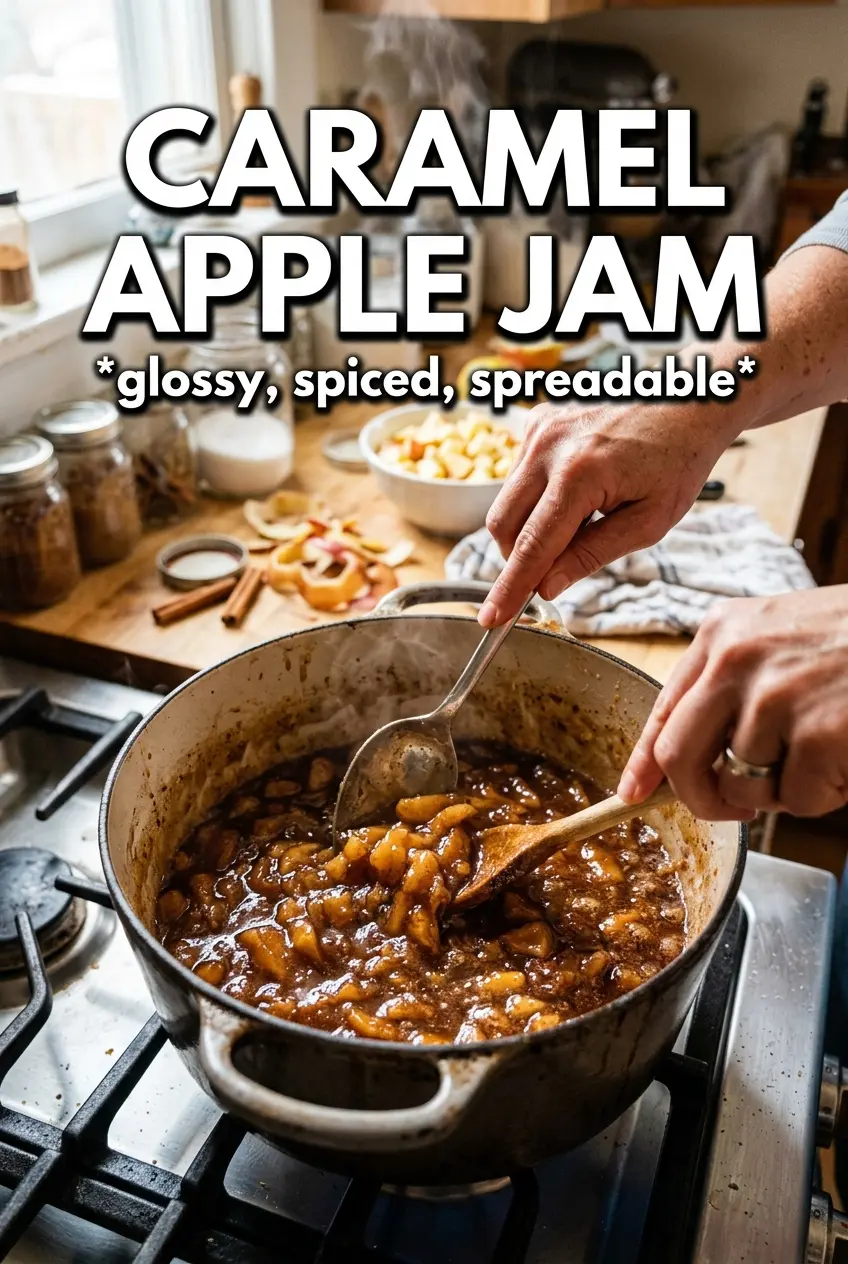
Combine the apples, both sugars, cider, and lemon juice in a large heavy saucepan and bring it up over medium-high heat until the sugar dissolves. Stir at the start so the sugar doesn’t sit dry on the bottom and seize into a crust. Once it comes to a boil, reduce the heat; if you keep it too hot, the sugars will darken before the apples soften.
Letting the Fruit Break Down
Cook at a steady medium heat for 30 to 35 minutes, stirring often and scraping the bottom well. You’re looking for the apples to soften completely and the liquid to turn syrupy, not thin and watery. If the mixture starts to spit heavily or stick, lower the heat a notch and keep moving it around the pan.
Finishing With the Spices
Stir in the cinnamon, nutmeg, allspice, vanilla, and salt for the last 5 minutes of cooking. This keeps the spice flavor vivid and gives the vanilla a fresher finish. When the jam is ready, it will mound on a spoon instead of running off it, and a spoonful on a cold plate should wrinkle when pushed.
Make It Brighter With More Apple Cider
Use the full quarter cup of apple cider for a softer, juicier jam with a little more fruit-forward flavor. If you want a thicker, more concentrated result, use apple juice instead; it sets up with a slightly cleaner finish and less tang.
Gluten-Free and Naturally Dairy-Free
This jam is already both gluten-free and dairy-free as written, which makes it easy to serve across a crowd. The only thing to watch is cross-contamination if you’re canning for someone with strict dietary needs.
Swap the Spice Profile
If you want a warmer, pie-like jam, add a pinch of cloves along with the cinnamon and allspice. Keep it light, though, because cloves take over fast and can hide the apple flavor instead of supporting it.
Fridge-Only Storage
If you’d rather skip water-bath processing, cool the jam completely and store it in sterilized jars in the refrigerator for up to 3 weeks. The texture stays a little looser than canned jam, but the flavor holds up beautifully.
Storage and Reheating
- Refrigerator: Store in sealed jars for up to 3 weeks. It thickens a little more as it chills.
- Freezer: It freezes well in freezer-safe containers, leaving a little headspace for expansion. Thaw overnight in the refrigerator.
- Reheating: Warm only the amount you need over low heat or in short bursts in the microwave. High heat can make it loosen too much and cook off the fresh apple flavor.
Questions I Get Asked About This Recipe
Caramel Apple Jam
Ingredients
Equipment
Method
- Combine the diced apples, granulated sugar, brown sugar, apple cider (or apple juice), and lemon juice in a large heavy-bottomed saucepan and stir to coat. Heat over medium-high until you reach a boil, stirring until the sugars dissolve.
- Reduce heat to medium and cook, stirring frequently, for 30-35 minutes, until the mixture thickens and the apples break down into a chunky jam.
- Add cinnamon, nutmeg, allspice, vanilla extract, and salt, then stir until evenly mixed. Cook for 5 more minutes to fully bloom the spices.
- Check doneness using the set point test: place a spoonful on a cold plate and let it sit briefly, then push with a fingertip—when it wrinkles, it’s ready.
- Ladle the hot caramel apple jam into sterilized jars, leaving appropriate headspace and wiping rims clean before sealing.
- Process in a water bath for 10 minutes for pantry-safe storage, or refrigerate for up to 3 weeks instead.