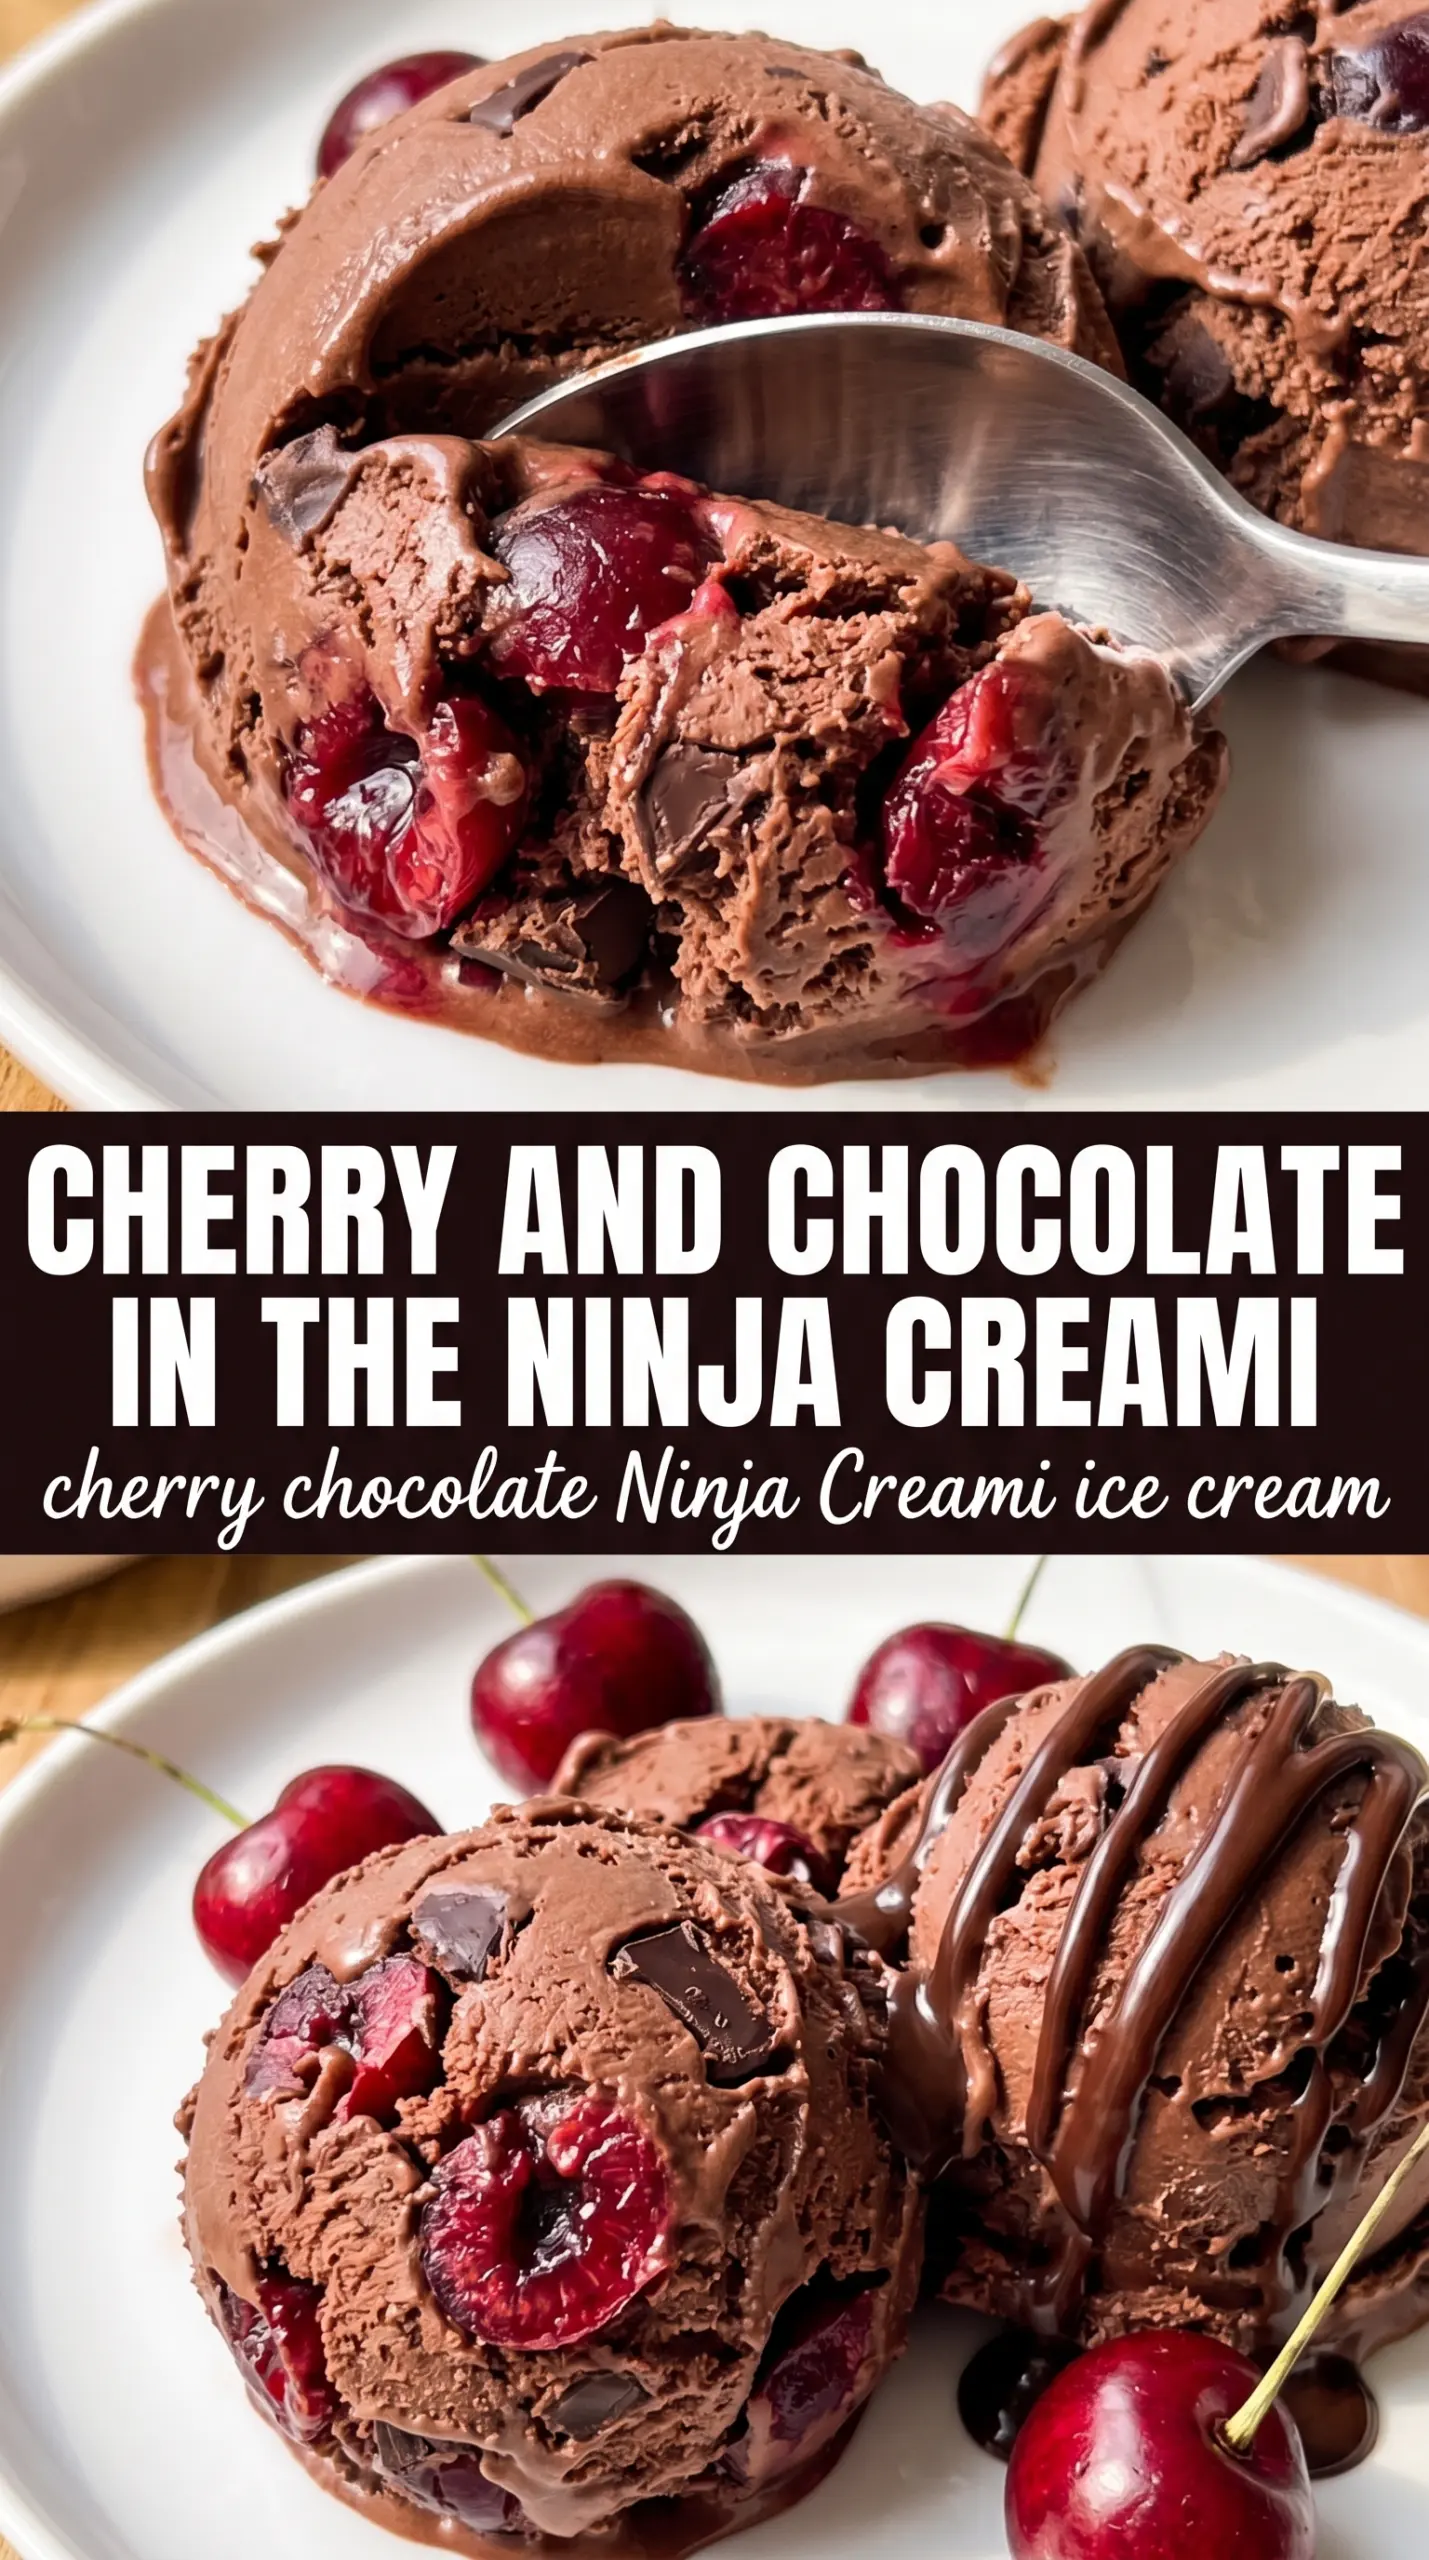
Dark chocolate ice cream gets a lot more interesting when bright cherry pieces show up in the mix. This Ninja Creami version comes out with that dense, scoopable texture people chase in homemade ice cream, plus little bursts of tart fruit that cut through the chocolate instead of getting lost in it. The result lands somewhere between cherry chip and a Black Forest dessert, but colder, smoother, and easier to keep in the freezer.
The trick is building a base that freezes firm without turning icy. A little cream cheese helps the pint process into something rich and smooth, while almond extract makes the cherry flavor taste deeper and more natural. I also like chopping the cherries instead of leaving them whole; smaller pieces distribute better in the Mix-In cycle and give you a little cherry in every few bites instead of one heavy pocket at the bottom.
Below, I’ll show you how to keep the base smooth, when to add a splash of milk for a better spin, and a few smart swaps if you want to work with what’s already in your kitchen.
The base spun up smooth after one re-spin, and the chopped cherries stayed distributed instead of sinking. It tasted like a Black Forest sundae straight from the freezer.
Cherry Chocolate Ice Cream in the Ninja Creami turns into a smooth Black Forest-style dessert with those bright cherry mix-ins folded right through the chocolate.
Save this cherry chocolate Creami for your next frozen dessert night
The Part That Keeps This Creami Smooth Instead of Icy
The biggest mistake with chocolate Ninja Creami recipes is a base that freezes too lean. Lean bases turn crumbly or powdery when the machine shaves them down. The cream cheese in this pint changes that by adding body and a little emulsifying power, which helps the chocolate and dairy stay blended instead of separating into icy layers.
Another place people lose texture is with the chocolate. If you use cocoa powder, it has to be blended completely into the milk before freezing, or you’ll end up with dry specks and a dull, sandy finish. If the pint looks a little grainy before it goes into the freezer, keep blending. The base should look uniform and glossy.
- Chocolate milk or whole milk + cocoa — Chocolate milk gives you the easiest route and a little extra sweetness. If you’re using cocoa and plain milk, whisk it longer than you think you need so the cocoa fully dissolves.
- Cream cheese — This is the quiet ingredient that keeps the texture rich after spinning. Softened cream cheese blends in cleanly; cold cream cheese leaves little bits behind and doesn’t do its job as well.
- Almond extract — This is what pushes the cherry flavor toward Black Forest instead of just “chocolate with fruit.” Don’t overdo it. A quarter teaspoon is enough to make the cherries taste more vivid without turning the base marzipan-like.
- Frozen dark cherries — Frozen cherries work best for Mix-In because they stay distinct and don’t streak the whole pint red. Chop them into small pieces so they distribute evenly and don’t clump into one frozen chunk.
What Each Ingredient Is Actually Doing in This Ice Cream
- Base ingredient (cream, milk, or custard) — This provides the foundation and richness. Quality matters.
- Sweetener (sugar, honey, or condensed milk) — This sweetens and prevents ice crystals. The ratio is critical.
- Flavor element (vanilla, fruit, chocolate, or other) — This defines the ice cream personality. Use quality ingredients.
- Egg yolks (if making custard base) — These create richness and silky texture. Optional but elevates ice cream.
- Churning (if using ice cream maker) — This incorporates air and prevents ice crystals. Critical for smooth texture.
- Freezing temperature and time — Proper freezing prevents rock-hard texture. Store at 0°F or below.
- Mix-ins (chocolate, cookies, fruit, or swirls) — These add texture and prevent one-dimensional flavor. Add near end of churning.
- Serving temperature (slightly soft, not rock hard) — This provides creamy mouthfeel. Remove from freezer 5 minutes before serving.
Freezing the Pint Before the Machine Does Its Work
Blending the Base Until It Looks Seamless
Blend the chocolate milk, cream, sugar, softened cream cheese, vanilla, almond extract, and salt until the mixture looks completely smooth. You want no visible cream cheese flecks and no cocoa clumps. If the cream cheese is still cold, it will show up in the finished texture, so give it a minute on the counter before blending. The base should pour like a thin milkshake.
Freezing for the Full 24 Hours
Pour the base into the Ninja Creami pint container and freeze it flat for a full 24 hours. A lopsided or underfrozen pint is one of the main reasons the first spin comes out sandy or slushy. Keep the container on a level shelf in the coldest part of your freezer so the top and bottom freeze at the same rate. If the center still looks soft after 24 hours, give it more time.
Spinning, Re-Spinning, and Adding the Cherries
Process the frozen pint on the Ice Cream setting. If it comes out crumbly, that’s normal; the first spin is often just breaking the block into tiny pieces. Re-spin with 1 tablespoon milk only if the texture still looks dry after the first spin. Once the base is creamy, use the Mix-In function for the chopped cherries so they stay in distinct pieces instead of getting chopped to bits.
Serving Before It Hardens Again
Serve it right away for the best scoopable texture. Ninja Creami ice cream firms back up fast in the freezer, especially with fruit mixed in. If you want a pretty finish, top with a fresh cherry or a few shavings of chocolate just before serving. That little garnish makes the bowl look as good as it tastes.
How to Tweak the Pint Without Losing the Creami Texture
Make it dairy-free with a richer plant milk
Use a creamy dairy-free milk like oat or coconut beverage and replace the cream with full-fat coconut cream. You’ll lose a little of the classic dairy richness, but the texture stays closer to ice cream than if you use a thin plant milk. Skip the cream cheese unless you have a dairy-free version that blends smoothly.
Go closer to cherry chip with a lighter chocolate base
Use whole milk instead of chocolate milk, then keep the cocoa amount exactly as written. The chocolate flavor comes through softer and lets the cherries stand out more, which gives you that old-school cherry chip feel. This version is a little less intense and a little more kid-friendly.
Use fresh cherries when frozen ones aren’t available
Pit and chop fresh cherries, then freeze them on a tray before mixing them in. Fresh cherries added straight from the cutting board turn soft and watery too quickly. Freezing them first keeps the pieces distinct and gives the same bite you want from the frozen version.
Storage and Reheating
- Refrigerator: Not a refrigerator dessert. It belongs in the freezer and is best eaten soon after spinning.
- Freezer: The base can sit frozen for up to 2 weeks before spinning, tightly covered. After spinning, expect it to harden again and lose that soft-serve texture.
- Reheating: There’s no reheating here. To serve leftovers, let the pint sit at room temperature for 5 to 10 minutes, then re-spin if needed. Microwaving will melt the mix-ins and ruin the texture.
Answers to the Questions Worth Asking
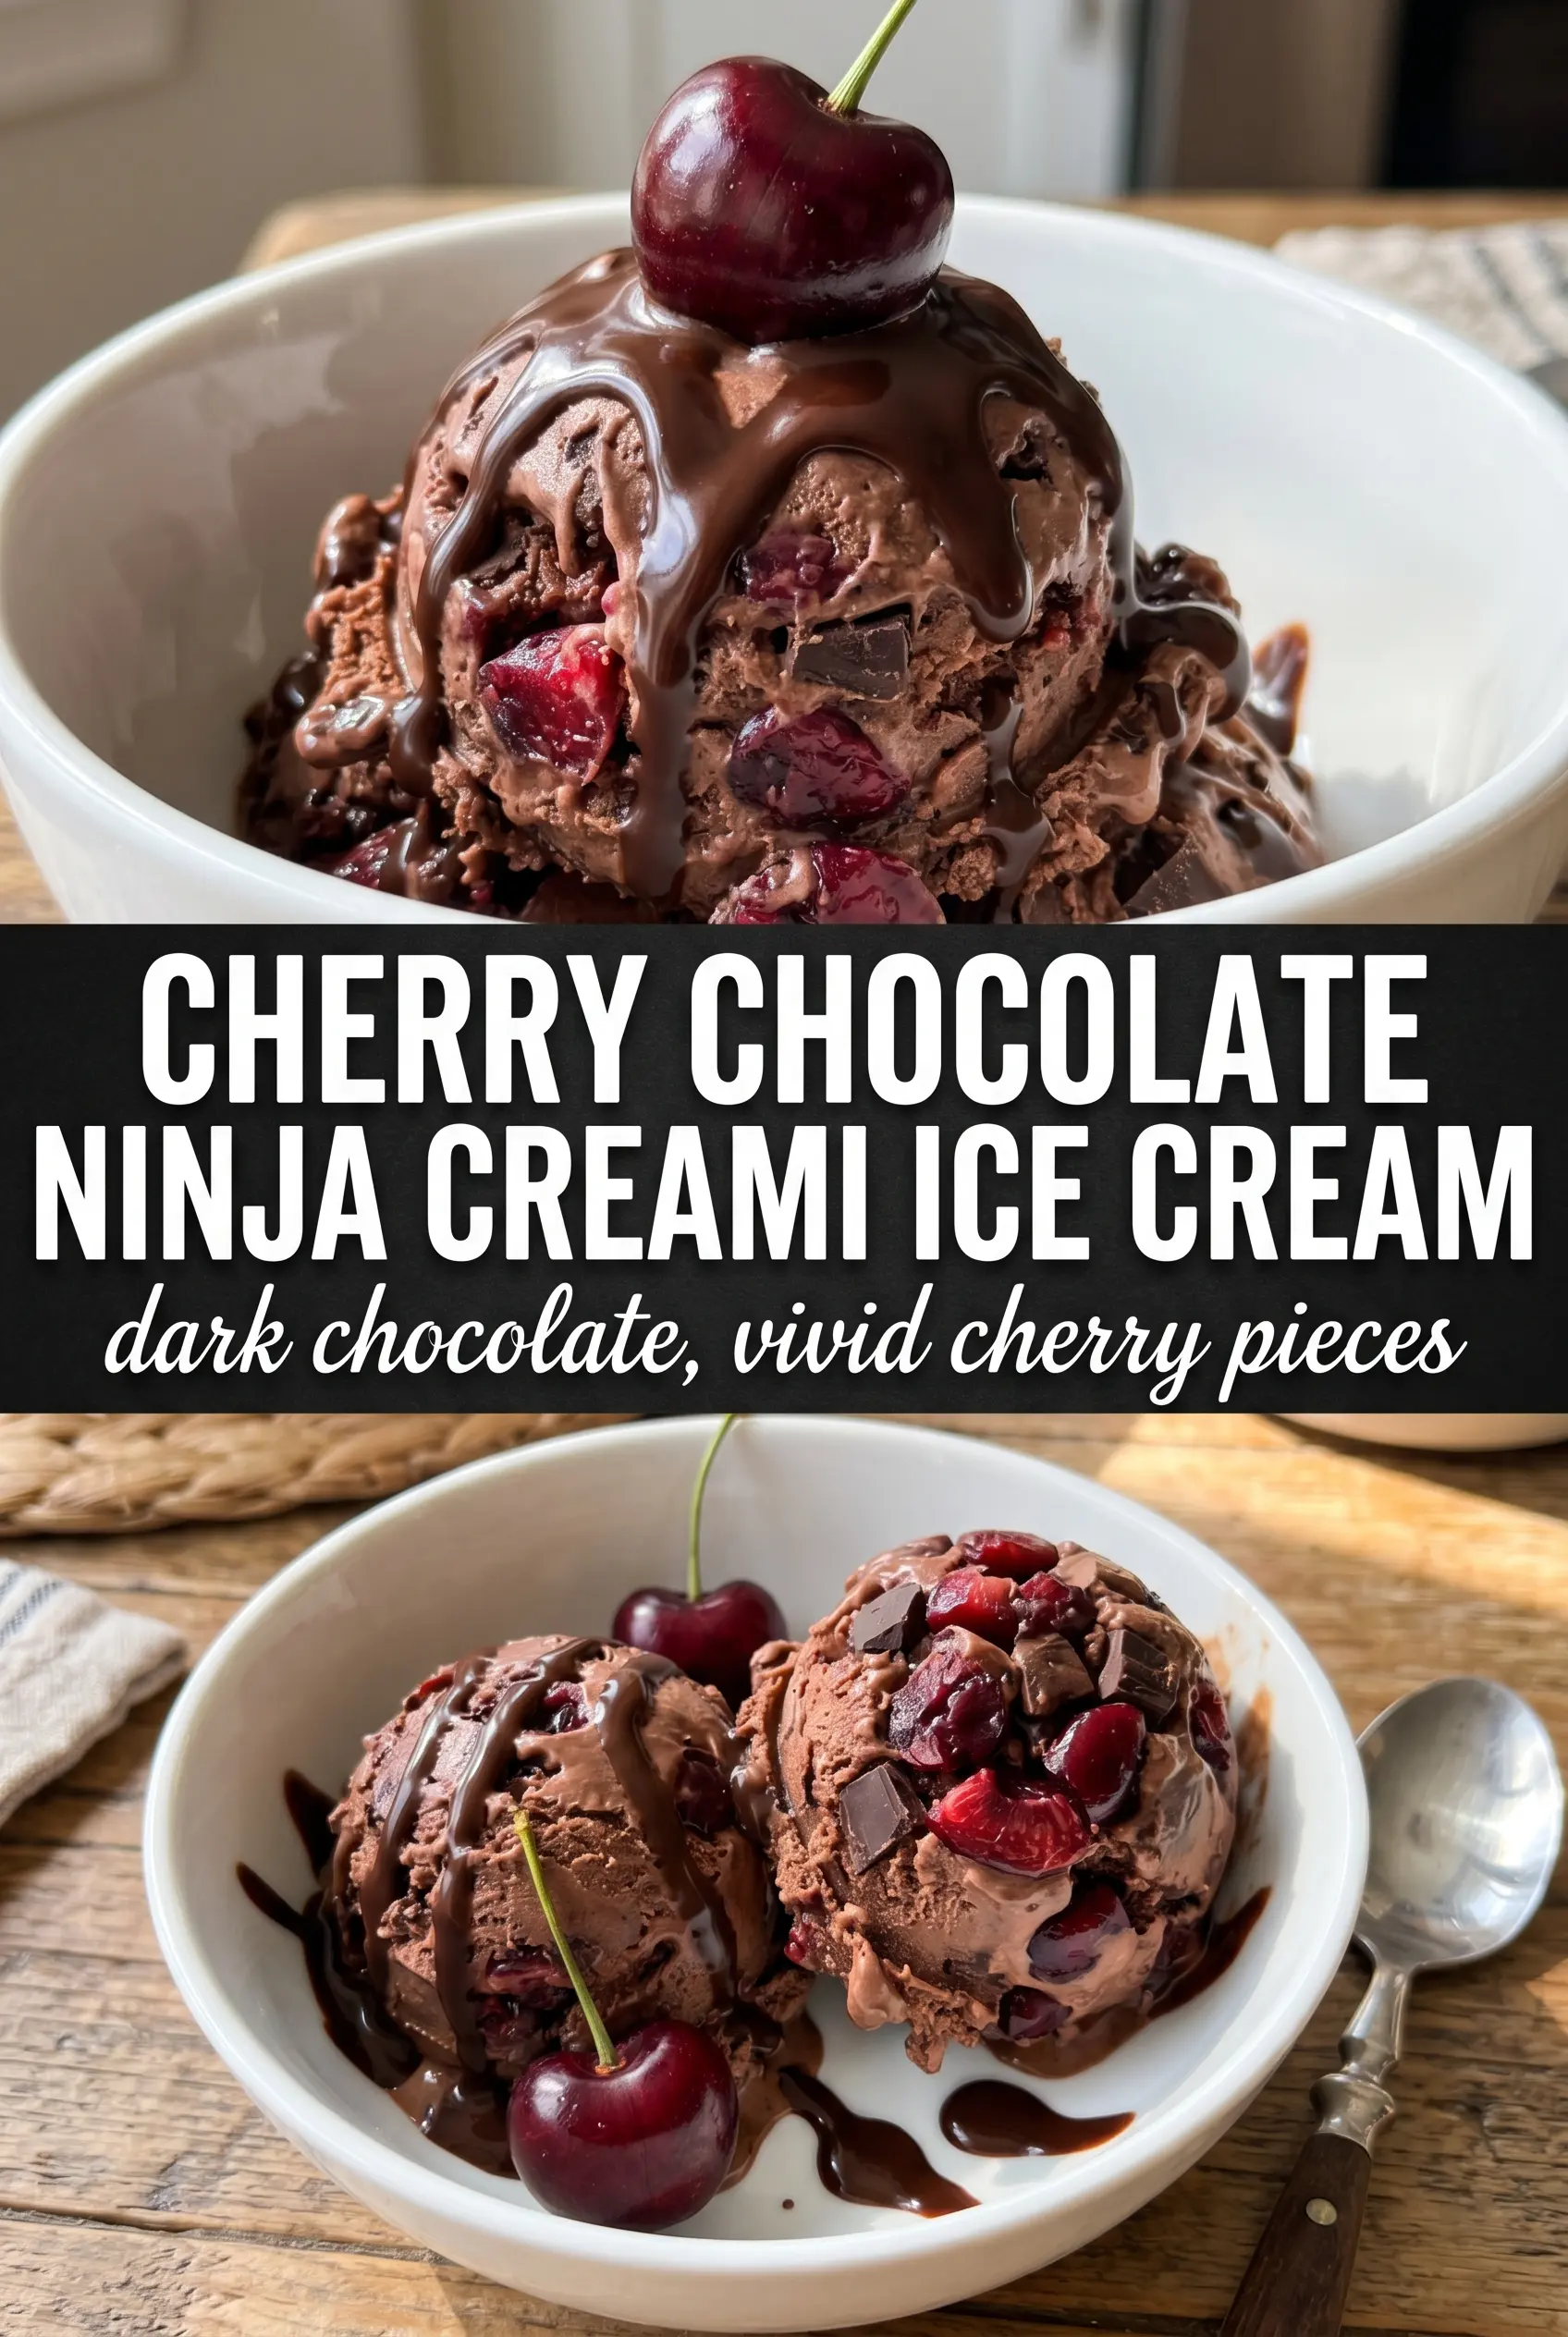
Cherry Chocolate Ice Cream in the Ninja Creami
Ingredients
Equipment
Method
- Blend the chocolate milk (or whole milk plus cocoa), heavy cream, granulated sugar, cream cheese, vanilla extract, almond extract, and salt until smooth, with no visible cream cheese lumps.
- Pour the mixture into the Ninja Creami pint container and spread evenly.
- Freeze the pint for 24 hours until fully solid.
- Process on the Ice Cream setting, then stop and check texture.
- If needed, re-spin with 1 tablespoon milk to loosen for a smooth, scoopable result.
- Use the Mix-In function to fold in the chopped frozen dark cherries evenly through the chocolate base.
- Top with a fresh cherry and serve immediately.