Chicken burrito casserole turns a stack of familiar burrito flavors into one pan that slices cleanly, holds together, and comes out with browned cheese at the edges and a creamy, savory center. The tortillas soften just enough to become tender without disappearing, and the filling stays rich instead of dry. It’s the kind of bake that disappears fast because every bite has chicken, salsa, a little heat from green chiles, and plenty of cheese.
What makes this version work is the balance of moisture. The soup, sour cream, and salsa create a sauce that’s thick enough to coat the chicken but not so heavy that it turns the casserole soupy. Spreading a thin layer on the bottom of the pan helps the tortillas soften evenly instead of sticking, and the rest time after baking matters more than people think — that’s when the layers settle and slice properly.
Below you’ll find the little details that keep the casserole from getting watery, plus a few smart swaps if you want to adjust the heat, make it ahead, or stretch it for a bigger crowd.
The filling thickened up beautifully and the tortillas held their shape instead of turning mushy. I baked it on a Sunday and reheated leftovers all week, and it still sliced into neat squares.
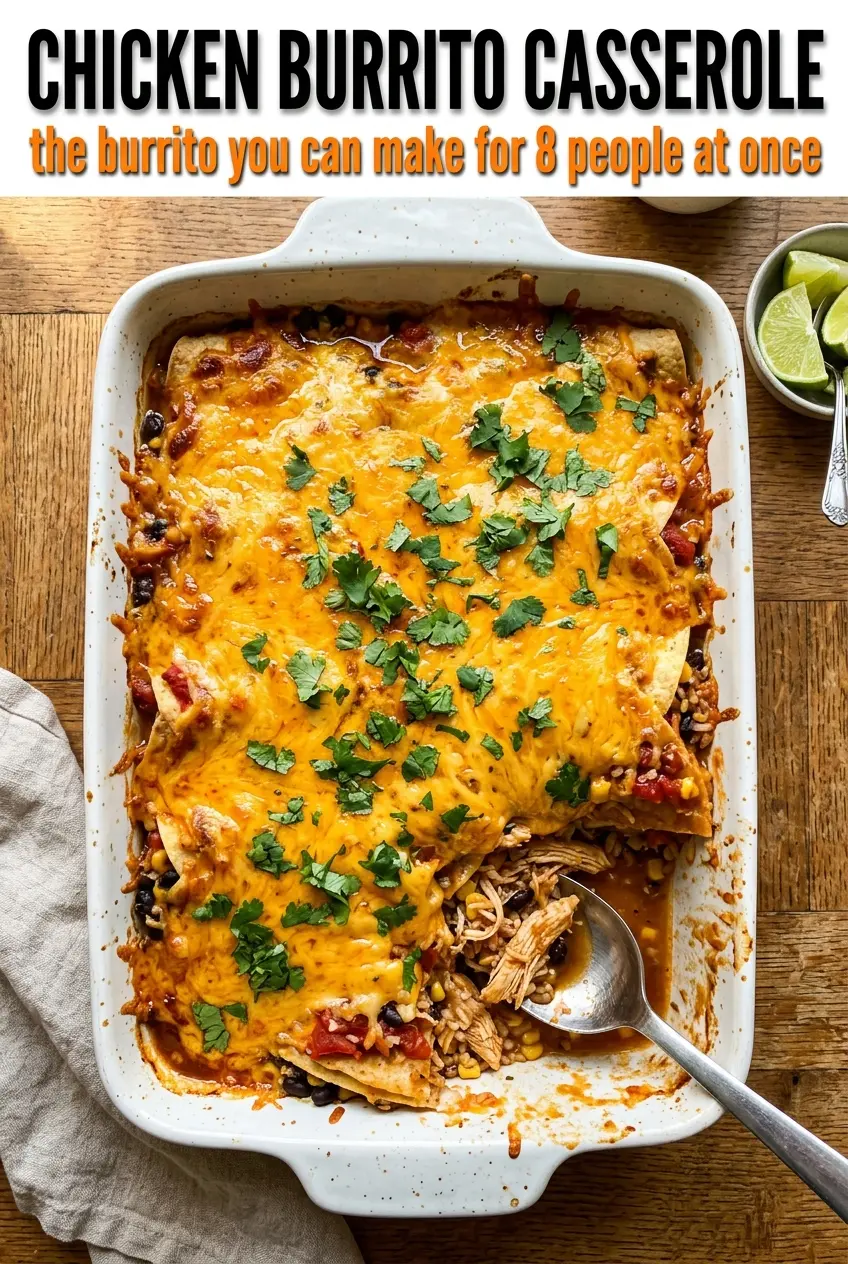
Save this Chicken Burrito Casserole for a cheesy layered dinner with tender tortillas and a creamy salsa filling.
The Trick to Keeping the Tortillas Soft Without Making the Casserole Watery
Chicken burrito casserole lives or dies on how thick the filling is before it goes into the oven. If the mixture is loose, the tortillas absorb too much liquid and the whole pan turns soft in a muddled way instead of slicing into layers. The goal is a spoonable filling that clings to the chicken, not a bowl of sauce with ingredients floating in it.
The salsa does a lot of the seasoning work here, so use one that you’d actually eat on its own. Thick salsa gives better structure than thin, watery salsa, and it helps the casserole bake up with that creamy, layered texture instead of pooling at the bottom. The rest time after baking is part of the method too. It gives the sauce a chance to set up so the first serving doesn’t collapse.
- Shredded cooked chicken — Rotisserie chicken is the fastest route, but any cooked chicken works as long as it’s shredded into bite-size pieces. Bigger chunks make the layers fall apart when you slice the casserole.
- Cream of chicken soup — This is the backbone of the creamy filling. It thickens in the oven better than milk or broth would, which is why a soup-free swap usually makes the casserole looser.
- Sour cream — It adds tang and keeps the filling from tasting flat. Use full-fat if you can; lower-fat sour cream can work, but it is a little more likely to separate if the casserole bakes too hard or too long.
- Salsa — Thick salsa brings both seasoning and moisture. If yours is extra watery, drain off a little liquid first so the casserole doesn’t bake up soupy.
- Flour tortillas — They soften into the casserole without crumbling. Corn tortillas can be used in a pinch, but the texture changes and the dish becomes more like a layered enchilada bake.
- Cheese — Cheddar gives a sharper finish, while Monterey Jack melts smoother. If you want the top to brown well, shred your own cheese; pre-shredded cheese melts a little less cleanly because of the anti-caking coating.
Building the Layers So the Center Cooks Through
Mix the filling first
Stir the soup, sour cream, and salsa together until the mixture looks smooth and evenly colored before adding the chicken. That base should coat a spoon thickly and hold together when you scoop it. Once the chicken, chiles, and onion go in, mix just until everything is covered. Overmixing breaks the chicken into shreds that disappear into the sauce.
Start with a thin bottom layer
Spread a little filling across the bottom of the greased pan before adding the tortillas. That thin layer keeps the first tortilla layer from sticking and gives the bottom of the casserole enough moisture to soften properly. If the pan starts dry, the bottom layer can bake up chewy instead of tender.
Stack, fill, and cheese in the middle
Overlap the tortillas where needed so the filling stays contained. Add half the remaining mixture, then a layer of cheese, then repeat. That middle cheese layer melts into the filling and helps the slices hold together. Keep the top layer of cheese even, because bare spots can dry out before the rest of the pan is done.
Bake until the edges bubble
The casserole is ready when the center is hot and the cheese on top is fully melted with browned edges around the pan. If the top looks done but the center is still cold, give it a few more minutes covered loosely with foil so the cheese doesn’t over-brown. Let it rest before cutting. That pause is what gives you neat squares instead of a sloppy scoop.
How to Adjust the Heat, the Dairy, or the Size of the Pan
Milder, kid-friendly casserole
Use mild salsa and skip the green chiles if you want a gentler version. You’ll still get plenty of flavor from the soup, sour cream, chicken, and cheese, but the finish will lean creamy instead of spicy.
Gluten-free version
Use certified gluten-free tortillas and swap in a gluten-free condensed cream soup. The texture stays close to the original, though the tortillas may soften a little faster, so don’t skip the rest time after baking.
Dairy-free adaptation
Use a dairy-free sour cream and a meltable dairy-free cheese, then replace the cream of chicken soup with a dairy-free creamy soup alternative. The casserole will still bake up layered and sliceable, but the sauce will be a little less rich and a little less tangy.
Make-ahead for busy nights
Assemble the casserole up to a day ahead, cover it tightly, and refrigerate it before baking. Add a few extra minutes in the oven since it will be going in cold from the fridge. The tortillas soften a little more during the wait, which makes the final texture even more unified.
Storage and Reheating
- Refrigerator: Store leftovers covered for up to 4 days. The tortillas will soften a bit more, but the flavor actually deepens overnight.
- Freezer: It freezes well in portions or as a whole casserole. Wrap tightly and freeze for up to 2 months, then thaw in the fridge before reheating so the center warms evenly.
- Reheating: Reheat covered in a 325°F oven until hot, or use the microwave for single servings. The common mistake is blasting it uncovered, which dries out the top before the middle is warmed through.
Answers to the Questions Worth Asking
Chicken Burrito Casserole
Ingredients
Equipment
Method
- Preheat the oven to 350°F. Mix together cream of chicken soup, sour cream, and salsa until smooth.
- Stir in shredded cooked chicken, diced green chiles, diced onion, salt, and pepper. Stir until the mixture is evenly combined.
- Grease a 9x13-inch pan and spread a thin layer of the filling over the bottom. Layer flour tortillas, overlapping as needed, to cover the bottom.
- Add half the remaining filling and spread it into an even layer. Sprinkle with 1 cup shredded cheese.
- Repeat with the remaining tortillas and the remaining filling, then end with cheese on top. Keep the top layer fully covered with cheese for bubbling.
- Bake at 350°F for 35 minutes until heated through and the cheese is melted. Look for golden-brown edges and bubbling around the sides.
- Let the casserole rest for 10 minutes before serving. This helps the layers set for cleaner squares.
- Top with cilantro, sour cream, and fresh salsa. Finish with sliced green onions for a fresh bite.