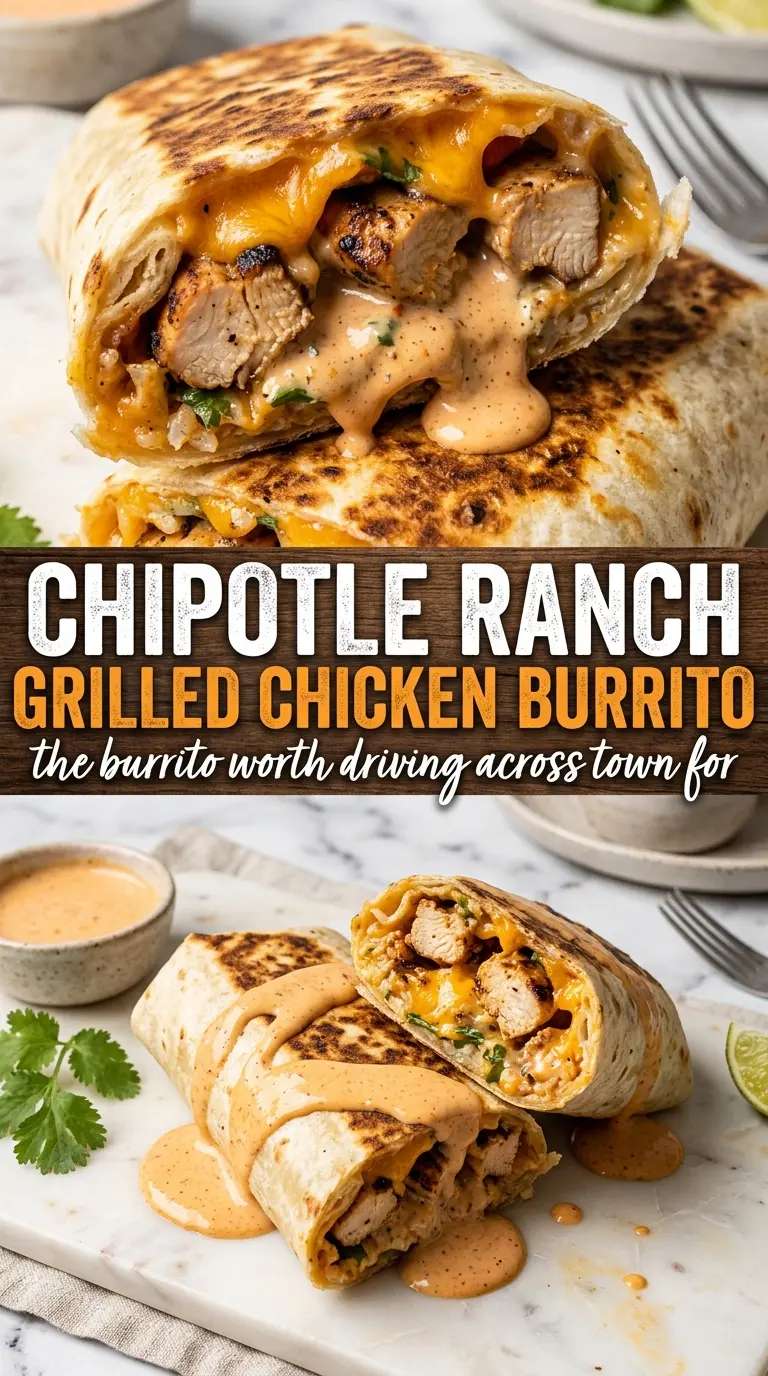
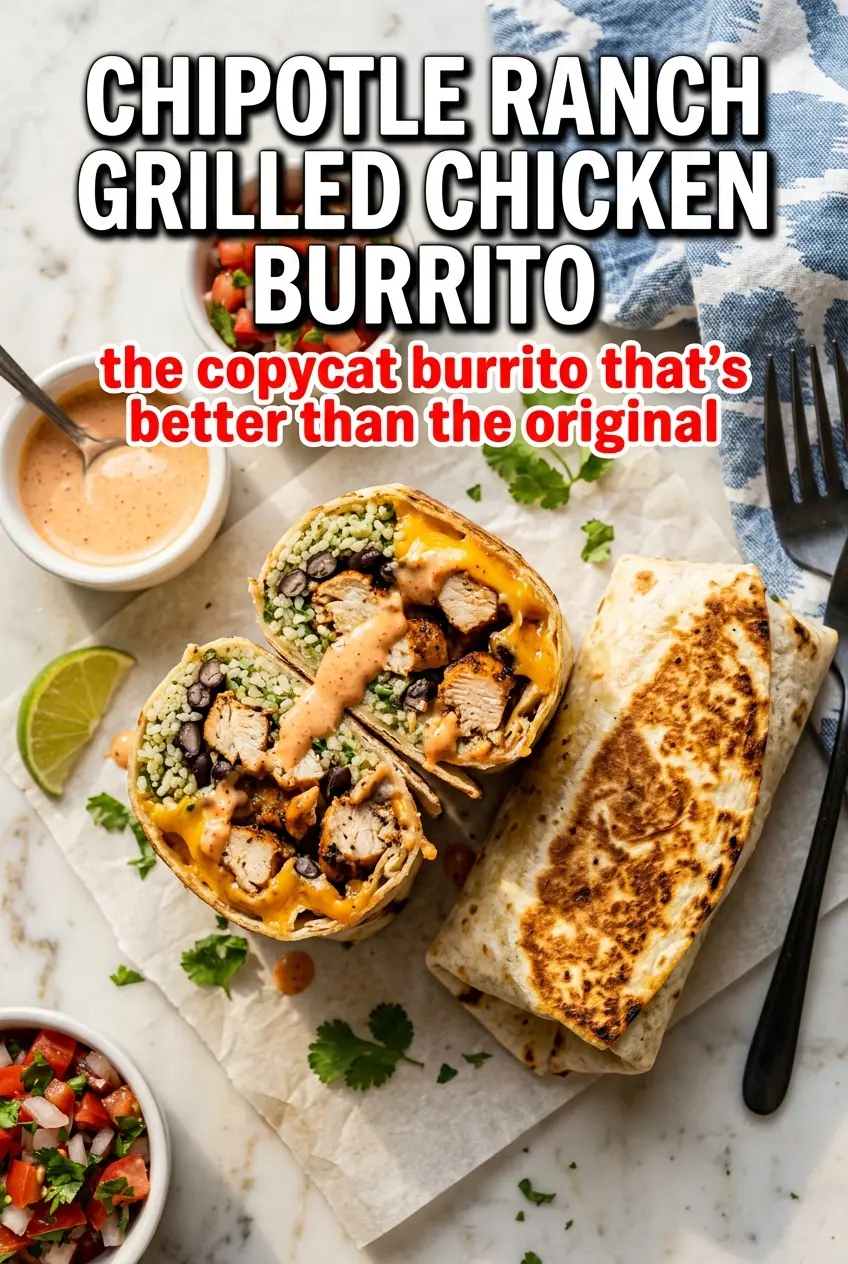
Charred tortillas, melted cheese at the seams, and juicy grilled chicken make this chipotle ranch grilled chicken burrito the kind of meal that disappears fast. The real payoff is in the contrast: smoky heat from the chipotle, cool tang from the ranch, creamy avocado, and enough rice and beans to make every bite feel complete. Once the burritos hit the grill for that last minute on each side, the tortilla turns crisp in spots while the filling stays soft and steamy inside.
What makes this version work is the way the sauce does double duty. The chipotle ranch gets spread inside for flavor, but it also keeps the filling from tasting dry or flat. Grilling the chicken separately gives you control over the char and keeps the burrito from turning mushy later, while a quick final grill seals everything together and melts the cheese right at the seam.
Below, I’ve included the little timing details that matter most, plus a few smart swaps if you need to work with what’s already in your kitchen. The order of assembly matters here, and a couple of small moves make the difference between a burrito that holds together and one that falls apart the second you pick it up.
The chipotle ranch had just enough kick, and the grill step made the tortillas crisp without getting hard. I also liked that the filling stayed tucked in after rolling — no messy falling apart when I cut them in half.
Like this chipotle ranch grilled chicken burrito? Save it to Pinterest for a smoky, cheesy handheld dinner with a crisp grilled finish.
The Grill Step That Keeps the Burrito From Getting Soggy
Most burritos go wrong before they ever hit the grill again. The filling is hot, the tortilla is soft, and the sauce gets added with no plan, so everything slides apart the second you try to roll it. The fix here is simple: keep the chicken well rested, use just enough sauce to coat the inside, and let the seam-side-down finish on the grill do the work of sealing.
The other thing that matters is heat management. If the grill is screaming hot when the tortilla goes on, the outside chars before the cheese has time to melt. Medium-high heat is the sweet spot. You want a tortilla with a few dark grill marks and a little blistering, not a brittle shell that cracks when you bite into it.
- Rested chicken — Resting for five minutes after grilling keeps the juices in the meat instead of leaking into the burrito and softening the tortilla.
- Warm tortillas — A quick warm-up makes them flexible enough to roll tightly without tearing.
- Seam-side-down finish — This is what locks the burrito closed and melts the cheese where it matters most.
What the Chipotle Ranch Is Doing Here
- Chipotle peppers in adobo — These bring the smoky heat. Mince them finely so they blend into the ranch instead of staying in sharp little pockets. If you want less heat, use fewer peppers and keep the adobo sauce to a minimum.
- Ranch dressing — This gives the filling its creamy base and mellows the chipotle. A good bottled ranch works fine here; this isn’t the place where a homemade version changes the outcome much.
- Lime juice — This cuts through the richness and keeps the sauce from tasting heavy. Fresh lime juice is worth using because bottled juice can taste flat in a sauce this simple.
- Cheddar cheese — Use a cheese that melts cleanly. Pre-shredded works, but freshly shredded cheddar gives you a smoother melt and fewer dry edges inside the burrito.
- Flour tortillas — Large, flexible tortillas matter more than anything else in the wrap itself. Smaller tortillas are much more likely to split once you add rice, beans, and chicken.
Building the Burrito So It Holds Together on the Grill
Grilling the chicken first
Season the chicken with salt and pepper, then grill it over medium-high heat until the outside has good color and the center reaches 165°F. Letting it rest before slicing is not optional here; if you cut too soon, the juices run out and end up soaking the tortilla later. Slice it across the grain so the pieces stay tender and easy to layer.
Warming and saucing the tortilla
Warm each tortilla on the grill just until it becomes pliable. Spread the chipotle ranch in a thin layer instead of piling it on, because too much sauce makes rolling harder and can leak when the burrito gets pressed on the grill. Leave a little border around the edges so the filling has room to stay put.
Layering for a tight roll
Add the rice first, then beans, chicken, vegetables, cheese, and avocado. That order helps the softer ingredients sit on a stable base instead of sliding around. Keep the filling in a compact line through the center of the tortilla rather than spreading it wide; that’s what makes the fold clean.
Finishing on the grill
Roll the burrito snugly, then place it seam-side down on the grill. Give it about a minute per side, just until the cheese melts and the tortilla picks up those deep char marks. If you leave it too long, the tortilla dries out before the cheese has a chance to bind everything together.
Make it milder
Use one minced chipotle pepper and a little extra ranch if you want the burrito smoky without much heat. You’ll still get the adobo flavor, just with a softer finish that works better for kids or anyone sensitive to spice.
Make it dairy-free
Swap in a dairy-free ranch and a meltable plant-based cheese. The texture will be a little less creamy, but the chipotle heat, grilled chicken, and charred tortilla still carry the whole burrito.
Use brown rice or cauliflower rice
Brown rice gives you a nuttier bite and a little more chew, while cauliflower rice makes the burrito lighter and lower in carbs. If you use cauliflower rice, cook off any extra moisture first or the burrito will get wet fast.
Turn it into meal prep burritos
Assemble the burritos without avocado, then wrap them tightly and chill. Add avocado after reheating, or it will brown and soften too much. This version holds up well for grab-and-go lunches if you keep the sauce layer thin.
Storage and Reheating
- Refrigerator: Store wrapped burritos for up to 3 days. The tortilla softens a little, but the flavor stays strong.
- Freezer: Freeze without avocado for best results. Wrap each burrito tightly in foil, then freeze for up to 2 months.
- Reheating: Thaw overnight if frozen, then reheat in a skillet over medium-low heat until hot through and the tortilla crisps again. Microwaving alone makes the tortilla rubbery, so use it only to start the heating if needed.
Answers to the Questions Worth Asking
Chipotle Ranch Grilled Chicken Burrito
Ingredients
Equipment
Method
- Mix minced chipotle peppers with ranch dressing and lime juice until smooth to create chipotle ranch sauce. Keep it ready for spreading on the warmed tortillas.
- Season the chicken breasts with salt and pepper. Coat evenly so the exterior seasons well during grilling.
- Grill chicken over medium-high heat for 5-6 minutes per side until cooked through. Look for browned exterior with grill marks and no pink in the center.
- Rest the grilled chicken for 5 minutes, then slice. This helps the juices settle so slices stay tender.
- Warm tortillas on the grill for about 30 seconds per side. Watch for soft pliability and light grill color.
- Lay tortillas flat and spread each with chipotle ranch sauce. Cover evenly so every bite has a creamy, smoky base.
- Layer each tortilla with white rice, black beans, sliced chicken, diced red pepper, corn, shredded cheddar cheese, and avocado slices. Keep the filling centered to make rolling easier.
- Fold the sides in and roll tightly. Place the seam-side down on the grill so it holds together while the cheese melts.
- Cook the rolled burritos on the grill for 1 minute per side until the cheese melts and the tortilla chars slightly. Use a gentle press if needed and look for melted cheese at the seams and browned, crisp edges.
- Serve the burritos warm right off the grill. Cut or serve whole based on your preference while the cheese is still molten.