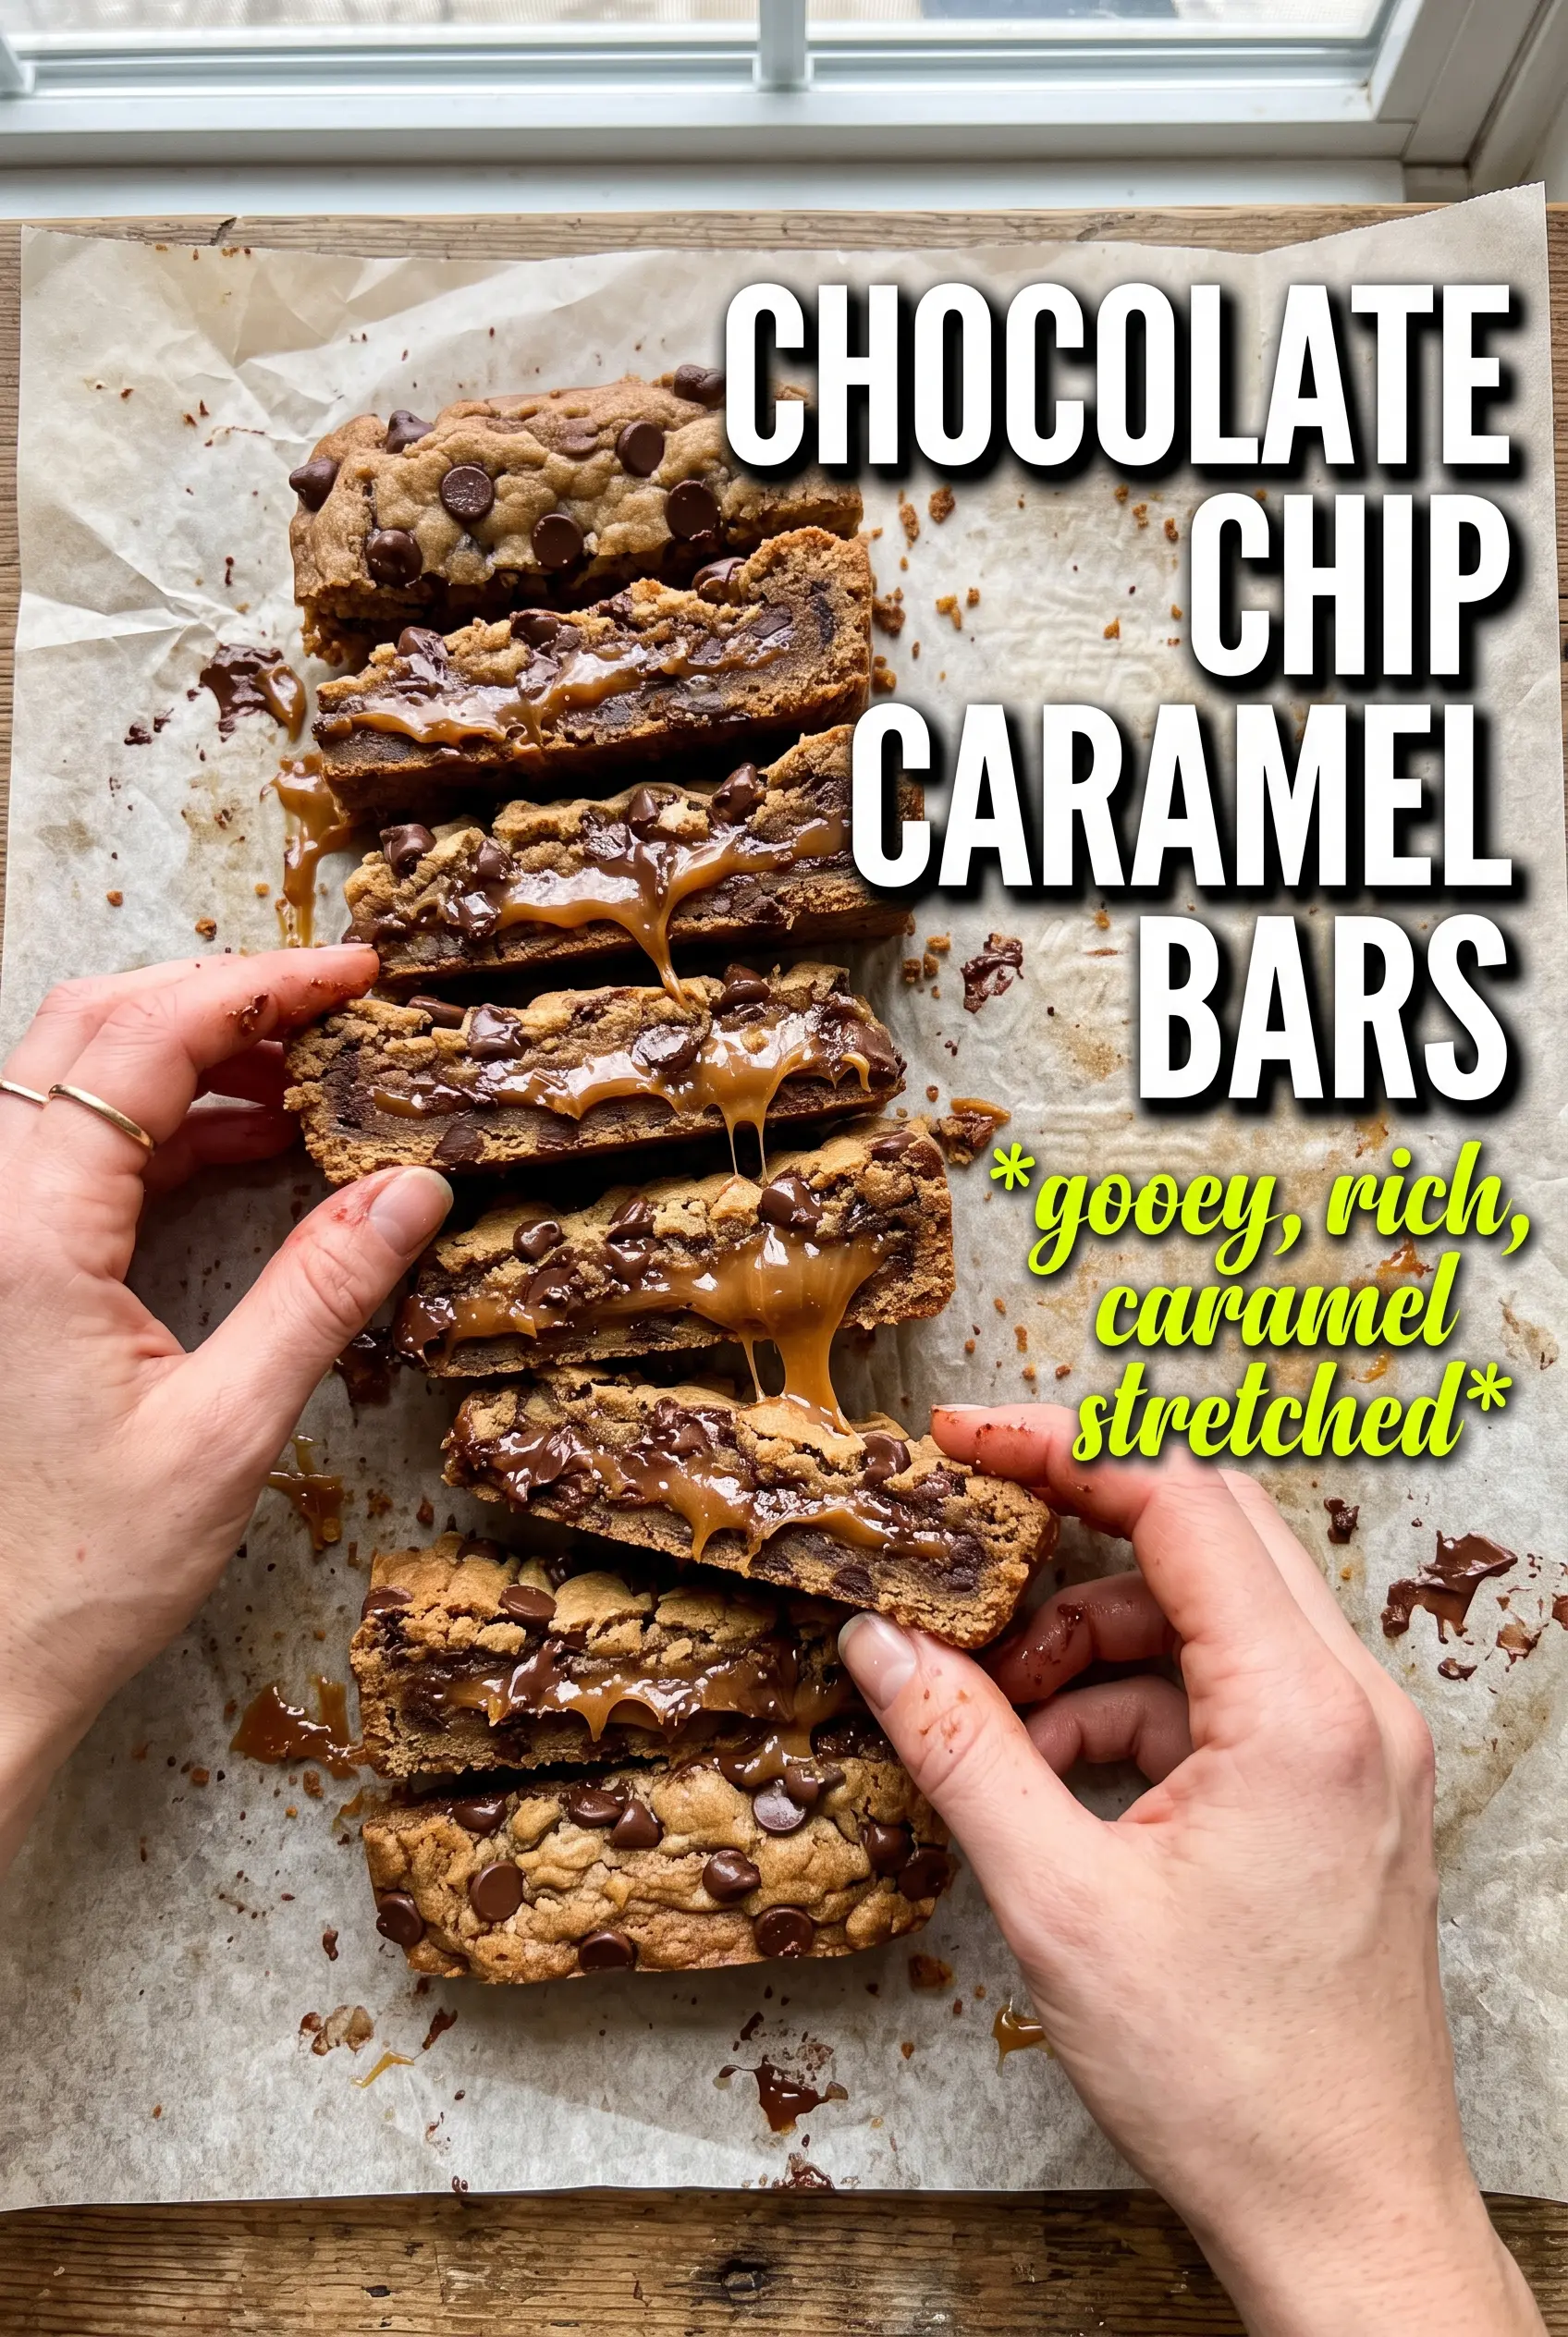
Chocolate chip caramel bars hit that sweet spot between a cookie bar and a candy bar: crisp at the edges, chewy through the middle, and layered with a warm caramel center that stays soft without turning runny. The oats give the top and base a little chew and toastiness, while the melted butter keeps the dough easy to press and crumbly enough to make a real streusel-style topping.
What makes this version work is the order. The base goes in first and gets a head start in the oven, which keeps the bottom sturdy enough to support the caramel layer. The caramel is loosened with a little cream so it pours and spreads cleanly, then the chocolate chips melt just enough in the final bake to create those pockets of chocolate that make each square taste like a bakery treat.
Below you’ll find the little details that matter most here: how firmly to press the base, why cooling all the way is non-negotiable, and the best way to slice the bars so the caramel stays neatly layered instead of smearing everywhere.
The caramel set up perfectly between the layers, and the bars held together cleanly once I let them cool all the way. My kids kept sneaking back for “just one more” because the edges stayed chewy and the chocolate chips were still a little melty.
Save these chocolate chip caramel bars for the next time you want a chewy oatmeal base, gooey caramel middle, and flaky-salt finish in one pan.
The Small Trick That Keeps the Caramel Layer from Sinking
The first bake is what gives these bars their backbone. If you skip that 10-minute head start, the caramel has nowhere to sit and it can soak into the base, which leaves you with a sticky bottom and no clean layer in the middle. Press the dough firmly enough that it holds together like packed sand; if it feels loose, it will crumble apart when you slice the bars.
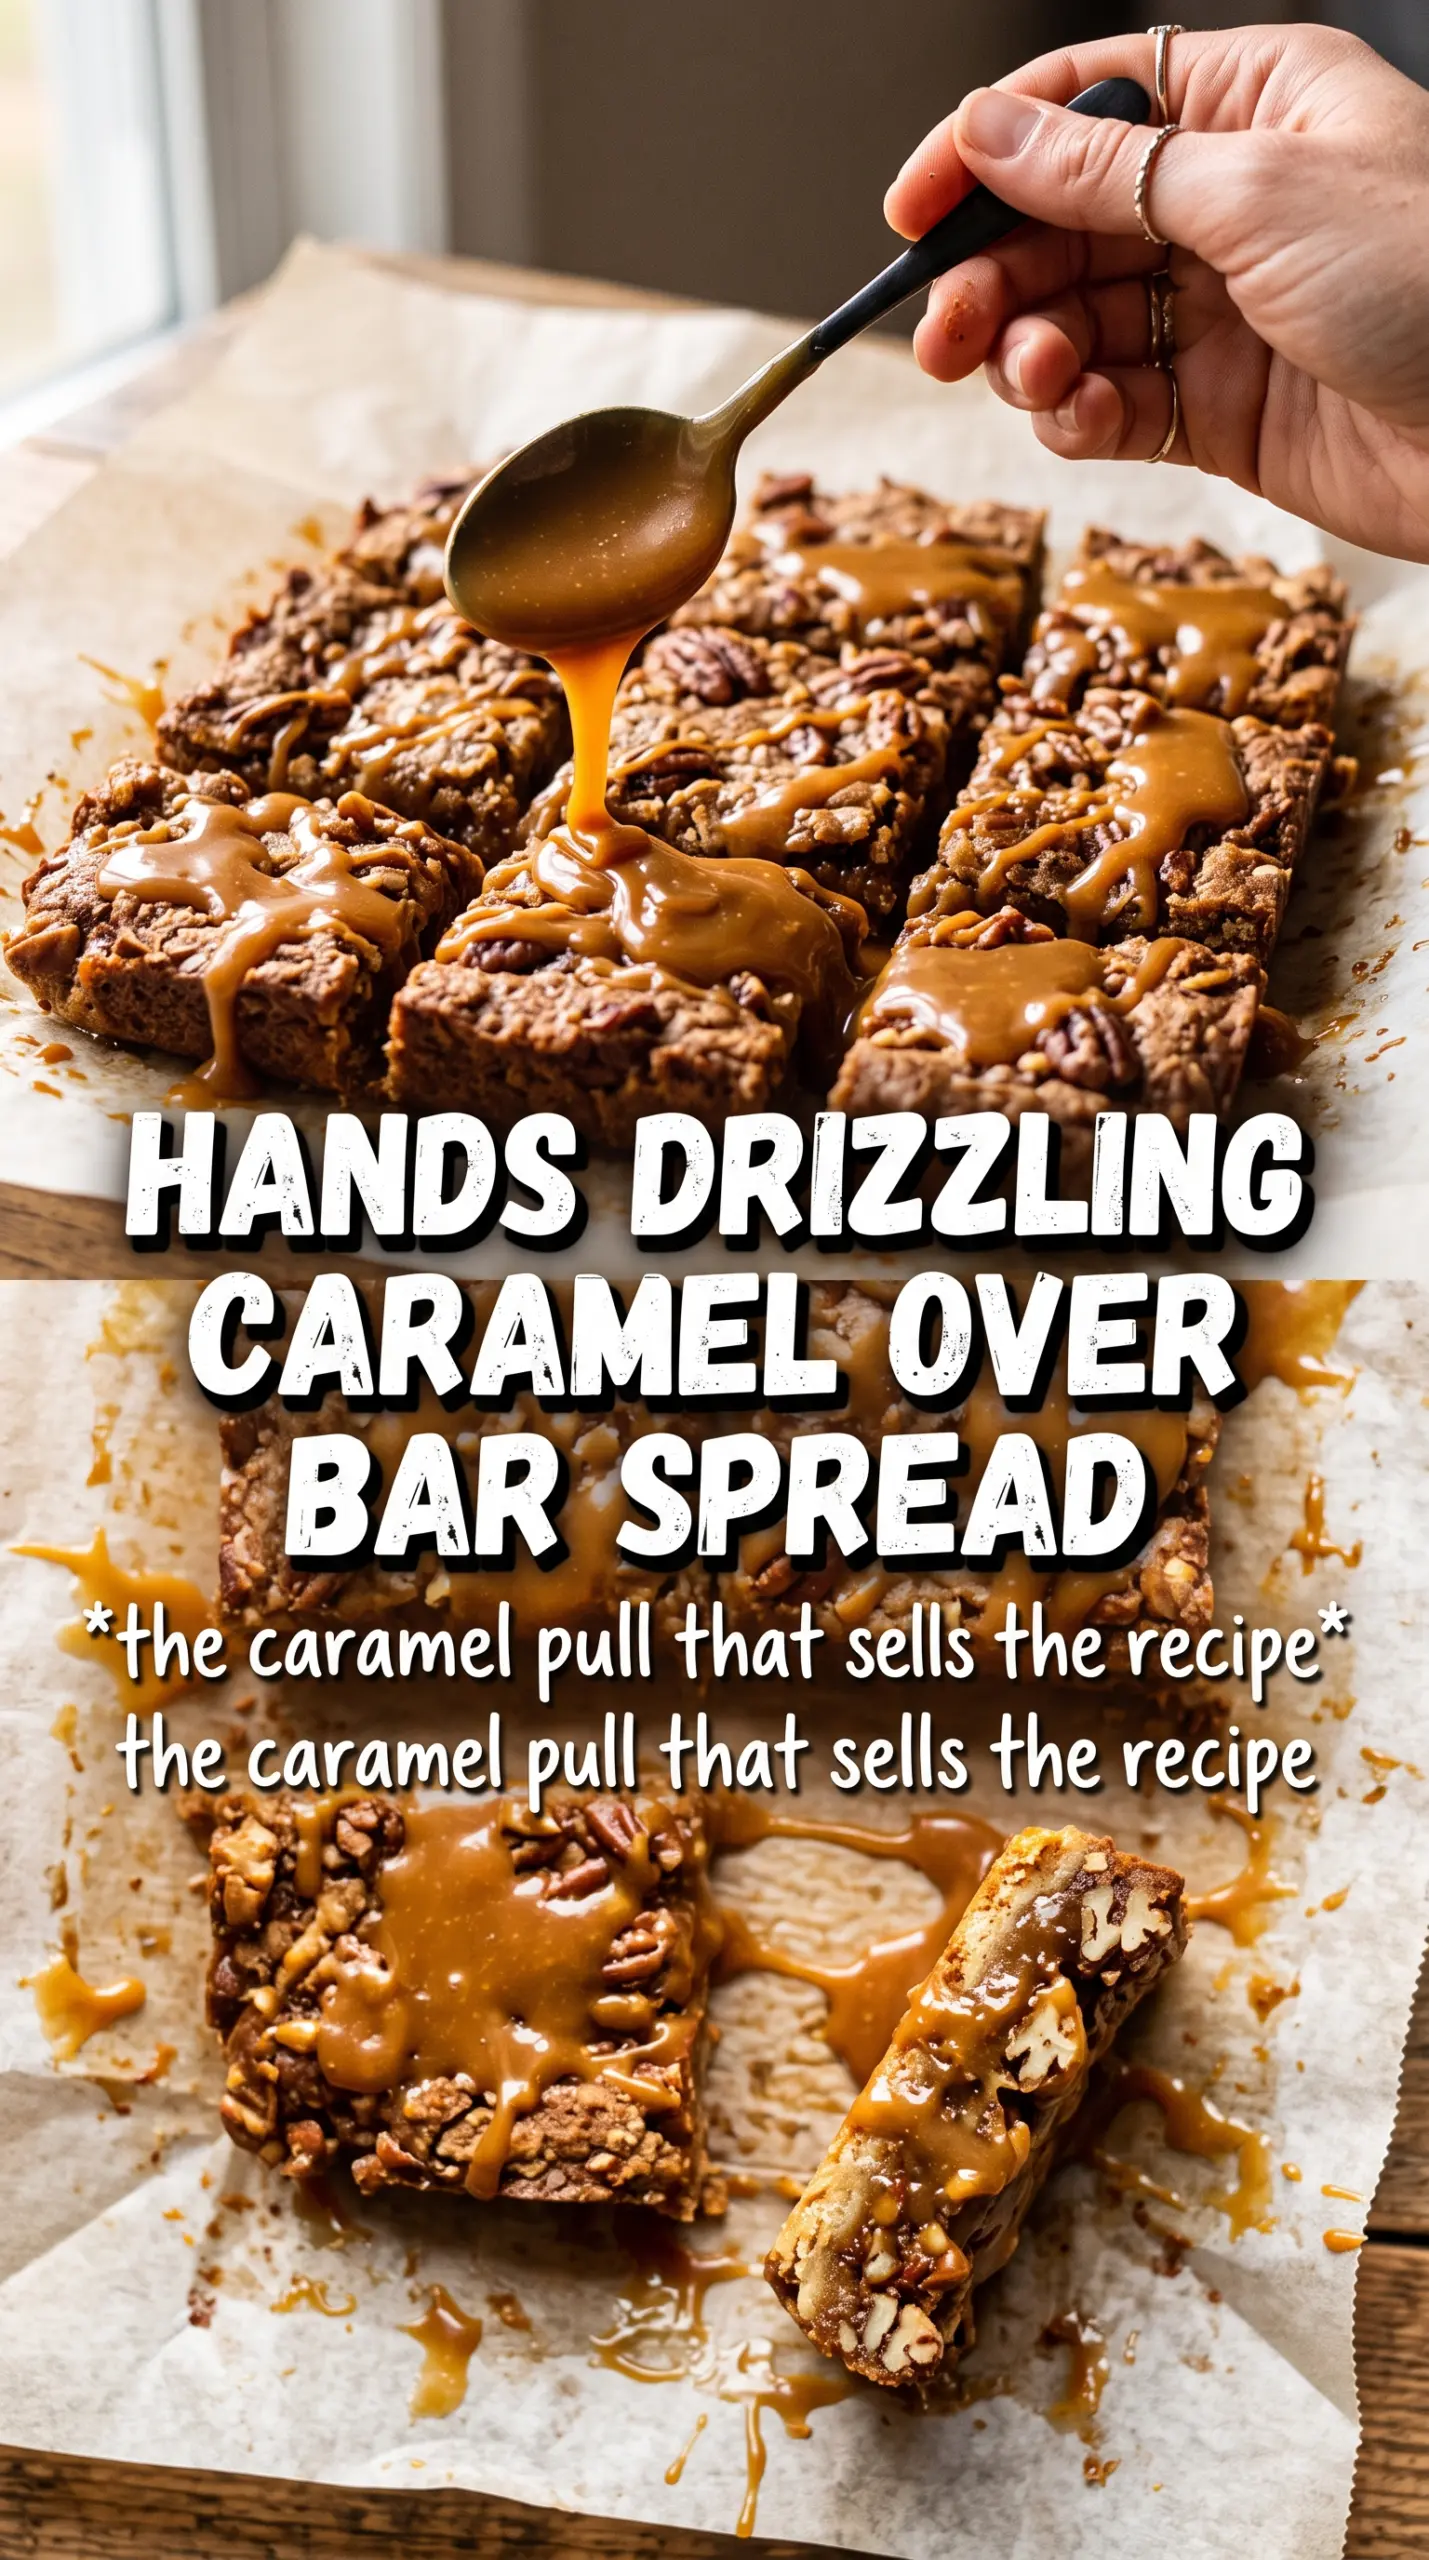
The other detail that matters is cooling. These bars look set before they actually are, and cutting them warm is the fastest way to smear the caramel and drag the topping across the pan. Letting them cool all the way gives the caramel time to thicken back up, which is what creates those neat, bakery-style squares.
- Firmly packed base — The bottom layer needs to be pressed in hard so it bakes into a sturdy crust instead of a crumbly bed for the filling.
- Par-bake time — Those first 10 minutes keep the layers separated and give the caramel a surface that can handle the weight of the topping.
- Full cool-down — The caramel needs time to reset. If you slice too early, it will ooze and the bars won’t hold shape.
What Each Ingredient Is Actually Doing in These Bars
- Rolled oats — These bring chew and a toasted, hearty texture that keeps the bars from tasting like plain cookie dough. Quick oats work in a pinch, but they make the topping denser and less nubby.
- Melted butter — Melted butter makes the dough easy to mix and press, and it helps the bars bake up with a richer, tighter crumb. Cold butter won’t give you the same cohesive base here.
- Brown sugar — This adds moisture and that deep caramel note that plays well with the filling. If you swap it all for white sugar, the bars lose some of their chew and warmth.
- Caramel sauce + heavy cream — The cream loosens the caramel just enough to spread it in an even layer. Skip it and the filling can be too thick to distribute cleanly, especially once the base is hot.
- Semi-sweet chocolate chips — These balance the sweetness of the caramel without making the bars cloying. Milk chocolate will work, but the finished bars will taste sweeter and softer.
- Flaky sea salt — The salt goes on at the end and sharpens every layer. It also keeps the bars from tasting one-note.
The Layering Order That Gives You Clean Squares
Mixing the Oat Dough
Stir the dry ingredients together first so the baking soda and salt are evenly distributed, then drizzle in the melted butter and toss until the mixture looks evenly damp, like coarse crumble that clumps when pressed. If there are dry pockets left behind, those spots will bake up sandy instead of tender. Stop mixing as soon as everything is coated; overworking it makes the topping tighter than it should be.
Pressing and Par-Baking the Base
Spread about two-thirds of the mixture into the parchment-lined pan and press it firmly and evenly into the corners. An offset spatula or the bottom of a measuring cup helps flatten the surface without leaving ridges. Bake until the top looks set and just barely matte; you want a base that can support the caramel without turning hard.
Building the Caramel Middle
Whisk the caramel sauce with the heavy cream until smooth, then pour it over the hot crust and spread it to the edges. The base should still be warm enough to help the caramel settle, but not so hot that it immediately boils the filling. If your caramel seems too thick to spread, keep whisking for a few extra seconds rather than adding more cream all at once.
Finishing with Chips and Crumble
Scatter the chocolate chips over the caramel before adding the remaining crumble so some chips sink into the layer and some stay near the top. Then crumble the rest of the dough over everything without pressing it down; loose clumps create the best browned, bakery-style top. Bake until the topping is golden and the caramel is bubbling at the edges, then finish with flaky salt while the surface is still warm.
Three Ways to Adjust These Bars Without Losing the Good Part
Gluten-Free Version
Use a good 1:1 gluten-free flour blend in place of the all-purpose flour, and check that your oats are certified gluten-free. The bars will still hold together, but the topping may be a little more delicate, so wait for a full cool before lifting them from the pan.
Dairy-Free Swap
Use plant-based butter and a dairy-free caramel sauce, then replace the heavy cream with full-fat coconut milk. The texture stays rich and gooey, but the coconut milk can add a faint coconut note, so this works best if you don’t mind a little extra flavor in the filling.
Extra-Salty, More Chocolate Finish
Use bittersweet chips instead of semi-sweet and add a slightly heavier pinch of flaky salt after baking. The bars lean less sweet and the caramel tastes deeper, which is a good move if you want the chocolate to stand out more than the candy-like chew.
Storage and Reheating
- Refrigerator: Store in an airtight container for up to 5 days. The caramel firms up in the fridge, so the bars will taste a little chewier cold.
- Freezer: These freeze well. Wrap individual bars tightly and freeze for up to 2 months, then thaw in the fridge so the caramel doesn’t sweat and slide around.
- Reheating: If you want a softer bite, let a bar sit at room temperature for 20 to 30 minutes or warm it briefly in the microwave. Long reheating will melt the layers and make the topping greasy.
Questions I Get Asked About This Recipe
Chocolate Chip Caramel Bars
Ingredients
Equipment
Method
- Preheat the oven to 350F and line a 9x13 pan with parchment.
- Mix all-purpose flour, rolled oats, brown sugar, granulated sugar, baking soda, and salt, then drizzle in melted unsalted butter and toss until evenly moistened.
- Press 2/3 of the mixture firmly into the prepared pan, then bake for 10 minutes.
- Whisk caramel sauce and heavy cream until smooth, then pour it over the hot base.
- Scatter semi-sweet chocolate chips over the caramel, then crumble the remaining dough on top.
- Bake for 20-22 more minutes at 350F until the topping is golden.
- Sprinkle flaky sea salt over the top, then cool completely before slicing.