Chocolate chip cookie dough ice cream cake lands with that perfect contrast people go back for: a chewy, golden cookie base, a cold creamy middle studded with cookie dough bites, and a clean crack of chocolate on top. Each slice holds its shape when it’s frozen long enough, but the layers still taste soft and rich instead of icy or stiff. It feels a little nostalgic and a little over-the-top in the best way.
The part that makes this cake work is giving each layer enough time to do its job. The cookie base needs to cool completely before the ice cream goes in, or the bottom turns soggy and the whole cake starts leaning. The ice cream layer also needs to be softened just enough to spread, not melted, so it freezes back into a creamy slab instead of an uneven block with air pockets.
Below, you’ll find the small details that keep the layers distinct, plus a couple of swaps for different ice cream flavors and a freezer tip that makes slicing a lot cleaner.
The cookie layer baked up chewy instead of hard, and the cookie dough ice cream froze into a perfect sliceable middle. I let it sit for about 10 minutes before cutting and the ganache stayed neat without shattering.
Like this chocolate chip cookie dough ice cream cake? Save it to Pinterest for birthdays, summer parties, and the days when a frozen cookie-and-cream slice is the only thing that makes sense.
The Cookie Base Has to Be Baked and Cooled Before the Ice Cream Goes Near It
The biggest mistake with a frozen layer cake like this is rushing the first layer. If the cookie base is even a little warm, the bottom of the ice cream melts on contact and you end up with a dense, sticky seam instead of a clean slice. Bake it until the edges are deeply golden and the center is set, then let it cool all the way in the pan before building anything on top.
The springform pan matters here because it gives you a tall, neat edge without having to pry the cake out later. A standard cake pan makes the whole thing harder to unmold once the layers are frozen solid. If the cookie dough puffs more than you expect, press it back into an even layer while it’s still hot and soft, then let it firm up as it cools.
What Each Layer Is Doing in This Frozen Cake

- Refrigerated cookie dough — This gives you the base and the structure. Use the full package for a sturdy bottom that can hold the ice cream without crumbling, and press it evenly so the cake freezes in a clean, level layer.
- Cookie dough or vanilla ice cream — Cookie dough ice cream gives the strongest theme, but vanilla works if you want the cookie pieces to stand out more. Let it soften just until it spreads easily; if it gets soupy, it won’t refreeze with the same creamy texture.
- Edible cookie dough bites — These are the bits that make every slice look and taste like cookie dough from edge to edge. Store-bought or homemade both work, but they need to be small enough to fold through the ice cream without tearing it up.
- Chocolate ganache or magic shell — Ganache gives you a richer, softer top, while magic shell gives a crisp snap. Warm it just enough to drizzle; if it’s too hot, it melts the ice cream top and runs off the sides before it sets.
- Whipped topping and mini chocolate chips — These finish the cake with a lighter, bakery-style look and add a little extra texture. Use them after the ganache has had a minute to settle so the toppings stay put.
Assembling the Layers Without Melting the Middle
Baking the Cookie Foundation
Press the cookie dough into the springform pan in an even layer, pushing it right to the edges so the base bakes into a neat circle. Bake until the surface looks set and the edges turn golden brown, about 12 to 15 minutes. If the center still looks glossy, give it another minute or two; underbaked cookie dough turns greasy once it’s frozen under the ice cream. Cool the base completely before moving on, or the next layer will soften and slide.
Building the Ice Cream Layer
Soften the ice cream just enough that it folds smoothly with the edible cookie dough bites. You want it spreadable, not melted around the edges. Spoon it over the cooled cookie base and work it into the corners so there aren’t air gaps or thin spots that can collapse later. Freeze the pan for about 4 hours, until the center feels firm all the way through when you press lightly on the top.
Finishing and Freezing the Top
Drizzle the chocolate ganache or magic shell over the frozen ice cream layer in thick ribbons, then add the whipped topping and mini chocolate chips. Work quickly here because the cold cake starts setting the chocolate as soon as it hits the surface. Return it to the freezer for at least 2 more hours before releasing the springform ring. For the cleanest slices, let the cake sit at room temperature for 8 to 10 minutes before cutting with a warm knife.
Swap the Ice Cream Flavor Without Losing the Cookie Dough Theme
Vanilla is the cleanest swap if you want the cookie dough bites to stand out more, while chocolate chip ice cream makes the whole cake richer and heavier. Both freeze well, but avoid mix-ins that get icy, like sherbet or low-fat frozen desserts, because this cake depends on a creamy middle that slices cleanly.
Make It Dairy-Free
Use dairy-free cookie dough, dairy-free ice cream, and a non-dairy whipped topping. The texture stays close to the original, but the cake may freeze a little firmer, so give it a few extra minutes at room temperature before slicing. Choose a dairy-free ganache made with coconut cream or use a vegan magic shell.
Use Chocolate Ganache for a Softer Finish or Magic Shell for a Crisp Top
Ganache settles into a glossy, fudgy layer that slices cleanly and tastes a little more polished. Magic shell sets into a hard chocolate cap, which gives you a sharper crunch but can crack if the cake sits too long at room temperature. Pick the one that matches the texture you want at the table.
Storage and Reheating
- Refrigerator: This cake doesn’t belong in the fridge for long. It softens fast, so keep leftovers frozen and only let slices sit out before serving.
- Freezer: Wrap the cake tightly in plastic wrap and then foil, or store slices in an airtight container for up to 2 weeks. The whipped topping looks best in the first few days, but the texture still holds well if it’s sealed properly.
- Reheating: There’s no reheating here. Let a slice rest at room temperature for 8 to 10 minutes so the knife goes through the ganache and cookie base without cracking the layers.
Questions I Get Asked About This Recipe
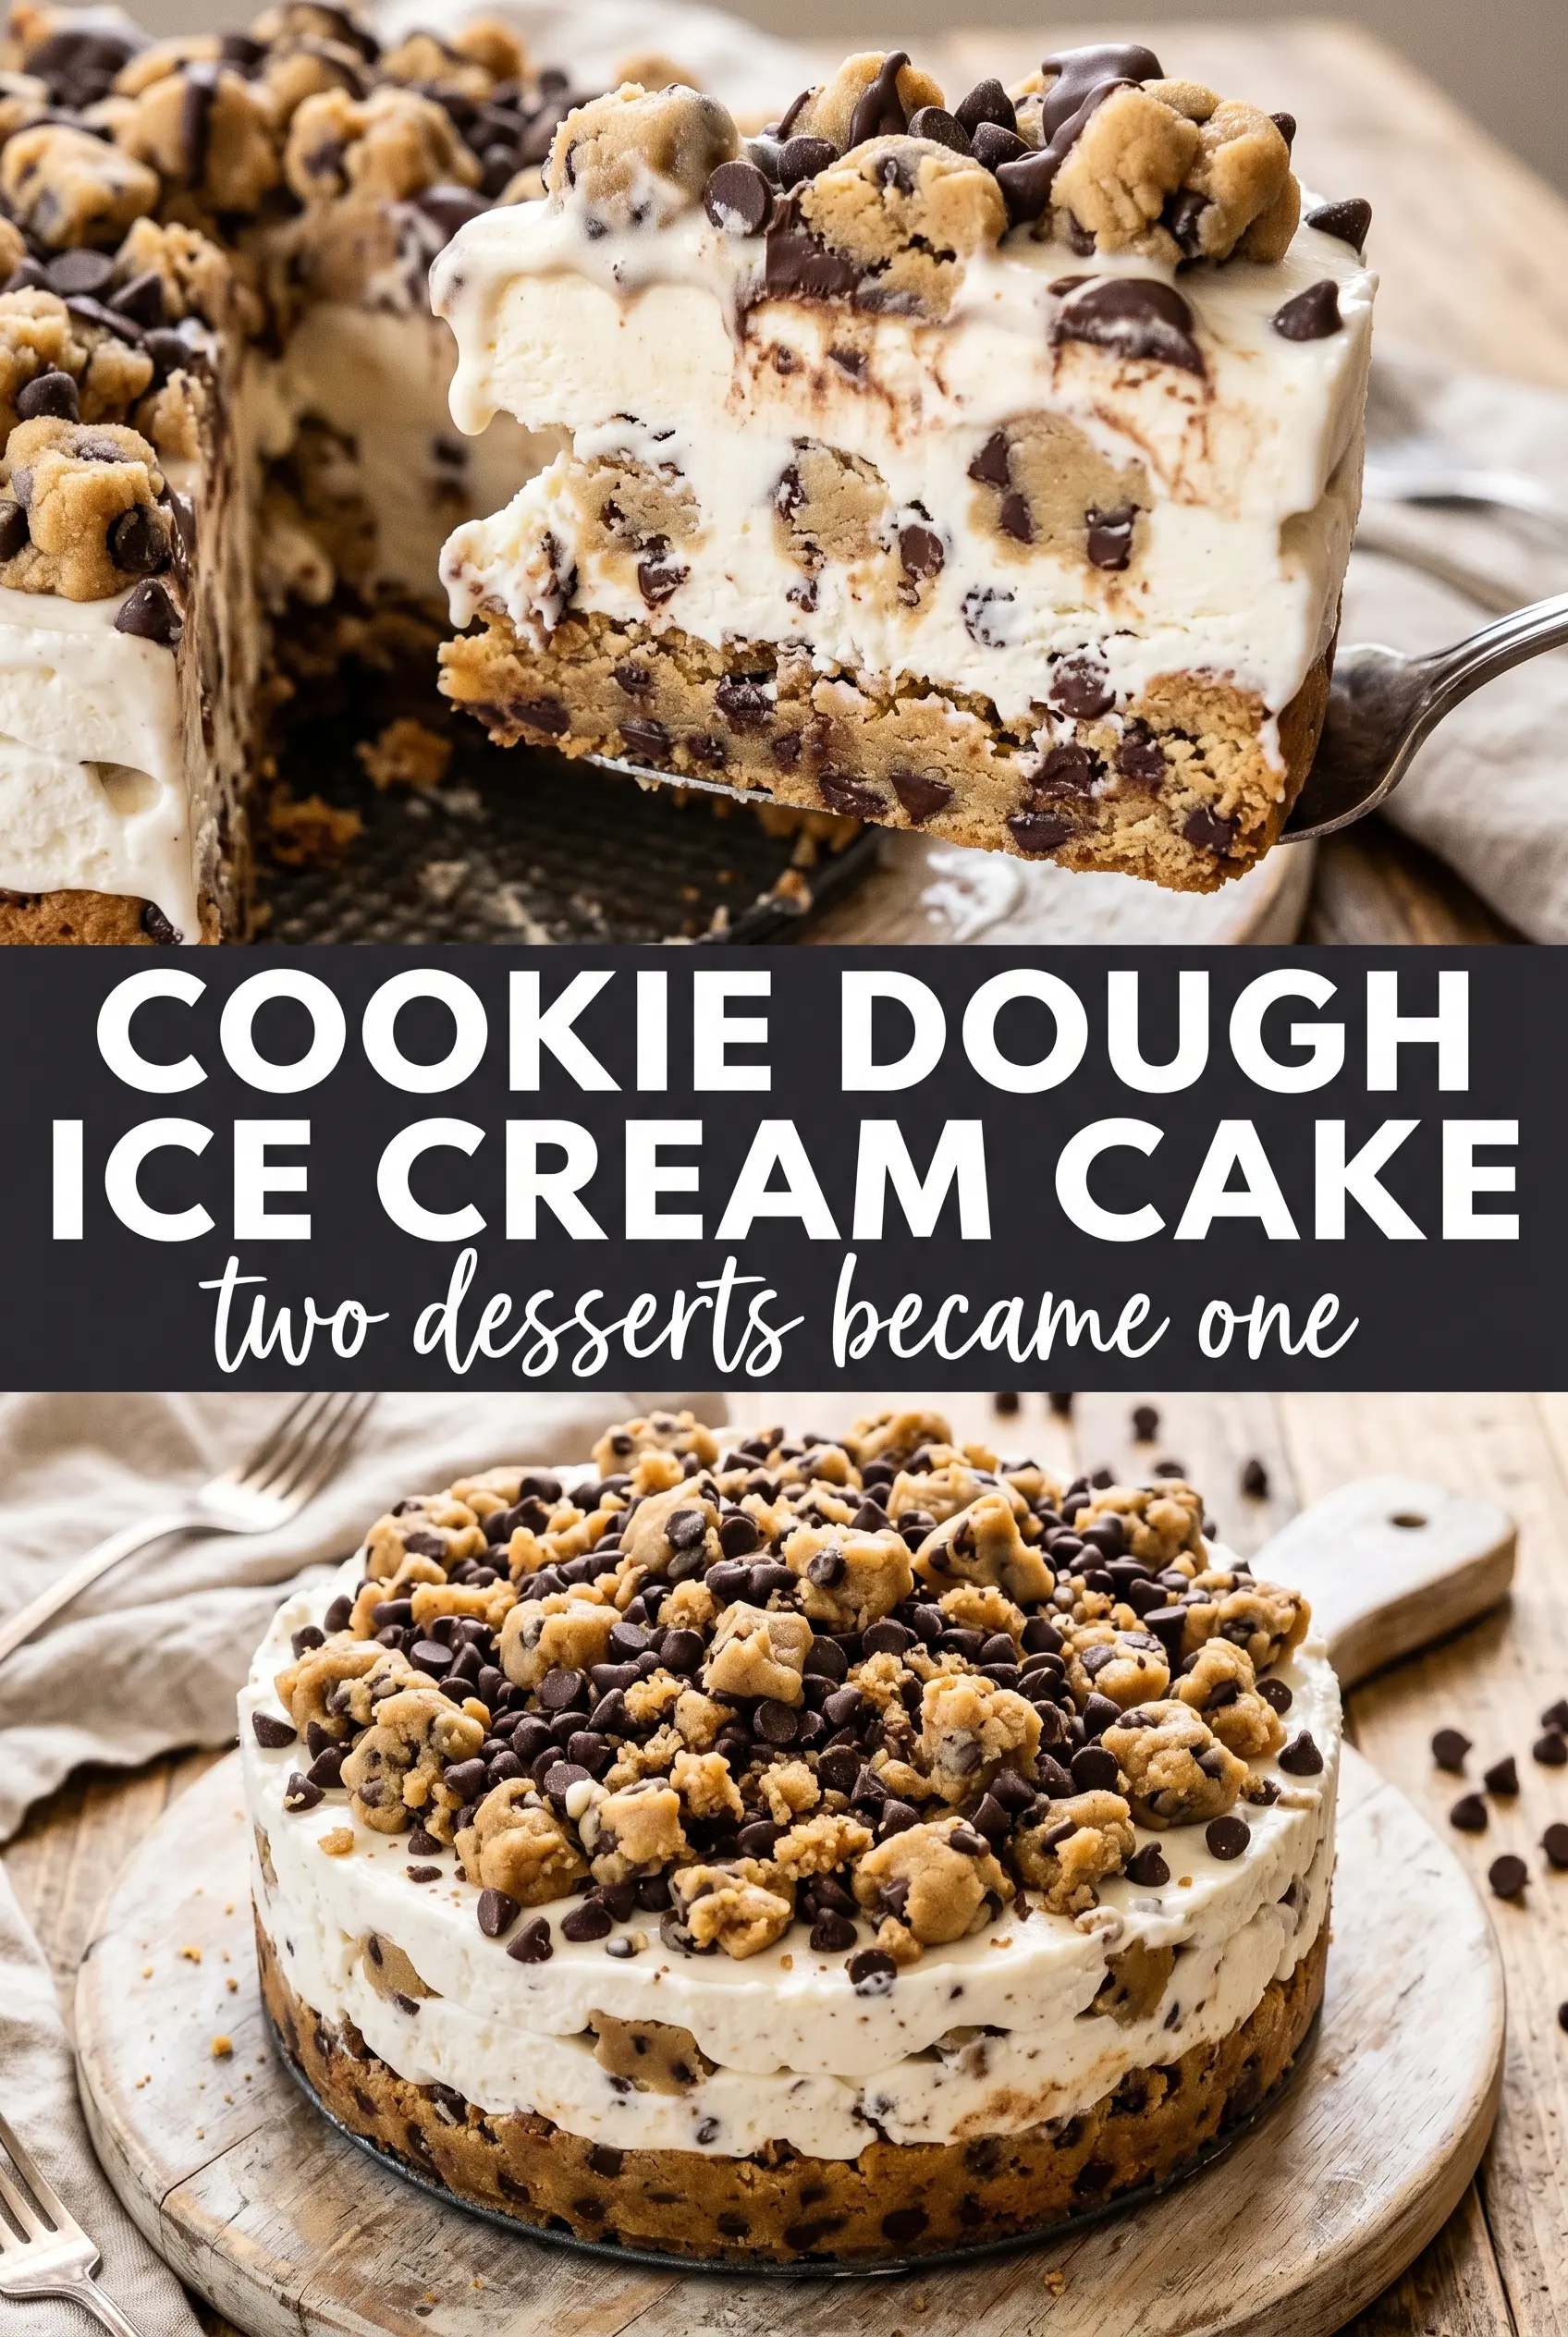
Chocolate Chip Cookie Dough Ice Cream Cake
Ingredients
Equipment
Method
- Press the refrigerated cookie dough into a 9-inch springform pan in an even layer, then bake at 350F for 12-15 minutes until golden. Let it cool completely so the layer sets cleanly.
- Once the cookie base is fully cool, reattach the springform sides to hold the cake layers evenly.
- Fold the edible cookie dough bites into the softened cookie dough or vanilla ice cream until evenly distributed, then spread over the cooled cookie base. Aim for an even thickness so every slice shows dough chunks.
- Freeze the cake for 4 hours until completely firm so the middle holds its shape.
- Drizzle the chocolate ganache or magic shell over the top in thick ribbons. Pause when you see glossy ribbons form, not thin streaks.
- Top with whipped topping and decorate with mini chocolate chips. Add the chips while the topping is fresh so they stick.
- Freeze 2 more hours before releasing and slicing, until the whole cake is fully set.