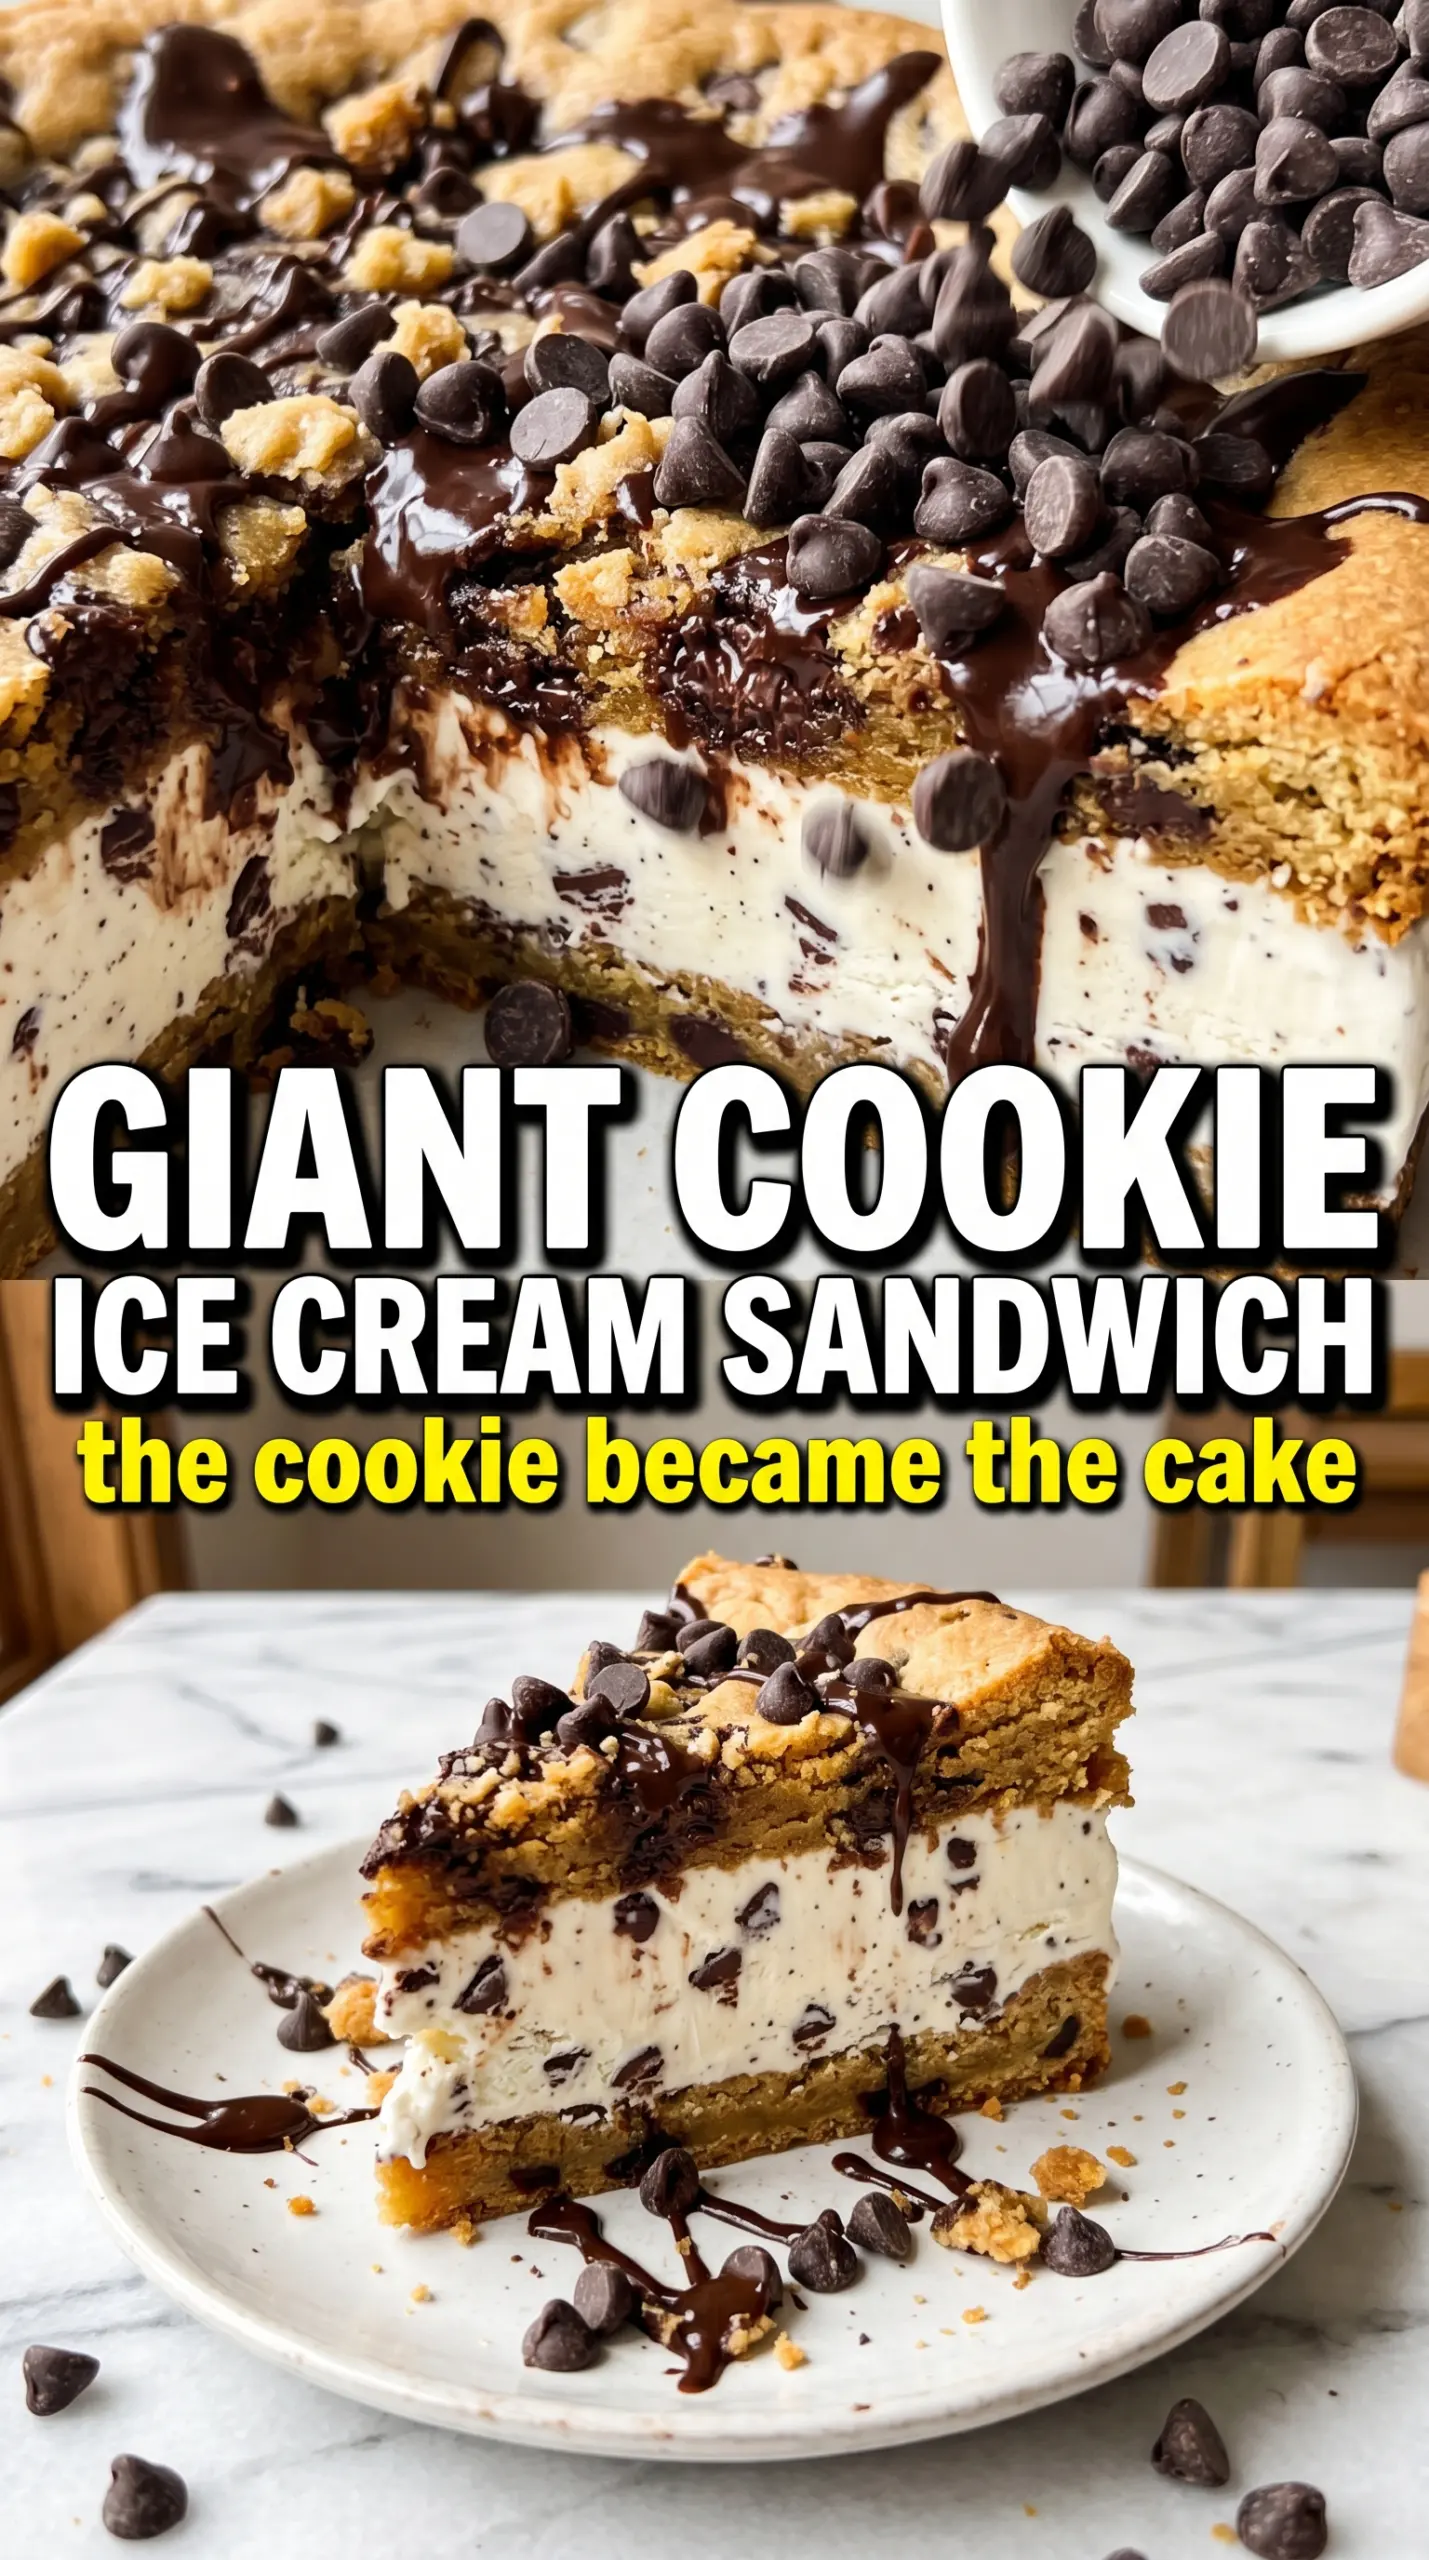
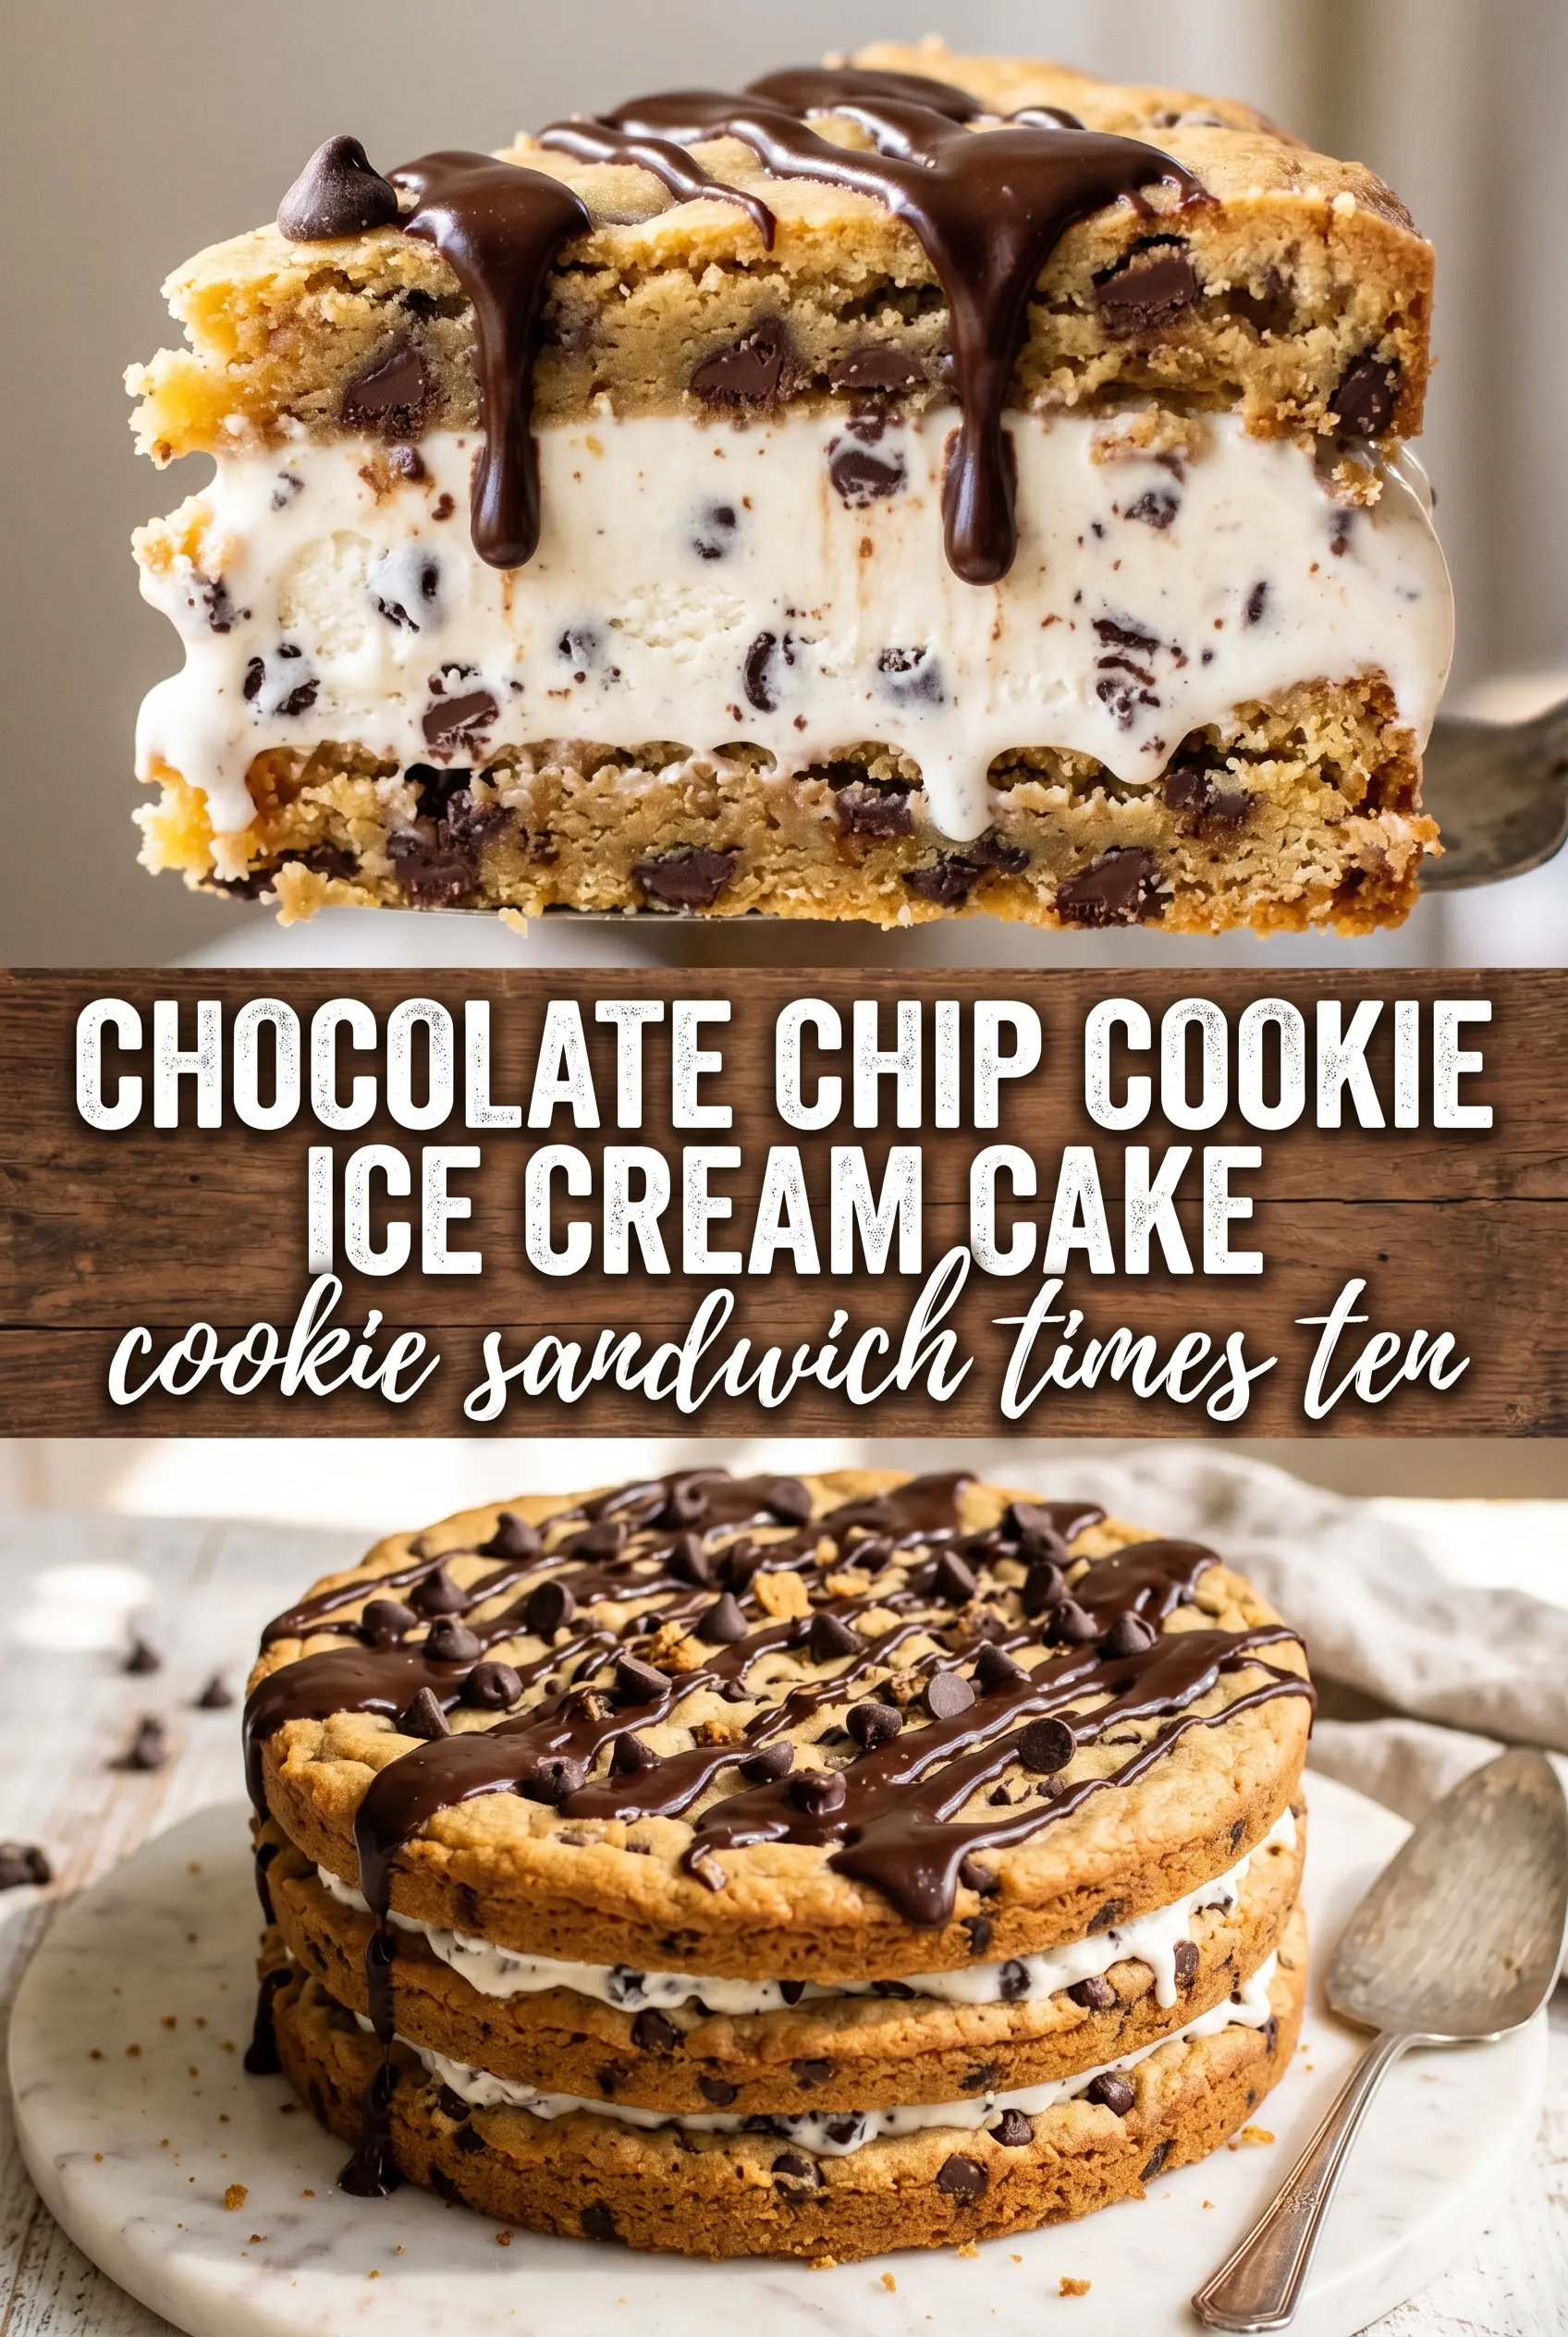
Two giant chocolate chip cookies sandwiched around a thick layer of vanilla ice cream give you the kind of dessert people remember after the plates are cleared. The cookie stays chewy at the edges, the ice cream cuts cleanly once it’s fully frozen, and the chocolate on top adds that bakery-style finish without turning the whole thing into a fuss.
The trick is treating each layer like it has a job to do. The bottom cookie needs to be fully cooled before the ice cream goes on, or the edges melt and slide. The top cookie should cool completely too, because warm cookie can leave you with a soft middle that never slices neatly. Softened ice cream is easier to spread, but it should still hold its shape once it’s on the base.
Below you’ll find the timing that keeps the layers distinct, plus the little details that help this cake release cleanly from the pan and slice like it came from a bakery freezer case.
The cookies stayed chewy even after freezing, and the ice cream layer cut cleanly once I let it sit for about 10 minutes. My son asked for this instead of birthday cake next year.
Like this chocolate chip cookie ice cream cake? Save it to Pinterest for birthdays, summer parties, and the nights when you want a frozen dessert that slices cleanly.
The Freeze-and-Stack Part That Keeps the Layers Clean
The biggest mistake with an ice cream cake like this is rushing the freezes. If the bottom cookie isn’t fully cool, the ice cream starts softening at the edges and the whole thing loses its sharp layers before it ever gets a chance to set. That’s why the timing matters more than the mixing here.
Springform pans work especially well because they let you build a tall frozen dessert without wrestling it out at the end. Pressing the dough into an even layer is worth the extra minute, because any thick spots bake up puffier and can make the cake lopsided. Once the ice cream goes in, the goal is a smooth, level layer that freezes into a sliceable middle, not a soft mound.
- Chocolate chip cookie dough — This is the structure of the cake. Refrigerated dough works fine here, and it gives you a consistent bake with less guesswork. If you use homemade dough, keep it fairly sturdy and avoid anything too thin or cakey, or the layers will crumble when frozen.
- Vanilla ice cream — A good, full-fat vanilla ice cream freezes creamier and slices better than low-fat versions. Let it soften just enough to spread; if it turns soupy, it won’t refreeze into a clean middle.
- Chocolate ganache or magic shell — Ganache gives you a softer bite and a richer chocolate layer, while magic shell sets fast and gives that crackly top. Both work, but don’t pour either on until the top cookie is fully frozen or the topping can slide.
- Flaky sea salt — This is the small finish that keeps the dessert from tasting flat. A few flakes over the chocolate sharpen the cookie flavor and cut through the sweetness.
What Each Ingredient Is Actually Doing in This Ice Cream Cake
- Base layer (cookies, cake, or graham cracker) — This provides structure and stability. Crushed and mixed with butter creates a firm foundation.
- Ice cream (the main star) — Use quality ice cream or make homemade. Softness matters for layering.
- Sauce or topping between layers (fudge, caramel, or fruit) — This adds moisture, flavor, and prevents dryness. Don’t skip this layer.
- Frosting or whipped cream (optional outer layer) — This prevents freezer burn and adds creaminess. Stabilized whipped cream works best.
- Freezing time (at least 4-6 hours) — This sets the layers so cake slices cleanly. Longer freezing prevents melting during serving.
- Room temperature before serving (5-10 minutes) — This softens the cake slightly for better texture. Serve immediately after thawing.
- Toppings (chocolate, nuts, cookies, or sprinkles) — These add visual appeal and texture. Add right before serving.
- Storage (in freezer at 0°F or below) — This prevents ice crystal formation and maintains quality. Cover with plastic wrap.
Building the Cake So It Slices Instead of Cracks
Baking the Bottom Cookie
Press half the dough into the springform pan in an even layer, getting all the way to the edges so the base supports the ice cream later. Bake until the top looks set and the edges are deeply golden; if the center still looks shiny, give it another minute or two. Cool it completely in the pan before you think about the next layer. If the base is even slightly warm, the ice cream starts to melt where it touches and the whole cake gets messy fast.
Spreading the Ice Cream Layer
Let the vanilla ice cream soften on the counter just until it’s spreadable, not loose. Spoon it over the cooled cookie base and nudge it into an even layer with an offset spatula or the back of a spoon. Work quickly so it doesn’t melt into the cookie. Freeze it until firm enough that a finger pressed on top leaves a small dent instead of sinking in.
Adding the Top Cookie Without Breaking the Middle
Bake the second cookie on parchment, then let it cool all the way before moving it. Slide it onto the frozen ice cream layer gently, using the parchment to help if you need to. If it cracks a little, don’t panic; the chocolate topping hides small breaks. What matters is that the cookie is cool and the ice cream underneath is firm, because that’s what keeps the stack stable.
Finishing and Slicing
Drizzle the chocolate over the top and add the flaky salt before the final freeze. That last hour matters because it lets everything firm back up after handling. For the cleanest slices, let the finished cake sit at room temperature for 8 to 10 minutes, then cut with a long knife dipped in warm water and wiped dry between slices. That gives you neat layers instead of a crumbly sawed-through edge.
How to Change This Cake for Different Pans, Tastes, or Diets
Gluten-Free Cookie Layer
Use a gluten-free chocolate chip cookie dough that bakes up sturdy, not soft and cakey. The ice cream layer stays the same, but the cookie base may need an extra minute or two in the oven to set properly. A dough that spreads too much will be harder to stack cleanly once frozen.
Dairy-Free Version
Swap in a dairy-free vanilla ice cream and use a dairy-free chocolate topping. The texture will be a little less creamy than the classic version, but it still freezes into a solid slice if you give it enough time. Choose a plant-based ice cream with a lower water content so it doesn’t turn icy.
Smaller Crowd, Same Dessert
Use a smaller springform or an 8-inch pan if you want thicker layers and fewer servings. Keep the bake time close, but watch the cookie edges closely because a smaller pan can brown faster. You’ll get taller slices with a cleaner ice cream-to-cookie ratio.
Storage and Reheating
- Refrigerator: Not recommended. This is a frozen dessert, and the ice cream layer will soften and collapse in the fridge.
- Freezer: Wrap leftover slices tightly and freeze up to 1 week for the best texture. After that, the cookie can start to pick up freezer flavor.
- Reheating: No reheating needed. Let slices stand at room temperature for 8 to 10 minutes before serving so the knife cuts through the frozen middle instead of shattering it.
Questions I Get Asked About This Recipe
Chocolate Chip Cookie Ice Cream Cake
Ingredients
Equipment
Method
- Press half the chocolate chip cookie dough into a 9-inch springform pan in an even layer, with no thick edges. Bake at 350F for 15-18 minutes until golden, then cool completely.
- Spread the softened vanilla ice cream over the cooled cookie base in a thick, even layer so it reaches close to the pan edge. Freeze for 3 hours until firm.
- Press the remaining cookie dough into a 9-inch round on parchment, aiming for an even thickness. Bake until golden, cool completely, then carefully place it over the frozen ice cream layer.
- Freeze the assembled cake for 2 more hours so the top cookie layer sets. Drizzle the chocolate ganache over the top cookie and sprinkle with flaky sea salt, then freeze 1 hour before releasing and slicing.