Chocolate Chunk Nutella Ice Cream turns a jar of hazelnut-chocolate spread into a frozen dessert that scoops like a dream and tastes far richer than the effort it takes. The base stays creamy without an ice cream machine, and the dark chocolate chunks give each bite a clean snap against the smooth, fudgy ice cream. It’s the kind of dessert that disappears from the pan in slow, determined spoonfuls.
The trick is in how the Nutella gets handled. Warm it just enough to whisk smoothly into the sweetened condensed milk, then fold that mixture into whipped cream without knocking out all the air. That keeps the texture light instead of dense. The chocolate chunks matter too: they should be folded in at the very end so they stay scattered through the ice cream instead of sinking to the bottom.
Below, I’ll walk through the small details that make this version freeze up creamy instead of icy, plus a few smart swaps and serving notes that come in handy when you want to make it ahead.
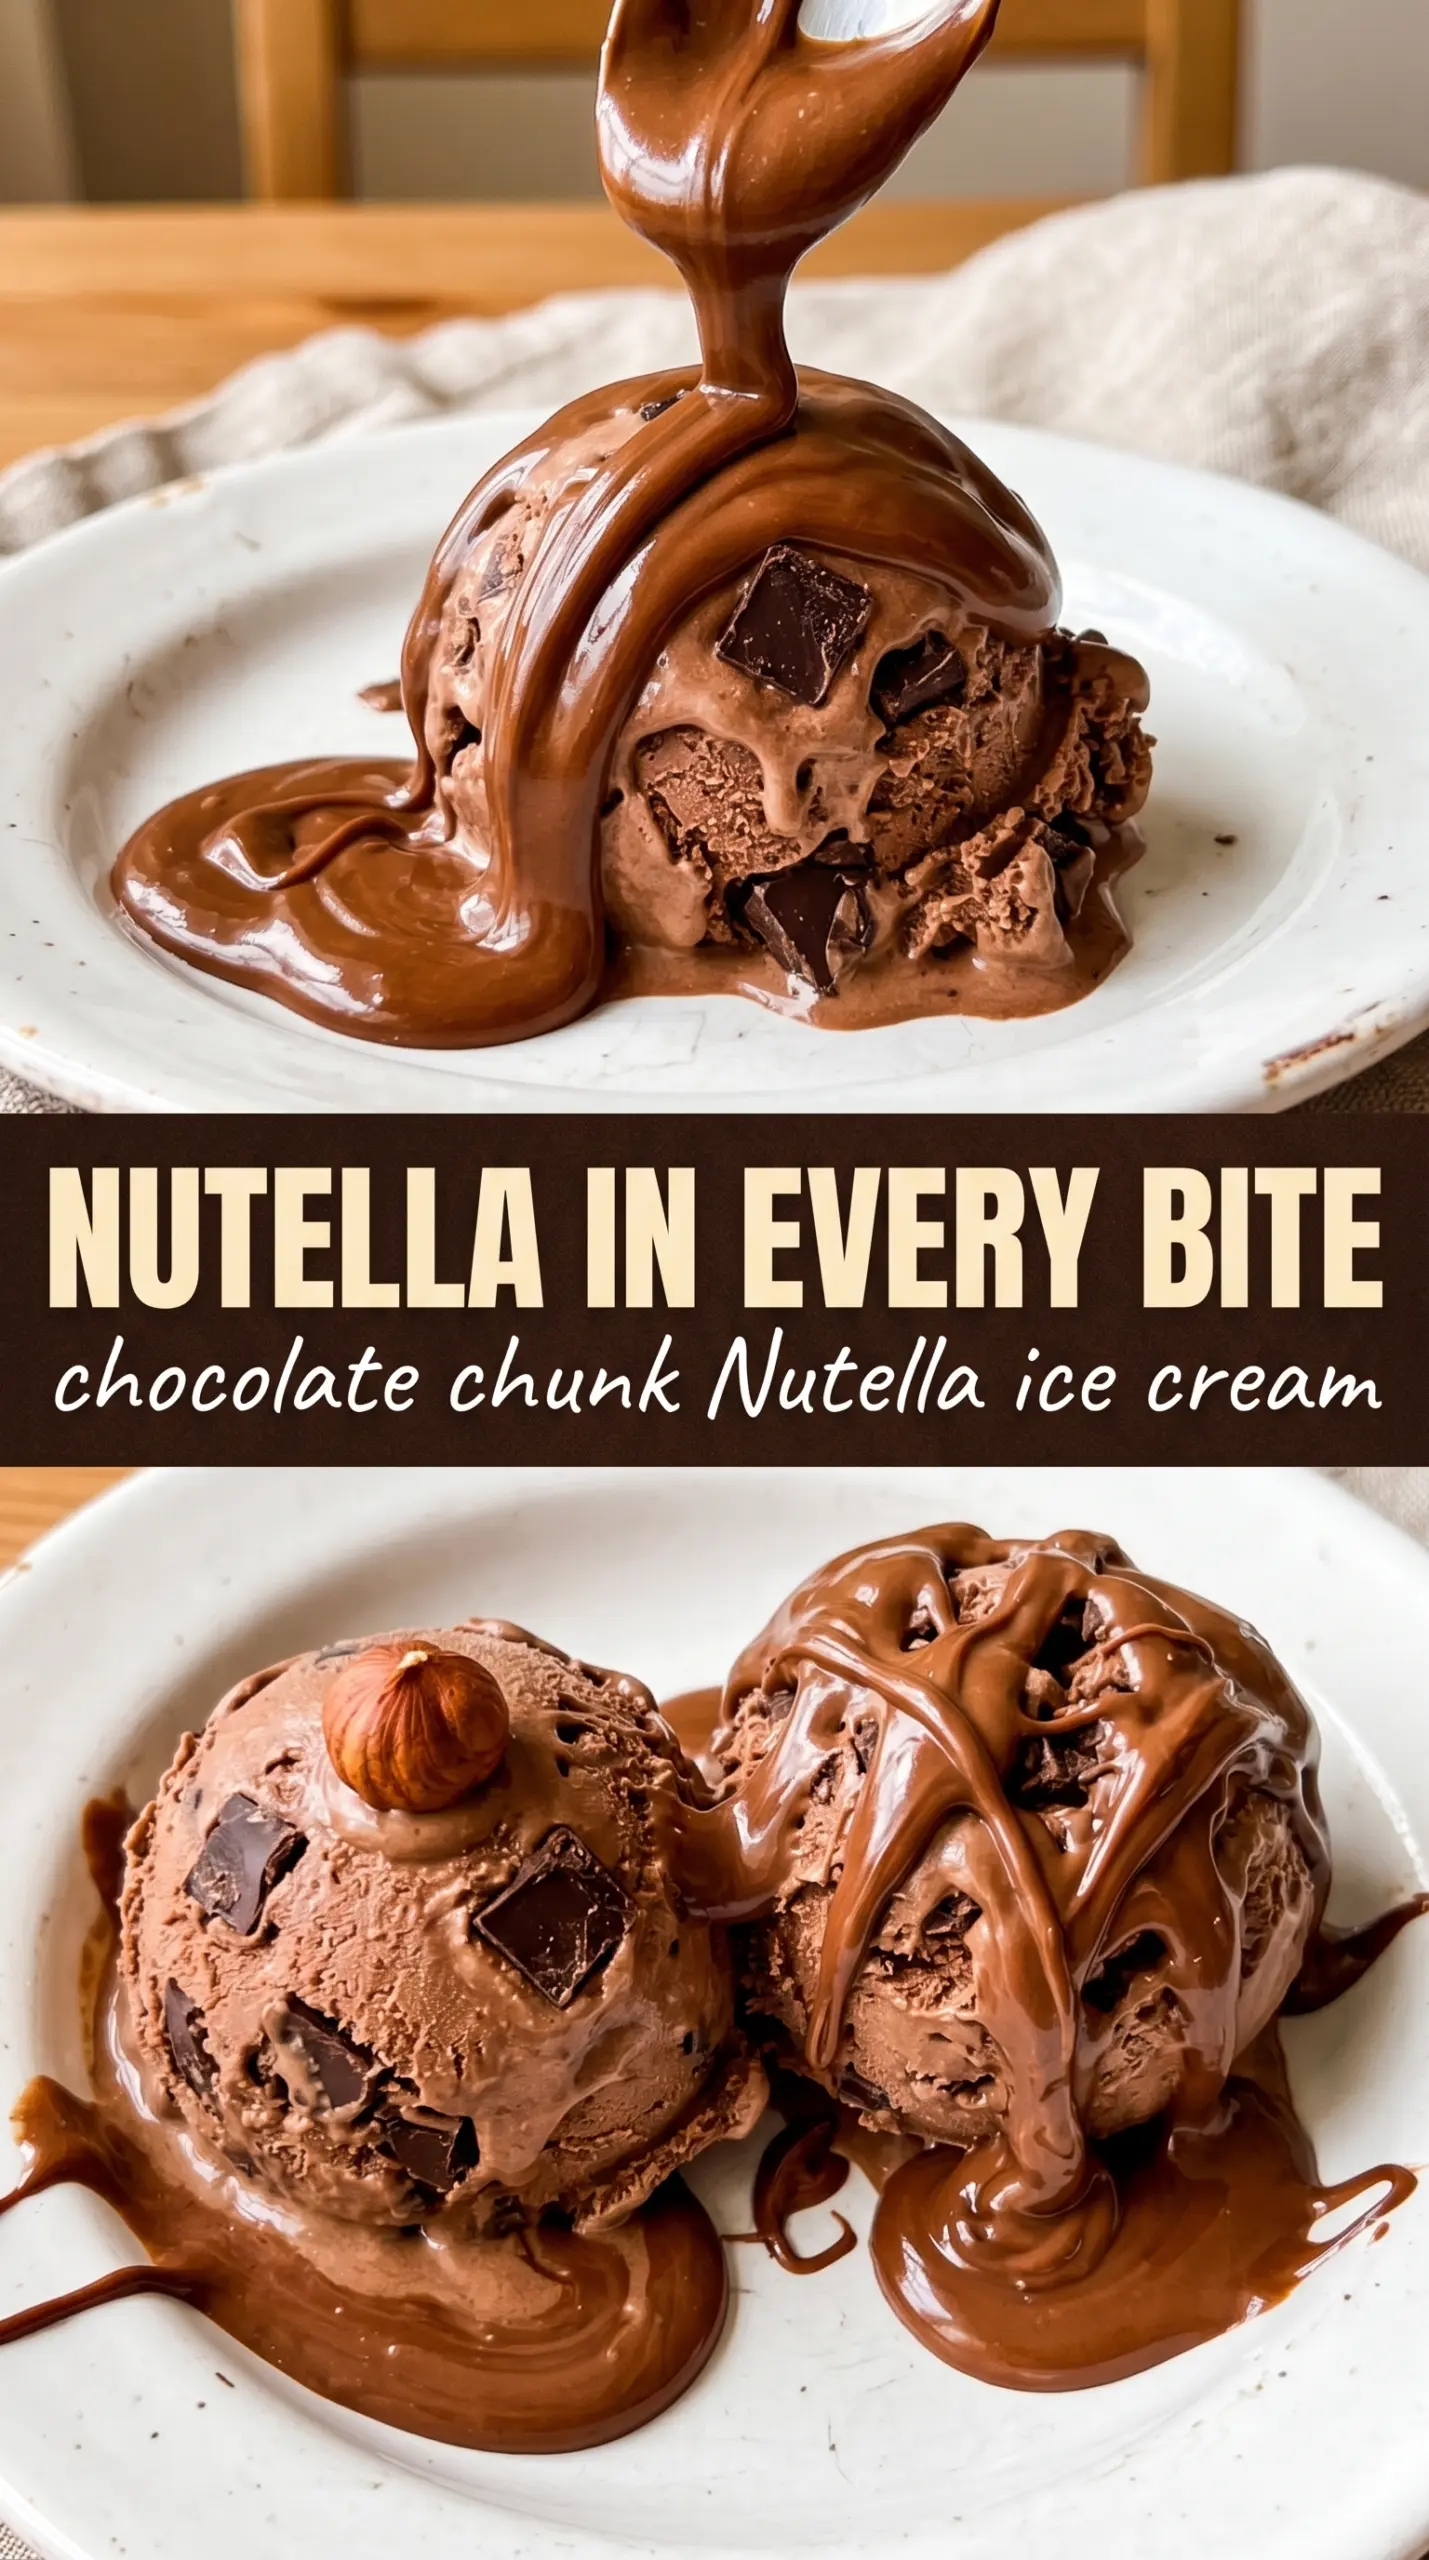
The Nutella stayed smooth, and the chocolate chunks gave it that perfect little bite. It froze firm but still scooped easily after 10 minutes on the counter.
Like this Chocolate Chunk Nutella Ice Cream? Save it to Pinterest for the nights when you want a no-churn dessert with creamy hazelnut flavor and dark chocolate bits in every scoop.
The Part That Keeps No-Churn Nutella Ice Cream Creamy Instead of Icy
No-churn ice cream lives or dies by the balance between air and sugar. Whipped cream gives this dessert its light texture, while sweetened condensed milk keeps the base soft enough to scoop straight from the freezer. If the cream is only beaten to soft peaks, the finished ice cream can turn a little slumpy and dense; if it’s whipped to stiff peaks, it holds enough structure to stay airy after folding.
The other detail that matters here is temperature. Nutella blends best when it’s warmed just enough to loosen, not melted until hot and runny. If it’s too cold, it streaks through the base in thick ribbons and never fully combines. If it’s too hot, it can thin the mixture and make the fold less stable. Smooth, warm, and easy to whisk is the sweet spot.
- Whipped cream — This is the structure of the ice cream. Heavy cream is the only ingredient here that can trap enough air for a true no-churn texture.
- Sweetened condensed milk — Don’t swap this for regular milk or cream. You need the sugar and thickness here to keep the ice cream from freezing into a hard block.
- Nutella — This brings both flavor and body. Any hazelnut-chocolate spread will work in a pinch, but Nutella gives the most familiar flavor and the smoothest finish.
- Dark chocolate chunks — Chunks give better texture than tiny chips because they stay distinct after freezing. If you only have chips, they’ll still work, but expect a softer bite.
What Each Ingredient Is Actually Doing in This Ice Cream
- Base ingredient (cream, milk, or custard) — This provides the foundation and richness. Quality matters.
- Sweetener (sugar, honey, or condensed milk) — This sweetens and prevents ice crystals. The ratio is critical.
- Flavor element (vanilla, fruit, chocolate, or other) — This defines the ice cream personality. Use quality ingredients.
- Egg yolks (if making custard base) — These create richness and silky texture. Optional but elevates ice cream.
- Churning (if using ice cream maker) — This incorporates air and prevents ice crystals. Critical for smooth texture.
- Freezing temperature and time — Proper freezing prevents rock-hard texture. Store at 0°F or below.
- Mix-ins (chocolate, cookies, fruit, or swirls) — These add texture and prevent one-dimensional flavor. Add near end of churning.
- Serving temperature (slightly soft, not rock hard) — This provides creamy mouthfeel. Remove from freezer 5 minutes before serving.
Building the Base Without Deflating the Whipped Cream
Whipping the Cream to Stiff Peaks
Start with cold cream and a cold bowl if you can. Beat it until the peaks stand up firmly and the trail from the whisk holds its shape. Stop there. If you push it too far and it starts to look grainy, the final texture can turn a little buttery and heavy. That whipped structure is what gives the ice cream its scoopable body.
Smoothing Out the Nutella Mixture
Whisk the warmed Nutella with the condensed milk, vanilla, and salt until it looks completely even and glossy. Scrape the bowl once or twice so you don’t leave pockets of thick Nutella hiding underneath. If you see streaks at this stage, they’ll show up as uneven swirls later, which is fine only if that’s the look you want. For a cleaner chocolate-hazelnut base, get it fully smooth now.
Folding, Not Stirring
Add the Nutella mixture to the whipped cream in two or three additions and use a spatula to fold from the bottom up. Stirring knocks the air out; folding keeps it in. Stop as soon as the mixture looks combined and no big white streaks remain. A few faint swirls are better than overmixing, which can make the ice cream dense instead of fluffy.
Finishing with the Chocolate Chunks
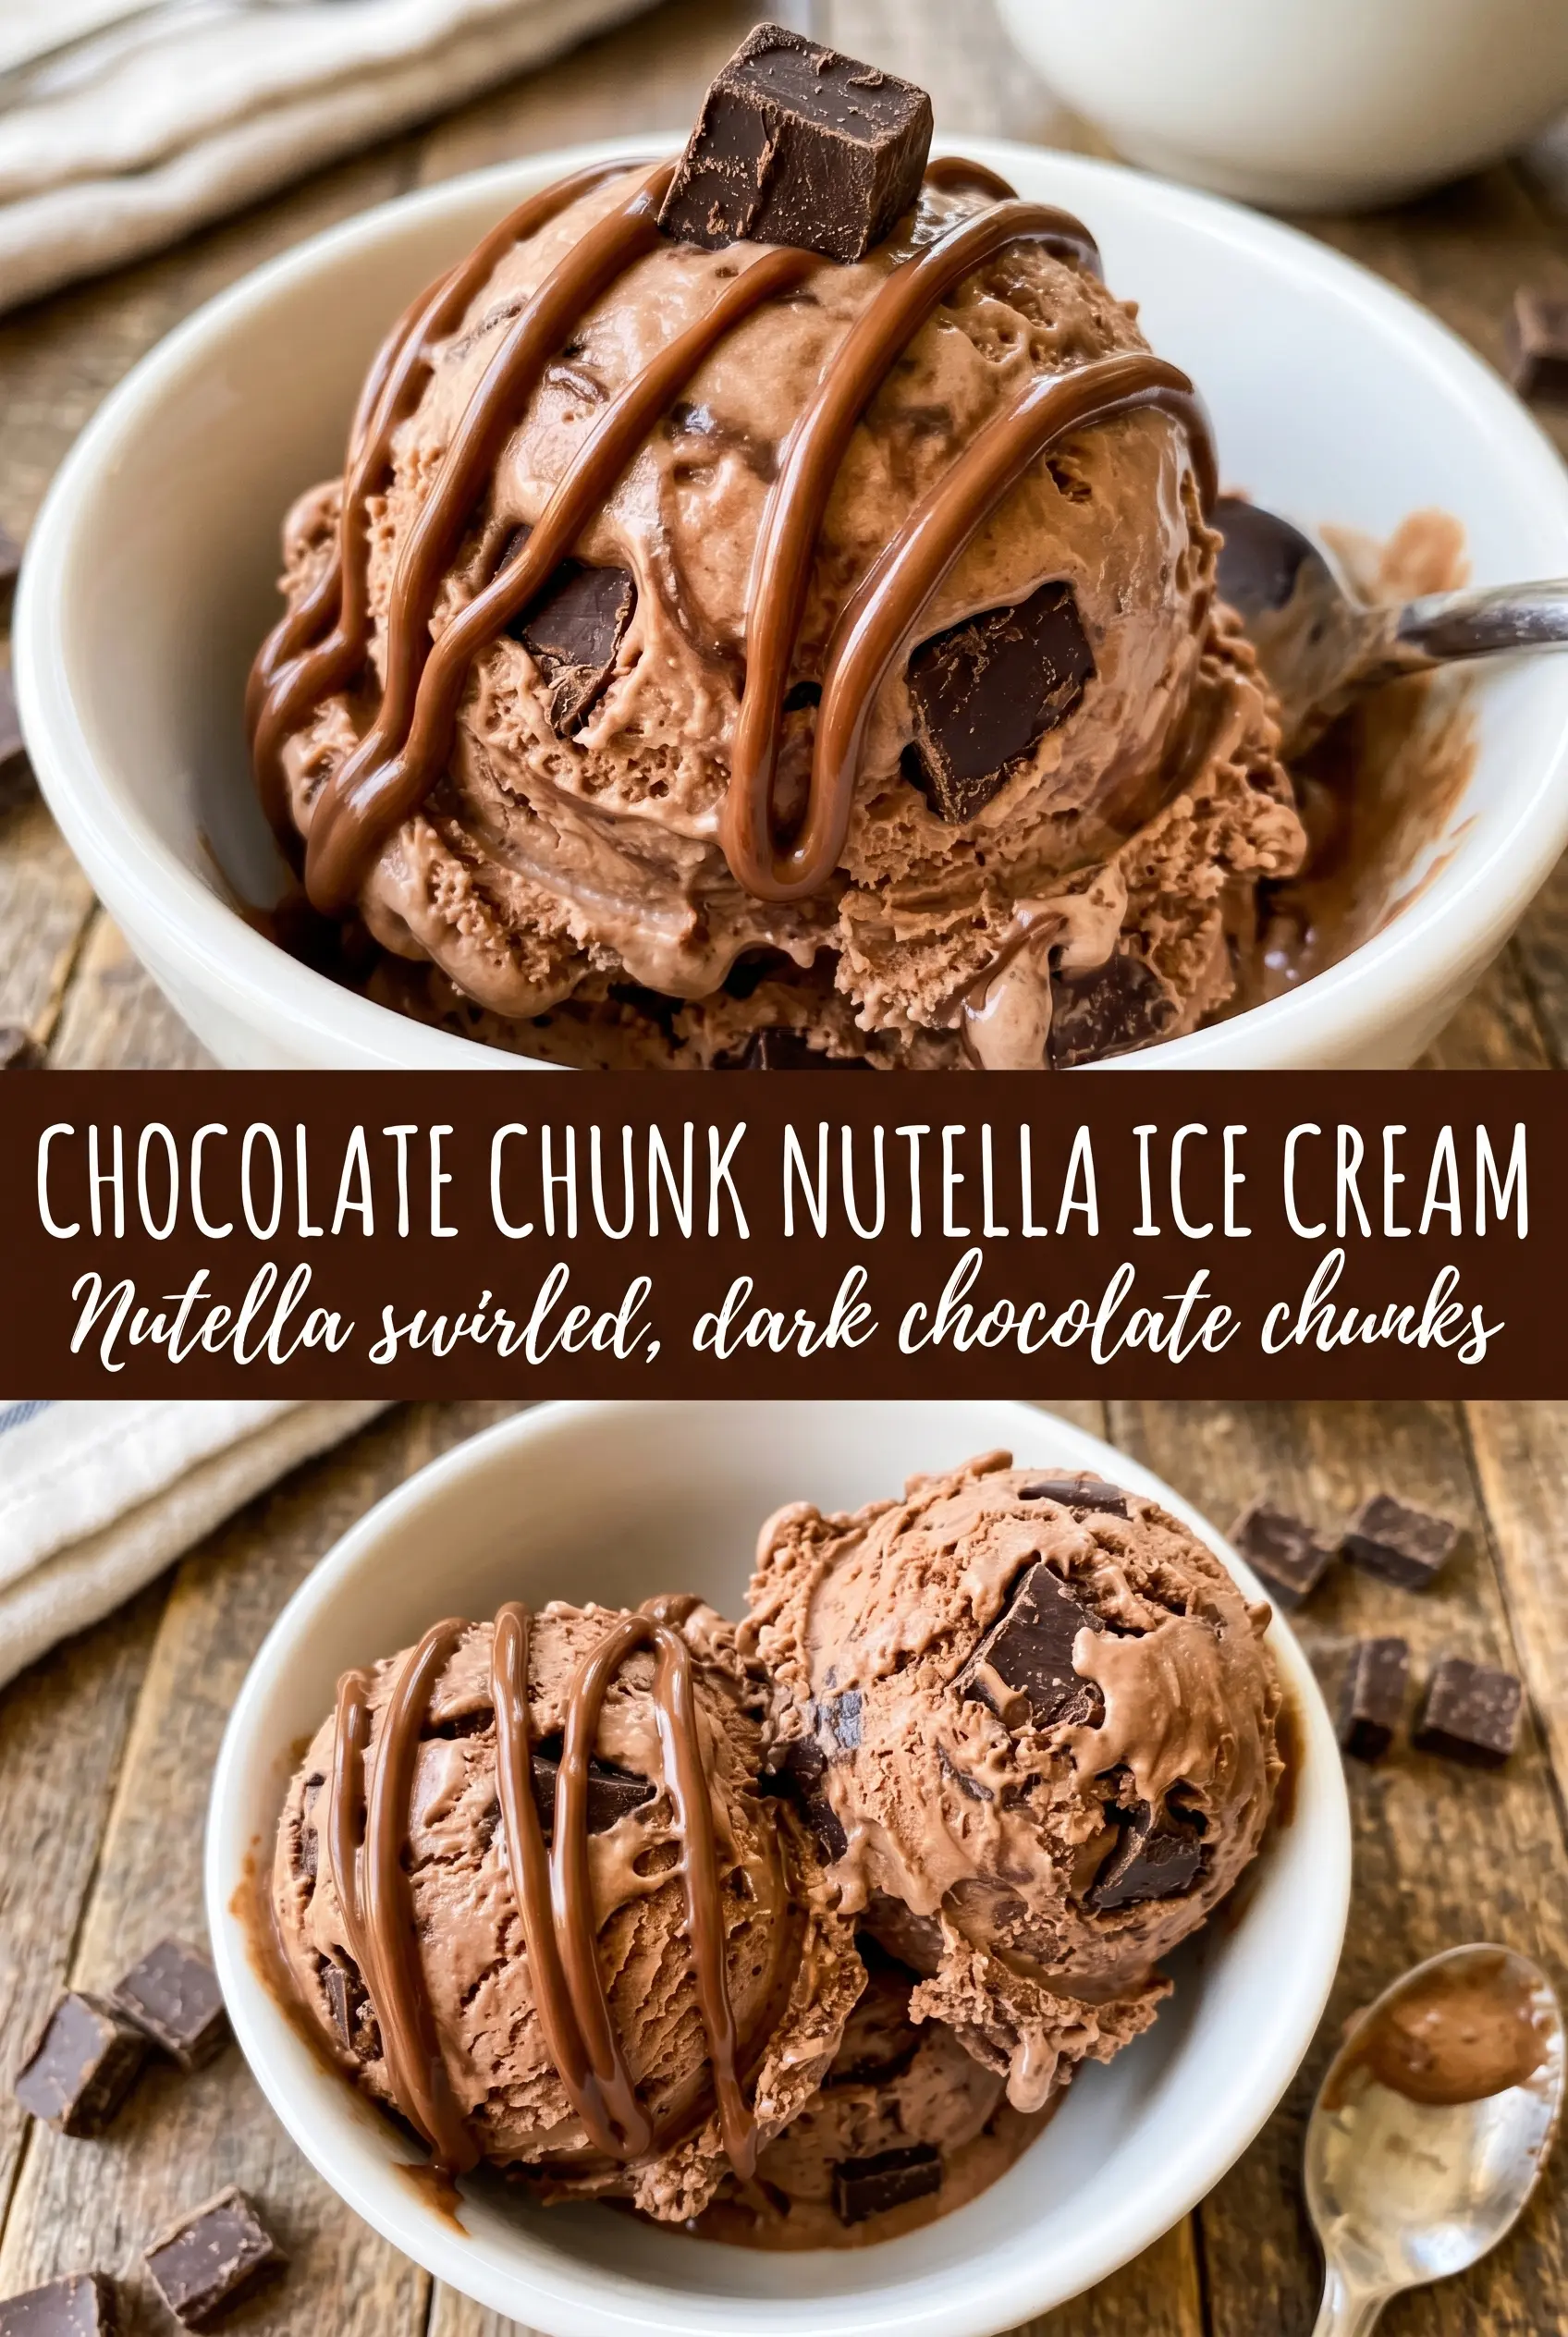
Fold in the chocolate chunks at the end so they’re evenly scattered without sinking. Transfer everything to a loaf pan, then drizzle extra Nutella over the top and swirl it lightly with a knife. Don’t overwork the top layer or it’ll blend into the base completely. You want visible ribbons and pockets of chocolate for the best spoonfuls.
Three Ways to Make This Nutella Ice Cream Fit What You’ve Got
Dairy-Free Version
Use full-fat coconut cream instead of heavy cream and a dairy-free hazelnut spread if needed. The texture will still be creamy, but you’ll pick up a light coconut note and the ice cream will freeze a touch firmer than the original.
Extra Crunch, Less Sweet
Swap the dark chocolate chunks for chopped toasted hazelnuts plus a smaller amount of chocolate. The hazelnuts sharpen the Nutella flavor and give the ice cream a more grown-up crunch, but they’ll make each bite a little less smooth.
Lower-Sugar Serving
This recipe leans on condensed milk for texture, so it’s not easy to make truly low sugar without changing the result. What you can do is reduce the chocolate chunks slightly and serve thinner scoops with fresh berries on the side, which helps balance the richness without changing the base.
Storage and Reheating
- Refrigerator: Not a refrigerator dessert. It softens too quickly and loses the structure that makes it scoopable.
- Freezer: Store covered for up to 2 weeks for the best texture. After that, it’s still safe, but the flavor and creaminess start to fade.
- Reheating: Not needed. Let the pan sit at room temperature for 8 to 10 minutes before scooping. If it’s frozen hard, long microwaving will melt the edges before the center softens.
Answers to the Questions Worth Asking
Chocolate Chunk Nutella Ice Cream
Ingredients
Equipment
Method
- Whip heavy cream until stiff peaks form, 6 to 8 minutes, then stop mixing as soon as the texture holds peaks. Visual cue: the surface should look thick and glossy, not loose.
- Whisk sweetened condensed milk with warmed Nutella, vanilla extract, and salt until smooth. Visual cue: no streaks remain and the mixture looks uniform and glossy.
- Gently fold the Nutella mixture into the whipped cream until just combined, using a light hand for 1 to 2 minutes. Visual cue: streaks may remain briefly, but you should avoid overmixing.
- Fold in dark chocolate chunks or chips until evenly distributed. Visual cue: chunks are visible throughout with no clumps at the bottom.
- Transfer the mixture to a 9x5 loaf pan and drizzle extra Nutella on top, swirling with a knife. Visual cue: marbled hazelnut-brown ribbons appear across the surface.
- Freeze at least 6 hours or overnight until firm. Visual cue: scoops should hold shape straight from the freezer.