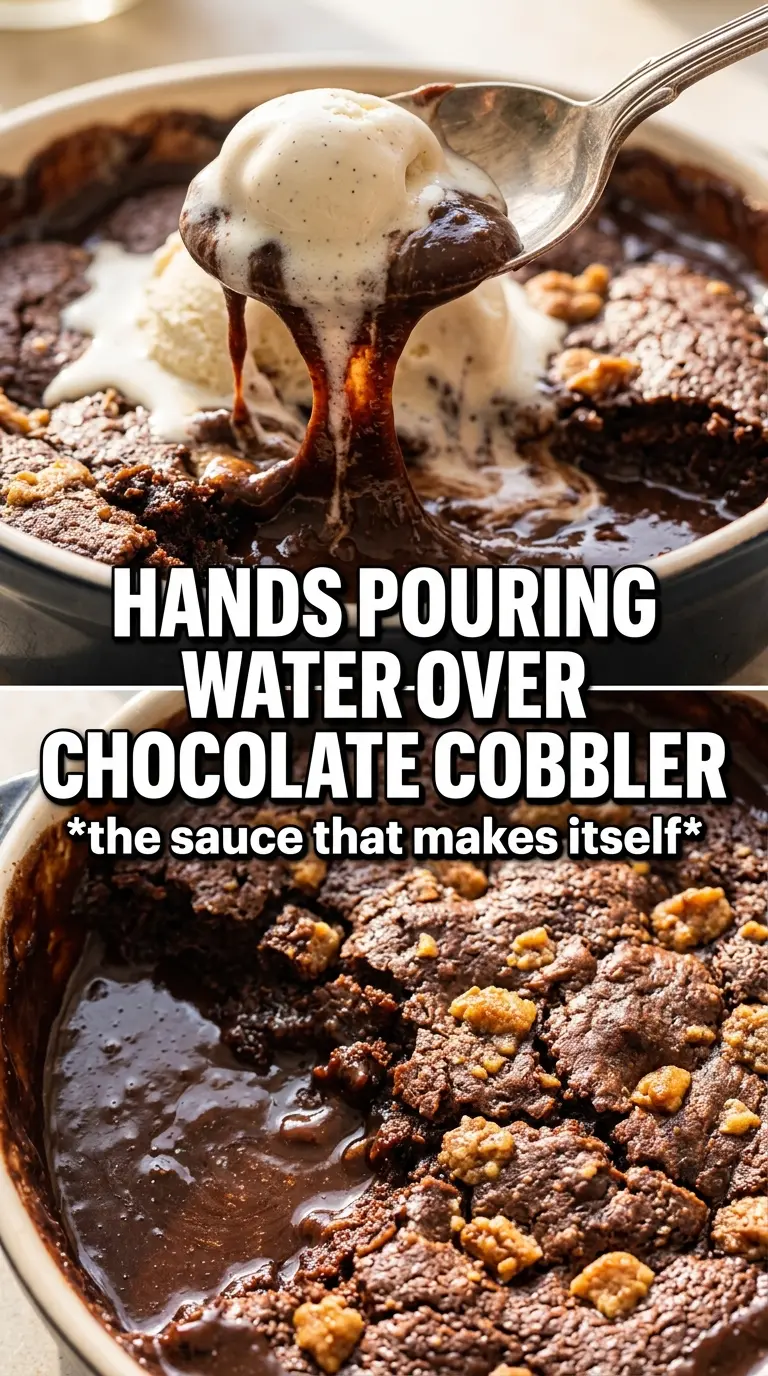
Chocolate cobbler bakes into the kind of dessert that gets scooped from the pan the second it hits the table. The top turns cakey and set, but underneath waits a thick, molten chocolate sauce that pours out the moment your spoon breaks through. Warm cake, glossy sauce, cold vanilla ice cream — that contrast is the whole reason this dessert never lasts long.
What makes this version work is the order of the layers. The batter goes in first, then the sugar-cocoa topping, then the hot water gets poured over everything without stirring. That last step looks wrong if you haven’t made a self-saucing dessert before, but it’s exactly what creates the fudgy base. The water sinks down, the sugar melts into the batter, and the oven does the rest.
Below, I’ve included the small details that keep the topping from clumping and the sauce from turning thin. If you’ve ever wanted a chocolate dessert that feels old-fashioned in the best way and still comes together fast, this is the one to keep close.
The top baked up like a soft chocolate cake, and the sauce underneath was thick and glossy instead of watery. I served it with vanilla ice cream and it was gone in minutes.
Save this chocolate cobbler for the night you want a fudgy cake top and a spoonable chocolate sauce underneath.
The Trick Is Not Stirring the Topping Into the Batter
Chocolate cobbler works because the batter and the topping stay separate long enough for the oven to do a little chemistry for you. The batter rises first, then the sugar and cocoa dissolve into the hot water and sink beneath it, creating the sauce layer under a set cake-like crust. If you stir after the water goes in, you lose that structure and end up with a thin, muddy chocolate cake instead of distinct layers.
The other mistake is using water that’s only warm. It needs to be very hot so the brown sugar starts dissolving on contact and the sauce forms properly as the pan bakes. A 9×9 or 8×8 dish gives the dessert enough depth to build those layers without boiling over.
- Cocoa powder — Use a good unsweetened cocoa here. It carries the whole chocolate flavor, and a bland one will make the sauce taste flat. Dutch-process or natural both work, but natural gives a slightly sharper, more old-fashioned chocolate note.
- Brown sugar — This is what thickens into the sauce and gives it a deeper, almost caramel edge. Light or dark brown sugar both work; dark brown sugar gives the finished cobbler a darker, richer sauce.
- Butter — Melted butter keeps the batter tender and helps the top bake into a soft crust. Don’t swap in oil if you can help it; you’ll lose some of the flavor that makes this taste homemade.
- Whole milk — Whole milk gives the batter enough richness to stay soft without turning heavy. Lower-fat milk works in a pinch, but the crumb won’t be as lush.
What Each Ingredient Is Actually Doing in This Recipe
- Primary ingredient (the star) — Quality matters most. Choose the best you can find.
- Cooking medium (oil, butter, or broth) — This carries flavors and prevents dryness.
- Seasonings (salt, pepper, spices, herbs) — Layer flavors so nothing overpowers. Build depth gradually.
- Aromatics (garlic, onion, herbs) — Cook with fat to bloom flavors. Become the foundation.
- Supporting ingredients — Complement the main ingredient without overpowering it.
- Sauce or liquid (if applicable) — Brings flavors together. Balance richness with acid.
- Acid (lemon, vinegar, wine, or other) — Brightens and prevents flat-tasting results.
- Final finish (garnish, glaze, or sauce) — Prevents one-dimensional taste and adds visual appeal.
Building the Sauce Without Breaking the Layers
Mix the Batter Until Just Smooth
Whisk the dry ingredients first so the cocoa and baking powder are evenly dispersed, then stir in the milk, melted butter, and vanilla until the batter looks smooth and thick. Stop once the flour disappears. If you keep mixing past that point, you’ll tighten the batter and the top can bake up tougher than it should.
Scatter the Topping, Don’t Dump It
Mix the brown sugar and cocoa together, then sprinkle it evenly over the batter instead of dropping it in one pile. You want a full, even blanket so the sauce forms across the whole pan. If there are bare spots, those sections bake drier and you lose the contrast that makes cobbler worth serving warm.
Pour the Hot Water Over the Back of a Spoon
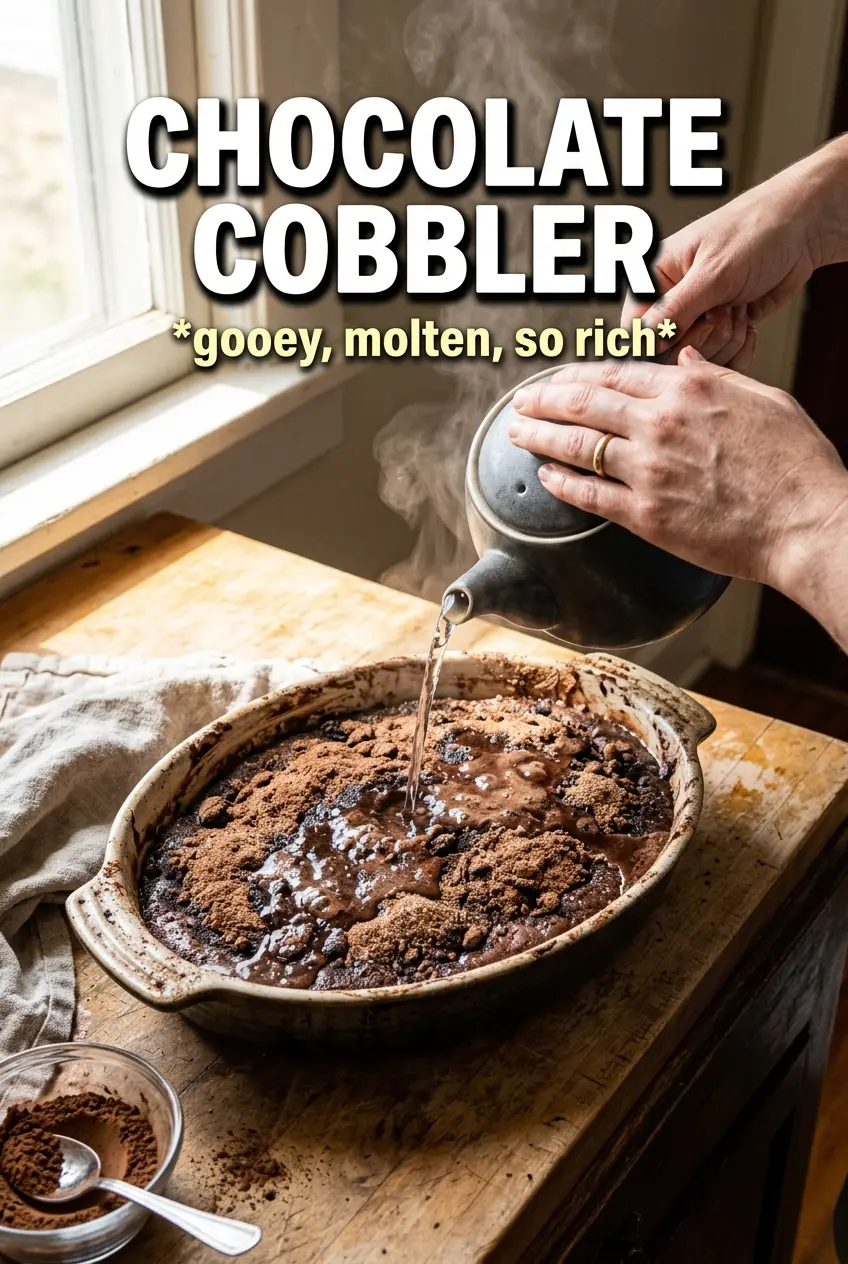
This is the step that looks fussy but pays off. Pour the very hot water over the surface slowly, ideally over the back of a spoon, so you don’t blast holes into the topping. It will look wrong and watery at this stage. That’s normal. The pan should go into the oven with the water sitting visibly on top.
Bake Until the Center Is Set but Still Soft
Bake at 350°F until the top looks set around the edges and the center has a slight wobble, about 35 to 40 minutes. If you bake it until the middle is completely firm, the sauce underneath will thicken too much and you’ll lose that spoonable texture. Let it rest a few minutes after baking so the sauce settles, then serve while it’s still warm.
How to Adapt Chocolate Cobbler for Different Needs
Make It Dairy-Free
Swap the butter for a plant-based butter that melts cleanly and use an unsweetened non-dairy milk with some body, like oat milk. The cobbler will still set and sauce properly, but the flavor will be a little less rich, so don’t skimp on the vanilla.
Use Darker Chocolate Flavor
Replace half of the cocoa powder with Dutch-process cocoa if you want a deeper, smoother chocolate taste. The sauce will lean less sharp and more brownie-like. Keep the total amount of cocoa the same so the balance of dry and wet ingredients doesn’t shift.
Gluten-Free Version
Use a 1:1 gluten-free flour blend that contains xanthan gum. The top may be a little more tender and less structured, but the sauce layer still forms well. Avoid single-flour swaps like almond flour; they won’t give you the same batter consistency.
Storage and Reheating
- Refrigerator: Store covered for up to 4 days. The sauce will thicken as it chills and the top will lose some of its soft, pudding-like finish.
- Freezer: It freezes, but the texture softens after thawing, so I only do this if I have leftovers to use up. Wrap portions tightly and freeze for up to 2 months.
- Reheating: Warm individual portions in the microwave in short bursts or cover the pan with foil and reheat in a 300°F oven. Add a splash of milk if it looks dry. The common mistake is blasting it on high heat, which makes the edges rubbery before the center warms through.
Questions I Get Asked About This Recipe
Chocolate Cobbler
Ingredients
Equipment
Method
- Preheat the oven to 350F, then butter a 9x9 or 8x8 baking dish so it’s evenly coated for easy serving.
- Whisk all-purpose flour, granulated sugar, cocoa powder, baking powder, and salt until the mixture looks uniform in color.
- Stir in whole milk, melted unsalted butter, and vanilla extract until smooth, then spread the batter into the prepared dish in an even layer.
- Mix brown sugar and cocoa powder, then sprinkle the mixture evenly over the batter.
- Pour very hot water over everything without stirring, so it settles beneath the batter as it bakes.
- Bake for 35-40 minutes at 350F, until the top is set and looks firm while the interior underneath turns glossy.
- Serve warm with vanilla ice cream, scooping to reveal the self-saucing chocolate layer underneath the cake top.