Dense, silky chocolate-hazelnut gelato has a way of tasting like it came from a good gelateria instead of your own freezer, and that’s exactly why this version earns a permanent spot in the dessert rotation. The cocoa brings the deep, almost dark-chocolate base, while the hazelnut paste gives it that classic gianduia roundness that tastes roasted, not just sweet. The texture lands somewhere between plush custard and scoopable silk, with enough body to hold a clean scoop and enough richness to melt on the tongue.
The trick is keeping the custard base balanced so it never turns eggy or icy. Cornstarch gives the gelato extra insurance against a loose, watery finish, and the yolks add body without making it heavy. I also like to cook the base just until it thickens enough to coat a spoon; going farther than that can push the eggs too far and mute the hazelnut flavor. The chopped toasted hazelnuts go in at the end so they stay crisp instead of softening into the base.
Below, I’ve included the little details that make the texture work, plus a few smart swaps if you’re using Nutella instead of hazelnut paste or need to adjust the richness a bit.
The base chilled beautifully and churned into the creamiest gelato I’ve made at home. The toasted hazelnuts stayed crunchy, and the gianduia flavor tasted just like the scoop shop downtown.
Save this chocolate-hazelnut gelato for the days when you want a dense, scoopable gianduia-style dessert with real roasted hazelnut character.
The Part That Keeps Gelato Dense Instead of Icy
Gelato fails when the base is too loose before churning. If it goes into the machine thin and underdeveloped, you end up with a frozen milkshake texture instead of that tight, silky scoop that holds together cleanly. The cornstarch in this recipe helps the base set with less dairy fat than a full custard ice cream, which is one reason gelato can taste intense without feeling heavy.
The other thing that matters is cooling it completely before it hits the churn. Warm base makes the machine work harder and leaves you with bigger ice crystals, especially in a small home ice cream maker. Chilling for the full four hours gives the cocoa and hazelnut time to settle into the dairy, and the texture firms up in a way that feels noticeably smoother on the tongue.
What Each Ingredient Is Actually Doing in This Gianduia Base
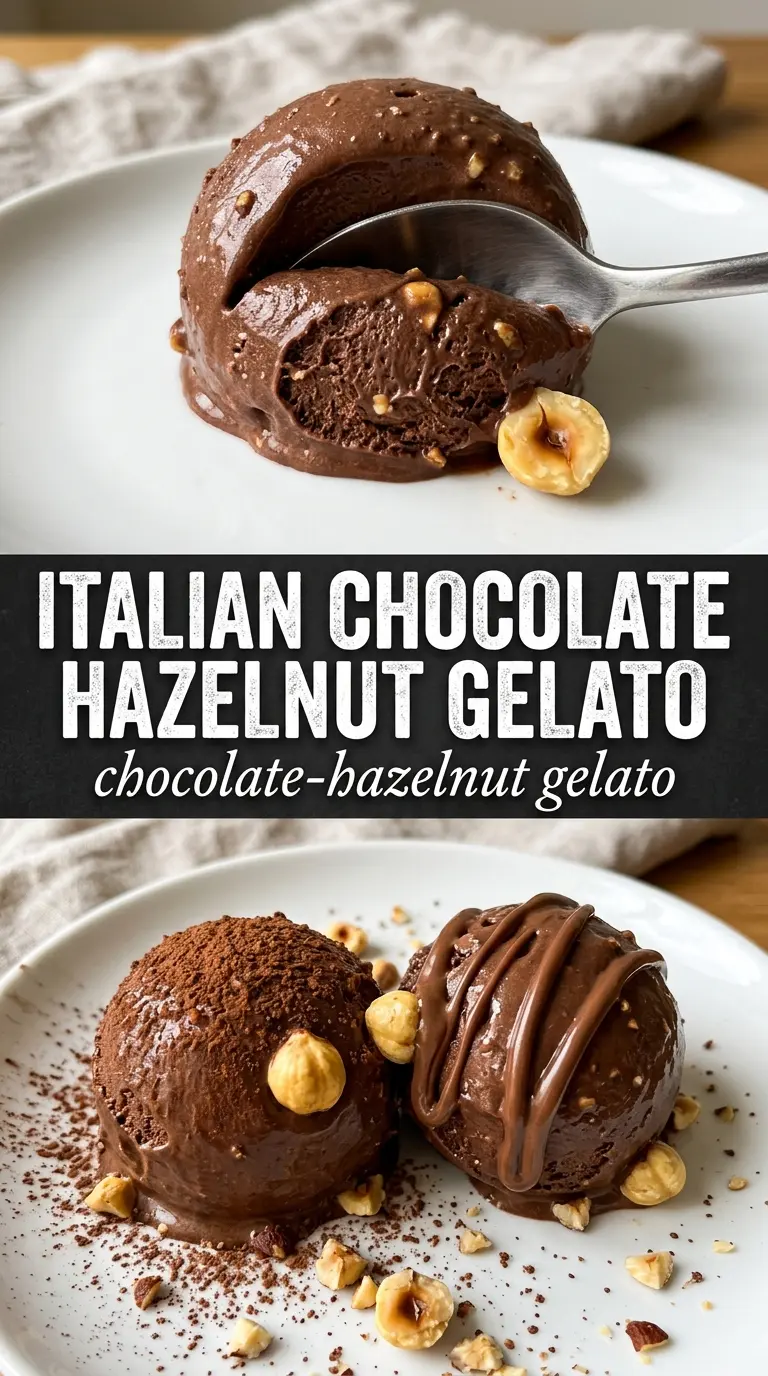
- Hazelnut paste or Nutella — This is the flavor backbone. Pure hazelnut paste gives the cleanest roasted nut taste, while Nutella adds more sugar and cocoa, which makes the base sweeter and a little softer. If you use Nutella, keep the rest of the sugar as written; the recipe is already balanced for that extra sweetness.
- Dutch process cocoa powder — Dutch cocoa gives the gelato a darker color and a smoother chocolate flavor than natural cocoa. It also blends into the dairy more evenly, so you don’t get dry, chalky pockets. Sift it if yours tends to clump.
- Egg yolks — The yolks build body and help the gelato emulsify. They don’t make this taste like custard in the heavy old-fashioned sense; they just give the base enough richness to freeze with a softer bite. Whisk them with the sugar until pale so they dissolve evenly.
- Whole milk and heavy cream — Whole milk keeps the gelato light enough to stay true to style, while the cream gives the base enough fat to feel lush. You can swap the cream for more milk in a pinch, but the finished gelato will freeze firmer and taste less round.
- Toasted hazelnuts — These are there for texture, not just garnish. Toasting wakes up the nut flavor and keeps the pieces crisp after folding them in. Add them after churning so they stay distinct.
How to Cook the Base Without Scrambling the Eggs
Warming the Dairy and Blooming the Cocoa
Start by heating the milk, cream, and cocoa until the mixture is steaming and the cocoa has disappeared into the dairy. Whisk often as it heats so the cocoa doesn’t sink and scorch on the bottom. Once the hazelnut paste goes in, keep whisking until the base looks smooth and glossy with no streaks left behind. If you see little oily specks, the heat is too high or the paste needs another minute of whisking.
Tempering the Yolks the Safe Way
Whisk the yolks, sugar, and cornstarch until the mixture turns a little paler and feels thicker. Then add the hot chocolate milk in a slow stream while whisking constantly. That gradual addition brings the eggs up to temperature without shocking them. If you dump the hot dairy in all at once, the yolks can seize into tiny bits before the custard ever reaches the stove.
Cooking to the Right Thickness
Return everything to the saucepan and cook over medium heat, stirring constantly, until the mixture thickens enough to coat the back of a spoon. You’re looking for a base that leaves a clear path when you run your finger through it, not a boiling custard. As soon as it reaches that point, take it off the heat. If it boils hard, the eggs can turn grainy and the texture will feel rough after freezing.
Cooling, Churning, and Folding In the Nuts
Stir in the vanilla and salt, then cool the base over an ice bath before refrigerating it. That quick cool-down protects the flavor and keeps the custard from overcooking in the hot pan. Churn on the lowest speed your machine allows for a denser gelato texture, then fold in the toasted hazelnuts by hand at the end. Serve it right away for the softest scoop, or freeze it for an hour or two if you want it firmer and easier to serve.
How to Adapt This Gelato for Different Kitchens and Different Sweetness Levels
Using Nutella Instead of Hazelnut Paste
Nutella makes the gelato a little sweeter and softer because it already contains sugar and cocoa. That’s not a problem here, but it does mean the final flavor leans more chocolate-forward and less deeply nutty. If you want a stronger hazelnut note, add the toasted hazelnuts at the end and let them do some of the work.
Dairy-Free Version
Use full-fat canned coconut milk in place of the milk and cream for a richer result, but expect a light coconut note in the background. The texture will still churn nicely, though it won’t taste as cleanly Italian as the dairy version. Keep the cornstarch in place, since it helps hold the base together after freezing.
Less Sweet, More Roast
If you like a darker, more grown-up gelato, cut the sugar back by a couple of tablespoons and use pure hazelnut paste instead of Nutella. The result will freeze a little harder, but the chocolate and nut flavor comes through with more contrast. This version tastes especially good after a short rest in the freezer, when the bitterness rounds out a bit.
Storage and Reheating
- Refrigerator: The cooked base can be chilled up to 2 days before churning. Stir it once before freezing if it settles.
- Freezer: The finished gelato keeps well for about 2 weeks in an airtight container. Press parchment or plastic wrap directly on the surface to limit ice crystals.
- Reheating: Gelato doesn’t need reheating, but it does need a short rest at room temperature before scooping. Let it sit 5 to 10 minutes so the edges soften; digging in too early can tear the texture and make the scoop look icy.
Questions I Get Asked About This Recipe
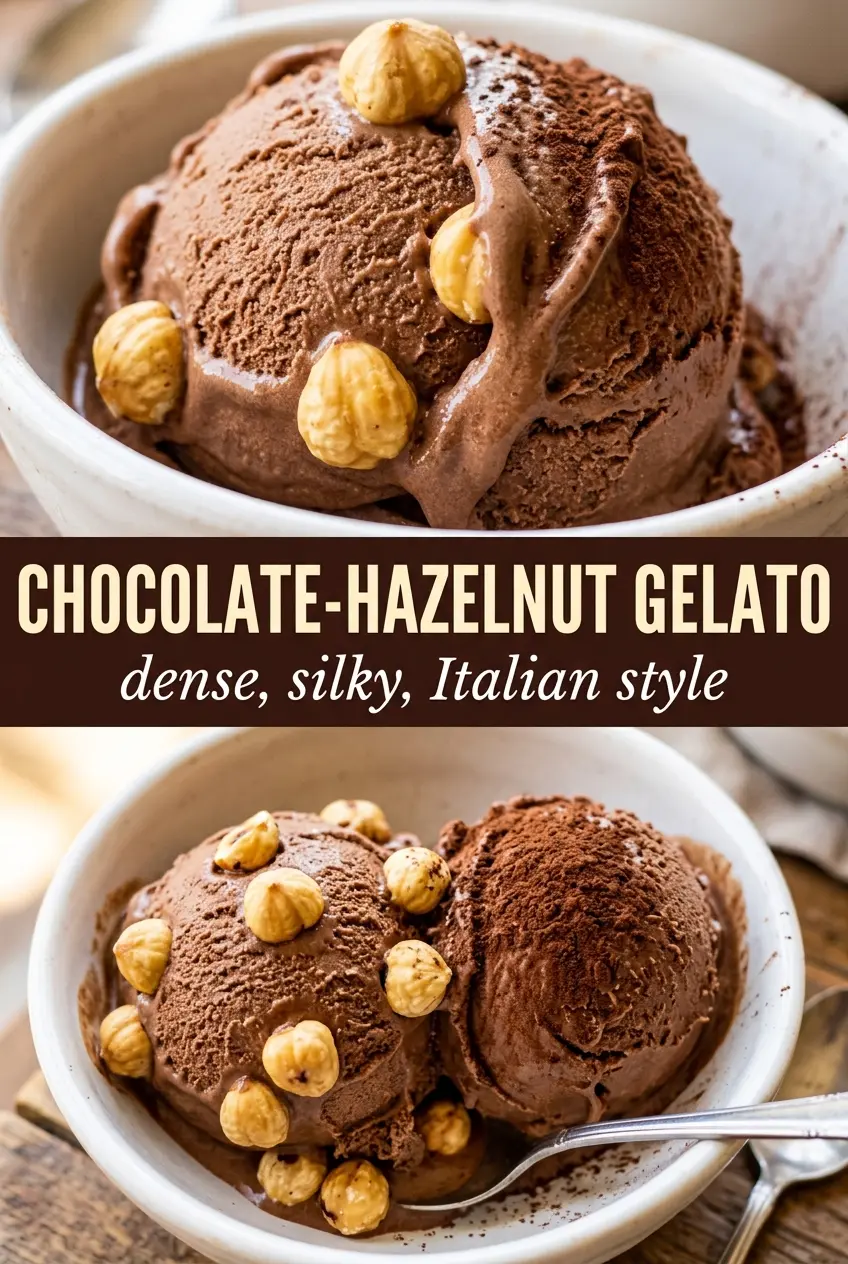
Chocolate-Hazelnut Gelato
Ingredients
Equipment
Method
- In a saucepan, heat the whole milk and heavy cream with the Dutch process cocoa powder until steaming, then whisk in the hazelnut paste until smooth.
- In a bowl, whisk the egg yolks, granulated sugar, and cornstarch until pale, then slowly whisk in the hot chocolate milk.
- Return the mixture to the saucepan and cook over medium heat, stirring constantly, until thickened—about 5 minutes.
- Stir in the vanilla extract and salt, then cool completely using an ice bath until no longer warm.
- Refrigerate the mixture for at least 4 hours to fully chill before churning.
- Churn in an ice cream maker on the lowest speed for a dense gelato texture.
- Fold in the roughly chopped toasted hazelnuts, then serve immediately or freeze for 1-2 hours to firm up.