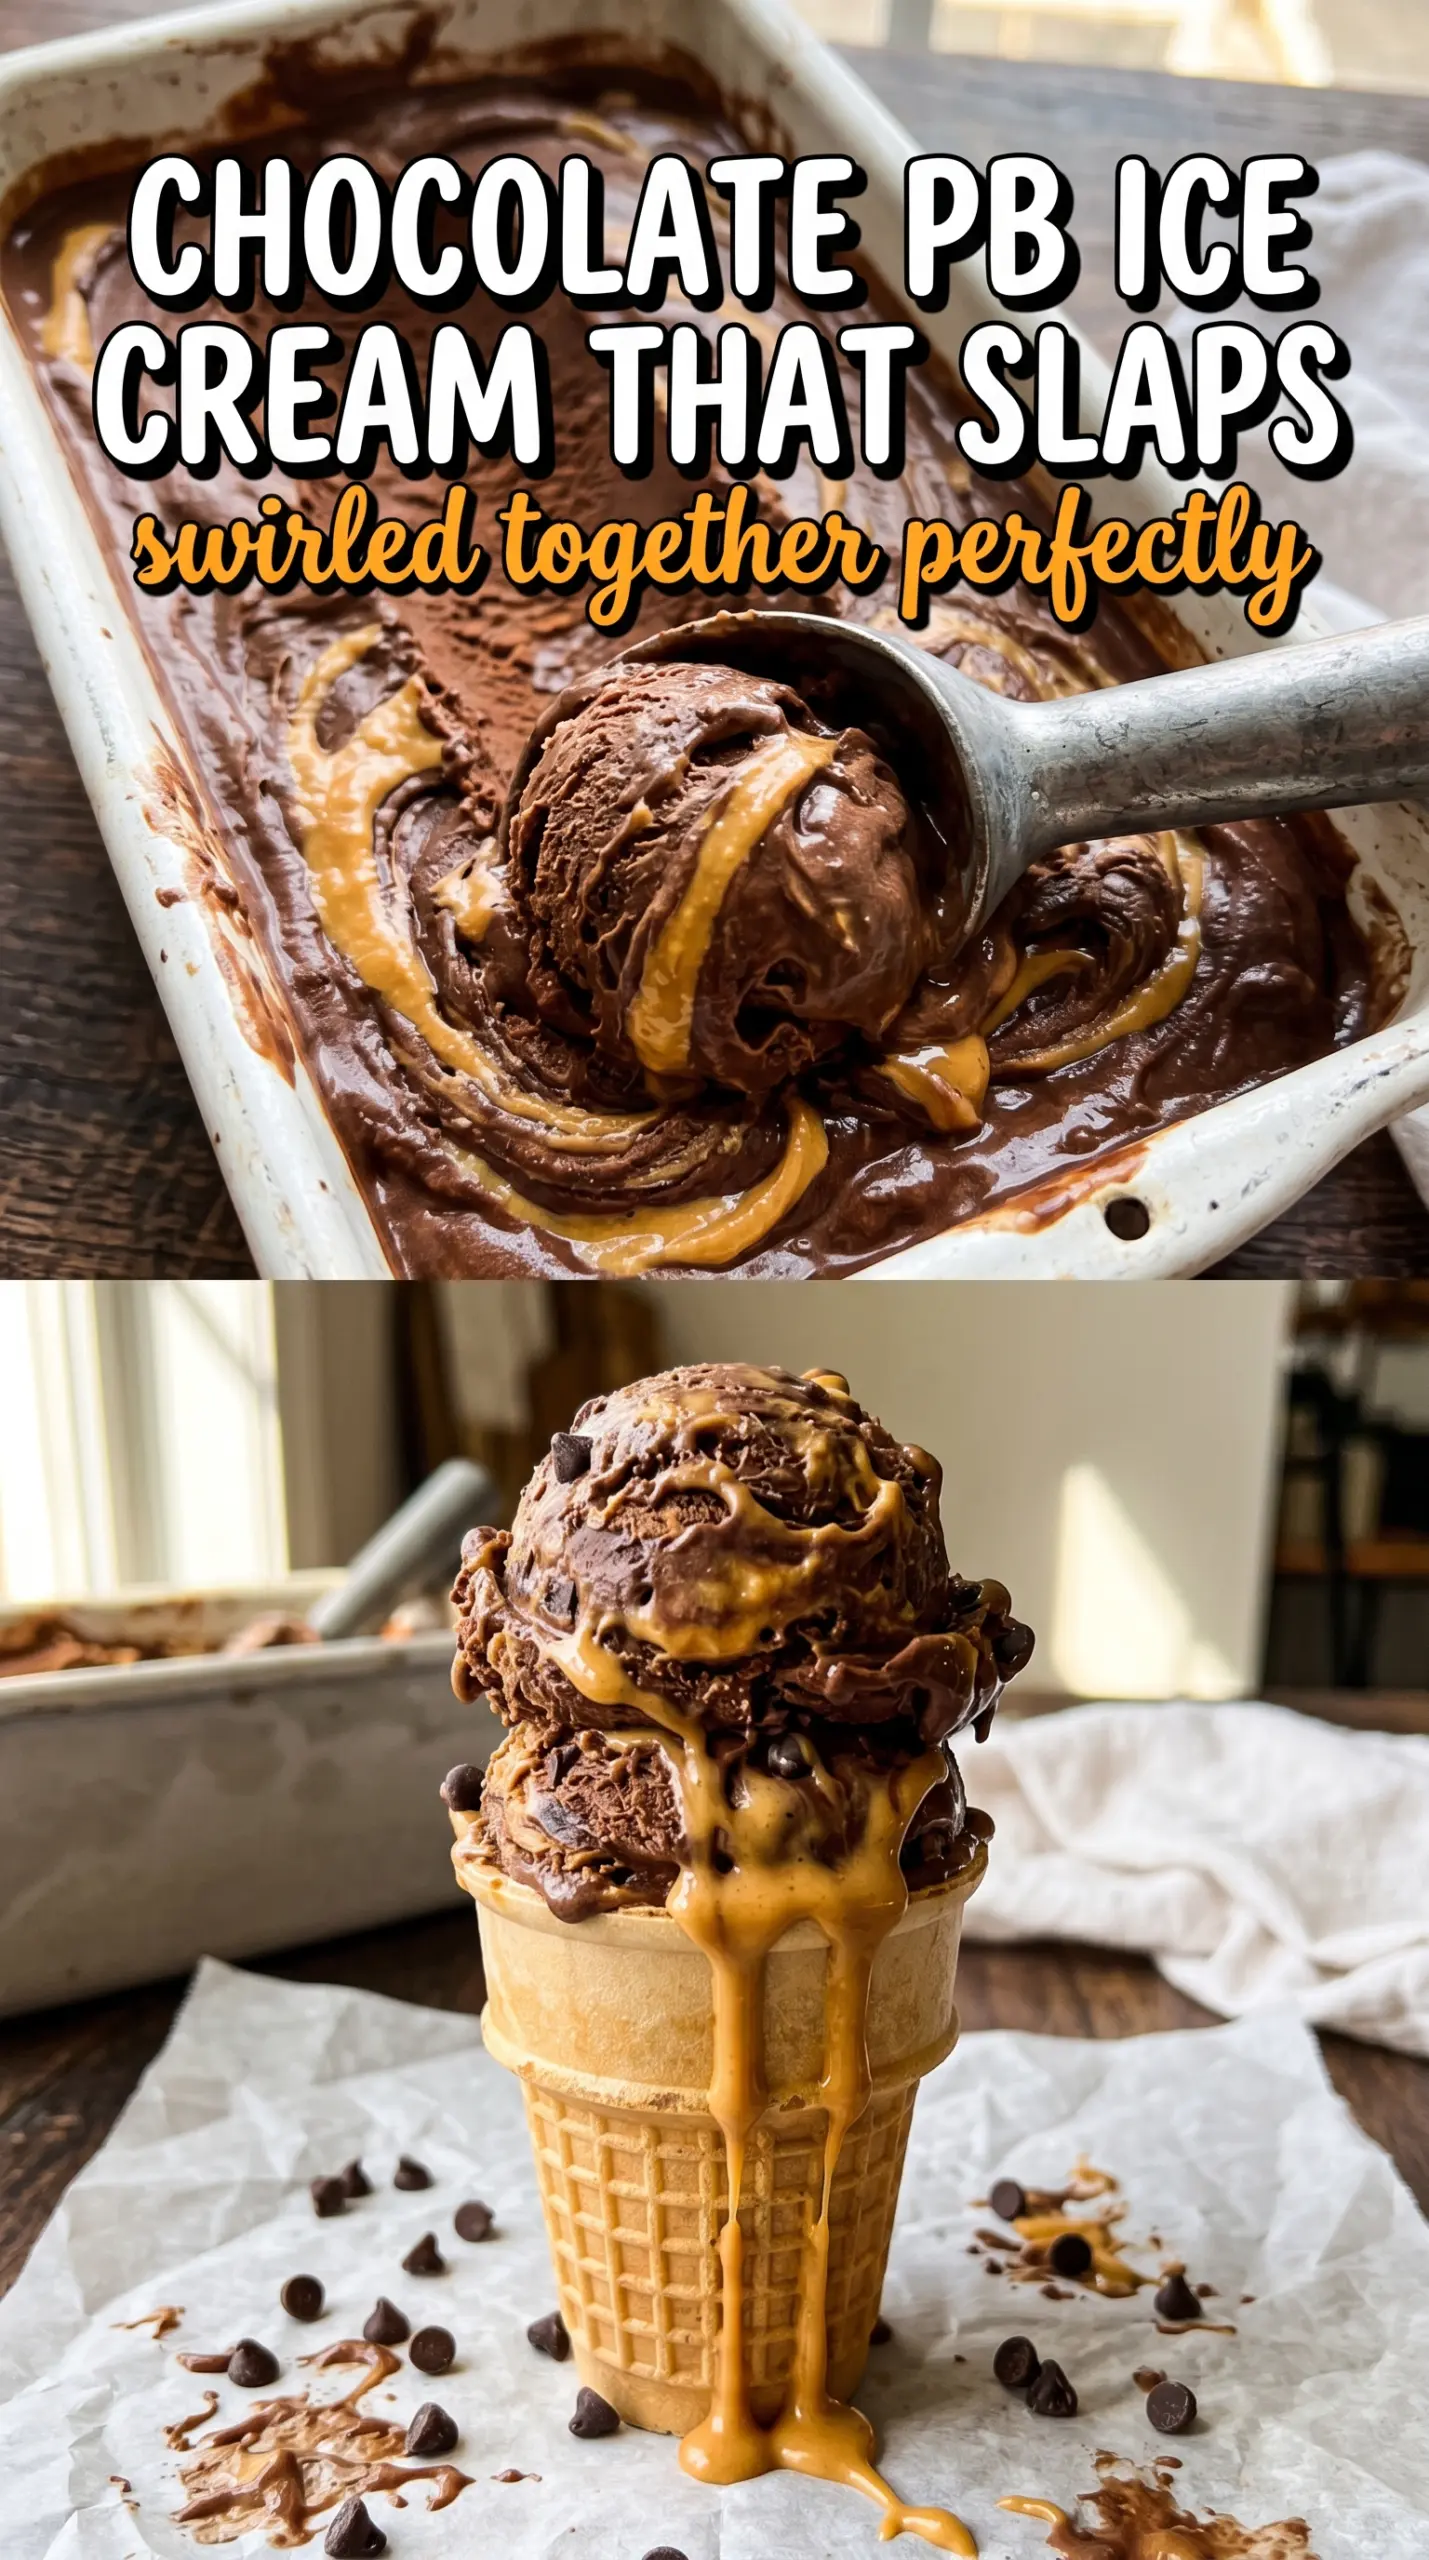
Deep chocolate ice cream with thick ribbons of peanut butter running through every scoop is the kind of dessert that disappears faster than you expect. The chocolate base tastes rich and almost brownie-like, but the peanut butter swirl keeps each bite from leaning too sweet. It ends up balanced, creamy, and full of that classic chocolate-peanut butter contrast that never gets old.
What makes this version work is the way the chocolate base is built. Cocoa gets whisked into the cream and milk first so it hydrates and tastes deeper, then chopped dark chocolate melts in for extra body and a smoother finish. The custard cooks just to 175F, which gives it enough thickness to freeze with a dense, scoopable texture without tasting eggy.
The peanut butter swirl matters just as much as the base. Warm it until it pours easily, then layer and swirl it after churning so it stays distinct instead of disappearing into the ice cream. A few small choices here make the difference between a muddy frozen dessert and one with clean ribbons and real contrast.
The chocolate base was incredibly smooth, and the warm peanut butter swirled in instead of sinking. It froze up scoopable after a couple hours and tasted like a homemade Reese’s ice cream.
Creamy chocolate peanut butter ice cream with bold swirls and a scoopable homemade texture
The Trick to Keeping the Chocolate Base Silky Instead of Grainy
The biggest risk in a custard-style ice cream is rushing the heat. Cocoa can clump if it isn’t whisked into the dairy first, and egg yolks can scramble if the custard gets too hot too fast. Keeping the mixture at a gentle cook and pulling it at 175F gives you a base that coats the spoon and freezes creamy instead of icy.
The other place people go wrong is skipping the strain. Even if the custard looks smooth, a few tiny cooked bits can slip through and make the texture feel off once frozen. Straining catches those before they become a problem. It also helps keep the final ice cream ultra smooth, which matters a lot in a recipe this rich.
What Each Ingredient Is Doing in the Bowl
- Heavy cream — This gives the ice cream its plush texture and slows down ice crystal formation. You need the fat here; swapping in lighter cream will make the base thinner and less luxurious.
- Whole milk — Milk keeps the ice cream from becoming overly rich or greasy. Lower-fat milk will work in a pinch, but the finished scoop will freeze harder and lose some body.
- Unsweetened cocoa powder — Cocoa builds the main chocolate flavor and gives the base depth that melted chocolate alone can’t provide. Whisk it into the dairy before heating so it disperses instead of floating on top.
- Dark chocolate — This sharpens the chocolate flavor and helps the base set with a denser, silkier finish. A chocolate between 60% and 70% works well; much darker can taste bitter against the peanut butter.
- Egg yolks — Yolks thicken the custard and give the ice cream that rich, old-fashioned scoop. There’s no clean substitute here if you want the same texture.
- Creamy peanut butter — Warmed peanut butter creates the swirl layer, and it needs to be pourable so it can ribbon through the ice cream instead of tearing through it. Natural peanut butter can work if it’s very smooth, but the more separated or oily it is, the less clean the swirl will look.
Building the Custard, Churning the Swirl, and Keeping Both Distinct
Start with the chocolate base
Whisk the cocoa into the cream and milk before you heat anything. That step keeps the cocoa from clumping and helps it bloom into the dairy. When the mixture steams, add the chopped chocolate and whisk until it melts into a smooth, glossy base. If you see little flecks of unmelted chocolate, keep whisking off the heat; don’t chase it with higher heat.
Temper the yolks without scrambling them
Whisk the egg yolks and sugar until they look pale and slightly thickened. Then slowly whisk in the hot chocolate mixture in a steady stream. That gradual change in temperature is what protects the yolks. If you dump the hot liquid in all at once, you’ll get sweet scrambled eggs instead of custard.
Cook until the custard coats the spoon
Return everything to the saucepan and cook over medium-low heat, stirring constantly, until it reaches 175F. At that point, the custard should lightly coat the back of a spoon and leave a clean line when you run your finger through it. Take it off the heat as soon as it hits temperature. A few extra degrees can turn a smooth base into a grainy one.
Chill fully before churning
Stir in the vanilla and salt, then strain the custard into a clean bowl and cool it completely. The long chill isn’t busywork. Cold base churns faster and freezes with a finer texture. If you rush this step, the ice cream maker has to work too hard and the result can end up soft and icy at the same time.
Layer in the peanut butter
Churn the ice cream until it reaches soft-serve texture, then layer it into a container while drizzling warm peanut butter between the layers. Use a knife to make a few broad swirls, not endless stirring. Overmixing blurs the contrast and turns the whole batch tan. A few passes are enough to create those thick ribbons people actually want to find in the scoop.
Freeze until firm
Press a piece of parchment or plastic wrap directly on the surface and freeze the container until the ice cream is scoopable, at least 2 hours. If it still feels too soft at the edges, give it more time before serving. Homemade custard ice cream always firms up more in the freezer than it does in the churn, and this one needs that final set to hold clean scoops.
How to Adapt This for Different Freezers, Diets, and Chocolate Preferences
Use natural peanut butter for a less sweet swirl
Natural peanut butter works if it’s fully stirred and warmed until smooth, but it tends to set a little firmer and can separate in the freezer. The swirl will taste more roasted and less candy-like, which is nice if you want the peanut butter to read more clearly against the chocolate.
Make it dairy-free with full-fat coconut milk
Replace the cream and milk with full-fat canned coconut milk, then use a dairy-free dark chocolate. The texture will be a little less custard-rich and the coconut will show up in the background, but the ice cream will still churn well and hold a good swirl.
Go darker by increasing the chocolate
If you want a more intense chocolate base, use a darker bar and keep the peanut butter swirl generous. The result will be less sweet and more grown-up, but you may want to taste the custard before chilling and add a pinch more sugar if the chocolate leans bitter.
Storage and Reheating
- Refrigerator: Not recommended. This ice cream needs the freezer to keep its texture and structure.
- Freezer: Store in an airtight container with parchment pressed on top for up to 2 weeks. After that, the peanut butter swirl can start to get a little icy around the edges.
- Reheating: Let it sit at room temperature for 5 to 10 minutes before scooping. The biggest mistake is digging in straight from the freezer, which shatters the swirl and makes the texture seem harder than it is.
Questions I Get Asked About This Recipe
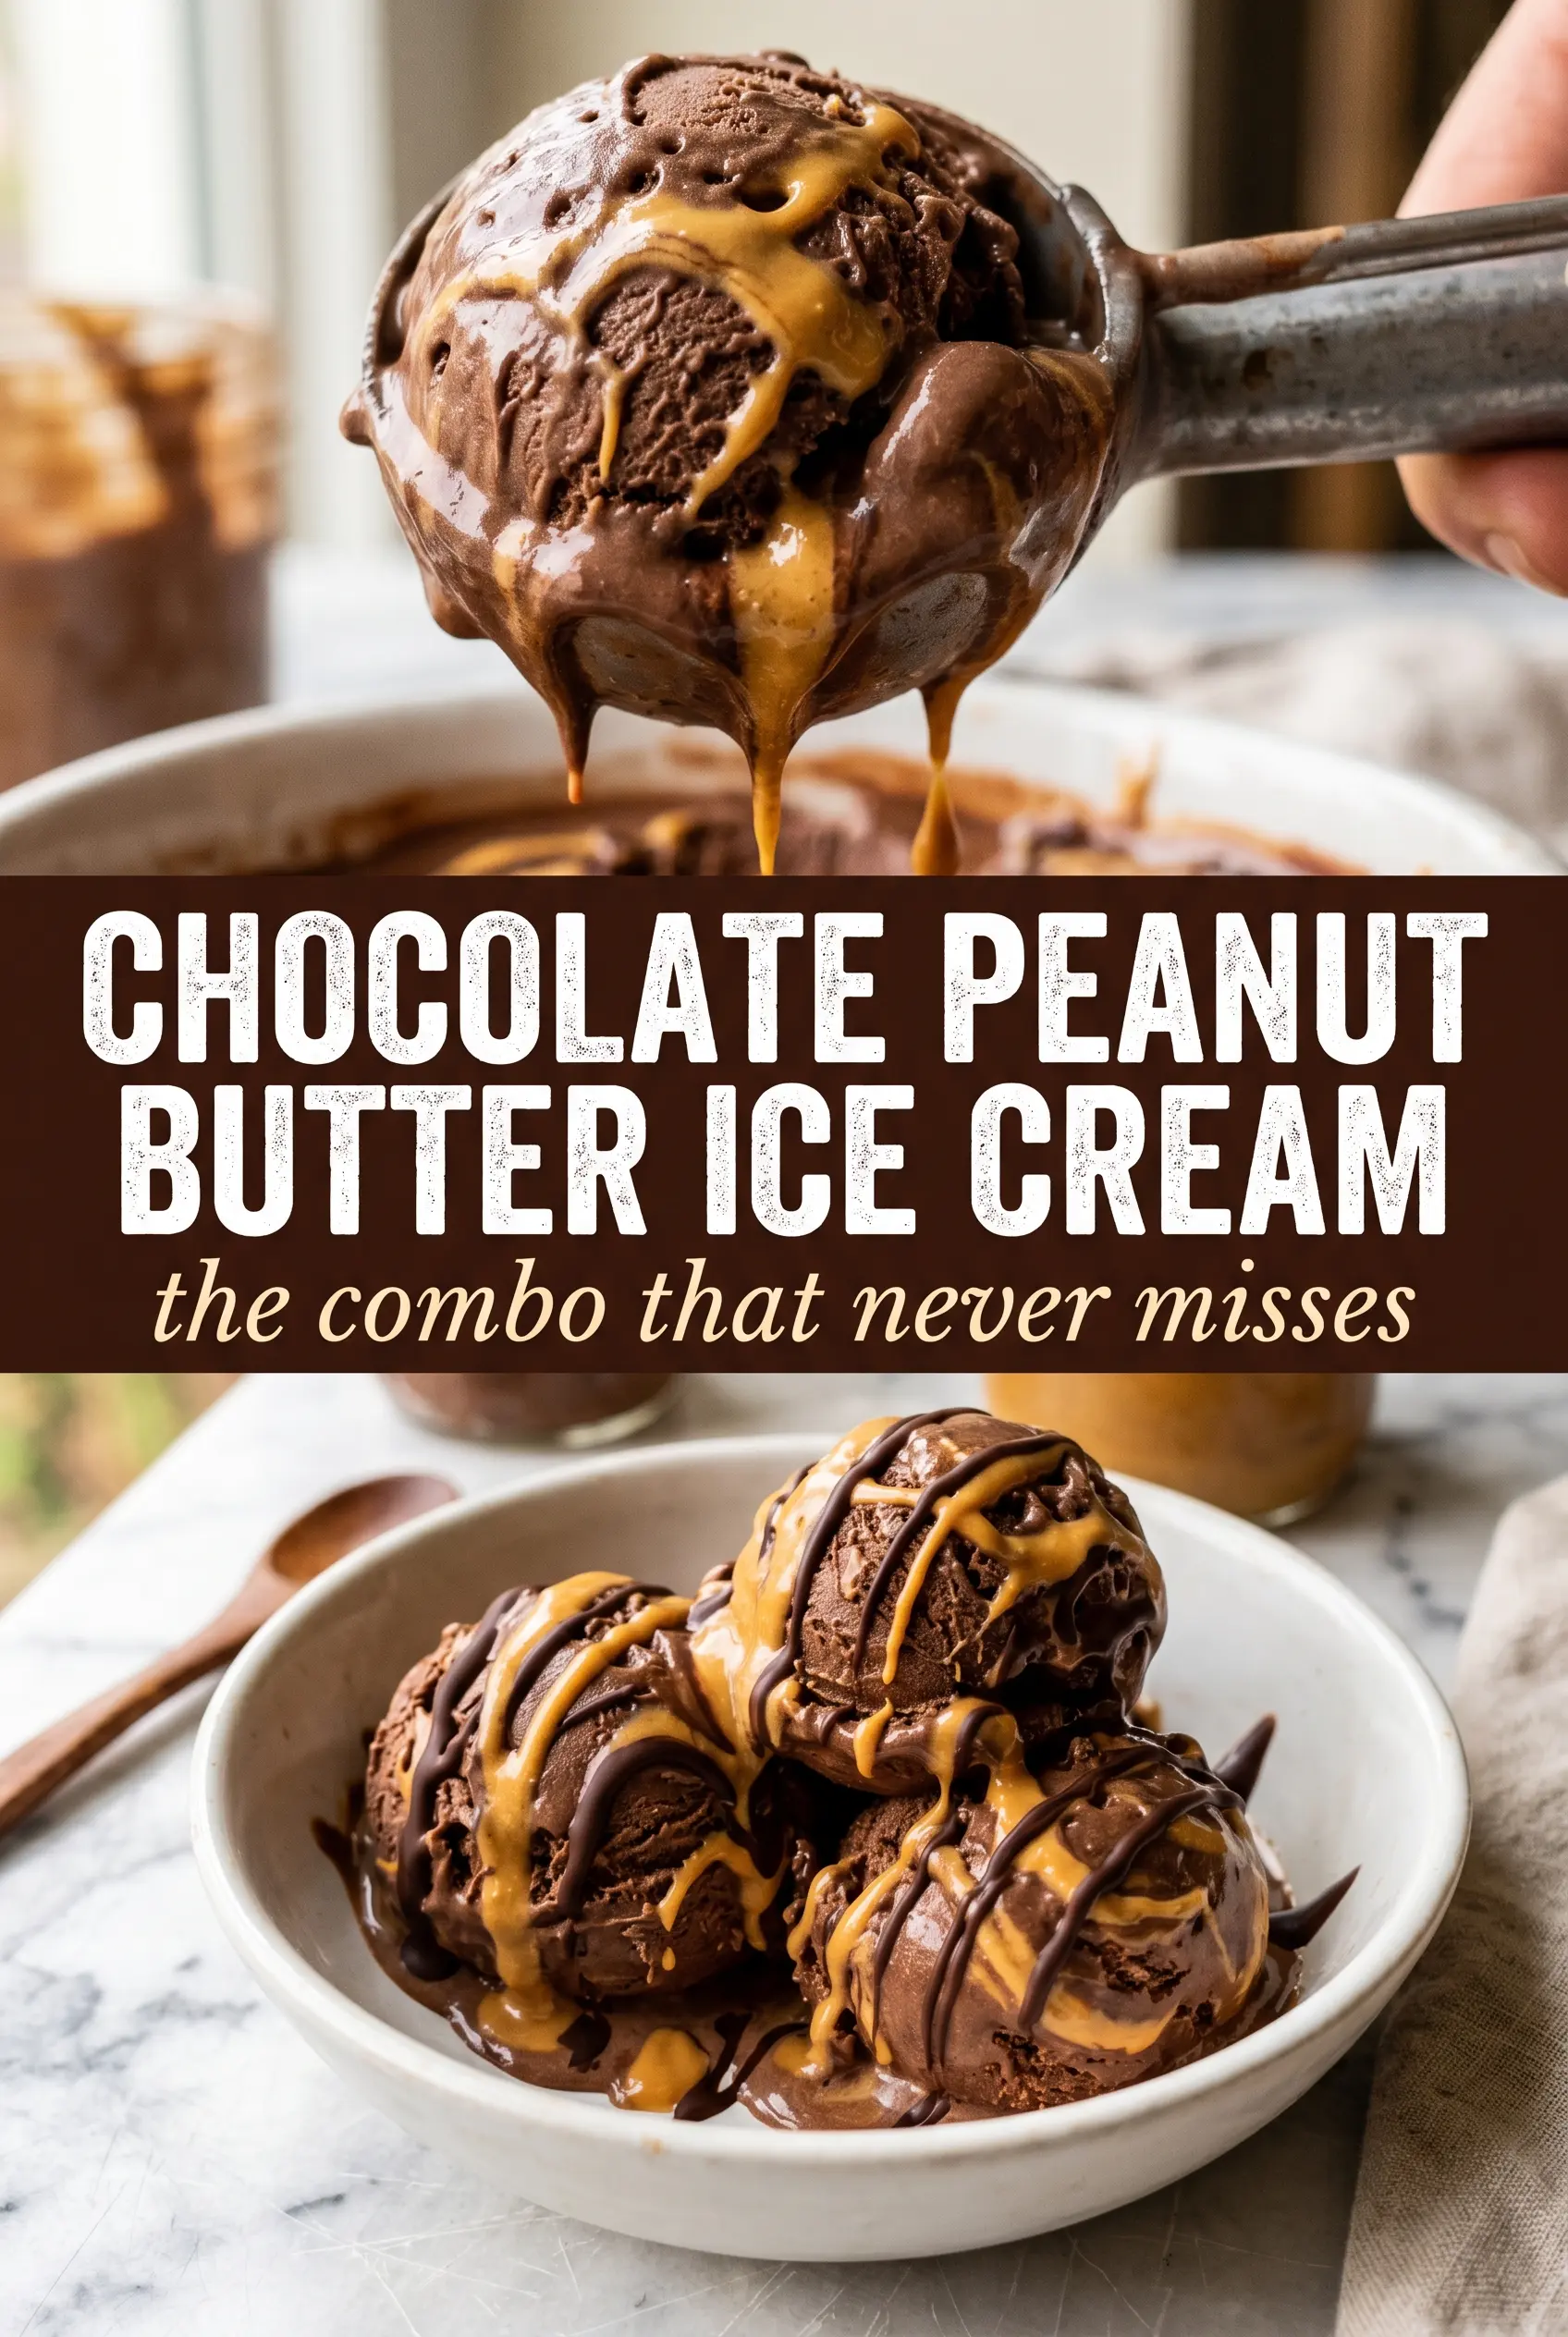
Chocolate Peanut Butter Ice Cream
Ingredients
Equipment
Method
- Whisk cocoa powder into the heavy cream and whole milk, then heat in a saucepan until steaming, stirring constantly (about 5–7 minutes); the mixture should look glossy and fragrant.
- Add the chopped dark chocolate and whisk until fully melted and smooth (about 2–3 minutes); the color should be dark and even.
- In a bowl, whisk the egg yolks and granulated sugar until pale and slightly thick (about 1–2 minutes); it should look lighter in color.
- Slowly whisk the hot chocolate cream into the egg mixture until combined (about 2–3 minutes); keep it smooth with no streaks.
- Return the mixture to the saucepan and cook, stirring, until it reaches 175°F (about 8–10 minutes); the custard should coat the back of a spoon.
- Strain the custard, then whisk in the vanilla extract and salt (about 1 minute); the finished base should be silky and dark.
- Cool the custard completely at room temperature, then refrigerate at least 4 hours until very cold; cover so a skin doesn’t form.
- Churn the chilled custard in an ice cream maker according to the manufacturer’s instructions (about 15–20 minutes); it should thicken to soft-serve consistency.
- Layer the churned ice cream into a container, drizzling warm peanut butter between each layer, then swirl with a knife (about 2–3 minutes); ribbons should be visible throughout.
- Freeze at least 2 hours until firm (at least -); the texture should scoop cleanly.