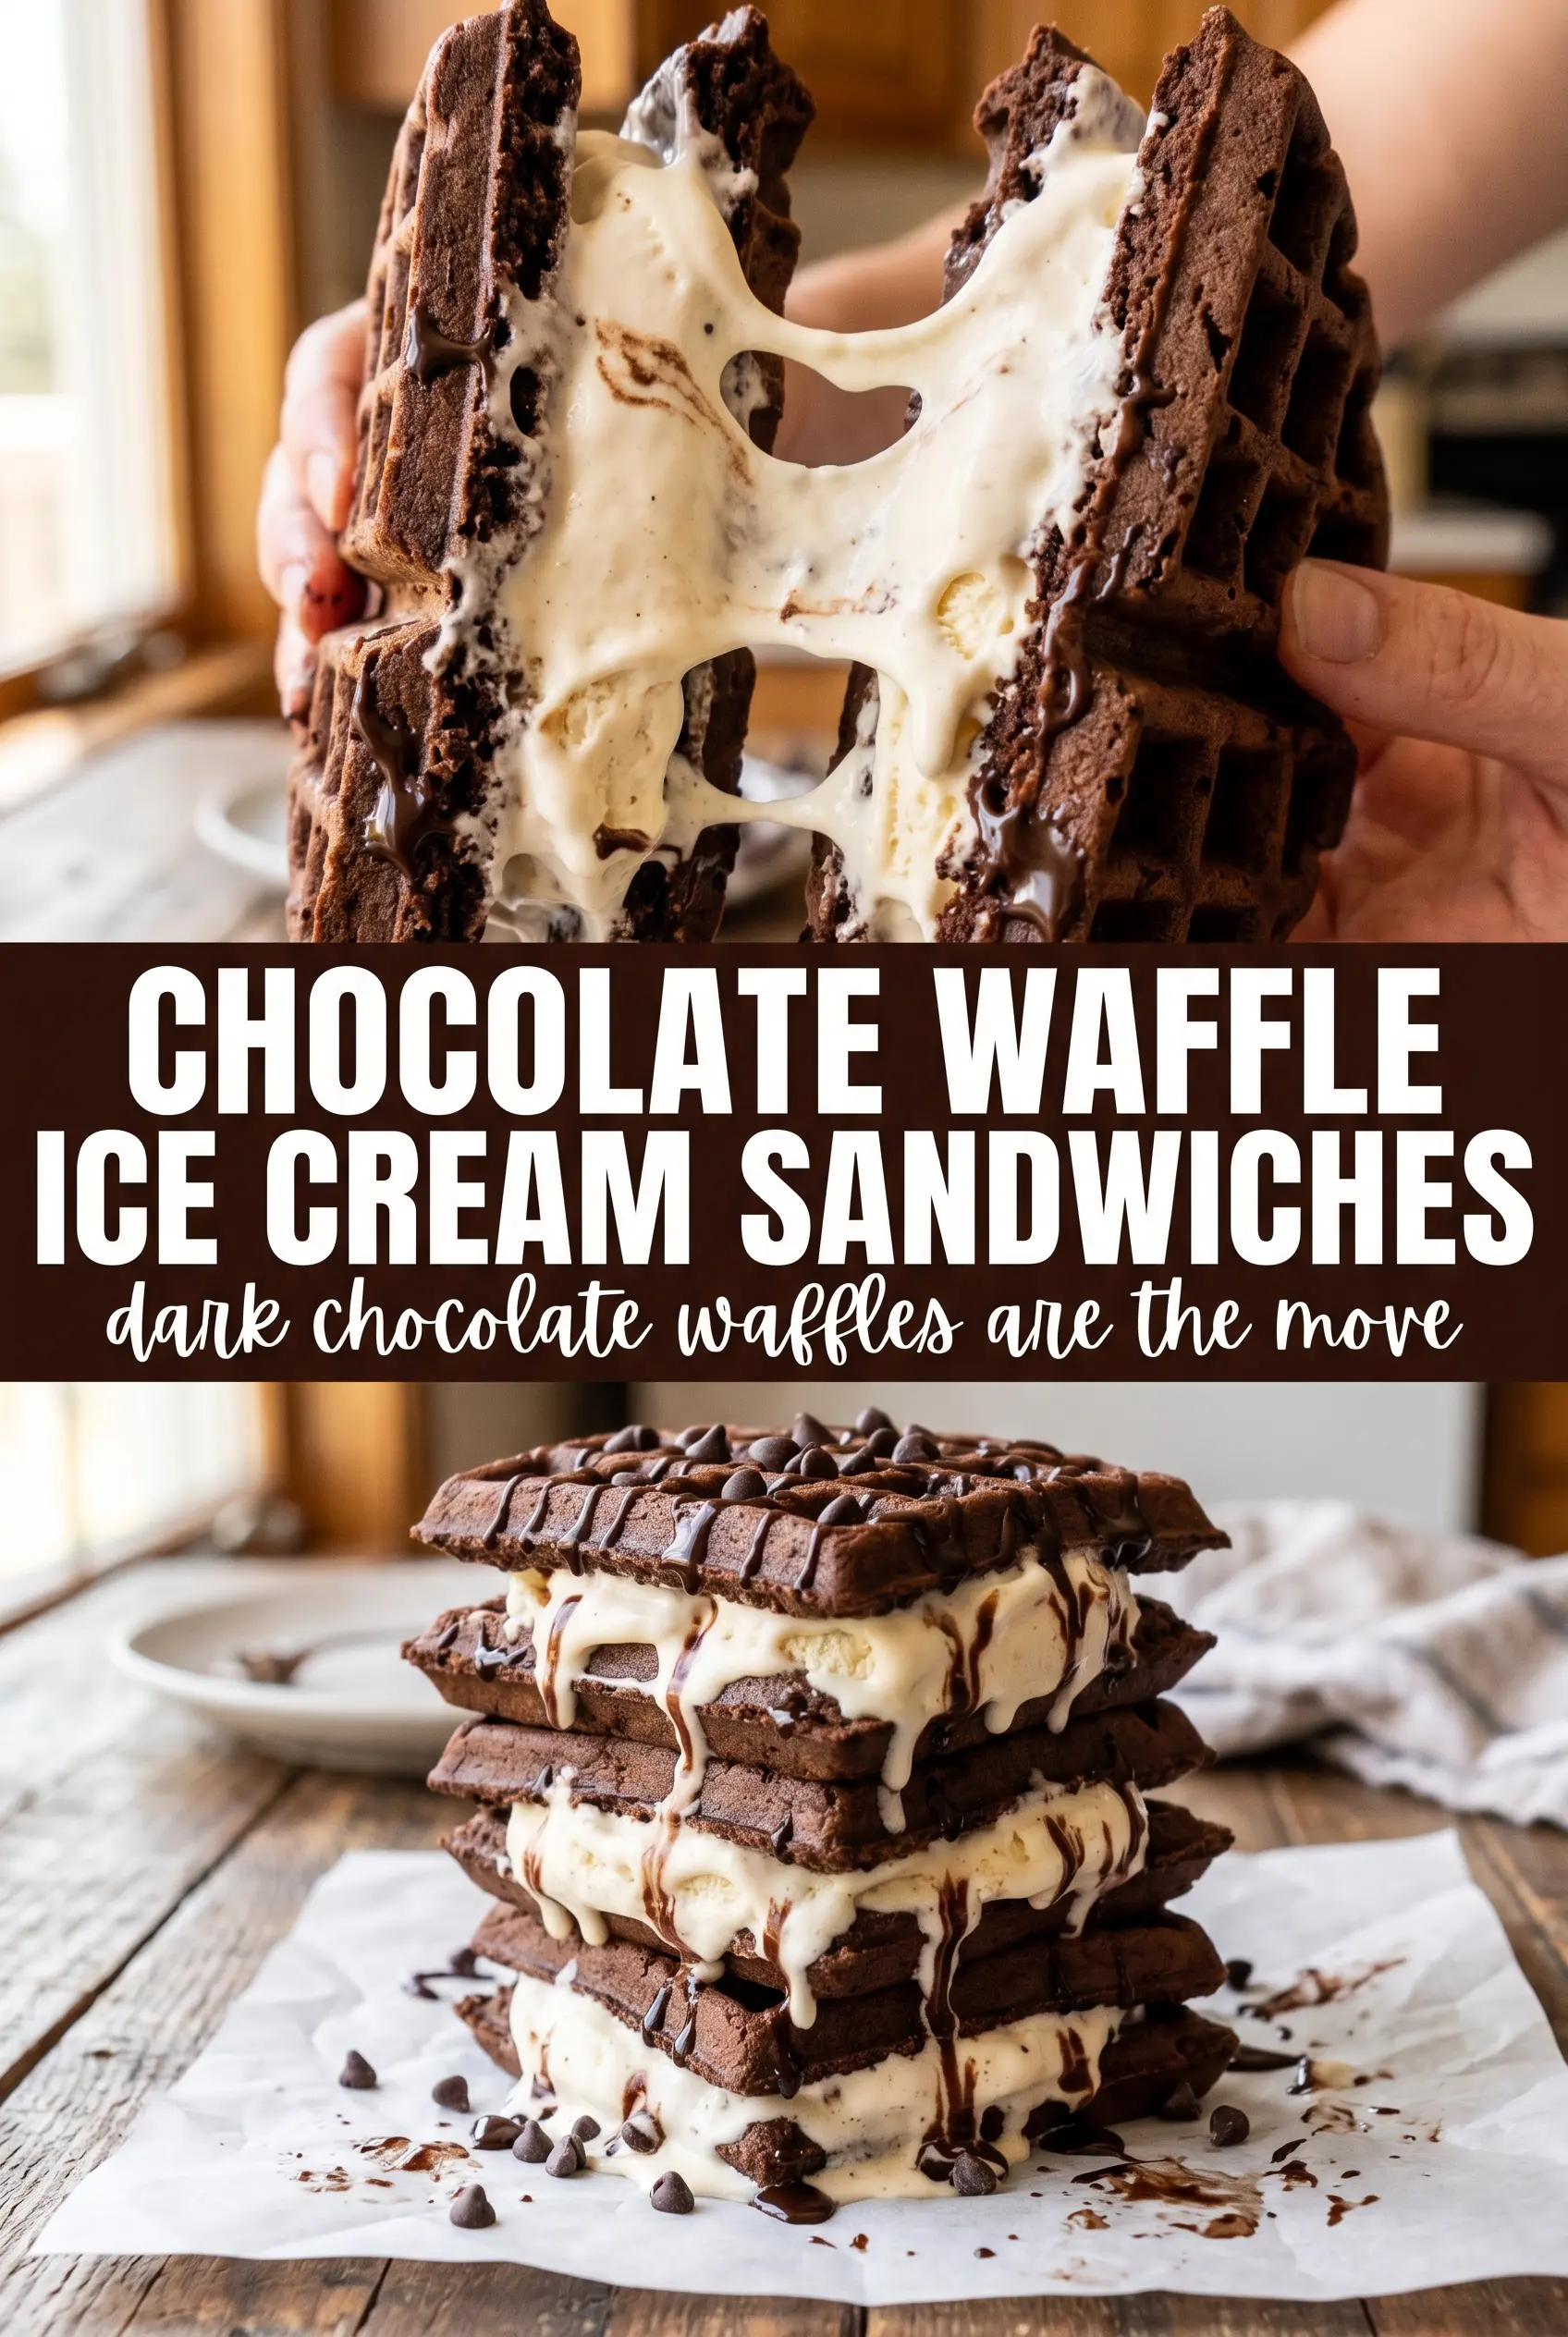
Dark chocolate waffles make a serious case for dessert at breakfast, but tucked around a scoop of ice cream they turn into something even better: crisp at the edges, fudgy in the middle, and cold and creamy all the way through. The cocoa gives the waffles enough bitterness to keep the whole sandwich from tasting too sweet, and the chocolate syrup on top pushes it straight into indulgent territory without burying the texture.
What makes this version work is the waffle itself. Buttermilk keeps the batter tender, baking soda gives the chocolate a little lift, and the oil helps the waffles stay flexible enough to cut and sandwich without cracking apart. Cooling them completely matters more than people think. Warm waffles melt the ice cream before you get the sandwich assembled, and then you lose that clean layer of cold filling against the crisp pockets.
Below, you’ll find the little details that keep the waffles crisp, the best way to cut and fill them, and a few smart swaps if you want to change the ice cream or make these ahead for a crowd.
The waffles came out crisp enough to hold the ice cream, and after 1 hour in the freezer the sandwiches sliced cleanly instead of turning into a melty mess. My kids asked for the mint chocolate chip version again the next night.
These chocolate waffle ice cream sandwiches are the kind of frozen dessert that stays crisp at the edges and creamy in the center.
The Trick to Keeping Chocolate Waffles Crisp Under Ice Cream
The biggest failure point here is moisture. Chocolate waffles can go soft fast if they’re stacked while still warm, and ice cream will punish any shortcut by melting into the pockets before you’ve even finished assembling. The fix is simple: cook them until the steam slows down, then cool them on a rack so air can reach both sides.
That rack step matters because a plate traps steam underneath and softens the bottoms. You want waffles that feel dry on the outside and still a little tender inside, not fragile or brittle. Once they’re fully cool, they cut into neat squares and hold their shape long enough to sandwich without collapsing.
- Cocoa powder — Use unsweetened cocoa, not hot cocoa mix. You want deep chocolate flavor without extra sugar or dairy powder changing the batter texture.
- Buttermilk — This brings tang and tenderness, and it works with the baking soda to give the waffles a little lift. Regular milk will work in a pinch, but the waffles won’t taste as balanced.
- Vegetable oil — Oil keeps the waffles more flexible than butter does, which helps when you’re cutting and stacking them around ice cream. Melted butter can work, but the waffles will be a little firmer once chilled.
- Ice cream — Mint chocolate chip gives you a cool, sharp contrast; cookies and cream leans richer and more familiar. Let it soften just enough to scoop cleanly, but don’t let it turn slushy or it’ll smear instead of sit neatly between the waffle pieces.
What Each Ingredient Is Actually Doing in This Ice Cream Sandwich

- Cookies or wafers (the structure) — These need to be sturdy enough to hold ice cream. Soft or brittle cookies crumble or break.
- Ice cream (the filling and star) — Use quality ice cream or make homemade. Slightly softened makes assembly easier.
- Optional coating (chocolate, sprinkles, nuts, or coconut) — This adds flavor and prevents the sandwich from slipping out of hands.
- Speed of assembly — Work quickly so ice cream doesn’t melt. Have everything prepared before you start.
- Temperature control (keep ice cream cold) — Work with ice cream straight from the freezer for best results.
- Pressing technique (gentle pressure) — Don’t squash the ice cream out. Just enough pressure to adhere the cookies.
- Freezing after assembly (at least 2 hours) — This sets the sandwich so it stays together. Longer is better for stability.
- Serving immediately after freezing — Cold ice cream sandwiches taste best. They melt quickly at room temperature.
Building the Sandwich Before the Ice Cream Starts to Run
Mix the Batter Just Until It Comes Together
Whisk the dry ingredients first so the cocoa doesn’t clump, then add the buttermilk mixture and stop as soon as the flour streaks disappear. Overmixing makes the waffles tougher and less tender, which matters here because you want a soft bite under the crisp shell. The batter should look thick and pourable, not smooth like cake batter.
Cook for Color, Then Watch for the Steam
Spoon the batter into a preheated waffle iron and cook until the waffles are set and the edges look crisp and dark. Don’t pull them too early just because they look done on top; the center needs a little more time to firm up so the squares don’t tear when you cut them. When the steam drops off and the waffle lifts cleanly, it’s ready.
Cool, Cut, and Fill Fast
Move the waffles to a wire rack and let them cool all the way down before you slice them into squares. Use a sharp knife or a bench scraper for clean edges, then work quickly once the ice cream comes out. If the ice cream starts melting while you’re assembling, pop the scooped portions back in the freezer for a few minutes before finishing.
Freeze for a Cleaner Bite
You can serve these right away for a softer, messier sandwich, but 1 hour in the freezer gives you that neat, scoopable texture that holds together better. Press each sandwich lightly so the ice cream reaches the corners without spilling out the sides. Drizzle the chocolate syrup at the end so it stays glossy instead of soaking into the waffles.
How to Change the Filling Without Losing the Texture
Cookies and Cream Instead of Mint
Cookies and cream makes the sandwich taste a little richer and more classic. The chocolate waffle still brings the contrast, but you lose the cool, sharp mint note, so the whole dessert reads more like a chocolate cookie-and-cream ice cream bar in waffle form.
Dairy-Free Version
Use a thick oat-based or coconut-based ice cream and check that your chocolate syrup is dairy-free. The waffles themselves stay dairy-free as written because they use buttermilk only; if you need to replace that, use a soured non-dairy milk with 1 tablespoon lemon juice or vinegar and let it sit 5 minutes before mixing.
Make Them Ahead for a Party
Assemble the sandwiches, wrap each one tightly in parchment, and freeze them on a sheet pan until firm. Once they’re set, move them to an airtight container. That first freeze on the tray keeps them from squishing together and helps the waffles stay neatly stacked.
Gluten-Free Swap
A 1:1 gluten-free flour blend works here as long as it includes xanthan gum. The waffles will be a touch more delicate, so let them cool fully before moving them. Cutting them too soon makes the edges crumble instead of forming clean squares.
Storage and Reheating
- Refrigerator: Not recommended for assembled sandwiches. The waffles soften and the ice cream melts into the crumb.
- Freezer: Freeze assembled sandwiches up to 1 week, wrapped individually. Layer parchment between them so they don’t stick together.
- Reheating: Don’t reheat the assembled sandwiches. If you want a warmer waffle, re-crisp the plain waffles in a toaster oven for a minute before adding ice cream.
Questions I Get Asked About This Recipe
Chocolate Waffle Ice Cream Sandwiches
Ingredients
Equipment
Method
- Preheat the waffle iron until hot. In a bowl, whisk all-purpose flour, unsweetened cocoa powder, granulated sugar, baking powder, baking soda, and salt until evenly combined, looking for no cocoa or flour streaks.
- Whisk buttermilk, eggs, vegetable oil, and vanilla extract together until smooth and glossy. Fold the wet mixture into the dry ingredients until just combined, stopping when the batter looks thick and uniform with no dry pockets.
- Spoon batter into the hot waffle iron and cook until set with crispy edges. Look for the surface to spring back slightly when pressed and for steam to slow down before removing.
- Transfer the waffles to a wire rack and cool completely. Keep them flat so the pockets stay crisp and the center doesn’t soften.
- Cut each waffle into 4 squares. Use firm, clean cuts so the waffle edges stay intact when filled.
- Sandwich a generous scoop of mint chocolate chip or cookies and cream ice cream between two waffle squares. Align the edges so the ice cream is centered and doesn’t squish out too far.
- Drizzle chocolate syrup over the top and serve immediately. Use a thin stream so it settles on the crispy waffle edges and forms glossy streaks.
- If you want a firmer texture, freeze the sandwiches for 1 hour. Place them on a tray so they hold their shape and become sliceable and cold in the center.