Cinnamon fried apples turn soft and glossy in the skillet, with tender slices coated in a brown sugar syrup that clings instead of running off the pan. The best versions taste like a cross between warm apple pie filling and a quick Southern side dish, with just enough spice to keep the sweetness from feeling flat. Served warm, they bring a little sparkle to breakfast, pork chops, biscuits, or a scoop of vanilla ice cream.
What makes this version work is the balance of firm apples, a covered simmer, and a cornstarch finish added only after the fruit has released some juice. That sequence matters. If the apples cook uncovered from the start, the syrup can reduce before the fruit softens, and you end up with sticky edges and undercooked centers. The butter and brown sugar build the base, but the thickening step is what gives you that glossy coating people remember.
Below, I’ve included the small details that keep the apples intact instead of turning them mushy, plus a few ways to adapt the dish depending on what you’re serving it with.
The apples stayed tender but didn’t fall apart, and the sauce turned thick and glossy right when it was supposed to. I served them over biscuits and my husband went back for seconds.
Save these cinnamon fried apples for the nights when you want tender skillet apples with a glossy brown sugar sauce.
The Part That Keeps the Apples Tender Instead of Mushy
The difference between fried apples that hold their shape and apples that collapse into sauce comes down to heat and timing. Medium heat gives the fruit time to soften without scorching the sugar on the bottom of the pan, and covering the skillet traps enough steam to finish the apples evenly. That lid is doing real work here.
Firm apples matter more than people think. Honeycrisp gives you sweetness and a little bite, while Granny Smith brings sharper flavor and stays intact better under heat. If the apples start from a soft variety, they’ll turn grainy and tired before the syrup ever thickens.
- Apples: Use firm, crisp apples that can stand up to a covered simmer. Softer dessert apples break down faster and give you more of a sauce than a side dish.
- Butter: This carries the cinnamon and brown sugar and gives the sauce a round, rich finish. Margarine will work in a pinch, but it won’t taste as full.
- Cornstarch: This is what turns the pan juices into a glossy coating. Flour can thicken too, but it leaves the sauce a little opaque and heavier.
What Each Ingredient Is Actually Doing in the Skillet
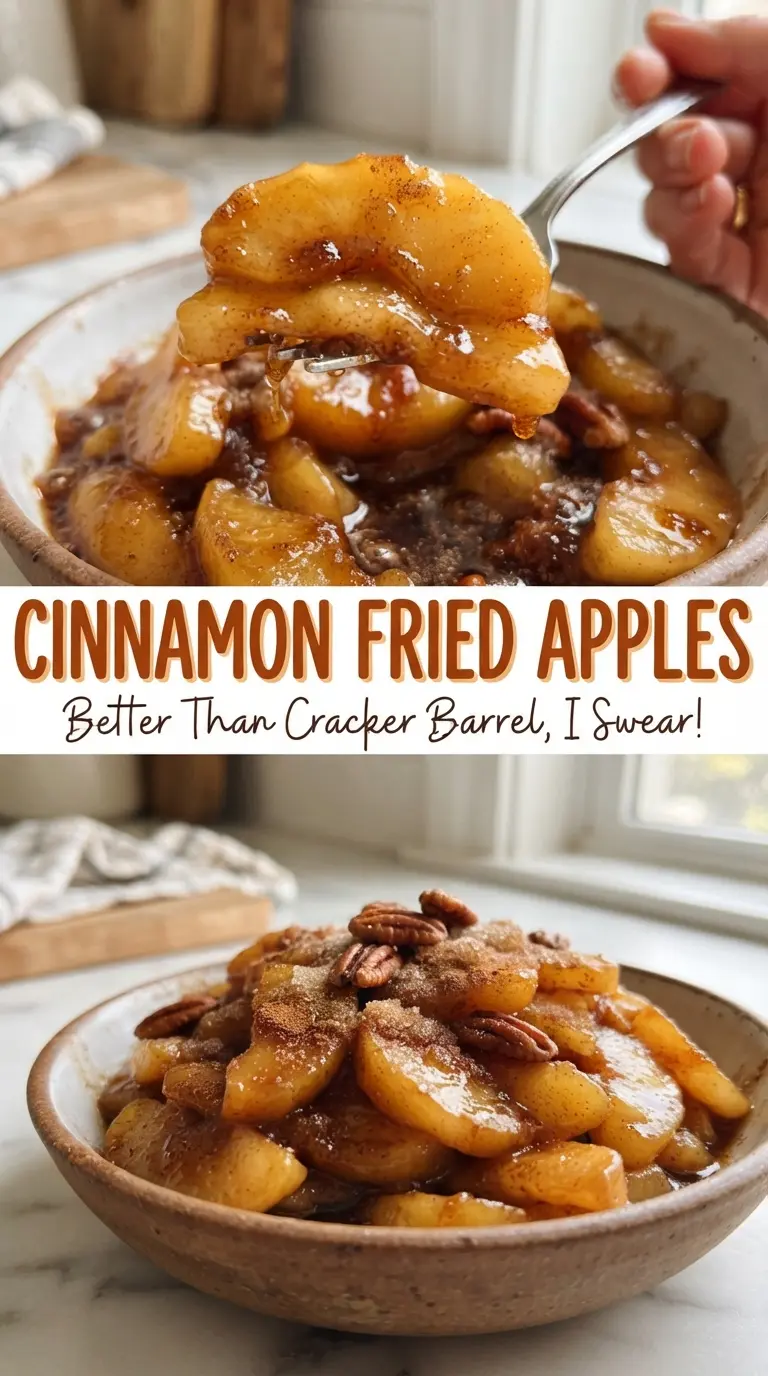
- Brown sugar: Packed brown sugar melts into the butter and apple juices to make the syrupy base. Light or dark brown sugar both work; dark brown sugar gives a deeper molasses note.
- Cinnamon and nutmeg: Cinnamon is the lead spice, and nutmeg adds a warm background note that keeps the dish from tasting one-dimensional. Don’t overdo the nutmeg or it will take over.
- Water: This helps dissolve the cornstarch smoothly so you don’t get little starchy lumps in the pan. Cold water works fine, and the exact temperature isn’t important.
- Vanilla: Stir it in at the end so it stays fragrant instead of cooking off. It softens the spice and makes the sauce taste finished.
How to Build the Glossy Sauce Without Turning It Grainy
Softening the Apples First
Start by melting the butter over medium heat, then add the apples, brown sugar, cinnamon, nutmeg, and salt all at once. Stir until every slice is coated, then cover the pan so the apples steam and soften in their own juices. If the heat is too high at this stage, the sugar can stick before the apples are tender, which gives you a gritty pan instead of a smooth syrup.
Thickening at the End
Whisk the cornstarch with water until it looks completely smooth, then pour it into the skillet and stir gently. The sauce will go from thin and cloudy to glossy in a couple of minutes as it simmers. If you dump dry cornstarch straight into the pan, it clumps, and once that happens it’s hard to fix without straining the sauce.
Finishing for Flavor
Take the pan off the heat and stir in the vanilla right at the end. That last step keeps the aroma bright and keeps the sauce from tasting cooked-out. Serve the apples warm, while the syrup is still loose enough to spoon over biscuits, pancakes, or a pork chop.
Three Ways to Make These Skillet Apples Work at Your Table
Dairy-Free Version
Swap the butter for a good plant-based butter that melts cleanly. The sauce will still thicken and coat the apples, though the finish will taste a little less rich than the original.
Less Sweet, More Apple
Reduce the brown sugar slightly and use Granny Smith apples for more tartness. The sauce will be lighter and less dessert-like, which works nicely beside pork or ham.
Gluten-Free Serving Ideas
This recipe is naturally gluten-free as written, so the main thing is what you serve it with. Spoon it over gluten-free biscuits, oatmeal, or vanilla ice cream and you’ve got the same warm, spiced payoff without changing the apples at all.
Storage and Reheating
- Refrigerator: Store in an airtight container for up to 4 days. The sauce will thicken as it chills.
- Freezer: Freeze for up to 2 months, but expect the apple texture to soften more after thawing. Cool completely before freezing in a flat container for easier reheating.
- Reheating: Warm gently on the stovetop over low heat or in the microwave in short bursts, stirring between each one. High heat can make the syrup tighten too fast and push the apples past tender.
Answers to the Questions Worth Asking
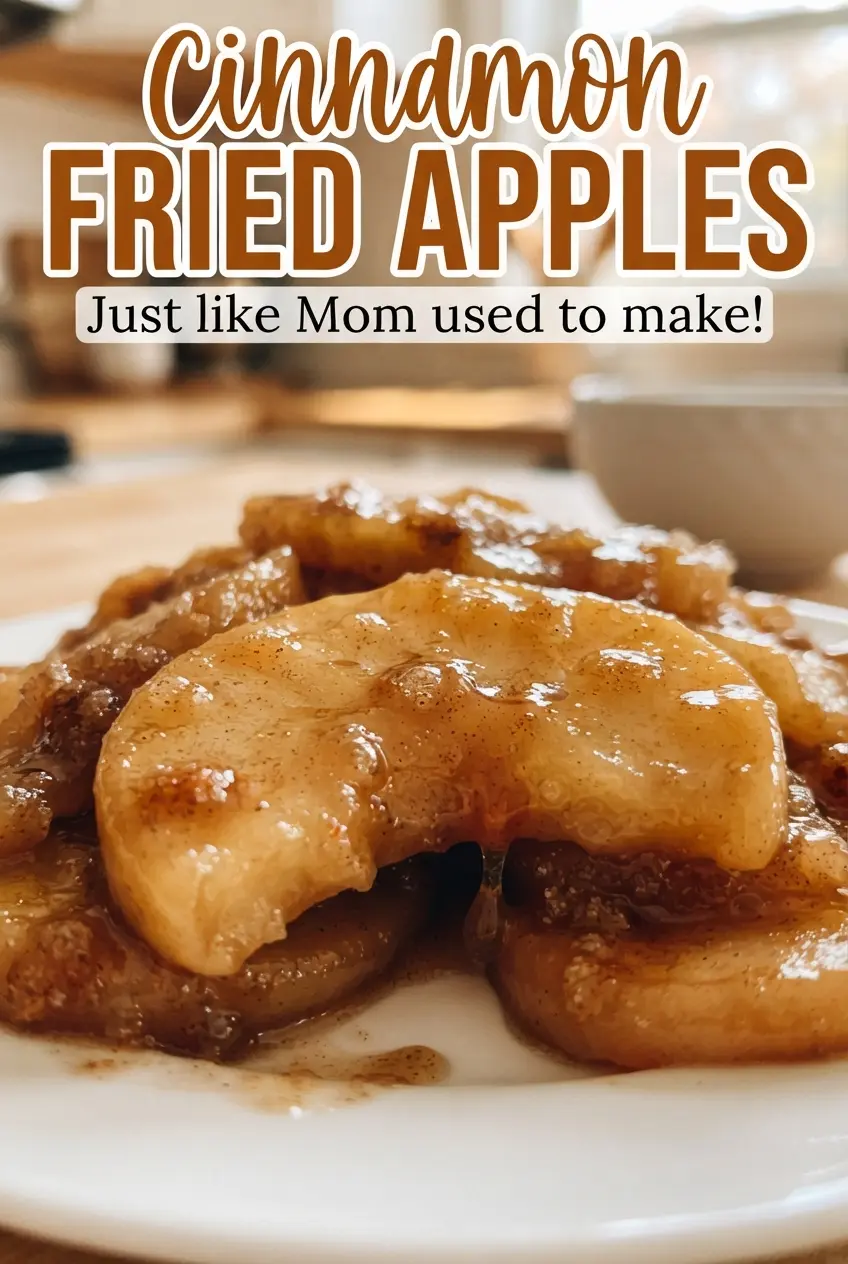
Cinnamon Fried Apples
Ingredients
Equipment
Method
- Melt butter in a large cast iron skillet over medium heat until it’s fully melted and shimmering.
- Add apples, brown sugar, cinnamon, nutmeg, and salt, then stir to coat each slice.
- Cover and cook 8-10 minutes, stirring occasionally, until the apples are just tender.
- Whisk cornstarch with water, then pour the slurry into the skillet.
- Simmer 2-3 minutes until the sauce thickens and turns glossy.
- Stir in vanilla, then serve the cinnamon fried apples warm.