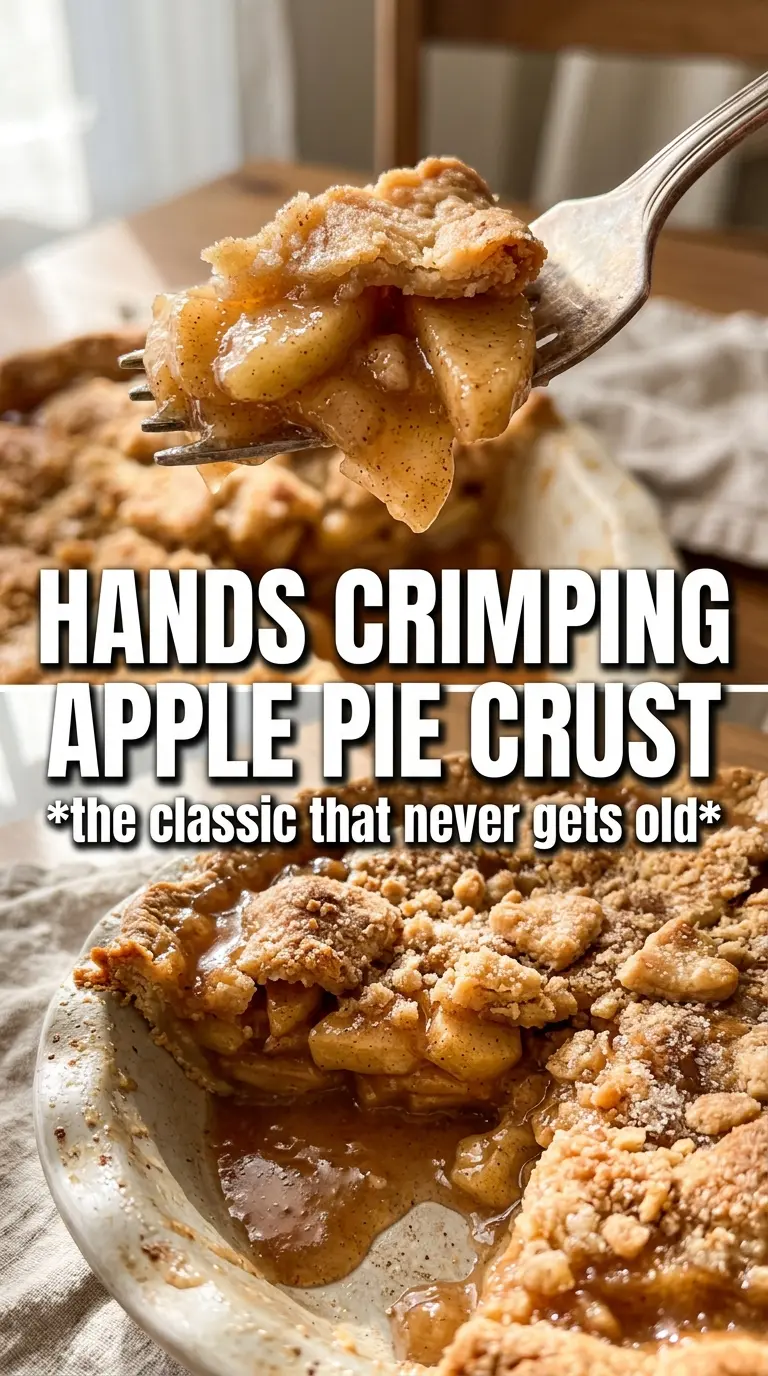
Flaky crust, tender apples, and that cinnamon-sugar top that shatters when the knife goes in — that’s the kind of apple pie worth making on repeat. The filling sets up cleanly, the apples stay distinct instead of collapsing into sauce, and every slice holds its shape without losing the soft, spiced center that makes a pie feel complete.
The trick here is giving the apples a short rest with the sugar and cornstarch before they go into the crust. That pulls out some juice early, which keeps the bottom from turning soggy and gives you a better chance of getting a filling that thickens in the oven instead of flooding the pie plate. Using a mix of Granny Smith and Honeycrisp helps too: one brings structure and tartness, the other brings sweetness and a softer bite.
Below, I’m walking through the part that matters most — how to keep the crust crisp, how to know when the filling is actually done, and what to change if you need to work with different apples or make the pie ahead.
The filling set up beautifully after the full cooling time, and the crust stayed crisp on the bottom instead of getting mushy. I used half Granny Smith and half Honeycrisp like you suggested, and the slices held together perfectly.
Like this apple pie? Save it to Pinterest for the crisp crust, spiced filling, and that clean slice when you want dessert that looks as good as it tastes.
The Step That Keeps the Bottom Crust From Going Soft
The bottom crust usually fails for one reason: the apples leak before the oven has a chance to set the pastry. Letting the sliced apples sit with the sugars, spices, cornstarch, and lemon juice gives you a head start on that process. When you drain off the extra liquid before filling the pie, you’re not throwing away flavor — you’re removing the part that would otherwise pool in the crust.
The other mistake is underbaking because the top looks done. A pie that comes out too early will slice like soup once it cools. You want bubbling juices in the center and a crust that’s deep golden all over, not pale on the edges and dark only in spots.
- Cornstarch — This is what turns the apple juices into a sliceable filling. Flour can work in a pinch, but it needs more time and can taste a little pasty here.
- Mixed apples — Granny Smith gives structure and tartness; Honeycrisp adds sweetness and a softer bite. Using only one type usually makes the pie either too sharp or too soft.
- Lemon juice — It keeps the apples from tasting flat and helps balance the sugar. Fresh is best, but bottled works fine here.
- Cold pie crusts — Whether homemade or store-bought, cold dough bakes up flakier and shrinks less. If the crust starts getting warm while you work, chill the pie before baking.
What Each Ingredient Is Actually Doing in This Pie
- Granulated sugar — This sweetens the filling and helps pull moisture from the apples so the juices can thicken properly. Don’t cut it too far or the filling can taste flat and overly tart.
- Brown sugar — A small amount adds depth and a light caramel note without making the pie taste like molasses. If you skip it, the filling still works, but it loses some warmth.
- Cinnamon, nutmeg, and allspice — Together they give the pie that classic bakery-style spice without one note overpowering the others. If you only have cinnamon, the pie is still good, just a little less round.
- Butter cubes — These melt into the filling and add richness between the apple layers. Cut them small so they distribute evenly instead of leaving greasy pockets.
- Egg wash and cinnamon sugar — The egg wash gives the top crust color and shine, while the sugar adds crunch. Skip the wash and you’ll lose that crisp, glossy finish.
Building the Pie So It Slices Cleanly
Starting with the Fruit
Peel and slice the apples evenly, about 1/4 inch thick, so they bake at the same rate. Toss them with the sugars, spices, cornstarch, and lemon juice until every slice looks coated, then let them sit for 15 minutes. The bowl will collect liquid at the bottom; that’s normal and exactly why you drain it before filling the crust. If you skip the resting time, the filling is more likely to collapse into a watery layer during baking.
Filling and Sealing the Crust
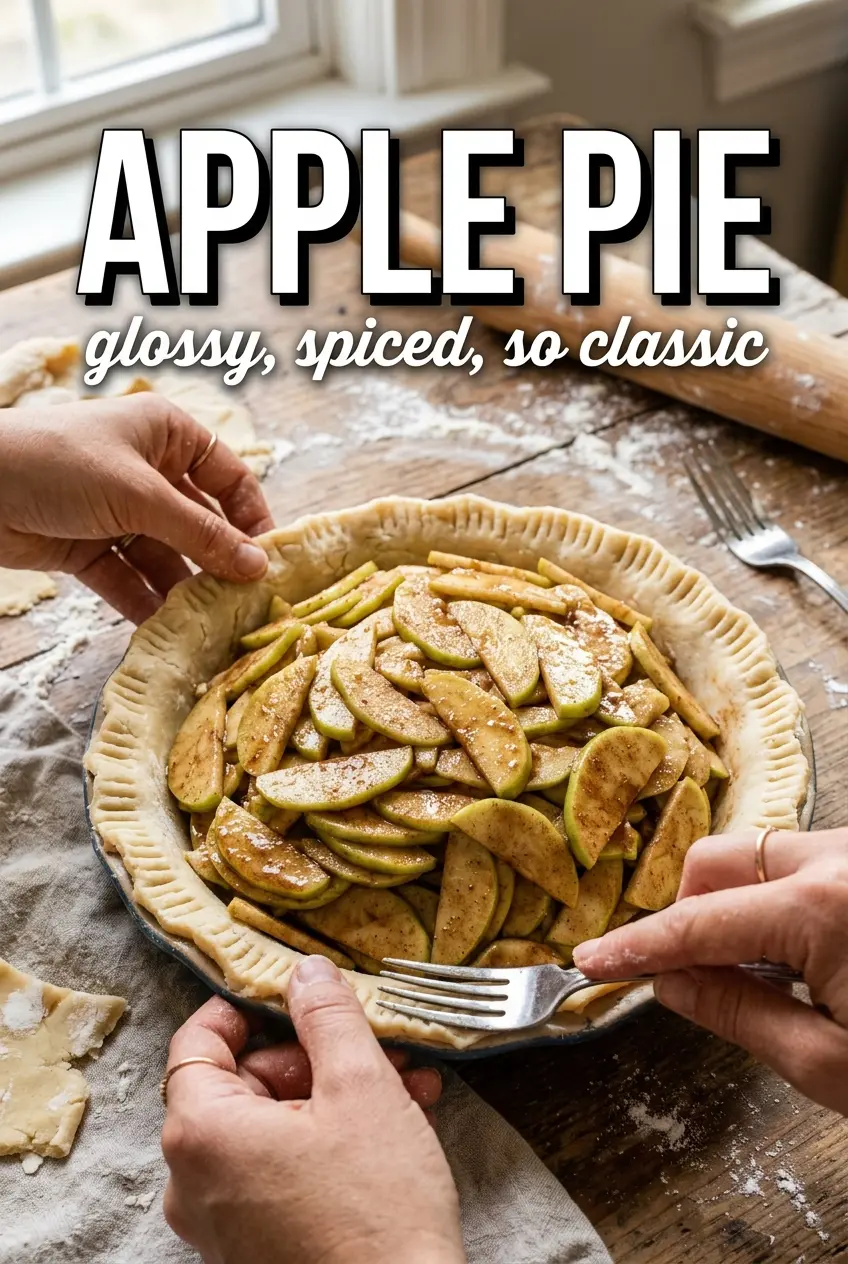
Pile the drained apples into the bottom crust and mound them in the center, because they shrink as they bake. Dot the butter over the top, then lay on the second crust and crimp the edges firmly so the juices stay inside. Cut steam vents in the top crust or the filling can burst through the seams and make a mess of your oven. If the pie dough feels soft while you’re working, chill it for 10 to 15 minutes before baking.
Baking Until the Center Bubbles
Start the pie at 425°F for 25 minutes to set the crust fast, then lower the oven to 375°F and keep baking until the top is deep golden and the filling is bubbling through the vents. That bubbling is the clearest sign that the cornstarch has activated and the center has thickened. If the crust starts browning too quickly, tent the edges with foil rather than lowering the heat too soon. Pulling the pie early is the fastest way to end up with runny slices.
Cooling Before the First Slice
Let the pie cool for at least 2 hours before cutting into it. The filling keeps setting as it cools, and that wait is what gives you neat slices instead of a spilling, loose filling. If you cut it while it’s still hot, the texture will seem underdone even if it baked long enough. A warm pie can smell irresistible, but it won’t hold together the way it should.
How to Adapt This Pie Without Losing the Good Part
Make It Gluten-Free
Use a gluten-free pie crust that bakes up sturdy enough to hold the filling, and keep the rest of the recipe the same. The filling already works without flour, so the crust is the only piece that needs changing. Chill the assembled pie well before baking so the gluten-free dough doesn’t spread or crack.
Use Only One Type of Apple
If you only have Granny Smith, the pie will be brighter and a little firmer. If you only have Honeycrisp, the filling will be sweeter and softer, so watch the bake time closely and don’t underbake it. A mix is best, but either one can work if that’s what’s on hand.
Dairy-Free Version
Swap the butter for a dairy-free baking stick with a similar fat content. You’ll still get richness, though the flavor will be a little less buttery and a touch more neutral. Keep the egg wash if you eat eggs, or brush the top with a little plant milk for less shine but a decent golden color.
Storage and Reheating
- Refrigerator: Store covered for up to 4 days. The crust softens a little after the first day, but the filling stays tasty.
- Freezer: Freeze baked or unbaked pie for up to 2 months. Wrap it well in plastic and foil; if baking from frozen, add time and cover the edges if they brown too fast.
- Reheating: Warm slices in a 325°F oven until heated through. The microwave makes the crust limp, so use it only if you don’t care about keeping the pastry crisp.
Answers to the Questions Worth Asking
Apple Pie
Ingredients
Equipment
Method
- Preheat oven to 425°F and fit one crust into a 9-inch pie dish.
- Toss sliced apples with granulated sugar, brown sugar, cinnamon, nutmeg, allspice, cornstarch, and lemon juice, then let sit 15 minutes so juices start to release.
- Drain any excess liquid, then pile the apple filling into the crust, mounding in the center to help it bake up high.
- Dot the filling with diced unsalted butter so pockets of fat melt and flavor the apples.
- Top with the second crust, crimp the edges to seal, and cut steam vents so steam can escape.
- Brush the crust with egg wash (beaten egg mixed with water), then sprinkle with sugar and cinnamon for a crisp, aromatic top.
- Bake 25 minutes at 425°F until the crust starts to set and the filling begins to bubble around the edges.
- Reduce oven temperature to 375°F and bake 30-35 more minutes until the crust is deep golden and the filling bubbles visibly.
- Cool at least 2 hours before slicing so the filling thickens and won’t run.