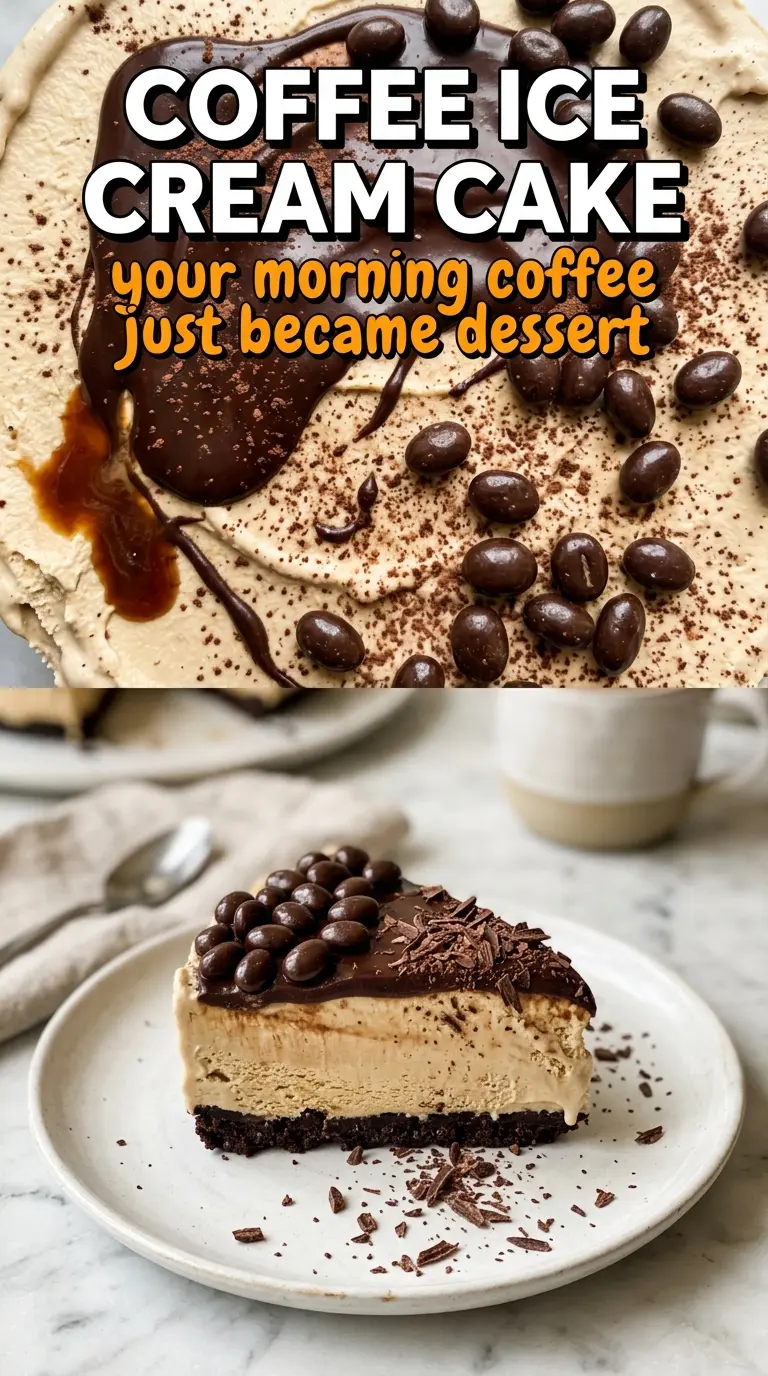
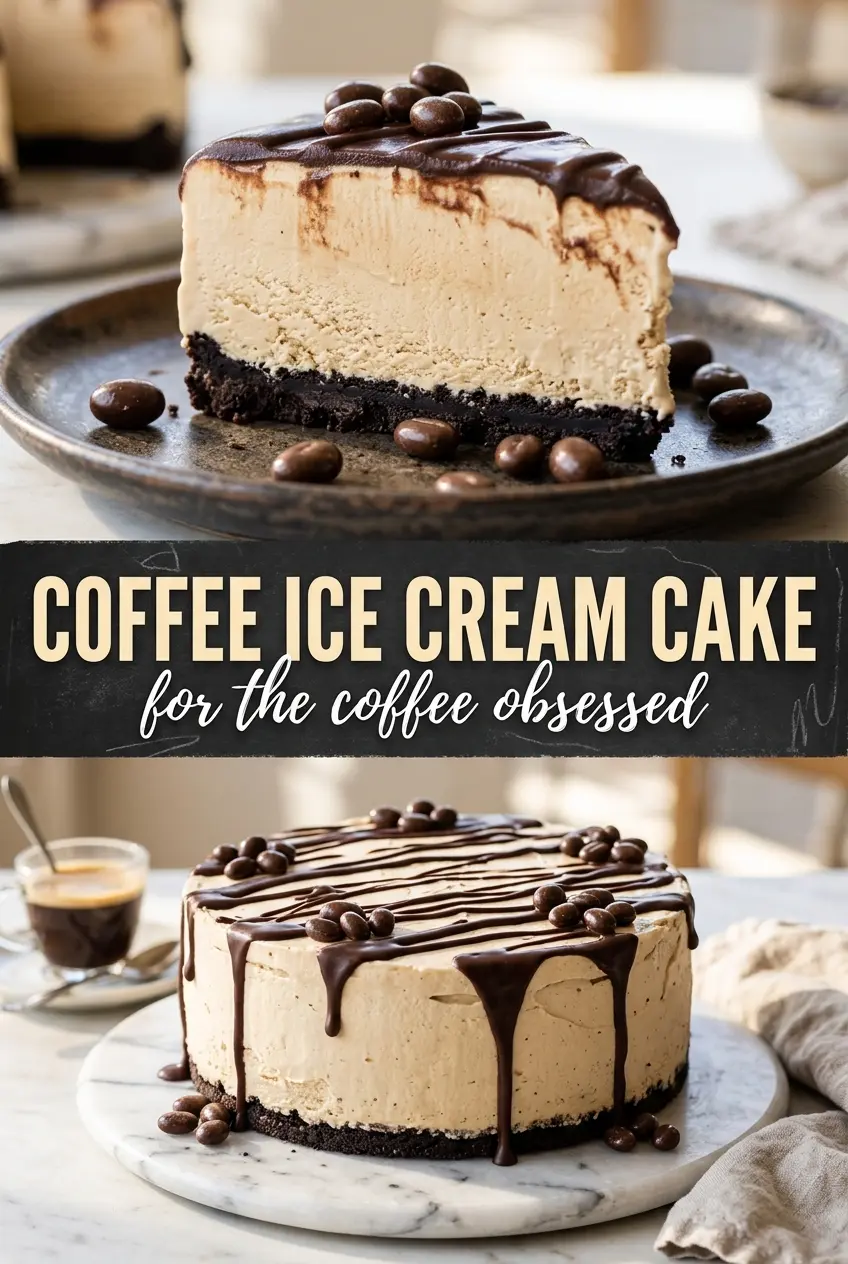
Intense coffee ice cream layered over a dark Oreo crust gives this cake the kind of bold, grown-up finish that makes people go quiet for the first bite. The texture is what keeps me coming back: a firm chocolate crust that cuts cleanly, cold coffee ice cream that stays creamy instead of icy, and a thin ganache top that cracks just enough under the knife.
The trick is in the freezing order. The crust gets a head start so it doesn’t crumble under the ice cream, and the ice cream needs to be softened just enough to spread without melting into the pan. The ganache goes on after the ice cream has set, which keeps the layers distinct and gives you that glossy chocolate crown instead of a muddy top.
Below, I’ve included the small timing details that matter most, plus a few ways to adapt the cake if you want a stronger mocha note, a different crust, or a make-ahead dessert that slices beautifully for a crowd.
The crust stayed crisp even after freezing, and the ganache set into that perfect thin shell on top. I served it straight from the freezer and it sliced cleanly without cracking apart.
Like this coffee ice cream cake? Save it for the next time you want a frozen dessert with a bold espresso center and a crackly chocolate ganache top.
The Freezing Order That Keeps the Layers Distinct
The whole dessert depends on patience between layers. If the ice cream goes onto a crust that hasn’t firmed up, the crumbs slide around and the bottom turns pasty instead of compact. If the ganache goes on before the ice cream is set, it sinks in and loses that clean, glossy cap that makes the cake slice so neatly.
- Pressing the crust firmly is what gives you a sliceable base. Use the bottom of a measuring cup or glass to pack the crumbs all the way to the edges, especially where the crust meets the pan wall.
- Softened ice cream should be spreadable, not melted. If it’s soupy, it refreezes with a grainy texture and can seep into the crust.
- Ganache needs to be cool but still pourable. Hot ganache softens the ice cream; too-thick ganache won’t spread in an even layer.
What Each Layer Is Actually Doing Here
- Oreos bring both chocolate flavor and structure. The cream filling in the cookies helps the crust hold together, so you don’t need extra sugar.
- Butter binds the crumbs into a crust that freezes solid. Anything less rich will leave the base sandy and fragile.
- Coffee ice cream is the flavor anchor. Use a good-quality brand here, because it’s carrying the entire dessert; a weak coffee flavor gets lost once the ganache and toppings go on.
- Dark chocolate ganache adds contrast and a clean finish. If yours is thicker than pourable, warm it just until fluid again rather than thinning it with extra cream.
- Whipped cream and espresso beans are there for texture and lift. The whipped cream softens the intensity of the coffee, and the beans give a bitter crunch that keeps each bite interesting.
Building the Cake So It Slices Cleanly
Pressing and Chilling the Crust
Mix the crushed Oreos with the melted butter until every crumb looks evenly coated, then press the mixture into a 9-inch springform pan. The goal is a compact, even base with no loose patches at the center or around the edge. Freeze it for the full 15 minutes so the butter sets before the ice cream goes in. If you rush this part, the crust shifts when you spread the filling.
Spreading the Coffee Ice Cream
Let the coffee ice cream soften on the counter just until it yields under a spoon. Spread it over the cold crust in an even layer, pushing it gently into the corners so there are no air pockets. Freeze it for 4 hours, or until the surface is firm enough that a spoon leaves a clean mark. If the ice cream is too soft, it will melt the crust and freeze unevenly.
Finishing with Ganache and Toppings
Pour the ganache over the frozen ice cream and tilt the pan to cover the top in a thin, even layer. Work quickly, because the cold cake starts setting the ganache almost immediately. Once that layer firms up, pipe on the whipped cream, scatter the espresso beans, and dust lightly with cocoa powder. Give the finished cake one more hour in the freezer so the top firms before slicing.
How to Adapt This Cake for Different Taste Budgets and Diets
Make it mocha instead of straight coffee
Use chocolate-coffee ice cream, or swirl 2 to 3 tablespoons of cooled espresso into the softened coffee ice cream before spreading it in the pan. That deepens the flavor without changing the texture, but don’t add too much liquid or the ice cream will freeze softer and slice less cleanly.
Swap the crust for gluten-free cookies
Use your favorite gluten-free chocolate sandwich cookies in place of Oreos, then keep the butter amount the same. The texture stays close to the original, though some gluten-free cookies are drier and may need an extra tablespoon of butter to bind properly.
Make it dairy-free
Use dairy-free chocolate sandwich cookies, a plant-based butter, dairy-free coffee ice cream, and coconut-based whipped topping. The cake still freezes into neat layers, but the flavor will be a little lighter and the ganache should be a dairy-free version made with your preferred chocolate and non-dairy cream.
Change the topping for a cleaner finish
Skip the whipped cream and espresso beans if you want a sharper, more elegant look. A light cocoa dusting over the ganache keeps the cake simple and lets the coffee flavor read more clearly on the plate.
Storage and Reheating
- Refrigerator: Not recommended. This is a frozen dessert, and the texture turns soft and messy in the fridge.
- Freezer: Keep covered for up to 1 week for the best texture. After that, the ice cream can pick up freezer flavor and the crust may lose some of its snap.
- Reheating: No reheating needed. Let the cake sit at room temperature for 8 to 12 minutes before slicing so the knife glides through the ganache instead of cracking it.
Answers to the Questions Worth Asking
Coffee Ice Cream Cake
Ingredients
Equipment
Method
- Combine the crushed Oreo cookies and melted butter, then press the mixture firmly into a 9-inch springform pan.
- Freeze the crust for 15 minutes to set before adding the ice cream.
- Spread the softened coffee ice cream over the frozen crust, smoothing the top in an even layer.
- Freeze for 4 hours until the ice cream layer is firm enough to hold its shape.
- Pour the dark chocolate ganache over the top and tilt the pan to cover evenly.
- Freeze for 1 hour, until the ganache is firm.
- Pipe the whipped cream decoratively over the ganache in your preferred pattern.
- Scatter the chocolate-covered espresso beans over the whipped cream and dust lightly with cocoa powder for a subtle cocoa finish.
- Freeze for 1 more hour before serving so the cake slices cleanly.