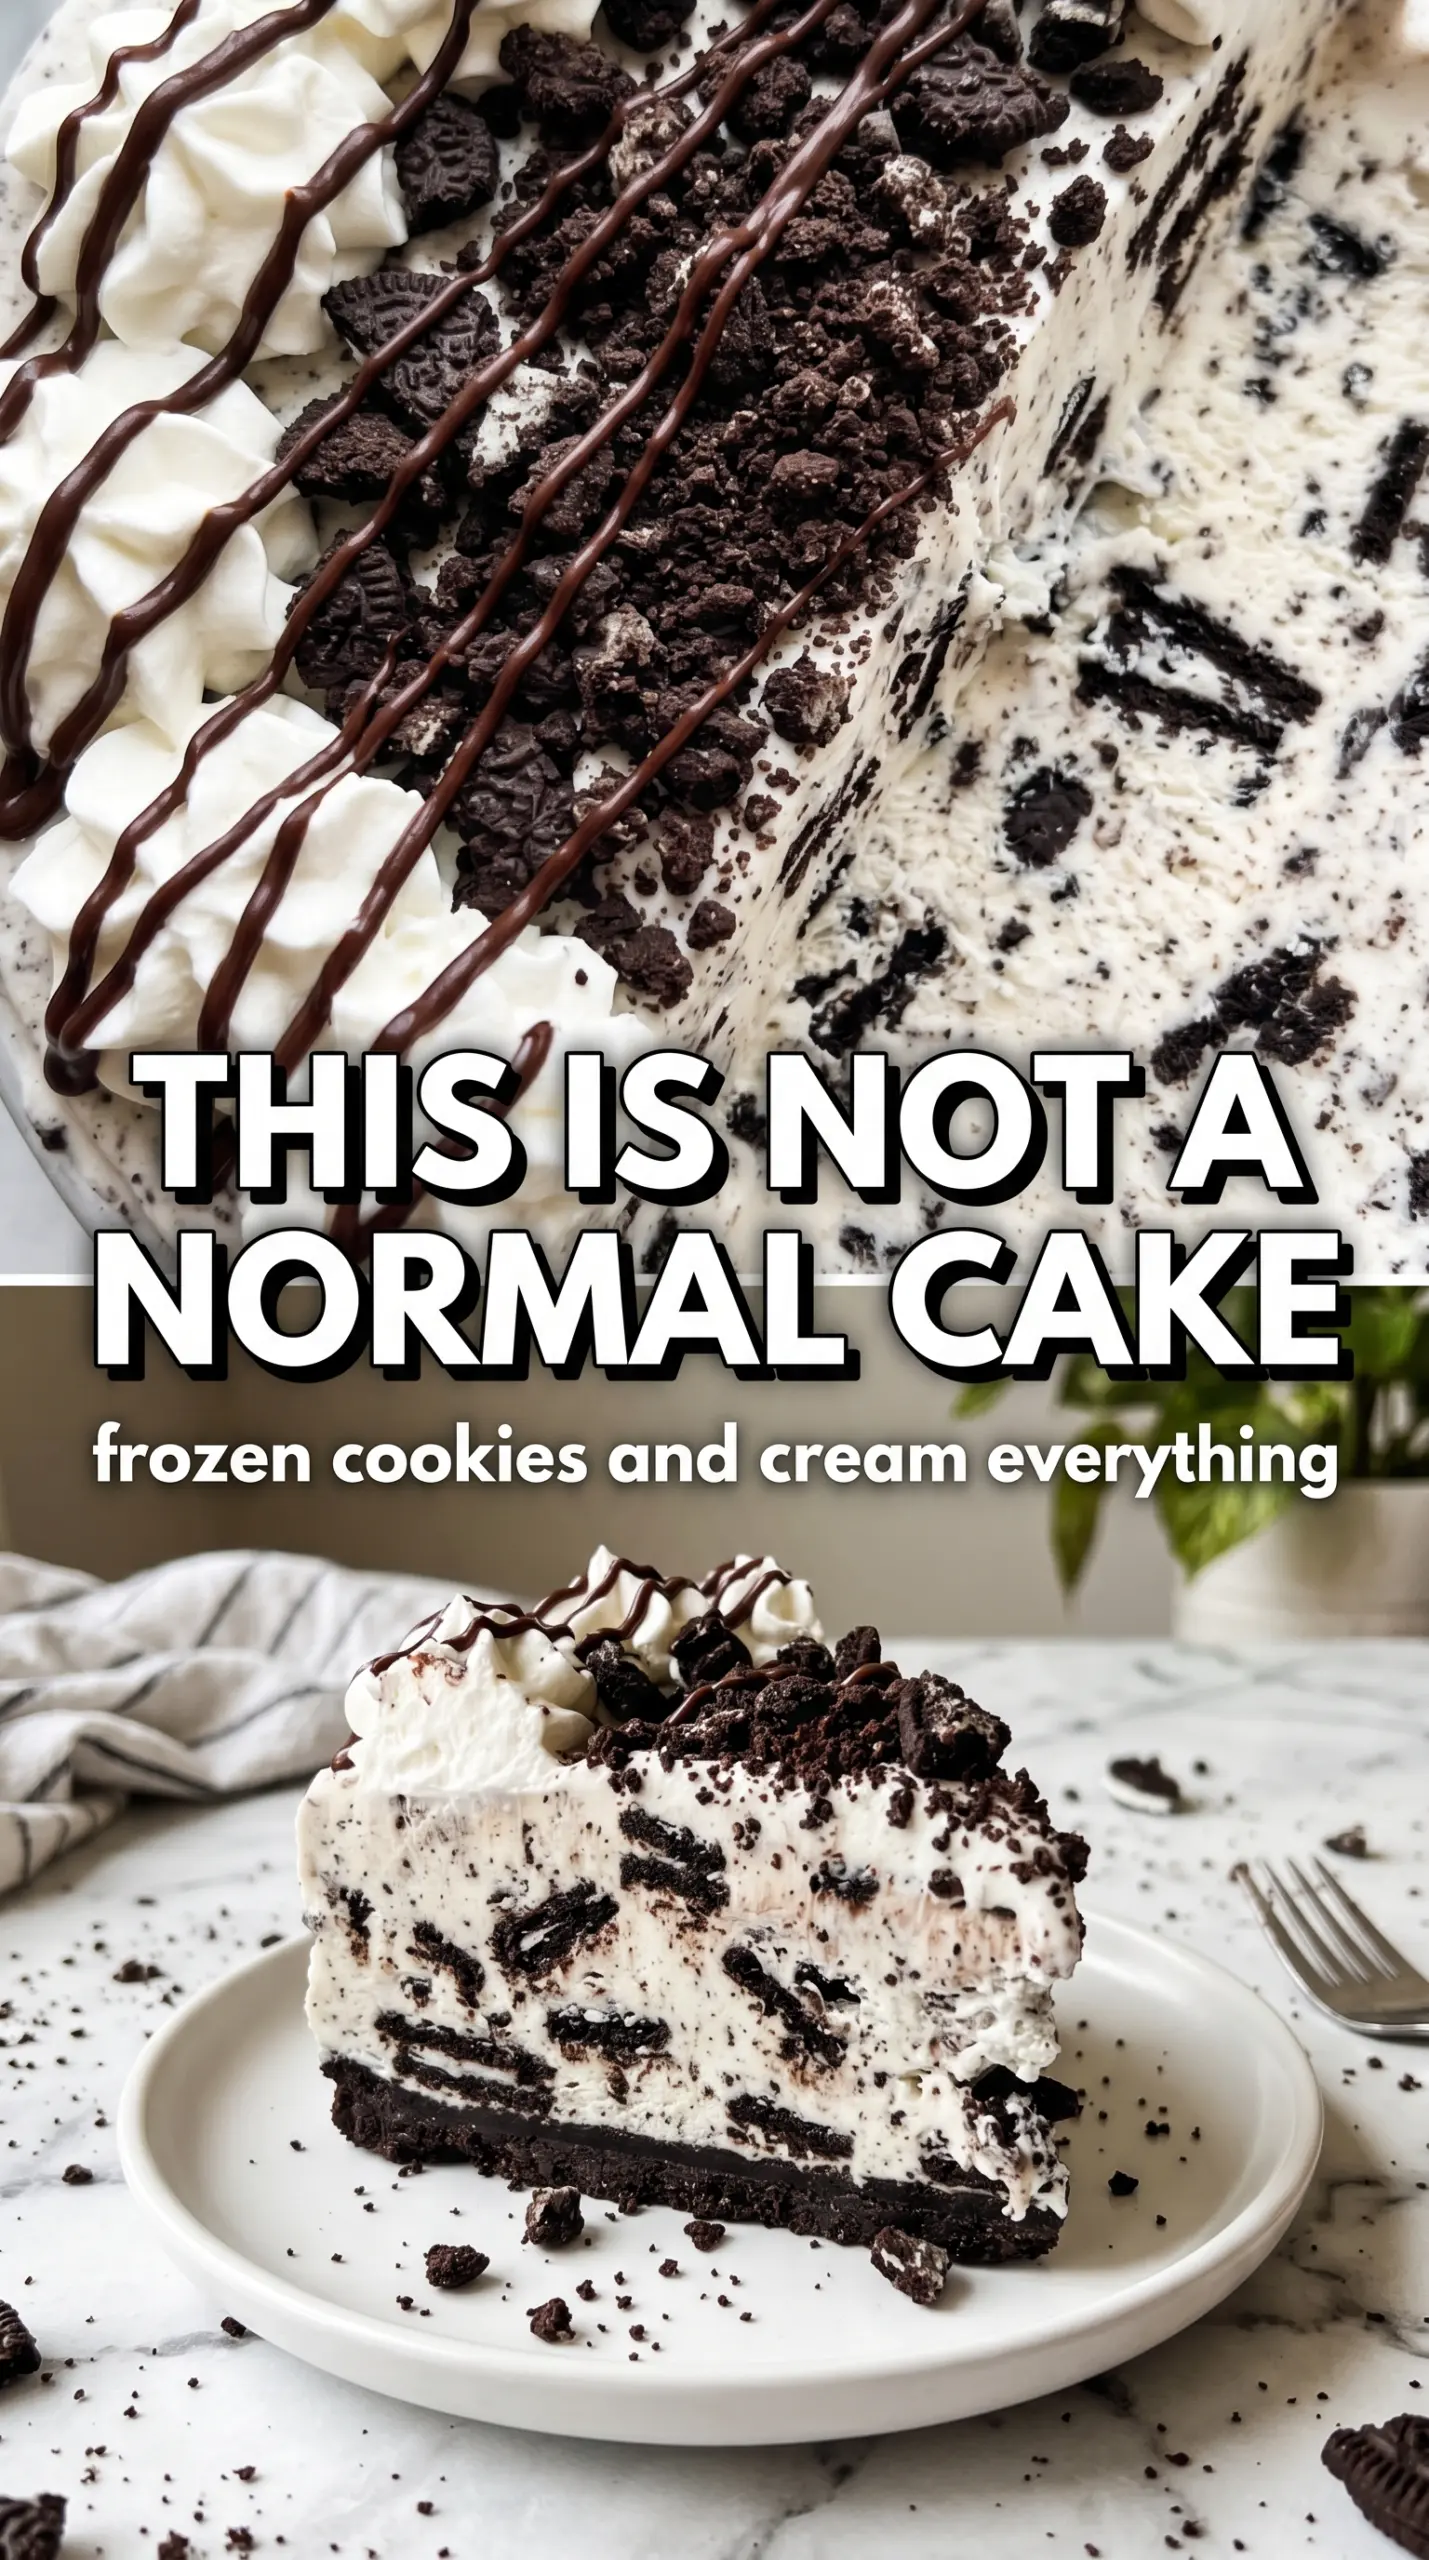
Thick Oreo crust, a creamy cookies-and-cream center, and a snowy whipped topping make this ice cream cake the kind of dessert people remember after the plates are cleared. Every slice gives you that clean black-and-white contrast, with enough crunch at the bottom to keep the soft layers from feeling one-note. It’s the dessert I reach for when I want something that looks celebratory without turning on the oven.
The trick is keeping each layer cold enough to hold its shape before the next one goes on. The crust needs a short freeze so it sets into a firm base, and the ice cream should be softened just enough to spread without melting into the pan. The whipped cream topping works best when it’s spread over a fully frozen ice cream layer, where it stays light instead of sliding around.
Below, I’ll walk through the small timing details that keep the layers neat, plus a few easy swaps if you want to change the cookie flavor or make the cake ahead for a party.
The crust set up beautifully and the whipped cream stayed fluffy even after freezing overnight. My kids kept asking for “the Oreo cake” again, and the slices came out clean with those pretty black-and-white layers showing.
Save this Oreo ice cream cake for birthdays when you want a dramatic frozen dessert with clean layers and zero baking.
The Reason the Layers Stay Clean Instead of Smearing Together
The whole dessert depends on temperature control. If the crust is still soft when the ice cream goes in, the layers blend at the edges and the cake loses that sharp, bakery-case look. Freezing the crust first gives you a base that can hold up under pressure, and freezing the ice cream layer before adding the whipped cream keeps the top from sinking into the middle.
Softened ice cream is helpful, but melted ice cream is the enemy here. You want it pliable enough to spread with an offset spatula or the back of a spoon, with no ice chunks left behind. If the carton gets too loose, put it back in the freezer for a few minutes; that small pause saves the structure of the whole cake.
- Oreos — These do double duty as the crust and the topping, and their filling helps the crust bind without needing any extra sugar. Regular Oreos work best because they crush into a fine, dense crumb.
- Butter — This is what turns the cookie crumbs into a sliceable base. Melted butter is enough here; there’s no need for anything fancier, but don’t cut back or the crust will crumble when you release the pan.
- Cookies and cream ice cream — The flavor has to carry the middle layer, so use a brand you’d happily eat by the spoonful. The better the ice cream texture, the cleaner the slices.
- Heavy whipping cream — This whips into a stable topping that feels light against the dense crust and frozen filling. Half-and-half or milk won’t hold peaks here.
- Powdered sugar and vanilla — Just enough sweetness and flavor to make the whipped topping taste finished without competing with the cookies. The powdered sugar also helps the cream stay a little more stable in the freezer.
What Each Ingredient Is Actually Doing in This Ice Cream Cake
- Base layer (cookies, cake, or graham cracker) — This provides structure and stability. Crushed and mixed with butter creates a firm foundation.
- Ice cream (the main star) — Use quality ice cream or make homemade. Softness matters for layering.
- Sauce or topping between layers (fudge, caramel, or fruit) — This adds moisture, flavor, and prevents dryness. Don’t skip this layer.
- Frosting or whipped cream (optional outer layer) — This prevents freezer burn and adds creaminess. Stabilized whipped cream works best.
- Freezing time (at least 4-6 hours) — This sets the layers so cake slices cleanly. Longer freezing prevents melting during serving.
- Room temperature before serving (5-10 minutes) — This softens the cake slightly for better texture. Serve immediately after thawing.
- Toppings (chocolate, nuts, cookies, or sprinkles) — These add visual appeal and texture. Add right before serving.
- Storage (in freezer at 0°F or below) — This prevents ice crystal formation and maintains quality. Cover with plastic wrap.
Building the Cake in Freezing-Friendly Layers
Pressing the Crust Firmly
Crush 24 Oreos into fine crumbs, then mix them with the melted butter until every crumb looks damp. Press the mixture into the bottom of a 9-inch springform pan in an even layer, pushing it firmly into the edges with the bottom of a measuring cup. If the crust feels sandy or loose, it hasn’t been packed tightly enough and it will fall apart when you slice it. Freeze it for 15 minutes so it sets into one solid base.
Spreading the Ice Cream Without Melting the Crust
Let the cookies-and-cream ice cream soften on the counter just until it spreads easily. Spoon it over the frozen crust and smooth it into the corners before it has a chance to melt down the sides. The fastest way to ruin the layer is to work with ice cream that’s too warm, because it will soak into the crust instead of sitting on top of it. Once it’s even, freeze the pan for 3 hours until the center is firm.
Whipping a Stable Top Layer
Beat the heavy cream with powdered sugar and vanilla until stiff peaks form. You want the cream to stand up on the whisk without drooping, because soft whipped cream will slump when you spread it over the frozen cake. If it starts to look grainy, you’ve gone a touch too far, but stop before it turns buttery. Spread the whipped cream over the frozen ice cream in thick swoops, then scatter the remaining crushed Oreos and sprinkles over the top.
Freezing for Clean Slices
The final freeze is what gives you neat slices instead of a drifting, half-soft center. Let the cake chill for at least 2 more hours, though overnight is even better if you’re making it ahead. Run a warm knife under hot water, dry it, and cut straight down through the layers for the cleanest result. If the knife drags, it’s usually because the cake hasn’t frozen long enough between steps.
How to Adapt This Cake for Different Crowds and Different Freezers
Dairy-Free Version
Use a dairy-free chocolate sandwich cookie, a dairy-free cookies-and-cream style frozen dessert, and whipped coconut topping instead of heavy cream. The flavor stays close, but the topping will be a little softer and the frozen layers may need an extra 30 to 60 minutes to set fully.
Gluten-Free Swap
Use gluten-free sandwich cookies in the crust and topping. The structure works the same, but some gluten-free cookies crush a little more finely, so press the crust especially well to keep it from flaking at the edges.
Birthday Cake Look
Add more black-and-white sprinkles around the outer edge and pile the Oreo crumbs a little higher in the center. It doesn’t change the flavor, but it gives the cake a party-ready finish that looks great from across the table.
Storage and Reheating
- Refrigerator: Not recommended for long storage. This cake softens fast in the fridge and loses the clean sliceable layers.
- Freezer: Keep covered in the springform pan or tightly wrapped for up to 1 week for the best texture. After that, the ice cream can pick up freezer flavor.
- Reheating: No reheating needed. Let slices sit at room temperature for 5 to 10 minutes before serving so the knife goes through cleanly without cracking the crust.
Questions I Get Asked About This Recipe
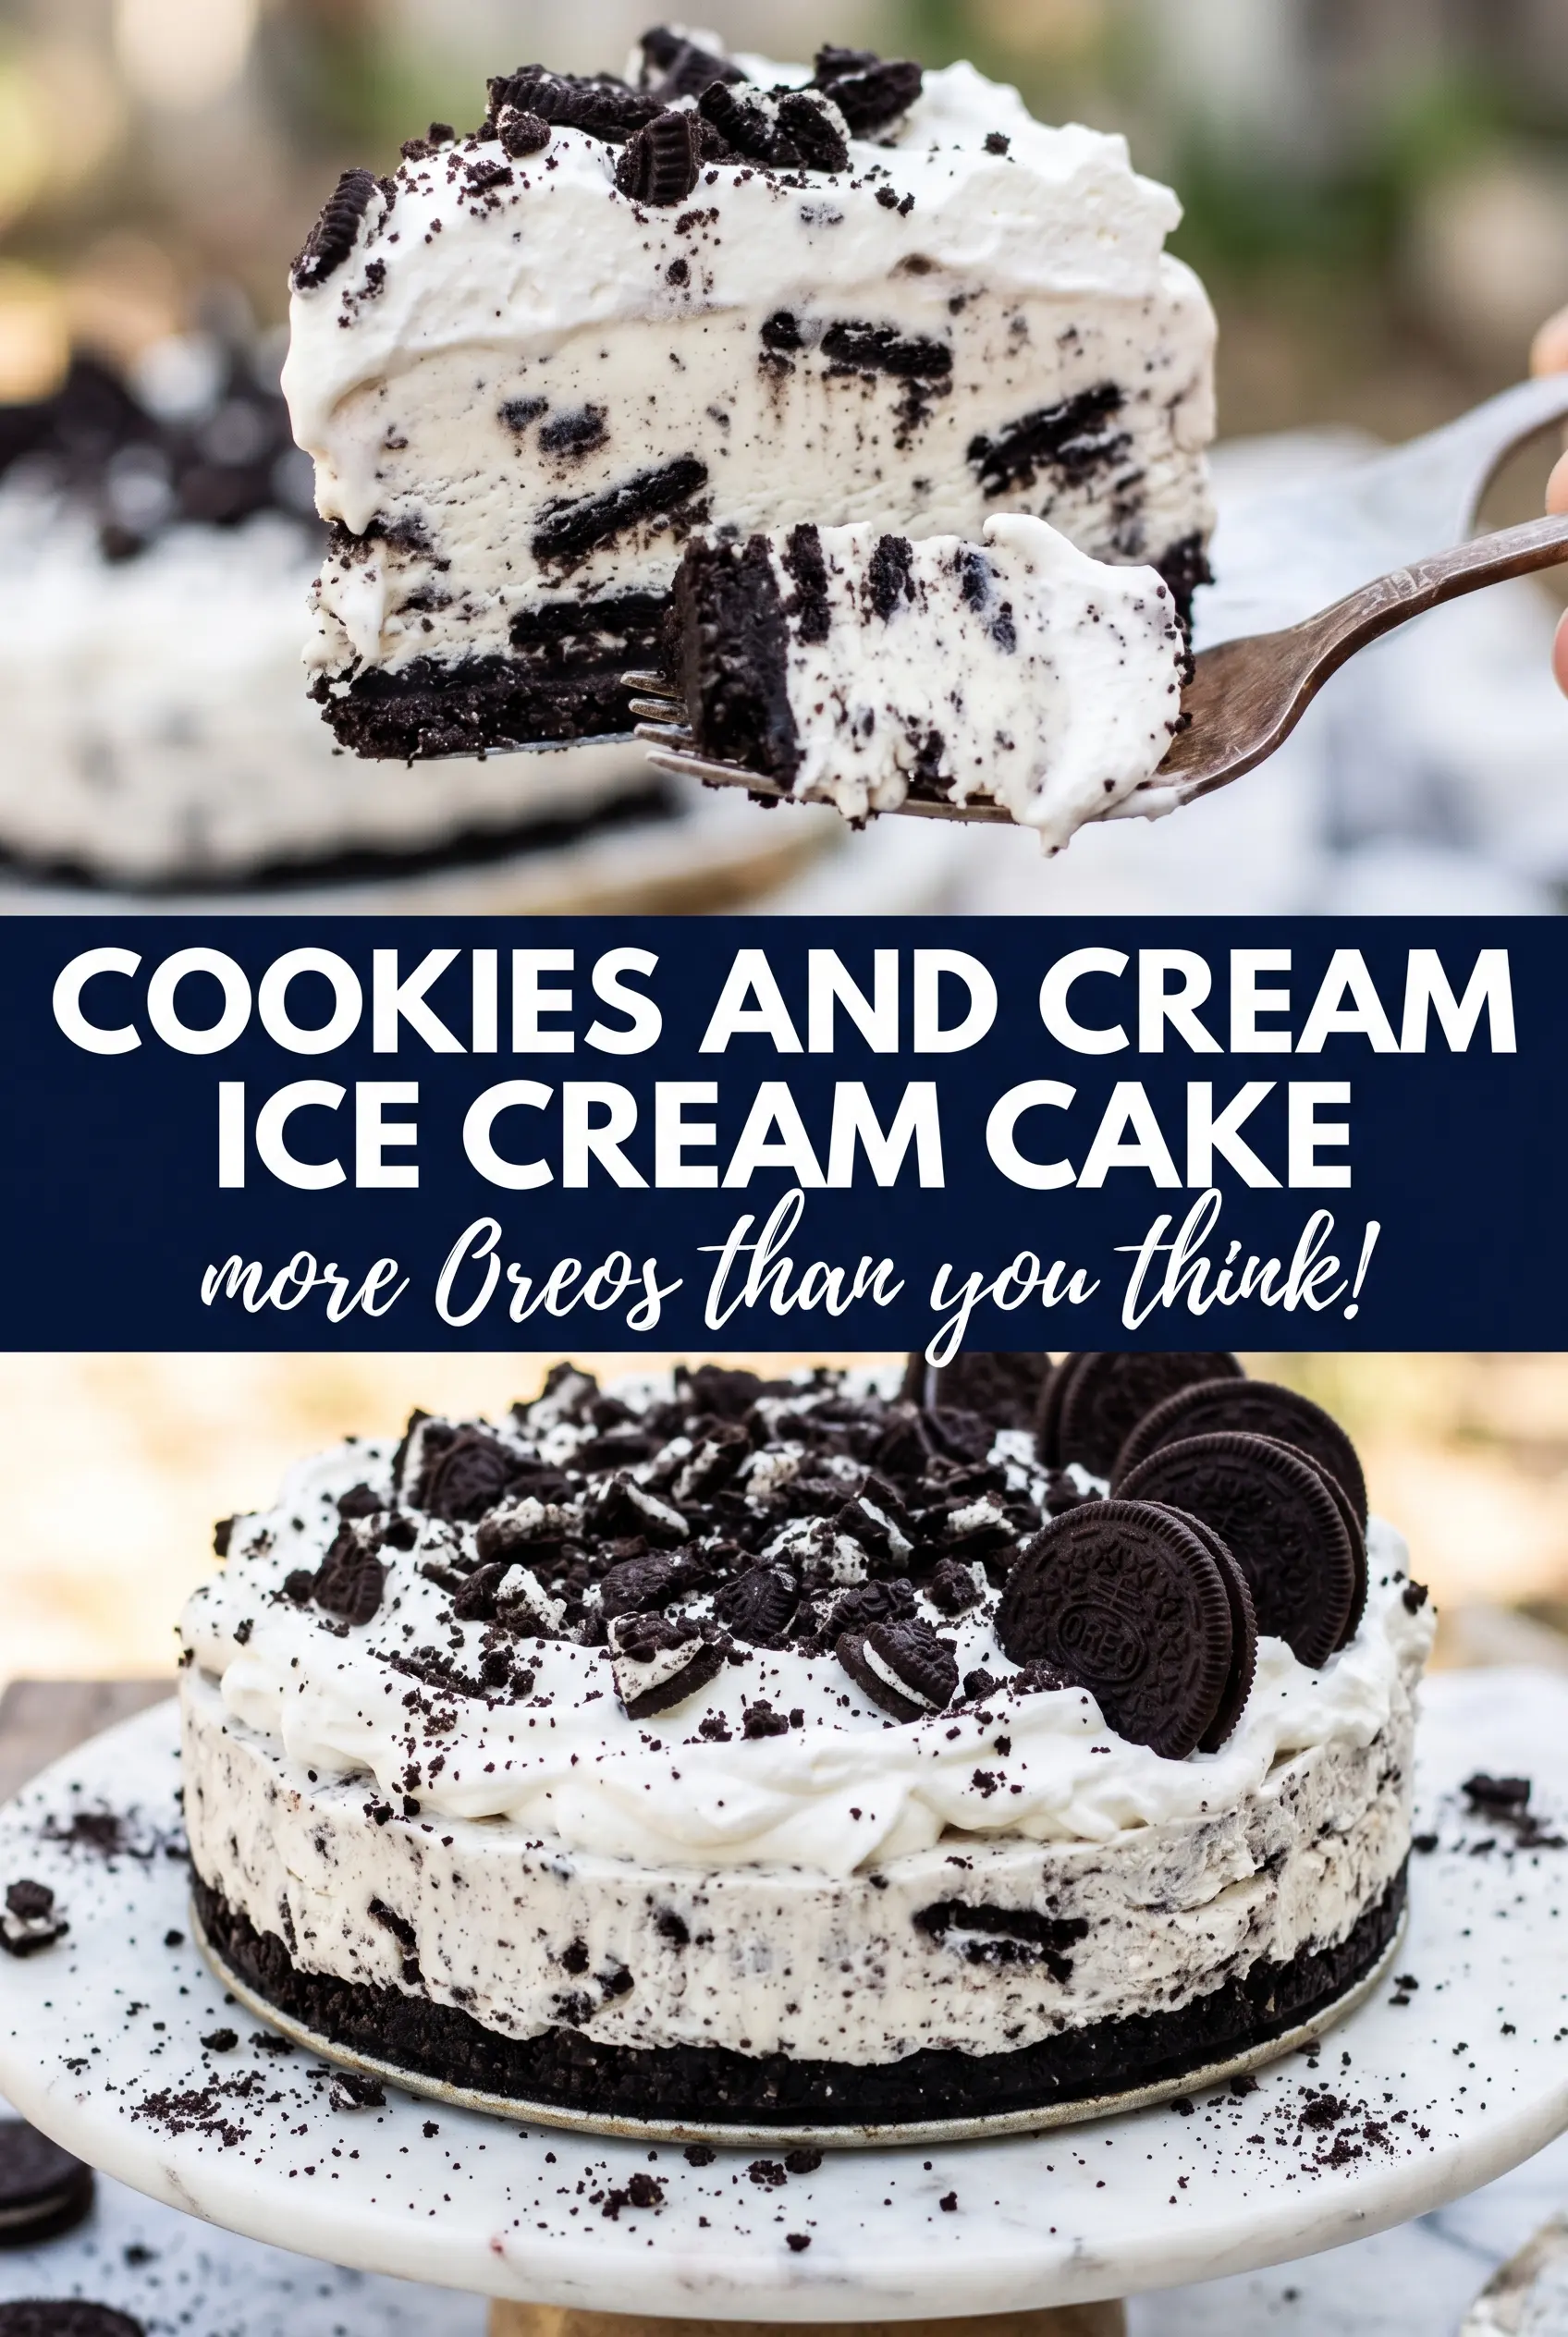
Cookies and Cream Ice Cream Cake
Ingredients
Equipment
Method
- Combine 24 crushed Oreo cookies with melted unsalted butter, then mix until the crumbs look evenly coated. Press the mixture into a 9-inch springform pan firmly to form a thick, flat layer.
- Freeze the pressed crust for 15 minutes until firm to the touch, with edges set and holding together when you lift the pan slightly.
- Spread softened cookies and cream ice cream over the frozen crust in an even layer, smoothing the top so it reaches the pan edge. Use a gentle, flat motion to keep the crust from breaking through.
- Freeze for 3 hours until the ice cream layer is solid, so it slices cleanly and the top looks matte rather than soft.
- Whip heavy whipping cream with powdered sugar and vanilla extract until stiff peaks form. The mixture should stand upright without drooping.
- Spread the whipped cream over the frozen ice cream layer, building a thick white top for the black-and-white contrast. Make sure it fully covers to the edges.
- Crush the remaining 12 Oreo cookies and scatter them over the whipped cream. Let the cookies fall across the surface so you see specks throughout.
- Freeze the cake for at least 2 more hours until set solid, with a firm, sliceable texture when pressed lightly on the surface.
- Decorate with black and white sprinkles, then release from the springform to serve. Slice straight down to reveal the dark Oreo crust and cookies-and-cream ice cream layers.