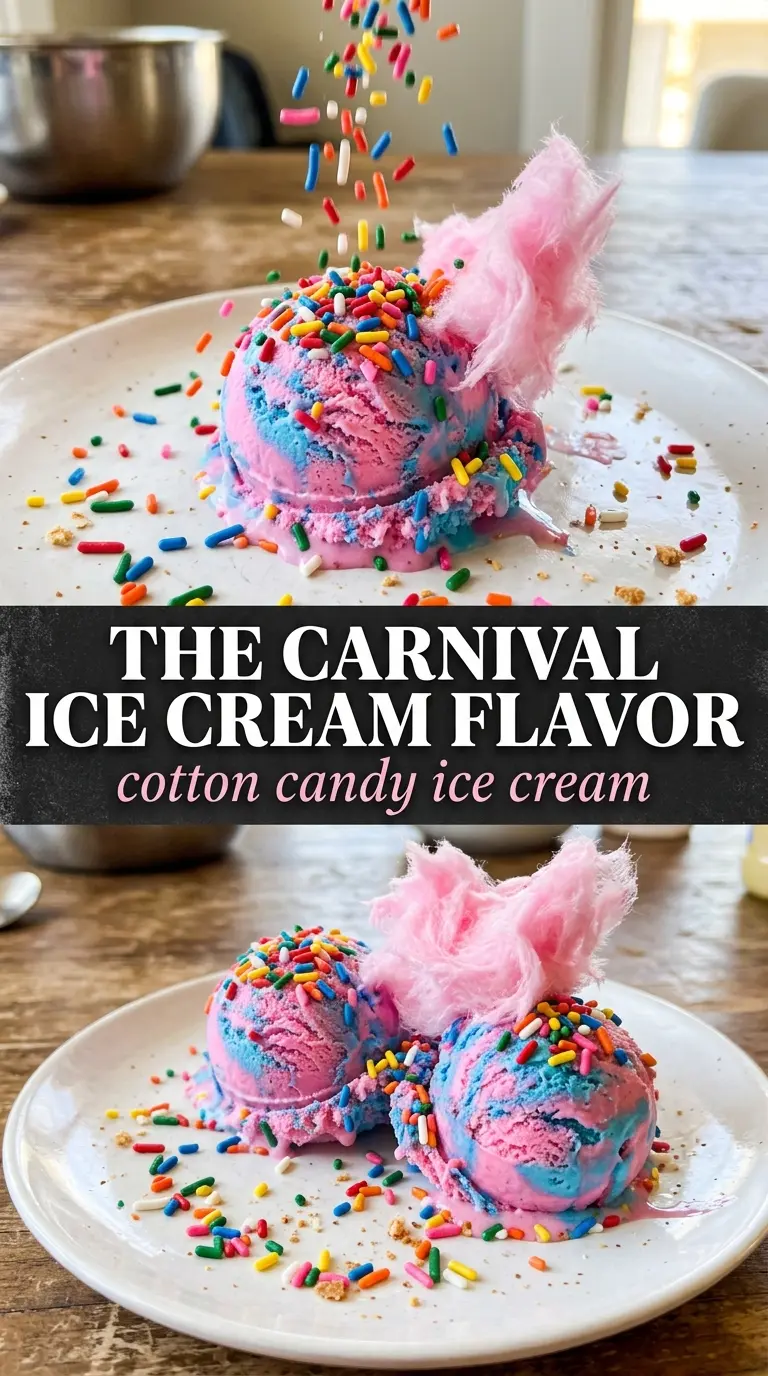
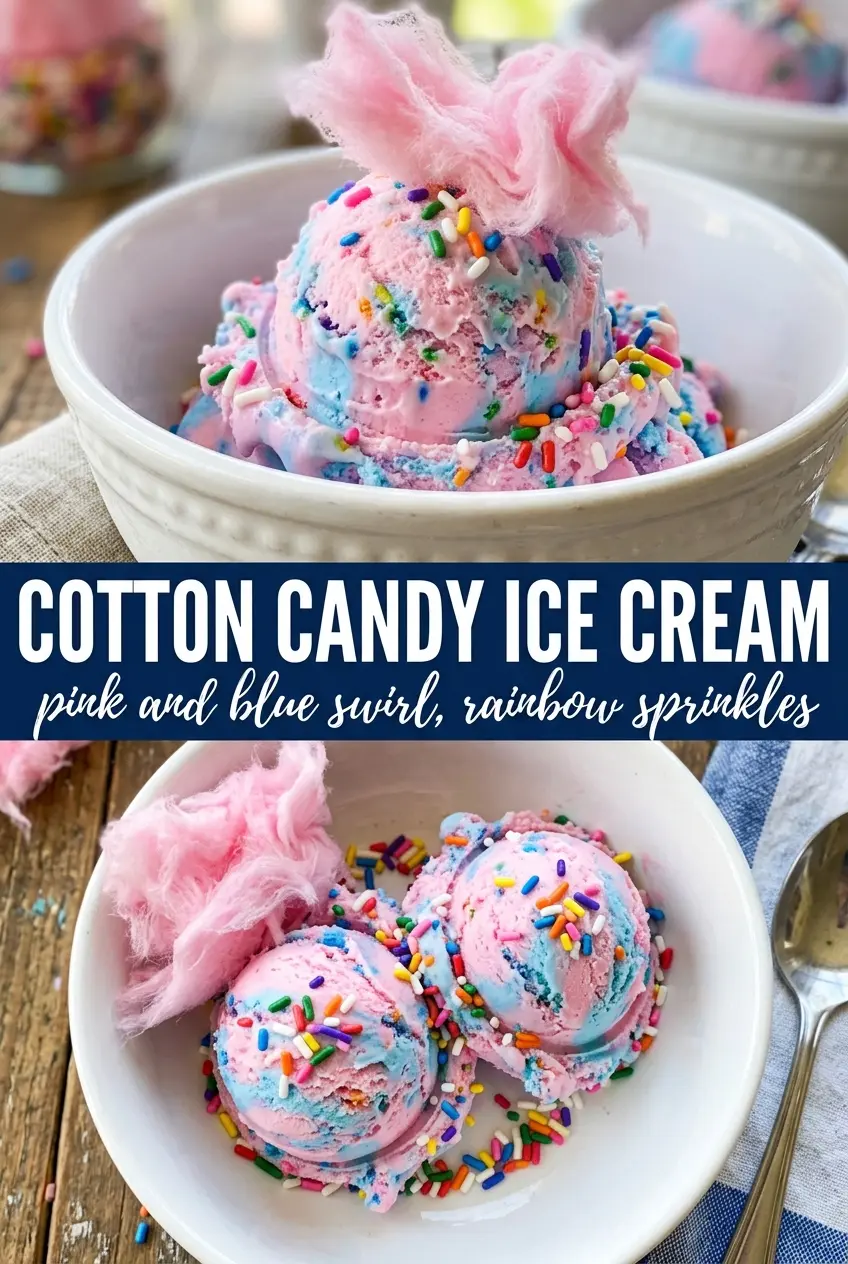
Cotton candy ice cream turns an ordinary scoop into something playful, creamy, and unmistakably nostalgic. The base is rich enough to taste like a proper custard ice cream, but the cotton candy flavor keeps it light on the tongue and instantly recognizable. Those pink and blue swirls aren’t just for looks either — they make every bowl feel a little more festive, even if you’re serving it straight from the freezer after dinner.
What makes this version work is the custard base. Egg yolks give the ice cream body, sugar keeps it scoopable, and the slow cooking step gives you a smooth texture instead of a watery one. The cotton candy flavoring goes in after cooking so it stays bright, and the split-color swirl is added only after the base is fully chilled, which keeps the colors clean instead of muddy.
Below you’ll find the timing that matters, the easiest way to get a swirl instead of a solid pink batch, and a few smart swaps if you want to change the color or make it ahead for a party.
The custard came out silky and the swirl stayed distinct after freezing, which made it look like something from an ice cream shop. My kids kept asking for “the carnival ice cream” again the next day.
Like this cotton candy ice cream? Save it for the nights when you want a creamy custard base, a playful pink-and-blue swirl, and a freezer treat that feels like a celebration.
The Custard Base Is What Keeps the Scoop Creamy, Not Icy
The biggest mistake with cotton candy ice cream is treating it like a no-cook cream mix. That gives you a flat flavor and a texture that freezes hard. Cooking the dairy with egg yolks creates a true custard, and that extra structure keeps the finished ice cream smooth instead of crumbly.
The temperature matters here. If you pull the custard off too early, it stays thin and can freeze with a loose, slushy bite. If you push it too far, the eggs scramble and the texture turns grainy. Stop at 175F, strain it right away, and chill it fully before it ever goes into the churn.
What Each Ingredient Is Actually Doing in the Bowl
- Heavy cream — This gives the ice cream its rich, soft body. Lower-fat cream won’t hold the same luxurious texture, and the finished scoop can taste thin.
- Whole milk — It lightens the custard just enough so the ice cream doesn’t eat like frozen butter. Don’t swap in skim milk if you want a scoopable result.
- Egg yolks — These thicken the base and make the texture velvety. If you skip them, you lose the custard quality that keeps the ice cream from freezing hard.
- Cotton candy flavoring — This is the defining flavor, so use a brand you trust. It’s stronger than extract-style vanilla and a little goes a long way, which is why you add it after cooking.
- Pink and blue food coloring — The colors are part of the fun, but gel coloring gives you the brightest swirl with the least liquid. Use a toothpick or tiny drop at a time so the shades stay pastel instead of neon.
- Cotton candy topping — Add it right before serving. It melts fast in the freezer air, so it’s decoration, not a make-ahead garnish.
The Two Churn Methods That Give You the Swirl You Want
Cooking the Custard Without Scrambling It
Heat the cream and milk until they’re steaming, not boiling. Whisk a little of that hot dairy into the yolks and sugar first, then pour everything back into the pan. That gradual tempering keeps the eggs from turning into bits. Stir over medium-low heat until the custard reaches 175F and lightly coats the back of a spoon.
Coloring the Base After It Cools
Split the custard into two bowls only after straining it. Add pink to one bowl and blue to the other, then stir just until the color is even. If you add the coloring before cooking, it can fade or shift. If you overmix at this stage, the colors turn cloudy and you lose the clean swirl effect.
Churning for a Distinct Swirl
Churn the two colors separately if you want dramatic ribbons, or alternate spoonfuls into the machine if you want a softer marbled look. Both bowls need to be thoroughly chilled first or the ice cream base won’t thicken properly in the churn. If the base goes in warm, it stays too loose and the swirl will blend into one pale color.
Freezing Until It Scoops Cleanly
Transfer the churned ice cream to a freezer-safe container and layer the colors if you’re doing the alternate method. Press parchment or plastic wrap directly on the surface before freezing to keep ice crystals down. Give it at least 4 hours, and longer if your freezer runs warm. The center should feel firm but not rock-hard when you drag a spoon through it.
Make It Dairy-Free with Coconut Cream
Use full-fat coconut milk or coconut cream in place of the dairy, then skip the egg yolk custard and use a no-churn base if you want to keep the method simple. The texture will be a little firmer and the coconut flavor will sit under the cotton candy note, which works well if you want something rich without milk.
Use Gel Coloring for Cleaner Swirls
Gel food coloring gives you bright pink and blue without thinning the base. Liquid coloring works in a pinch, but you’ll need more of it and the shades can turn dull faster. Add it in tiny amounts so the final ice cream stays pastel and playful instead of vivid enough to taste artificial.
Turn It into One Solid Color for Easier Scooping
If the swirl feels fussy, skip the split batch and tint the whole base one color. You’ll still get the cotton candy flavor and a fun look, just without the marbling. This is the better move for birthday parties or batch freezing because it’s faster and the texture stays more even.
Storage and Reheating
- Refrigerator: Not recommended. This is meant to be frozen, and the custard base will lose its structure if it sits in the fridge.
- Freezer: Store in an airtight container for up to 2 weeks for the best texture. After that, it can pick up ice crystals and lose some of the cotton candy aroma.
- Reheating: No reheating needed. Let it sit at room temperature for 5 to 10 minutes before scooping so the edges soften first instead of chipping off in hard shards.
Answers to the Questions Worth Asking
Cotton Candy Ice Cream
Ingredients
Equipment
Method
- Heat the heavy cream and whole milk in a saucepan over medium heat until steaming, then immediately whisk the hot dairy slowly into the egg yolks and sugar while whisking constantly.
- Return the mixture to the saucepan and cook, stirring, until it thickens and reaches 175F (about 6–10 minutes), then strain it into a clean container.
- Whisk the strained custard with cotton candy flavoring, vanilla extract, and salt until smooth.
- Divide the custard into two bowls and color one portion pink and the other portion blue with food coloring, adjusting until the color looks vivid.
- Cover both bowls and chill completely in the refrigerator for at least 4 hours, until cold through.
- Churn the pink and blue custard separately in an ice cream maker, then either fill the container by alternating colors for a swirl effect or pack them in layers during transfer.
- Freeze the churned ice cream until firm, then serve with cotton candy placed on top.