Thick, glossy cranberry apple chutney has a way of making a plain plate feel finished. The cranberries burst into a tart, jewel-toned sauce while the apples hold just enough shape to keep every spoonful interesting. It lands right between sweet and savory, with enough vinegar and spice to cut through rich meats and enough fruit to stand on its own beside cheese and crackers.
This version works because it builds flavor in layers instead of dumping everything in at once. The brown sugar and cider vinegar boil together first, which gives the chutney a head start on that deep sweet-tart balance. Then the onion, ginger, cinnamon, cloves, and red pepper flakes simmer briefly before the fruit goes in, so the spices bloom without turning harsh. The golden raisins matter too; they soften into little pockets of sweetness that keep the chutney from tasting flat.
Below, I’ve included the small details that keep the texture chunky instead of mushy, plus a few ways to use it beyond the holiday table. If you’ve ever had chutney that tasted thin, sharp, or overcooked, the timing here fixes that.
The cranberries broke down into a thick, spoonable chutney and the apples still had some bite. I served it with pork tenderloin and the whole pot disappeared.
Love the chunky texture and sweet-tart balance of this cranberry apple chutney? Save it to Pinterest for turkey, pork, or your next cheese board.
The Secret to Keeping Cranberry Chutney Chunky, Not Jammy
The difference between chutney with texture and chutney that cooks down into a paste comes down to two things: heat and stirring. Once the cranberries and apples go in, the mixture only needs a steady simmer. A hard boil after that will break the fruit apart too quickly and cook off the bright vinegar edge that makes chutney taste alive.
Apples matter here, but not every apple behaves the same way. A firmer apple like Honeycrisp, Pink Lady, or Granny Smith keeps its shape long enough to give you visible pieces in the finished chutney. Softer apples turn to sauce faster, which still tastes good but changes the texture. Stir often enough to prevent sticking at the bottom, but not so aggressively that you mash the fruit while it’s softening.
What Each Ingredient Is Actually Doing in This Chutney
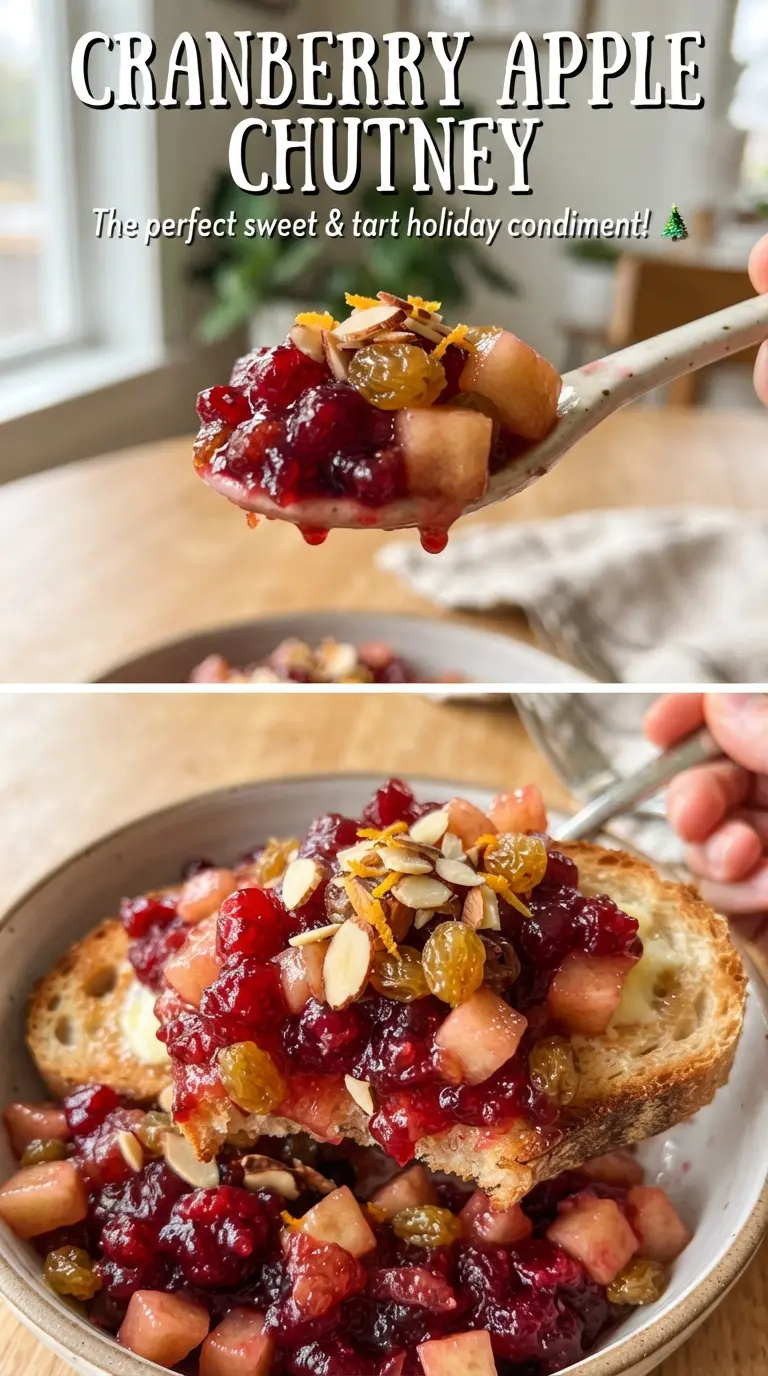
- Fresh cranberries — These bring the tart backbone and that natural pectin that helps the chutney thicken as it cools. Frozen cranberries work too; use them straight from the freezer and expect a slightly longer simmer.
- Apples — They soften into tender pieces and round out the sharp cranberry flavor. Choose a firm variety if you want visible chunks at the end.
- Apple cider vinegar — This keeps the chutney from tasting like spiced fruit sauce. Bottled cider vinegar is fine, but don’t swap in white vinegar unless you want a harsher finish.
- Golden raisins — They melt into the background and add little bursts of sweetness that keep the chutney balanced. Regular raisins work in a pinch, though they’ll read darker and a little less delicate.
- Ginger, cinnamon, cloves, and red pepper flakes — This is the warm-spice layer. Fresh ginger gives a brighter edge than ground ginger, and the cloves should stay measured; too much, and the chutney turns medicinal fast.
Cooking the Fruit Until It Turns Glossy and Spoonable
Building the Sweet-Tart Base
Start by boiling the brown sugar, vinegar, and water together until the sugar disappears and the liquid looks clear, not grainy. That first boil dissolves the sugar fully and sets the flavor base before the fruit goes in. If you add the fruit before the sugar is dissolved, the chutney can taste uneven and the texture turns looser than it should.
Blooming the Spices
When the onion, ginger, cinnamon, cloves, red pepper flakes, and salt go in, let them simmer for five minutes. You want the onion to soften and turn translucent, not brown. That short simmer takes the raw edge off the aromatics and gives the spices time to infuse the liquid before the fruit starts releasing its juices.
Cooking Down the Fruit
Stir in the cranberries, apples, and raisins, then keep the heat at a steady simmer for 20 to 25 minutes. The cranberries will start to burst, the apples will go tender, and the liquid will thicken into a glossy sauce that clings to the spoon. If it still looks thin in the pan, give it a few more minutes; chutney thickens a lot as it cools, so don’t chase a fully set texture on the stove.
Cooling for the Right Finish
Take the chutney off the heat when it looks loose but jammy, then let it cool completely before refrigerating. That resting time is part of the recipe, not an afterthought. The texture firms up as it cools, and the flavors settle into a cleaner sweet-tart balance. If you jar it while it’s still hot and seal it tight in the fridge, condensation can thin out the top layer.
Three Ways to Work This Chutney Into Different Menus
For a more savory chutney
Cut the brown sugar back by 2 tablespoons and add an extra pinch of salt. The chutney will still have sweetness, but it lands closer to a condiment for pork chops, roasted chicken, or turkey sandwiches instead of a spread for crackers.
For a lower-sugar version
Use 1/2 cup brown sugar instead of 3/4 cup and lean on the apples and raisins for sweetness. The chutney will be a little sharper and less syrupy, but the cranberry flavor comes through more clearly.
For a brighter, dairy-free holiday spread
This recipe is naturally dairy-free and works beautifully as-is on a cheese board. Spoon it next to sharp cheddar, goat cheese, or brie; the acidity cuts through rich cheese and keeps every bite from tasting heavy.
For make-ahead serving
Make it up to 5 days ahead and keep it chilled in a sealed container. The flavor gets rounder after a day in the fridge, and the texture turns thicker and more spoonable.
Storage and Reheating
- Refrigerator: Store for up to 2 weeks in a covered jar or container. It thickens as it sits, which is exactly what you want.
- Freezer: It freezes well for up to 3 months. Use a freezer-safe container and leave a little headspace because the chutney will expand slightly.
- Reheating: Warm it gently on the stove over low heat or in short bursts in the microwave. Don’t boil it again, or the apples will break down too far and the chutney will lose its chunky texture.
Answers to the Questions Worth Asking
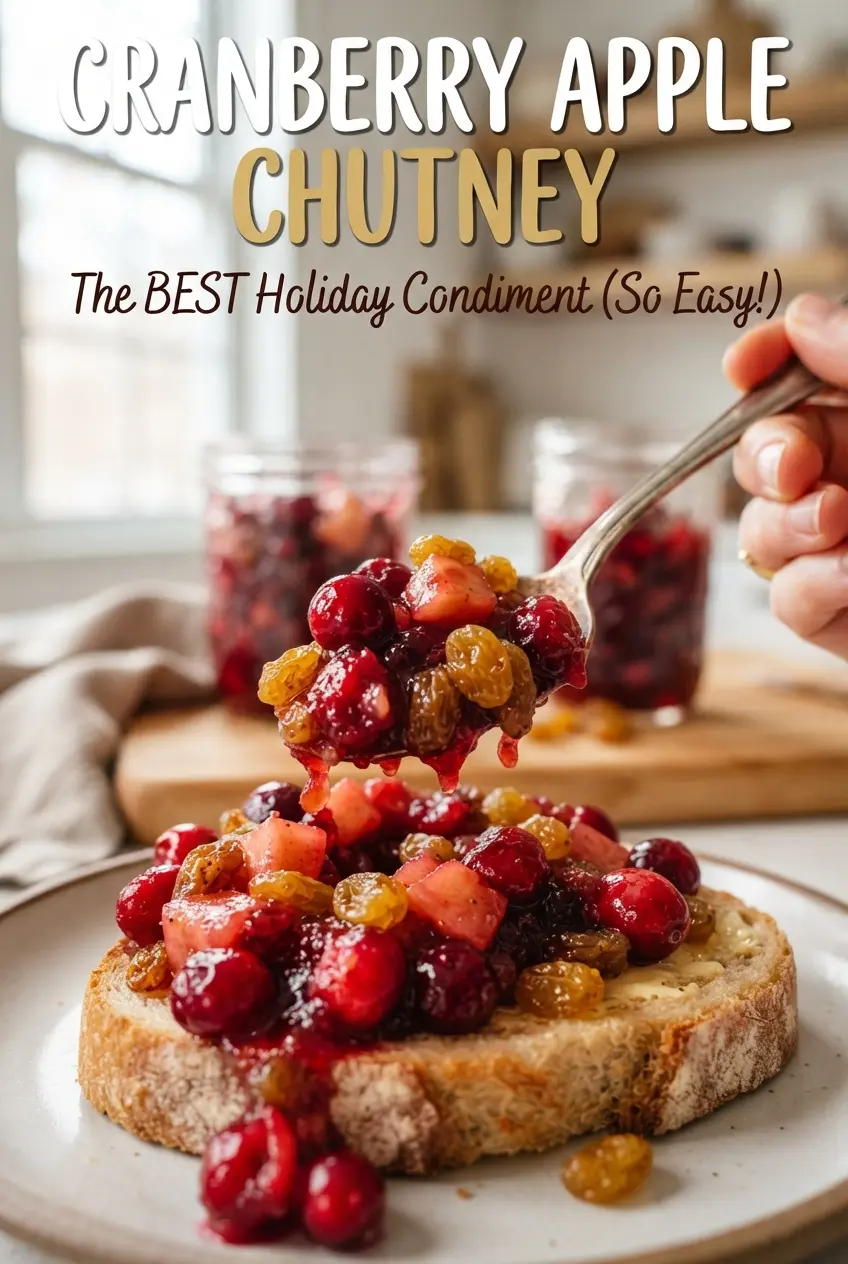
Cranberry Apple Chutney
Ingredients
Equipment
Method
- Combine brown sugar, apple cider vinegar, and water in a saucepan over medium-high heat and bring to a boil. Look for rolling bubbles across the surface.
- Add red onion, fresh ginger, ground cinnamon, ground cloves, red pepper flakes, and salt, then reduce to a gentle simmer. Simmer for 5 minutes, stirring occasionally until fragrant.
- Stir in fresh cranberries, apples, and golden raisins and bring the mixture back to a simmer. You should see the cranberries begin to burst slightly.
- Simmer for 20-25 minutes, stirring often, until thick and jammy. The chutney should coat the spoon and look glossy with suspended fruit pieces.
- Cool completely before refrigerating the chutney. It will continue to thicken as it cools.
- Refrigerate until ready to serve, then spoon over turkey, pork, or alongside a cheese board. Serve chilled or at cool room temperature for best spreadability.