Warm cinnamon apples and a buttery oat crumble make this Crock Pot apple crisp feel a little rustic and a little special at the same time. The slow cooker softens the fruit until it turns spoon-tender and juicy, while the topping stays clustered and toasty instead of sinking into the filling. It’s the kind of dessert that disappears fast because the texture contrast is what keeps every bite interesting.
The trick is treating the topping like a real crumble, not a dumpling lid. Melted butter helps the oats, flour, and brown sugar form clumps that hold their shape, and the paper towel layer under the lid pulls back some of the condensation that would otherwise soften everything. A little lemon juice keeps the apples bright, even after a long cook, so the filling tastes like apples first and sugar second.
Below you’ll find the small details that matter most: how to keep the topping from turning soggy, which apples hold their shape best, and when to broil the crisp for a deeper, more bakery-style finish.
The apples got perfectly tender without turning mushy, and that paper towel trick kept the topping from getting wet. I broiled mine for 3 minutes at the end and it came out with the best crunchy top.
Love that buttery oat topping and tender cinnamon apple filling? Save this Crock Pot Apple Crisp for an easy dessert that finishes with a broil for extra crunch.
The Reason the Topping Stays Crisp Instead of Turning Steamy
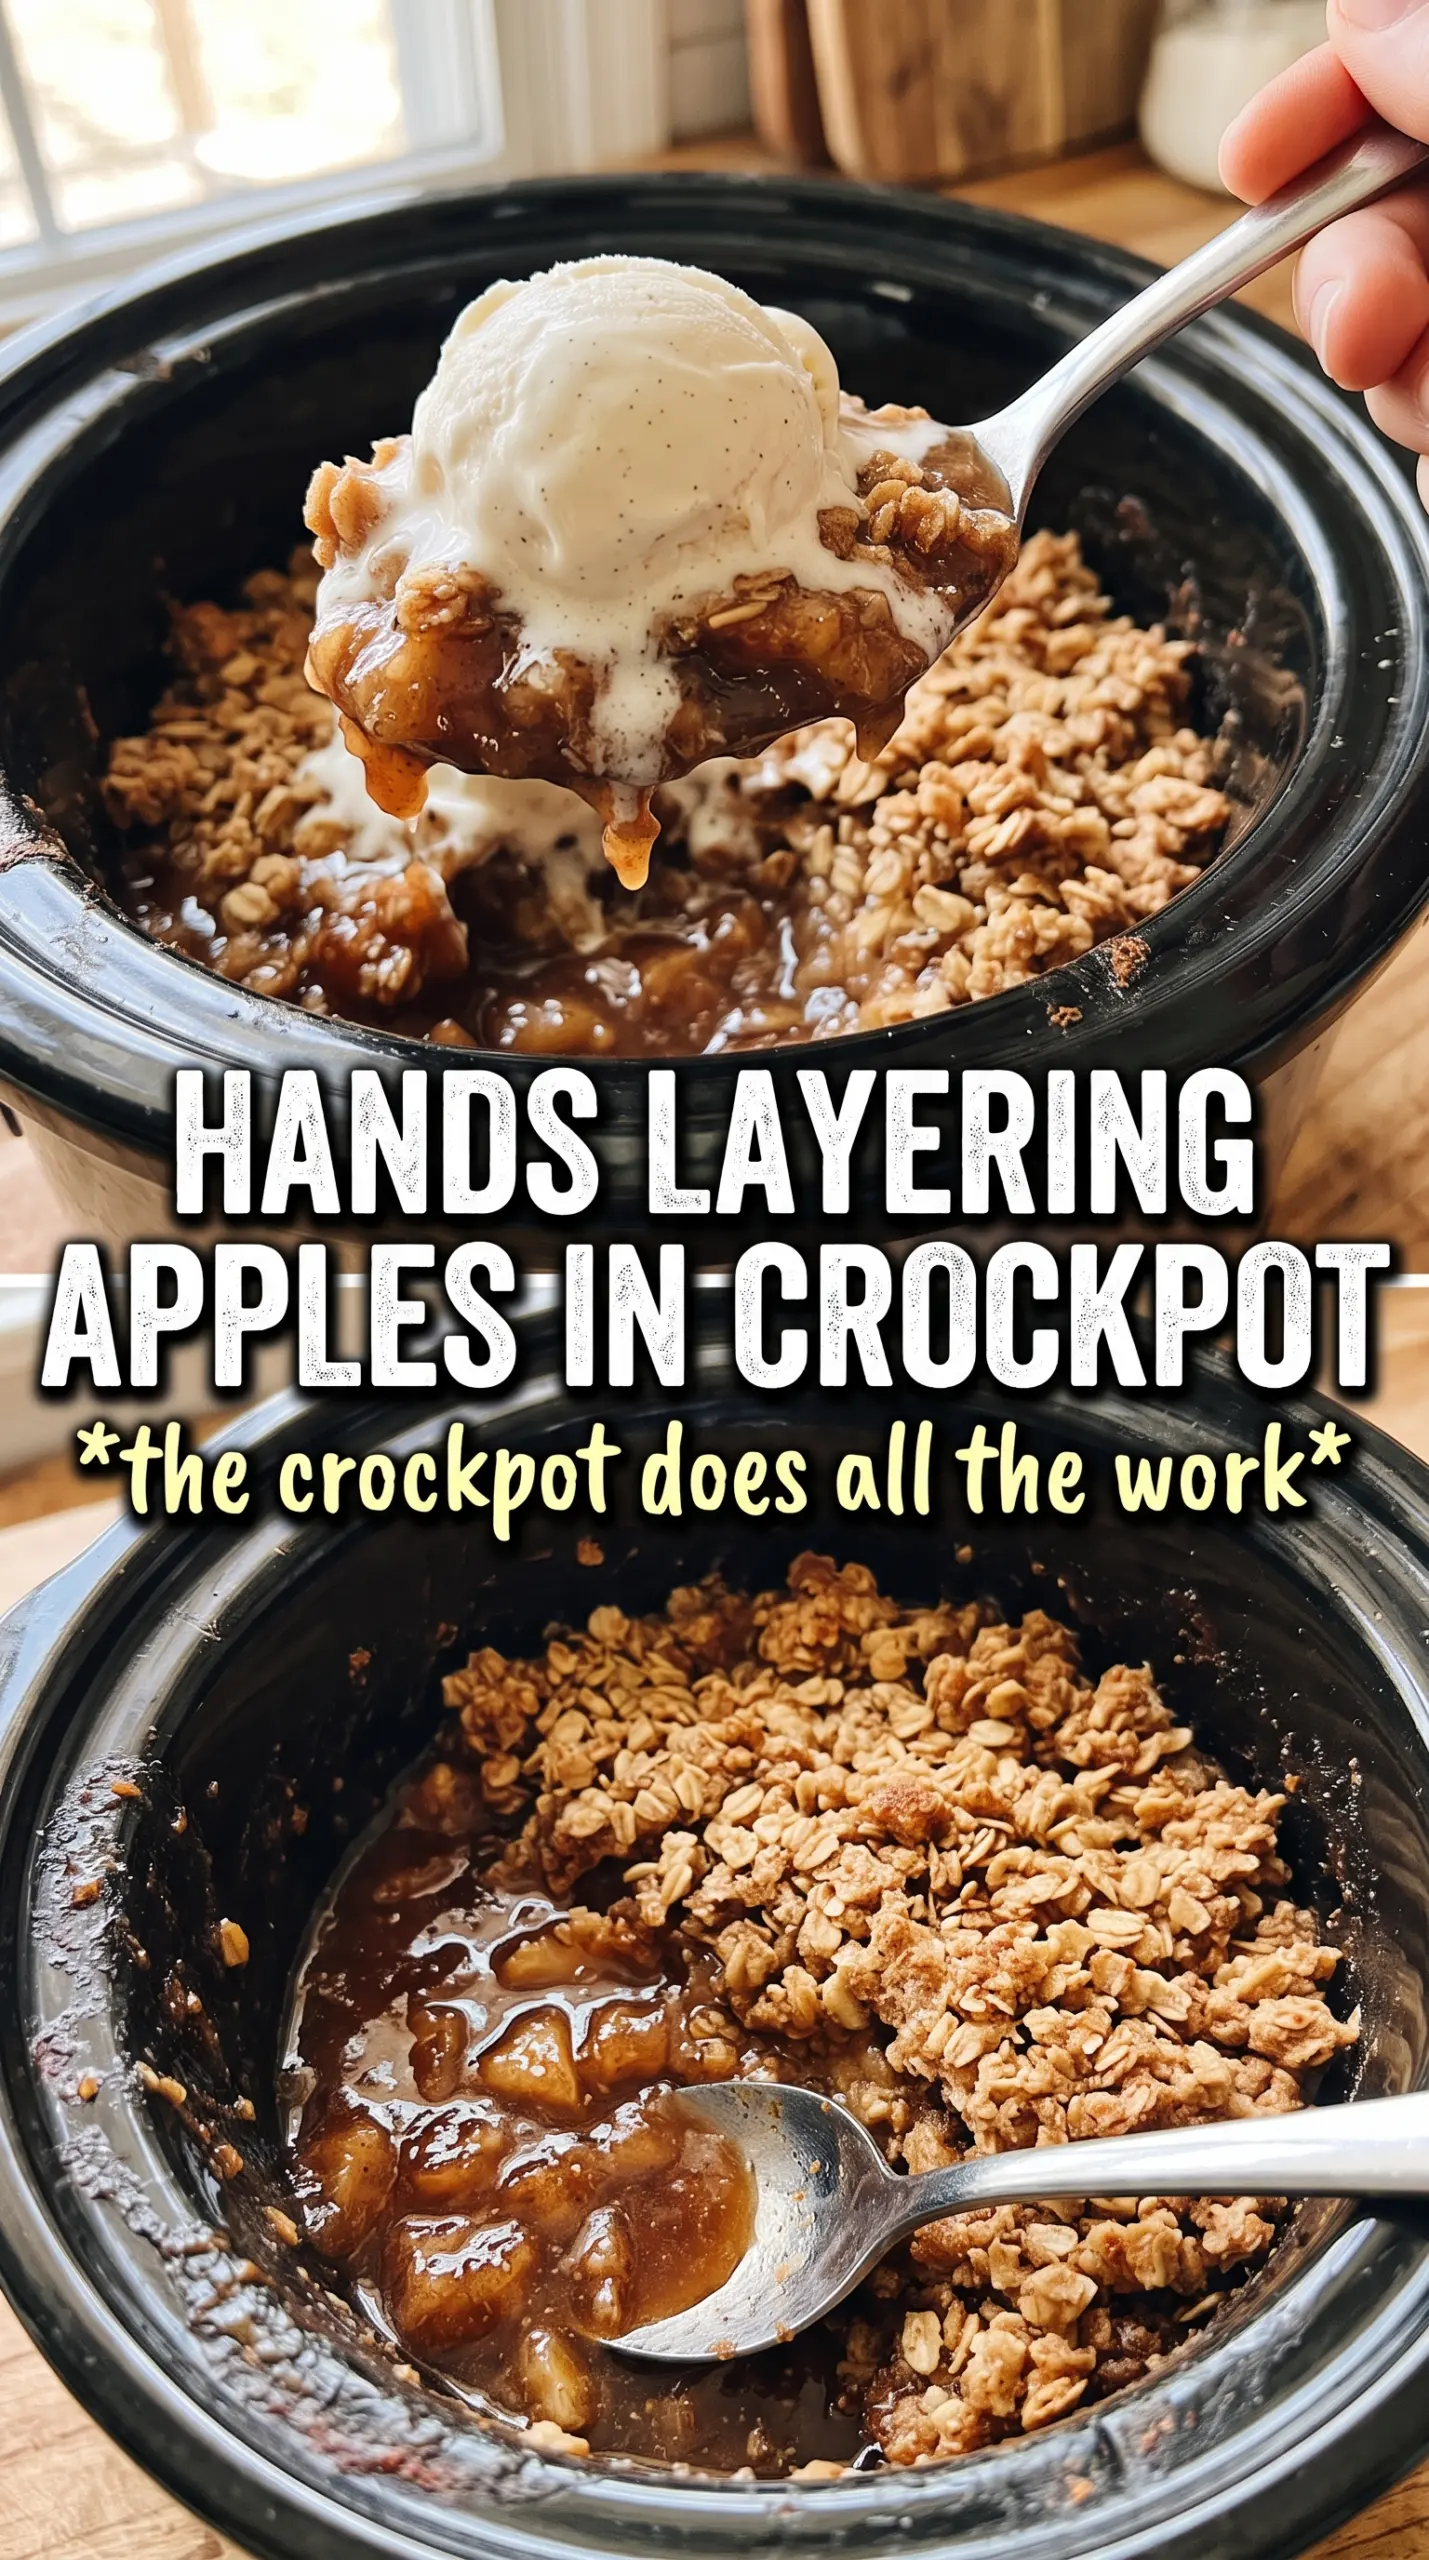
The biggest problem with slow cooker apple crisp is moisture. Apples release a lot of liquid as they cook, and the lid traps that steam right back onto the topping if you don’t deal with it. That’s why the paper towel layer matters so much here: it catches condensation before it drips down and softens the oats.
There’s another detail that helps. The topping is mixed until it forms clumps, not until it looks sandy and loose. Those clumps brown better and hold up longer on top of the apples, especially if you finish the crisp under the broiler for a few minutes. If you skip the clumping, you’ll end up with a soft oat blanket instead of a true crisp.
- Apples — Use a firm baking apple that holds its shape, like Granny Smith, Honeycrisp, Braeburn, or a mix. Softer apples break down faster and can turn the filling mushy before the topping is set.
- Brown sugar — The brown sugar in the filling deepens the apple flavor, while the brown sugar in the topping helps create those golden, caramel-like clusters. Light or dark brown sugar both work; dark brown sugar gives you a deeper molasses note.
- Rolled oats — Old-fashioned oats are the right choice here because they stay distinct after cooking. Quick oats absorb too much moisture and lose the craggy texture that makes a crisp worth serving.
- Butter — Melted butter is what turns the topping into little clumps. You can use salted butter if that’s what you have, but cut back on the added salt slightly so the topping doesn’t taste flat-salty.
What Each Part of the Slow Cooker Is Doing Here
- Apples and lemon juice — The lemon juice keeps the apples bright and keeps the filling from tasting one-note sweet. If your apples are very tart already, you still want the lemon; it doesn’t make the crisp sour, it just keeps the fruit flavor alive.
- Cinnamon and nutmeg — Cinnamon is the main spice, but the nutmeg gives the filling a warmer edge. Use fresh nutmeg if you have it, but the pre-ground version still does the job fine in a dessert like this.
- Flour — Flour helps the topping hold together as it cooks. If you want a gluten-free version, use a 1:1 gluten-free baking flour blend; don’t swap in almond flour alone, because it won’t bind the crumble the same way.
- Salt — Salt keeps the topping from tasting flat and one-dimensional. Even in dessert, it matters more than people think because it sharpens the butter and brown sugar.
Building the Crisp Without Letting the Topping Sink
Toss the apples first
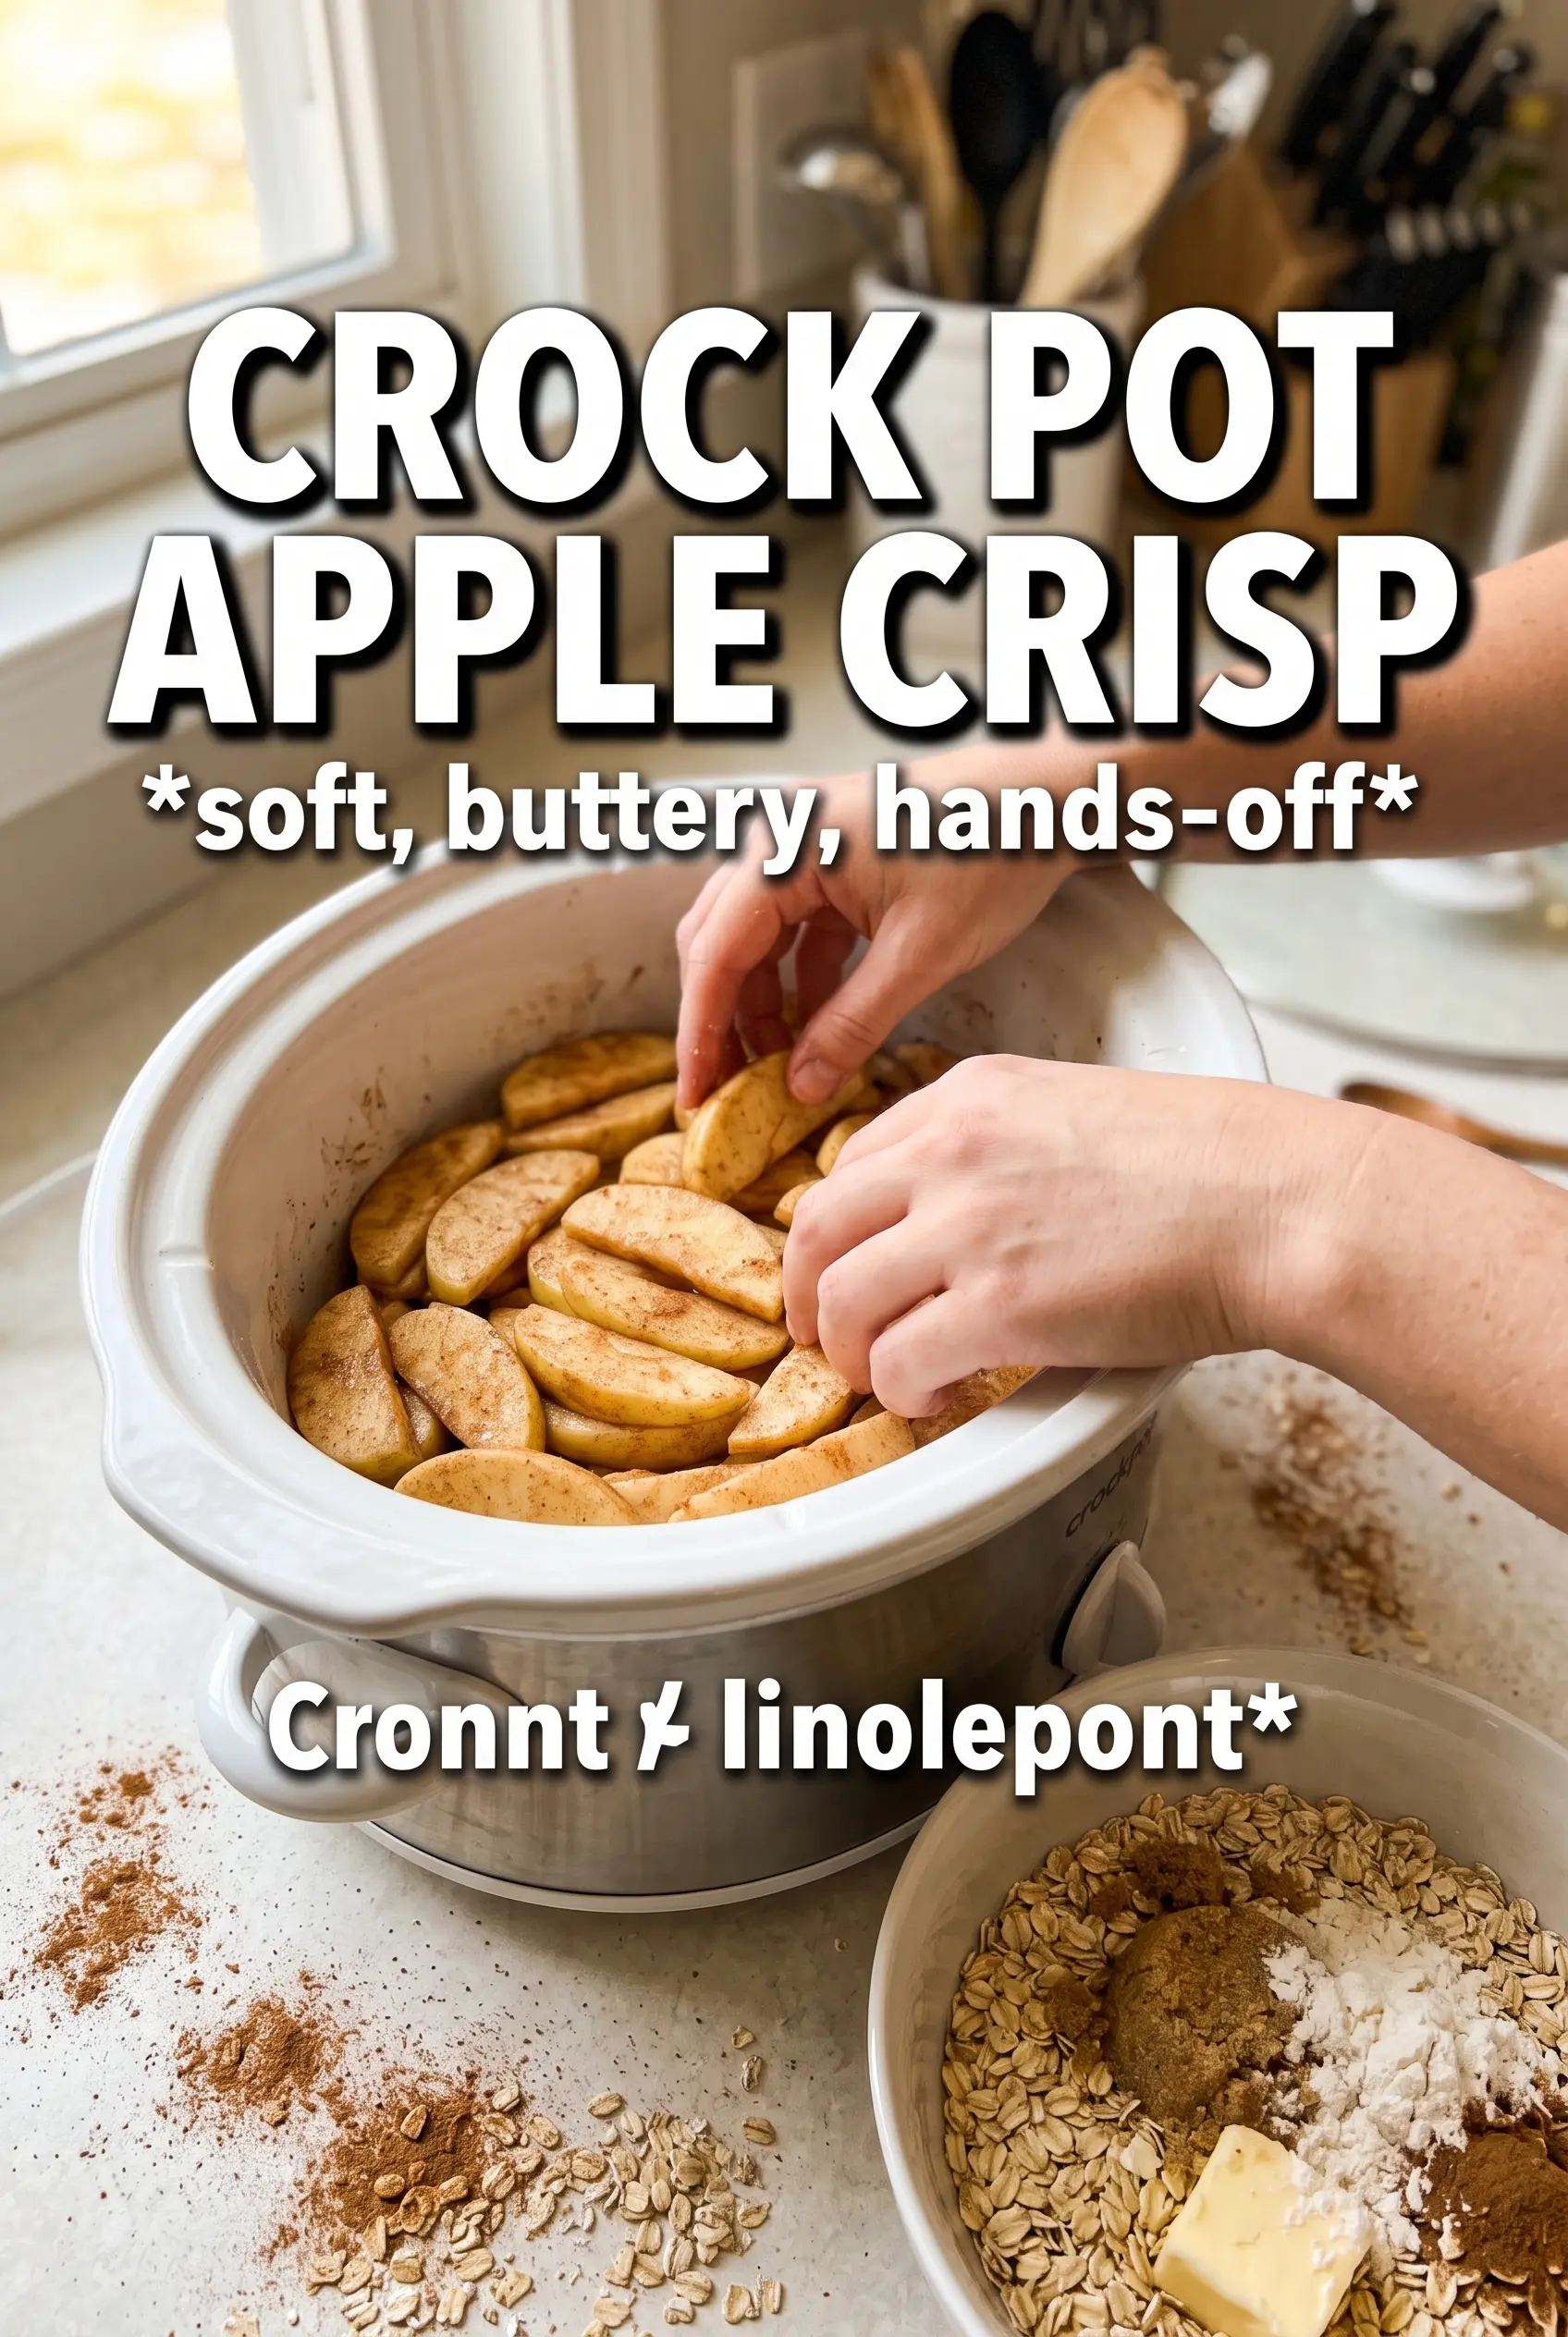
Mix the sliced apples with the sugars, cinnamon, nutmeg, and lemon juice until every piece looks lightly coated. The sugar starts drawing out juice right away, which is exactly what you want, because that liquid helps the fruit soften into a spoonable filling. Spread the apples in an even layer in the slow cooker so they cook at the same pace. If you pile them high in the center, the top pieces stay firmer while the bottom turns too soft.
Make clumps, not crumbs
Stir the oats, flour, brown sugar, cinnamon, and salt together first, then drizzle in the melted butter and mix until the texture looks damp and clumpy. You’re aiming for little boulders of topping, not a dry powder. If the mixture still looks loose after stirring, add another teaspoon of melted butter; if it looks greasy, you’ve added too much and the topping will bake up dense instead of crisp.
Use the lid to your advantage
Scatter the topping over the apples and don’t stir. Stirring drags the crumble into the fruit and robs you of the layered texture that makes this dessert work. Lay a double layer of paper towels under the lid before cooking; they absorb condensation and keep the topping from getting soggy. Cook on Low until the apples are tender but still hold some shape and the topping looks set around the edges.
Finish with heat if you want more crunch
If the topping needs a little more color, transfer the crisp to an oven-safe dish and broil it for 3 to 4 minutes. Stand close the whole time, because the line between toasted and burned is short under the broiler. Serve it warm, while the topping still has texture and the ice cream starts melting into the filling.
How to Adapt This for a Smaller Kitchen or a Different Diet
Gluten-Free Oat Crisp
Swap the all-purpose flour for a good 1:1 gluten-free baking flour blend. That keeps the topping cohesive without changing the texture much, but don’t use oat flour alone unless you’re okay with a softer, more delicate crumble.
Dairy-Free Version
Use melted plant-based butter with a solid fat content instead of a thin margarine spread. The topping needs fat to clump and brown, and a watery substitute will leave it sandy and pale.
Extra-Crunch Finish
After the slow cooker step, move the crisp to a broiler-safe dish and finish it under high heat for a few minutes. That gives you a deeper toasted flavor and a drier top layer, which is the move if you want the crumble to stay crunchy after serving.
Make It Ahead
You can slice the apples and mix the topping a few hours ahead, then keep them separate until cooking time. If the apples sit too long after being tossed with sugar, they release extra liquid, so assemble it close to cooking for the best texture.
Storage and Reheating
- Refrigerator: Store leftovers covered for up to 4 days. The topping will soften as it sits, but the flavor stays good.
- Freezer: You can freeze it, but the topping won’t stay crisp after thawing. Freeze in an airtight container for up to 2 months if you don’t mind a softer dessert texture.
- Reheating: Warm individual portions in the microwave, or reheat larger amounts in a 325°F oven until hot. If you want some crunch back, give the top a brief broil after reheating, not before, or it can dry out and burn.
Questions I Get Asked About This Recipe
Crock Pot Apple Crisp
Ingredients
Equipment
Method
- Toss the sliced apples with granulated sugar, brown sugar, cinnamon, nutmeg, and lemon juice, then place them into the slow cooker.
- Lay a double layer of paper towels under the lid to absorb excess moisture, keeping the apples covered.
- Combine rolled oats, all-purpose flour, brown sugar, cinnamon, and salt, then drizzle in melted butter and stir until the mixture forms clumps.
- Scatter the oat topping evenly over the apples in the slow cooker, and do not stir so the topping can set on top.
- Cook on Low for 2.5 to 3 hours, until the apples are tender and the topping is set.
- For a crispier topping, transfer to an oven-safe dish and broil for 3 to 4 minutes until the crumble looks lightly golden.
- Serve the apple crisp warm with vanilla ice cream, letting the topping hold its shape as you scoop.