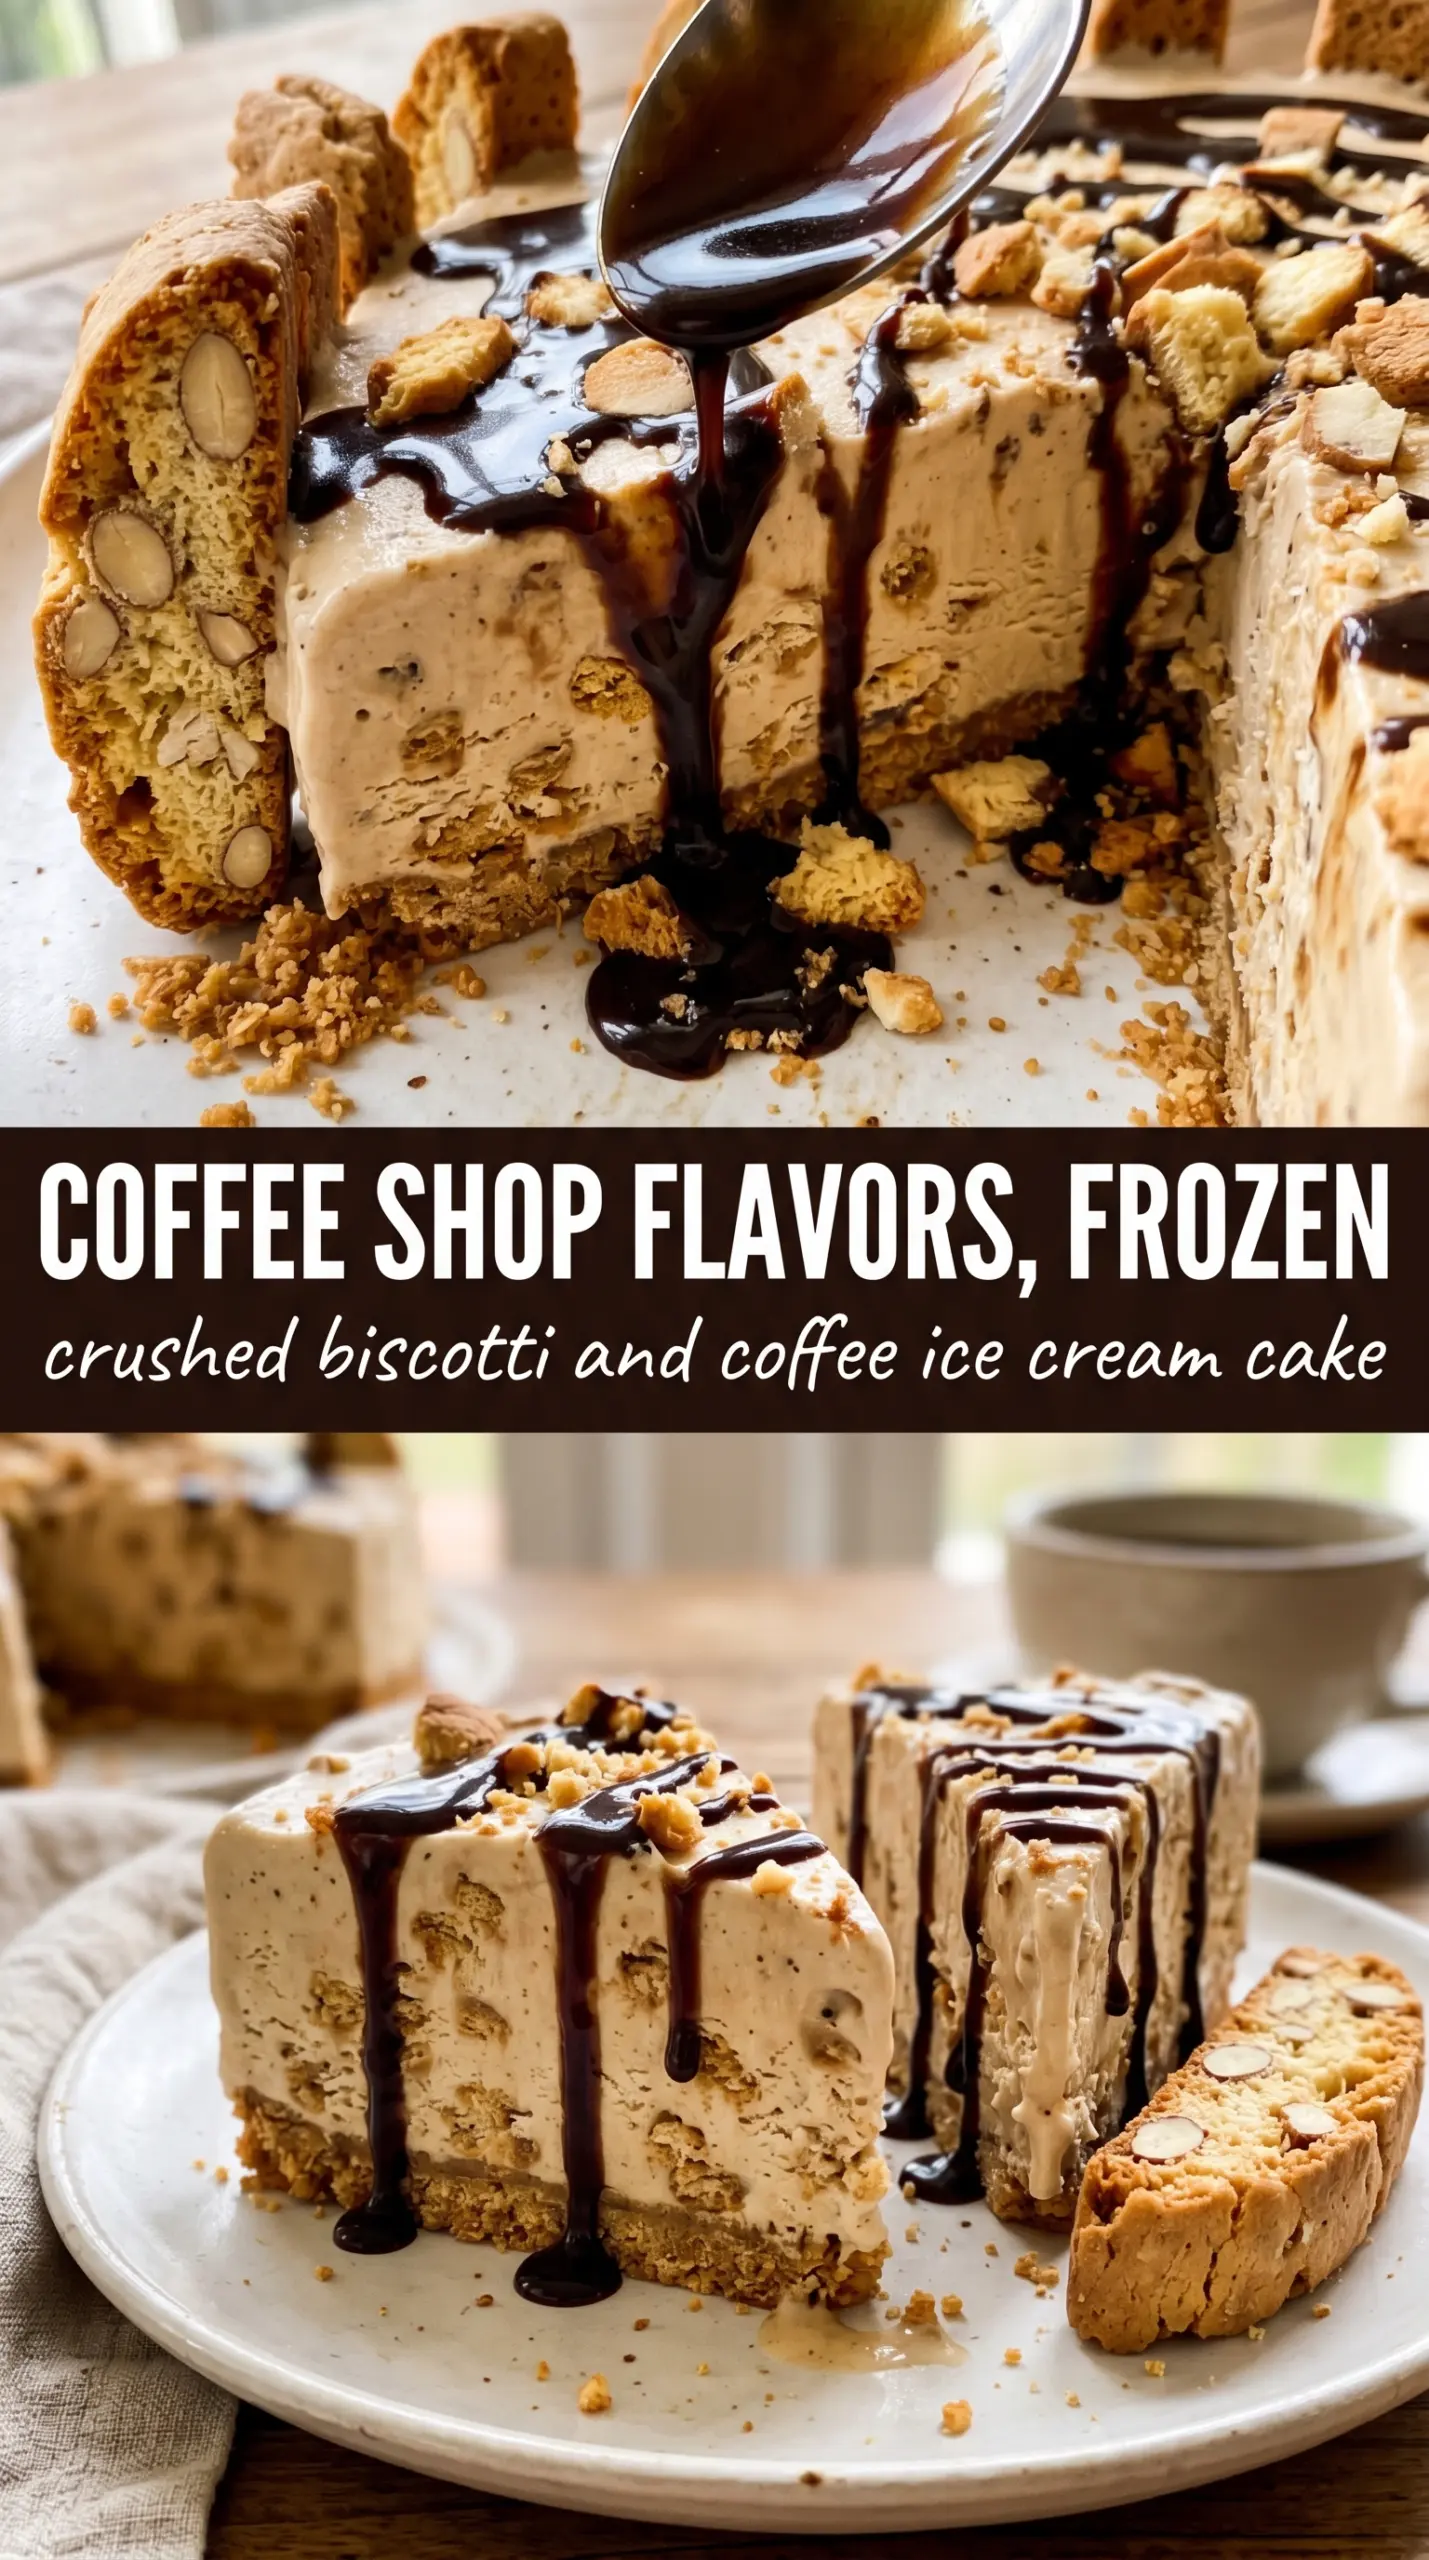
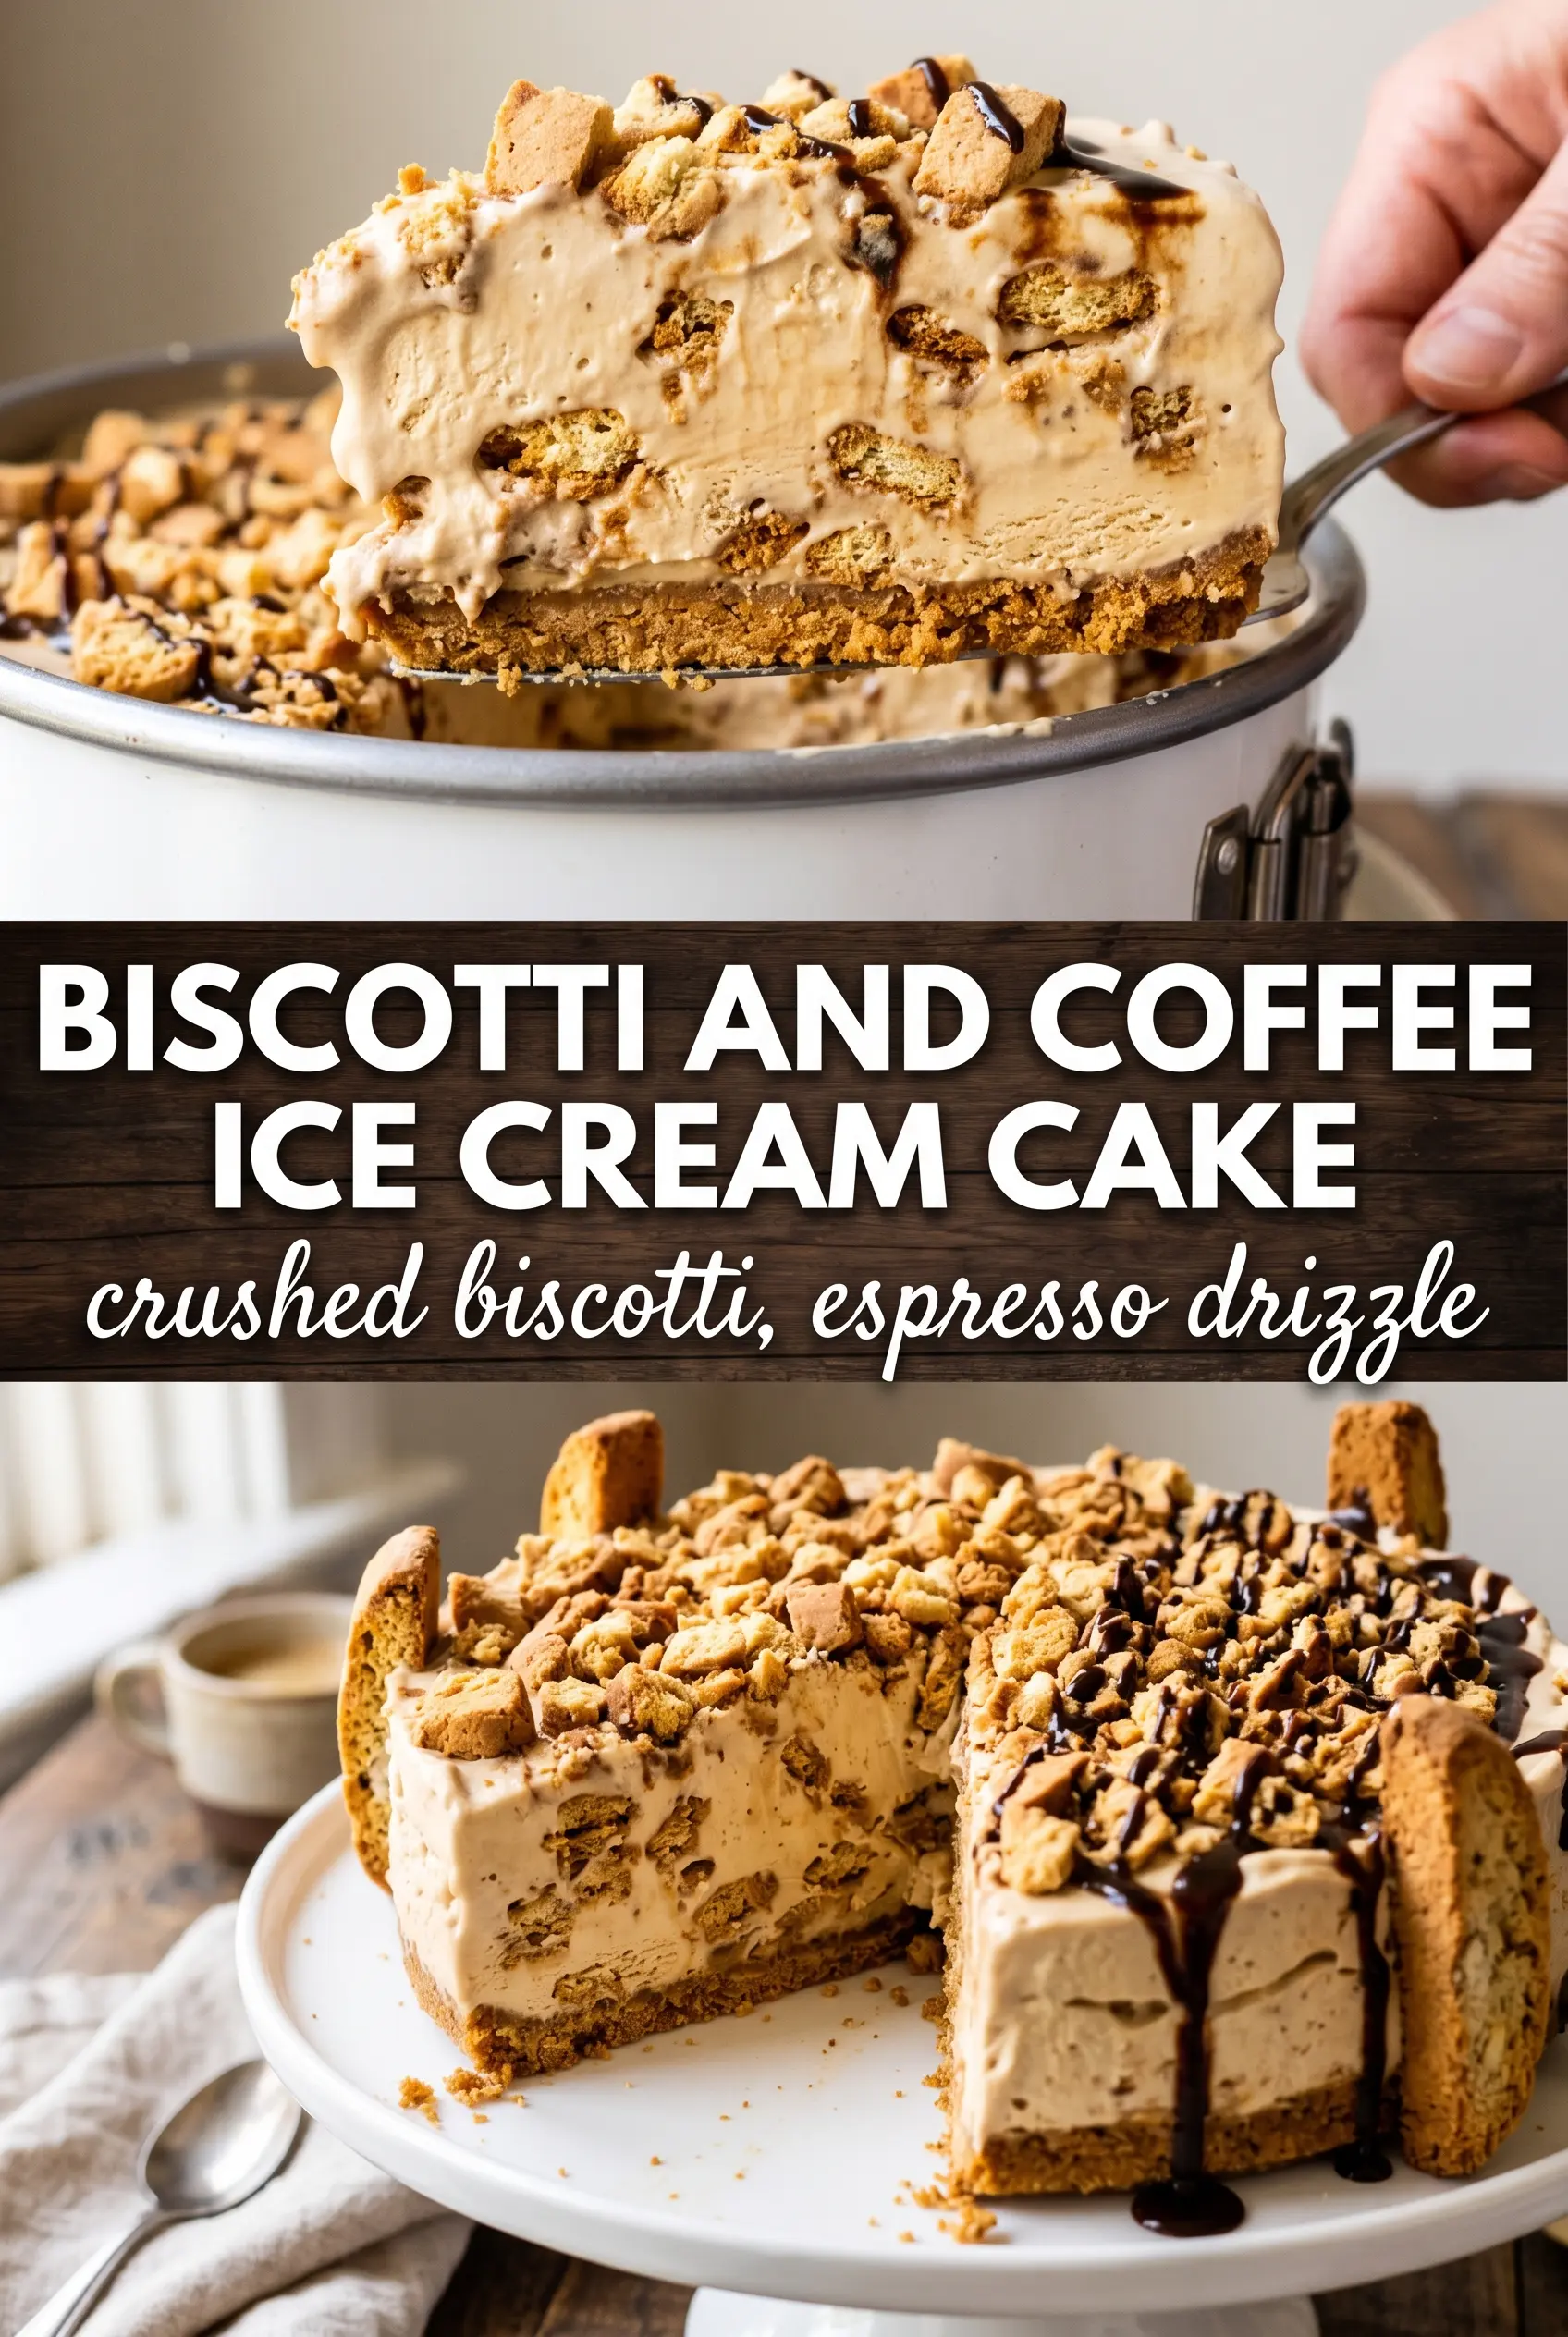
Coffee ice cream cake with a crushed biscotti crust has the kind of contrast that makes people pause at the first bite: crisp almond cookie crumbs at the base, cold espresso-rich filling in the middle, and a soft whipped cream finish that keeps each slice from feeling heavy. The chocolate-dipped biscotti on top aren’t just for looks. They echo the crust and give the whole cake a bakery-case kind of finish without any complicated decorating.
The key is starting with fine biscotti crumbs and enough butter to pack them into a firm layer that slices cleanly after freezing. A quick brush of espresso over the crust deepens the coffee note and keeps the base from tasting flat under all that cream. I also like to soften the ice cream just enough to spread it easily without melting it into the crust, because that’s what keeps the layers defined.
Below, you’ll find the small details that matter most here: how to keep the crust from crumbling, why the espresso brush makes a difference, and the easiest way to get sharp slices once the cake has frozen solid.
The biscotti crust stayed crunchy even after freezing, and the espresso brush made the coffee flavor taste deeper instead of just cold and sweet. My slices held together beautifully after an overnight freeze.
Save this biscotti-crusted coffee ice cream cake for a make-ahead dessert with real espresso flavor and a clean, sliceable frozen finish.
Why the Biscotti Crust Stays Crisp Instead of Turning Soggy
A frozen dessert can still turn soft and muddy at the base if the crust is too loose or the filling goes on before it’s set. This version avoids that by using finely crushed biscotti, which pack tighter than random cookie crumbs and hold onto the butter better. That gives you a crust that slices instead of collapsing.
The espresso brush matters too. It adds another layer of coffee flavor, but it also helps the crust taste intentional under the ice cream instead of just like a sweet cookie base. The trick is using just enough to moisten the surface. If the crust looks wet, you’ve gone too far and the base will soften faster than it should.
- Almond biscotti — Finely crushed biscotti bring both structure and flavor. The almond note works especially well with coffee, and the dry texture helps the crust stay crisp after freezing.
- Butter — Melted butter is what binds the crumbs into a sliceable base. Coconut oil can work in a pinch, but it sets harder and gives the crust a different finish.
- Coffee ice cream — Use a good-quality ice cream here. Since it’s the center of the dessert, weak coffee flavor gets lost under the crust and topping.
- Espresso or strong cold brew — Espresso gives the deepest flavor, but strong cold brew works if that’s what you have. Brush lightly; you’re seasoning the crust, not soaking it.
What Each Ingredient Is Actually Doing in This Ice Cream
- Base ingredient (cream, milk, or custard) — This provides the foundation and richness. Quality matters.
- Sweetener (sugar, honey, or condensed milk) — This sweetens and prevents ice crystals. The ratio is critical.
- Flavor element (vanilla, fruit, chocolate, or other) — This defines the ice cream personality. Use quality ingredients.
- Egg yolks (if making custard base) — These create richness and silky texture. Optional but elevates ice cream.
- Churning (if using ice cream maker) — This incorporates air and prevents ice crystals. Critical for smooth texture.
- Freezing temperature and time — Proper freezing prevents rock-hard texture. Store at 0°F or below.
- Mix-ins (chocolate, cookies, fruit, or swirls) — These add texture and prevent one-dimensional flavor. Add near end of churning.
- Serving temperature (slightly soft, not rock hard) — This provides creamy mouthfeel. Remove from freezer 5 minutes before serving.
Building the Layers Before the Ice Cream Starts to Slip
Pressing the Biscotti Base
Mix the crushed biscotti, melted butter, and sugar until the crumbs look evenly moistened and hold together when pinched. Press them firmly into the springform pan, paying attention to the corners and the edge where crumbs like to pull away. If the crust feels sandy instead of packed, it won’t slice cleanly after freezing. A short chill in the freezer gives it enough structure to hold the next layer.
Brushing and Spreading
Brush the crust with espresso in a light, even layer. Don’t pour it on; the goal is flavor, not saturation. Spread the softened coffee ice cream over the crust while it’s still thick and scoopable. If the ice cream is too melted, it will seep into the crust and erase that clean biscuit layer you worked for.
Finishing the Top
Once the ice cream is firm, add the whipped cream in an even layer or pipe it for a more polished look. Dust cocoa powder through a fine sieve so it lands like a soft veil instead of dark clumps. Add the chocolate-dipped biscotti at the end, after the topping is set enough to hold them upright. Then freeze the cake again until it’s hard enough to release from the pan without dragging the layers.
Three Ways to Adjust the Cake Without Losing the Structure
Gluten-Free Version
Use gluten-free biscotti with the same fine crush and butter ratio. The texture stays close to the original as long as the crumbs are dry and not oily. Check the ice cream label too, since some brands use mix-ins or stabilizers that aren’t gluten-free.
Less-Caffeinated Slice
Swap the espresso brush for strongly brewed decaf coffee if you want the flavor without as much caffeine. You’ll still get the coffee note in the crust and filling, just a little softer and rounder.
Dairy-Free Version
Use a dairy-free coffee ice cream and a whipped topping that holds its shape after freezing. The texture will be a touch less rich, but the biscotti crust and cocoa topping still give the dessert its signature contrast.
Make It Ahead for a Crowd
This dessert is built for advance prep. Assemble it a full day before serving, and add the cocoa dusting and biscotti garnish after the final freeze so the top stays sharp and the cookies keep their crunch.
Storage and Reheating
- Refrigerator: Not ideal for storage. This cake softens fast, so keep it frozen until the moment you serve it.
- Freezer: Freeze tightly wrapped or covered for up to 1 week for the best crust texture. After that, the ice cream can start to take on freezer flavor.
- Reheating: No reheating needed. For clean slices, let the cake stand at room temperature for 8 to 12 minutes before cutting so the blade slides through the layers instead of cracking the crust.
Answers to the Questions Worth Asking
Crushed Biscotti and Coffee Ice Cream Cake
Ingredients
Equipment
Method
- Combine crushed almond biscotti, melted butter, and sugar, then press firmly into a 9-inch springform pan until evenly packed (visual cue: looks like a compact, sandy crust). Freeze for 15 minutes.
- Brush the frozen biscotti crust with espresso or strong cold brew to moisten the top (visual cue: glossy brown speckles on the crust).
- Spread the softened coffee ice cream over the crust and smooth the surface (visual cue: even, flat top). Freeze for 4 hours.
- Pipe or spread whipped cream over the frozen cake (visual cue: soft peaks or an even swirled layer).
- Dust generously with unsweetened cocoa powder through a fine sieve (visual cue: light cocoa cloud across the entire top).
- Arrange chocolate-dipped biscotti on top as garnish (visual cue: biscotti positioned along the center and edges).
- Freeze the cake for 2 more hours before releasing from the springform pan (visual cue: slices hold a clean edge). Serve straight from the freezer or allow brief softening for easier slicing.