Silky dairy-free vanilla ice cream has a way of winning over even the people who usually reach for the full-dairy tub first. This version freezes with a clean scoop, a rich ivory color, and that soft, custardy body you want from homemade ice cream, not the icy, brittle texture that gives plant-based desserts a bad name. The vanilla comes through clearly, and the coconut flavor stays in the background where it belongs.
The trick is using full-fat coconut milk for body, then giving the base a little help with arrowroot or tapioca starch so it sets up with a smoother melt. A small amount of coconut oil adds richness and keeps the finished ice cream from tasting flat after freezing. I also warm the base just long enough to dissolve the sugar and activate the starch without boiling it hard, because aggressive heat can make the texture grainy instead of smooth.
Below, you’ll find the exact timing that keeps this ice cream from freezing into a brick, plus a few swaps that work when you want a more neutral vanilla flavor or need to use what you already have in the pantry.
The base thickened just enough on the stove, and after churning it froze up with that smooth, scoopable texture I never get from store-bought dairy-free ice cream. Even my husband said the vanilla taste was clean and not coconut-heavy.
Save this silky dairy-free vanilla ice cream for the nights when you want a scoop that tastes clean, rich, and homemade without any dairy.
The Mistake That Makes Dairy-Free Ice Cream Freeze Icy
The most common problem with dairy-free ice cream is expecting a thin base to behave like cream. It won’t. Coconut milk gives you fat, but it still needs a little structural help so the finished ice cream stays scoopable instead of turning hard and icy after a night in the freezer. That is why the starch matters here. It doesn’t make the base thick like pudding, but it does give the mixture enough body to freeze with a smoother, denser texture.
The other mistake is overcooking the base. You only want to heat it until the sugar dissolves and you see a slight thickening, not a rolling boil. If the mixture gets too hot, the coconut milk can separate and the starch can go past its sweet spot. Keep the heat at medium and whisk constantly so the base stays glossy and even.
What Each Ingredient Is Actually Doing in This Ice Cream
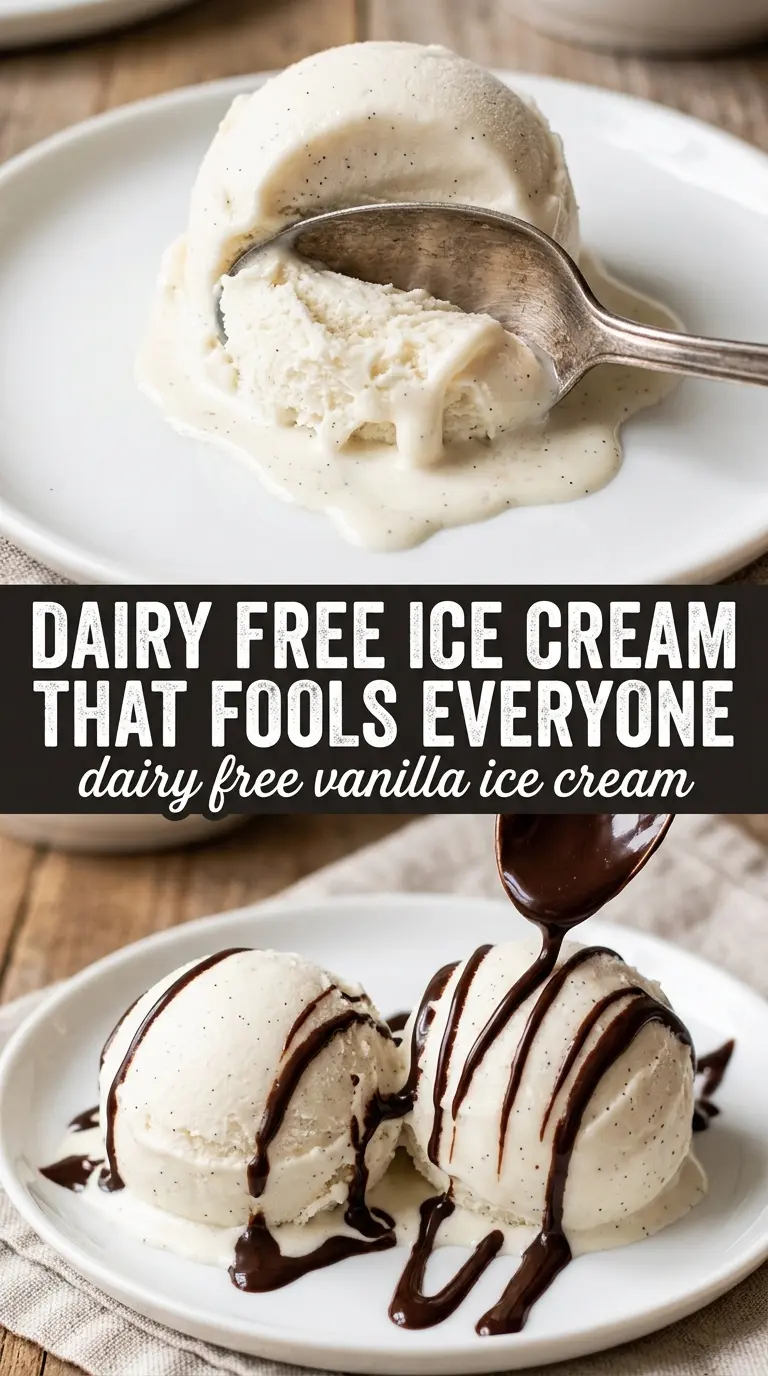
- Full-fat coconut milk — This is the backbone of the recipe. Light coconut milk won’t give you the same creamy freeze, and that’s not a small difference. Shake the cans well before opening, or better yet, pour them into the pan and whisk thoroughly so any separated coconut cream blends back in.
- Granulated sugar or maple syrup — Sugar keeps the ice cream softer straight from the freezer. Maple syrup adds a gentle caramel note and works well if you want a slightly deeper flavor, but it will make the vanilla taste a little less clean. If you’re after the purest vanilla profile, I stick with granulated sugar.
- Arrowroot or tapioca starch — This is the texture insurance. Either one works, but whisk it in completely before heating so you don’t end up with little starchy lumps. Arrowroot tends to give a cleaner finish, while tapioca can make the base a touch more elastic.
- Pure vanilla extract — Since vanilla is the main flavor here, use the good stuff. A bland extract makes the whole pint taste flat. If you have vanilla bean paste, it can replace the extract and give you those tiny specks and a deeper vanilla finish.
- Coconut oil — This adds richness and helps the ice cream feel less sharp after freezing. Don’t skip it if you want the most scoopable texture. It also rounds out any coconut edge from the milk.
Building the Base So It Freezes Smooth
Whisk everything before the heat goes on
Start with the coconut milk, sugar, starch, vanilla, salt, and coconut oil in a saucepan, then whisk until the mixture looks fully blended and the starch disappears. This first minute matters because starch left clumped in the cold base can turn into little soft bits later. If your coconut milk was separated in the can, keep whisking until the mixture looks uniform and glossy.
Warm it just until it barely thickens
Set the pan over medium heat and whisk constantly as it warms. You’re looking for the sugar to dissolve and the mixture to thicken just a little, about the consistency of thin cream. Don’t wait for a heavy bubble or a custard-like texture. Once it reaches that point, pull it off the heat right away so the coconut milk stays smooth.
Chill it all the way through before churning
Pour the base into a bowl set over an ice bath and cool it completely before refrigerating. Churning a warm base gives you soft ice cream that refuses to set properly, and the machine can’t fix that. After the ice bath, the base still needs at least four hours in the fridge so it gets cold enough to churn into a dense, creamy texture.
Freeze after churning until it scoops cleanly
Once the churn finishes, transfer the ice cream to a freezer container and press a piece of parchment or plastic wrap directly against the surface if you want the smoothest top. Two hours is usually enough for a firm, scoopable texture, though exact timing depends on your freezer. If it freezes hard overnight, let it sit on the counter for 5 to 10 minutes before scooping.
How to Change the Flavor Without Breaking the Texture
Maple Vanilla Ice Cream
Swap the granulated sugar for pure maple syrup if you want a warmer, more rounded sweetness. The texture stays creamy, but the vanilla will taste slightly softer and the coconut note a little more noticeable. This is the variation I use when I want a deeper, almost caramel-like finish.
Vanilla Bean Version
Replace the extract with vanilla bean paste or scrape in the seeds from one vanilla bean. The paste gives the richest speckled look and the deepest vanilla aroma. It costs more, but this is the version to make when the vanilla flavor needs to stand on its own.
Neutral Plant-Based Ice Cream
If you want less coconut flavor, use one can of full-fat coconut milk and one can of unsweetened oat milk. The result is a little lighter and less rich, but the vanilla comes through cleanly. I wouldn’t use all oat milk here unless you’re willing to sacrifice creaminess.
Storage and Reheating
- Refrigerator: The finished ice cream doesn’t store in the fridge; it will melt. Keep it in the freezer in a sealed container.
- Freezer: It keeps well for about 2 weeks with the best texture in the first few days. After that, it can start to develop ice crystals around the edges.
- Reheating: Not needed. For serving, let the container sit at room temperature for 5 to 10 minutes so the scoop releases cleanly instead of tearing into hard chunks.
Answers to the Questions Worth Asking
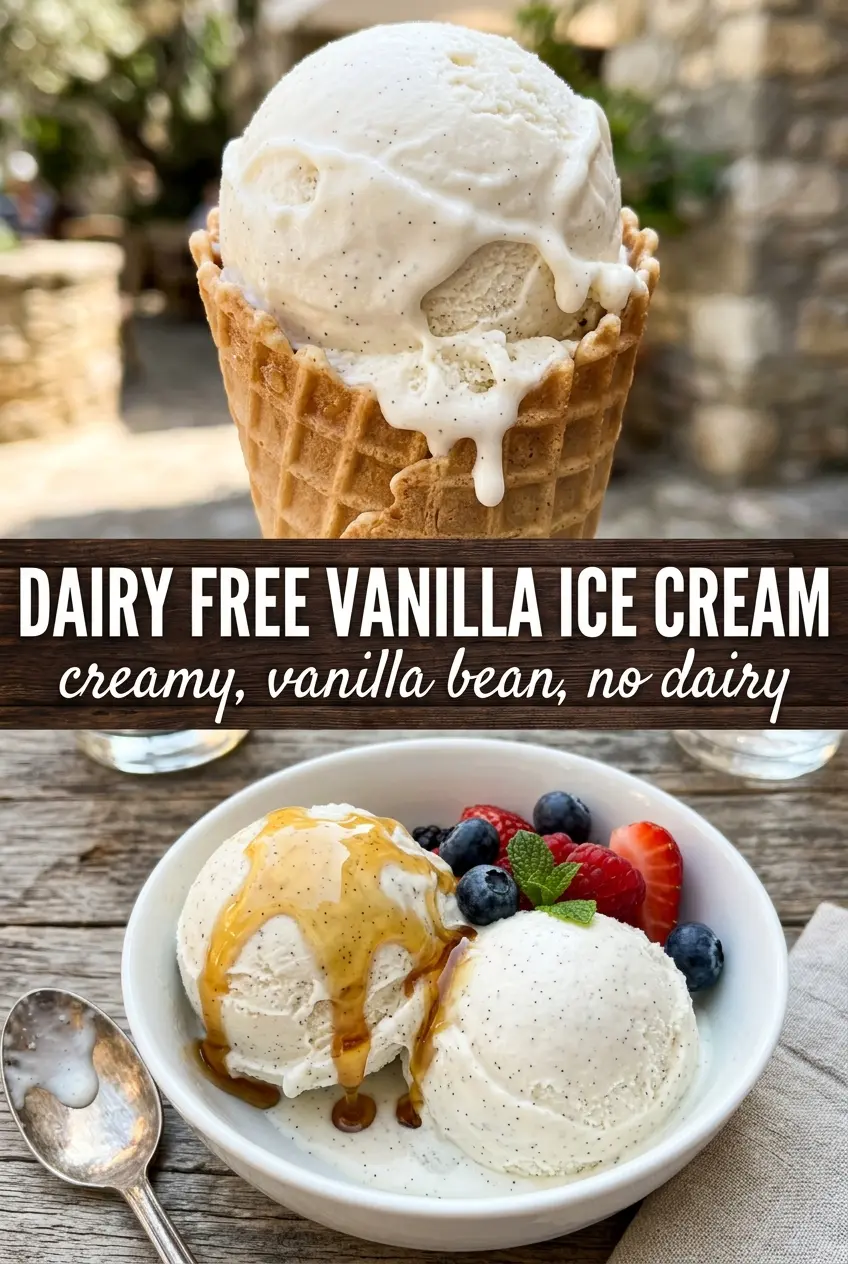
Dairy Free Vanilla Ice Cream
Ingredients
Equipment
Method
- Whisk full-fat coconut milk, granulated sugar or maple syrup, arrowroot or tapioca starch, pure vanilla extract, salt, and coconut oil together in a saucepan until smooth and evenly combined.
- Heat over medium heat, whisking constantly, until the sugar dissolves and the mixture thickens very slightly, about 5 minutes, and you can see it coat the whisk.
- Cool the mixture completely over an ice bath until no longer warm to the touch, then wipe the saucepan edges clean for easy chilling.
- Refrigerate the cooled base at least 4 hours until thoroughly chilled and set.
- Churn in an ice cream maker according to the manufacturer’s instructions, stopping when the texture looks thick and creamy like soft-serve.
- Freeze until scoopable, about 2 hours, until firm enough to hold shape in a bowl.