Drumstick ice cream cake hits the same sweet spot as the original cone, only now it’s big enough to slice for a crowd. You get a buttery cone crust, a ribbon of caramel, creamy vanilla ice cream, and that crisp chocolate shell on top with peanuts in every bite. The textures are the whole point here. Cold, crunchy, creamy, and just a little sticky at the edges once it starts to soften on the plate.
The trick is treating each layer like it needs its own short freeze. That keeps the caramel from bleeding into the crust, helps the ice cream stay level, and gives the chocolate shell a clean, snappy top instead of a muddy one. I also like using a springform pan because it releases the frozen cake without prying at the sides, which is where a lot of homemade ice cream cakes get damaged.
Below you’ll find the small details that make the texture work, plus a few swaps for different cones, fillings, and make-ahead timing. If you’ve ever wanted a copycat Drumstick dessert that slices neatly and still tastes like the original cone, this is the one to keep.
The cone crust stayed crunchy under the ice cream and the chocolate shell snapped just like a real Drumstick. I made it the night before and it sliced cleanly after about 10 minutes on the counter.
Like this Drumstick ice cream cake? Save it to Pinterest for the party dessert with the crunchy cone crust and chocolate-peanut shell.
The Crust Has to Freeze Before the Ice Cream Goes In
The crust is doing more than just holding the cake together. It needs to set hard enough that the caramel can sit on top without soaking through and turning the whole base soft. If you skip that first short freeze, the butter and sugar mixture stays loose, and the ice cream layer will drag crumbs into it as you spread.
Crushed sugar cones bring the flavor of the original Drumstick, but they need a little structure from melted butter and sugar or they’ll stay dry and dusty. The 15-minute freeze after pressing the crust into the pan is what turns it from crumbs into a sliceable base. That small pause is what keeps each layer distinct.
What Each Layer Is Actually Doing Here
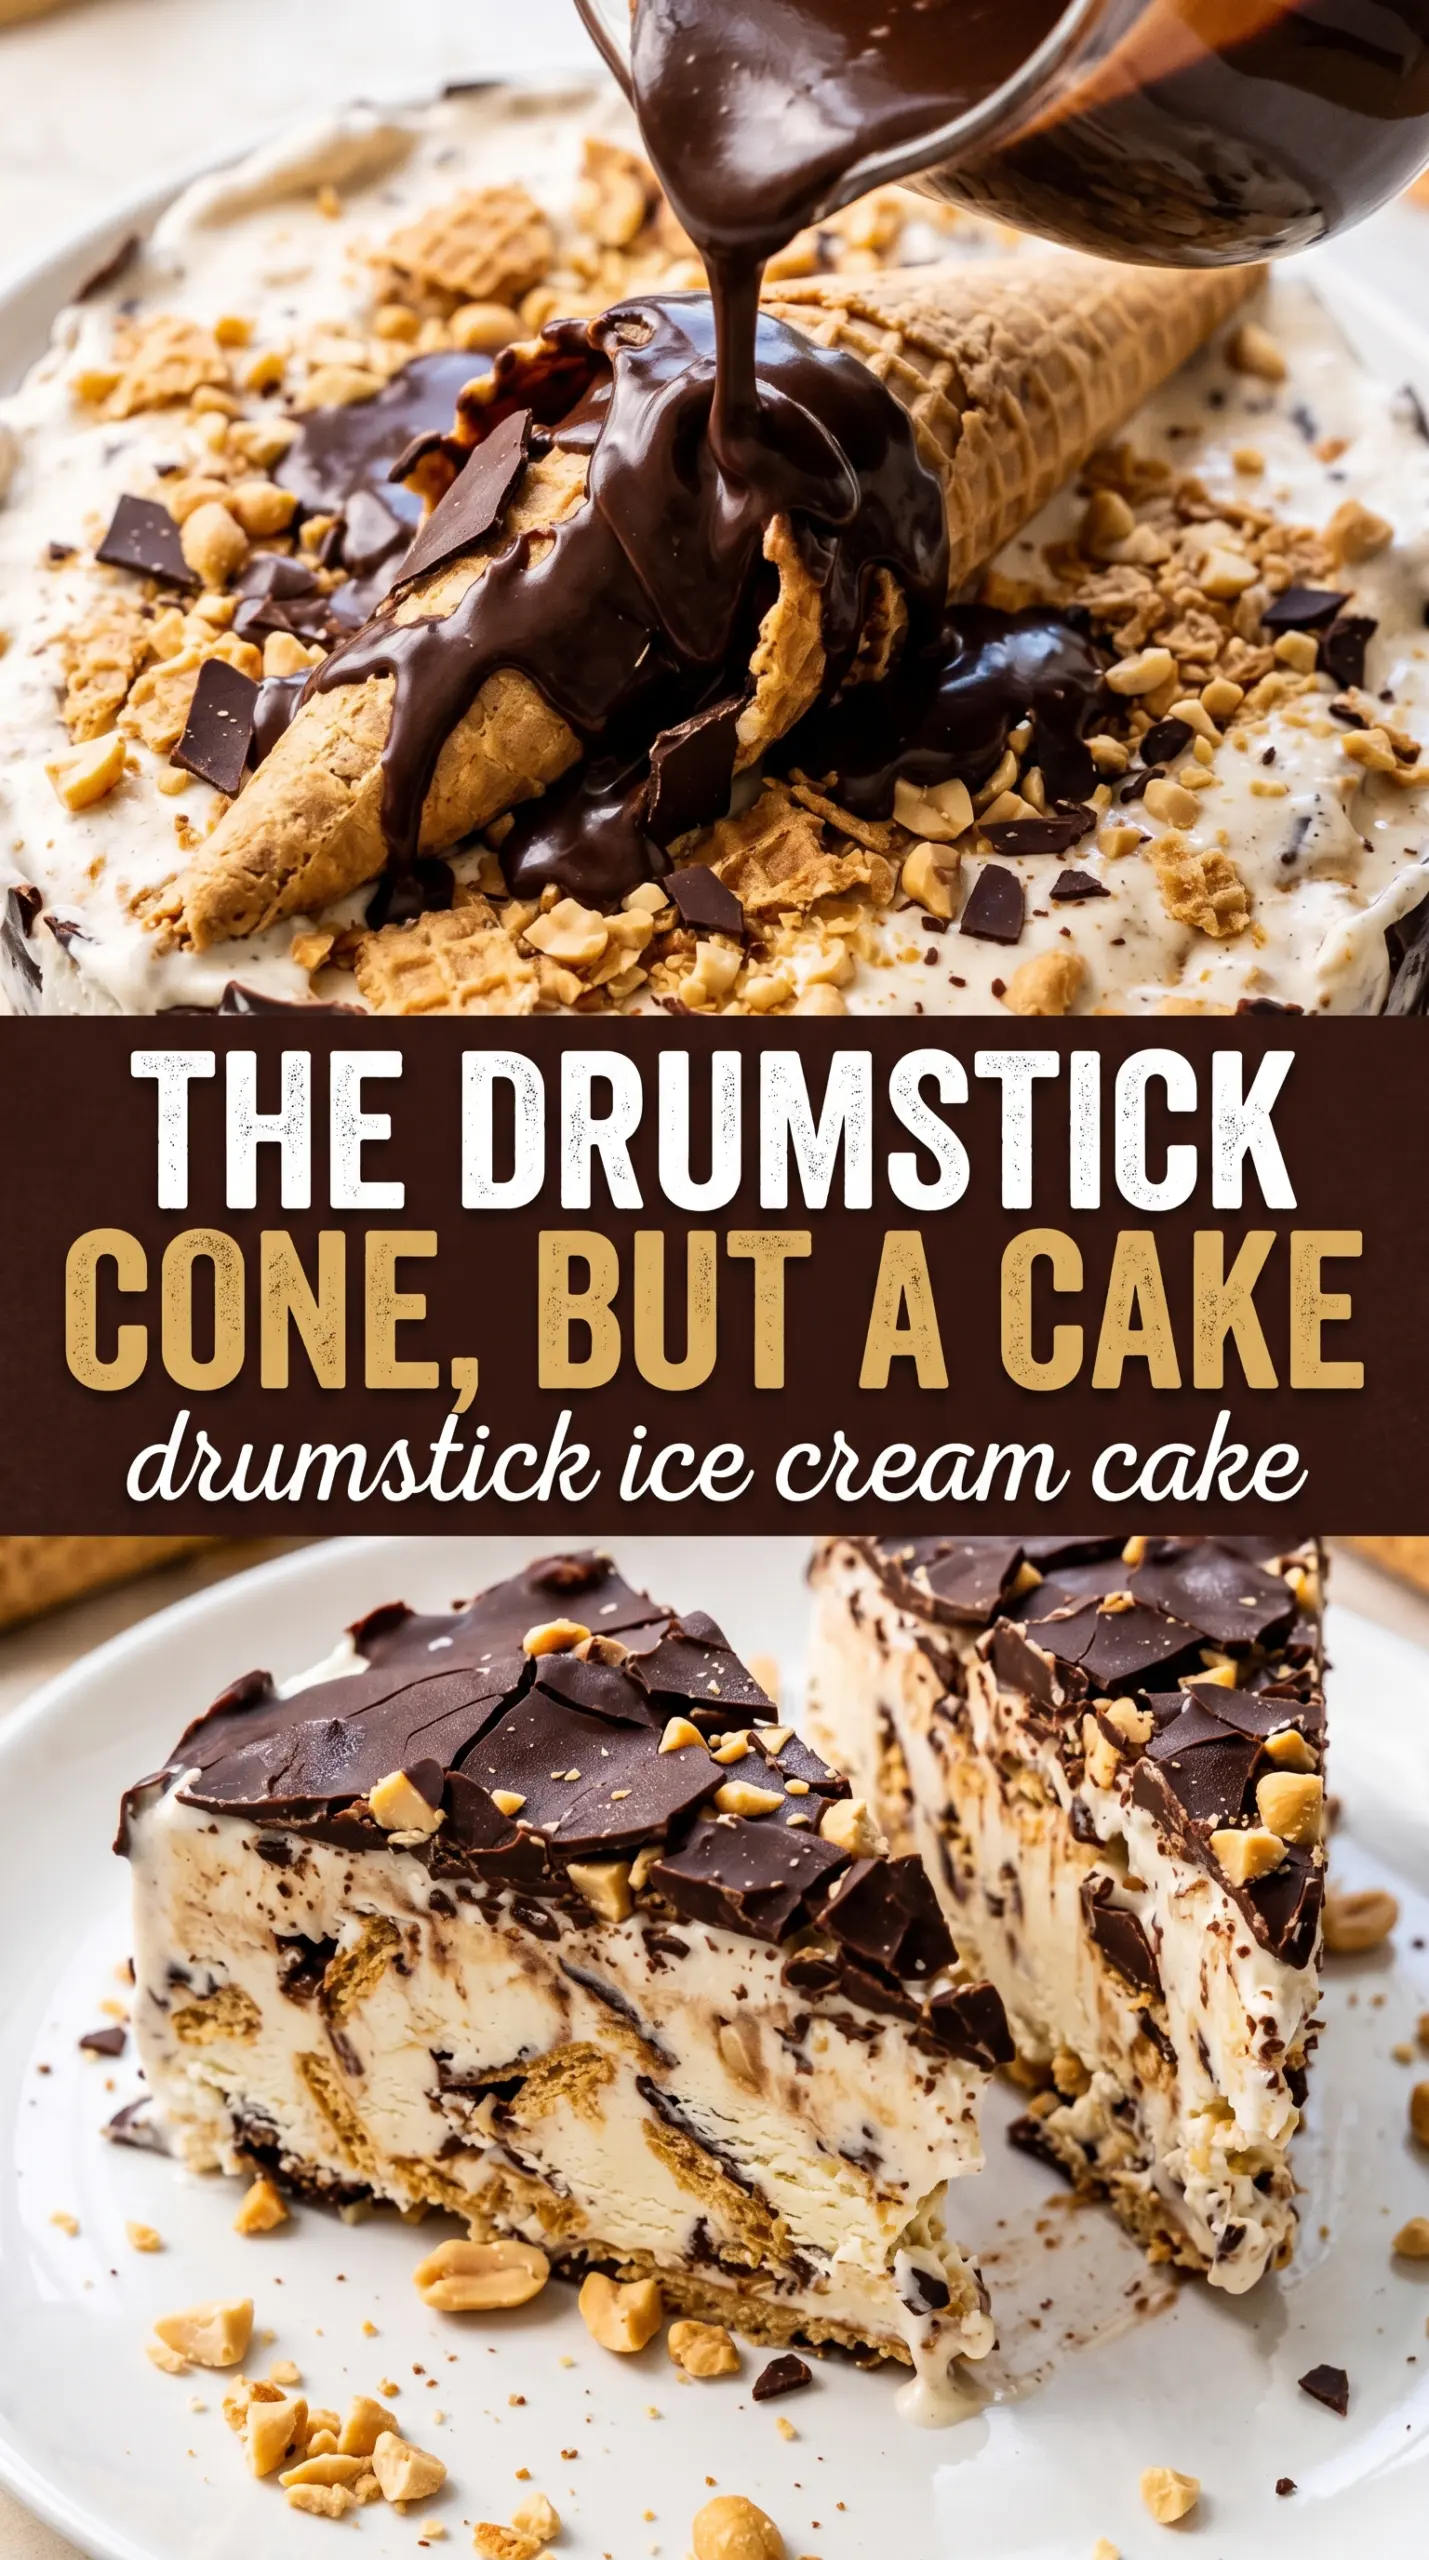
- Sugar or waffle cones — These are the backbone of the crust and the closest thing to the classic Drumstick shell. Waffle cones give a slightly deeper toasted flavor; sugar cones are a little sweeter and more familiar. Crush them fine enough that they pack well, but leave a few larger bits for crunch.
- Salted peanuts — Half go into the crust and half finish the top, so you get peanut flavor in more than one layer. Salted peanuts matter here because they keep the dessert from tasting flat. Unsalted will work, but the cake loses some of that candy-bar edge.
- Butter and sugar — Butter helps the cone crumbs bind and sets up firm when frozen. The sugar gives the crust a slightly caramelized taste and helps it clump instead of staying sandy. Don’t cut it too much or the base will crumble when sliced.
- Vanilla ice cream — Use a good vanilla with enough fat to stay creamy after freezing. Softening it first is non-negotiable; if it’s too hard, you’ll tear up the crust trying to spread it. Let it sit until it’s spreadable but not melting around the edges.
- Caramel sauce — This is the sweet, sticky layer that makes the cake taste like the center of a Drumstick cone. A thick sauce is best because it stays in a ribbon instead of disappearing into the crust. If yours is thin, chill it briefly before drizzling.
- Chocolate magic shell or ganache — Magic shell gives the fastest, most authentic snap. Ganache gives a softer bite and richer chocolate flavor. Both need to go over fully frozen ice cream so they set on contact instead of running off the sides.
Getting the Layers Clean Before the Top Freezes Hard
Building the Cone Crust
Mix the crushed cones, half the peanuts, sugar, and melted butter until every crumb looks lightly coated, then press it firmly into the bottom of a 9-inch springform pan. Use the bottom of a measuring cup to pack it down evenly, especially around the edges. If the crust feels loose now, it’ll fall apart later, so press until it holds together when you tap it with a spoon. Freeze it for 15 minutes so it firms before anything wet touches it.
Locking in the Caramel
Drizzle the caramel sauce over the chilled crust in thin ribbons instead of one thick puddle. That gives you little pockets of caramel without making the base slippery. Freeze it for 10 minutes so the caramel firms up enough to support the ice cream layer. If you pour the ice cream in too soon, the caramel will streak through the crust instead of staying as a separate layer.
Spreading the Ice Cream
Work quickly with softened vanilla ice cream and spread it over the caramel layer in broad strokes. An offset spatula helps, but the real goal is to keep the surface even without digging into the crust. Smooth the top, then freeze for 4 hours or until the center is hard all the way through. If the ice cream is only partly frozen, the chocolate topping will melt into it instead of setting on top.
Finishing With the Shell
Pour the chocolate magic shell or ganache over the frozen cake and move fast. Sprinkle the remaining peanuts on immediately before the chocolate sets, or they’ll bounce off later instead of sticking. Freeze for 2 more hours until the top is fully firm. When you release the springform pan, run a thin knife around the edge first so the cake doesn’t catch and crack.
Three Ways to Make This Drumstick Cake Fit the Moment
Waffle Cone Version
Swap the sugar cones for waffle cones if you want a deeper toasted flavor and a slightly more rustic crust. Waffle cones usually crush into a mix of fine crumbs and crisp flakes, which gives the base a bit more texture. The cake still slices well, but the crust tastes less candy-sweet and more like a classic ice cream parlor cone.
Dairy-Free Drumstick Cake
Use a dairy-free vanilla ice cream, plant-based butter, and a dairy-free caramel and chocolate topping. The texture will still be frozen and sliceable, but the richness depends on choosing a coconut- or cashew-based ice cream with enough fat to stay creamy. This version works best if you let it sit at room temperature for a few minutes before slicing.
Extra Peanut Crunch Top
If you want a stronger peanut-candy finish, fold a handful of chopped peanuts into the top of the ice cream layer before freezing, then add the rest over the chocolate shell. That gives you more crunch in the middle and a louder peanut flavor in every bite. It’s a good move if your crowd likes the salted peanut part of Drumsticks most.
Make-Ahead Party Timing
This cake is best made the day before serving, which gives every layer time to firm up cleanly. If you’re planning ahead for a party, freeze it fully, then keep it covered until 10 to 15 minutes before slicing. That short rest softens the ice cream just enough to cut without cracking the shell.
Storage and Reheating
- Refrigerator: Don’t store this in the fridge. It will melt and lose the layered texture almost immediately.
- Freezer: Keep it tightly wrapped or covered for up to 2 weeks. After that, the cone crust starts to pick up freezer flavor and the chocolate shell can get dull.
- Reheating: No reheating needed. For serving, let the cake sit at room temperature for 8 to 12 minutes so the knife can cut through the shell without shattering it. If it gets too soft, the caramel layer can smear.
Questions I Get Asked About This Recipe
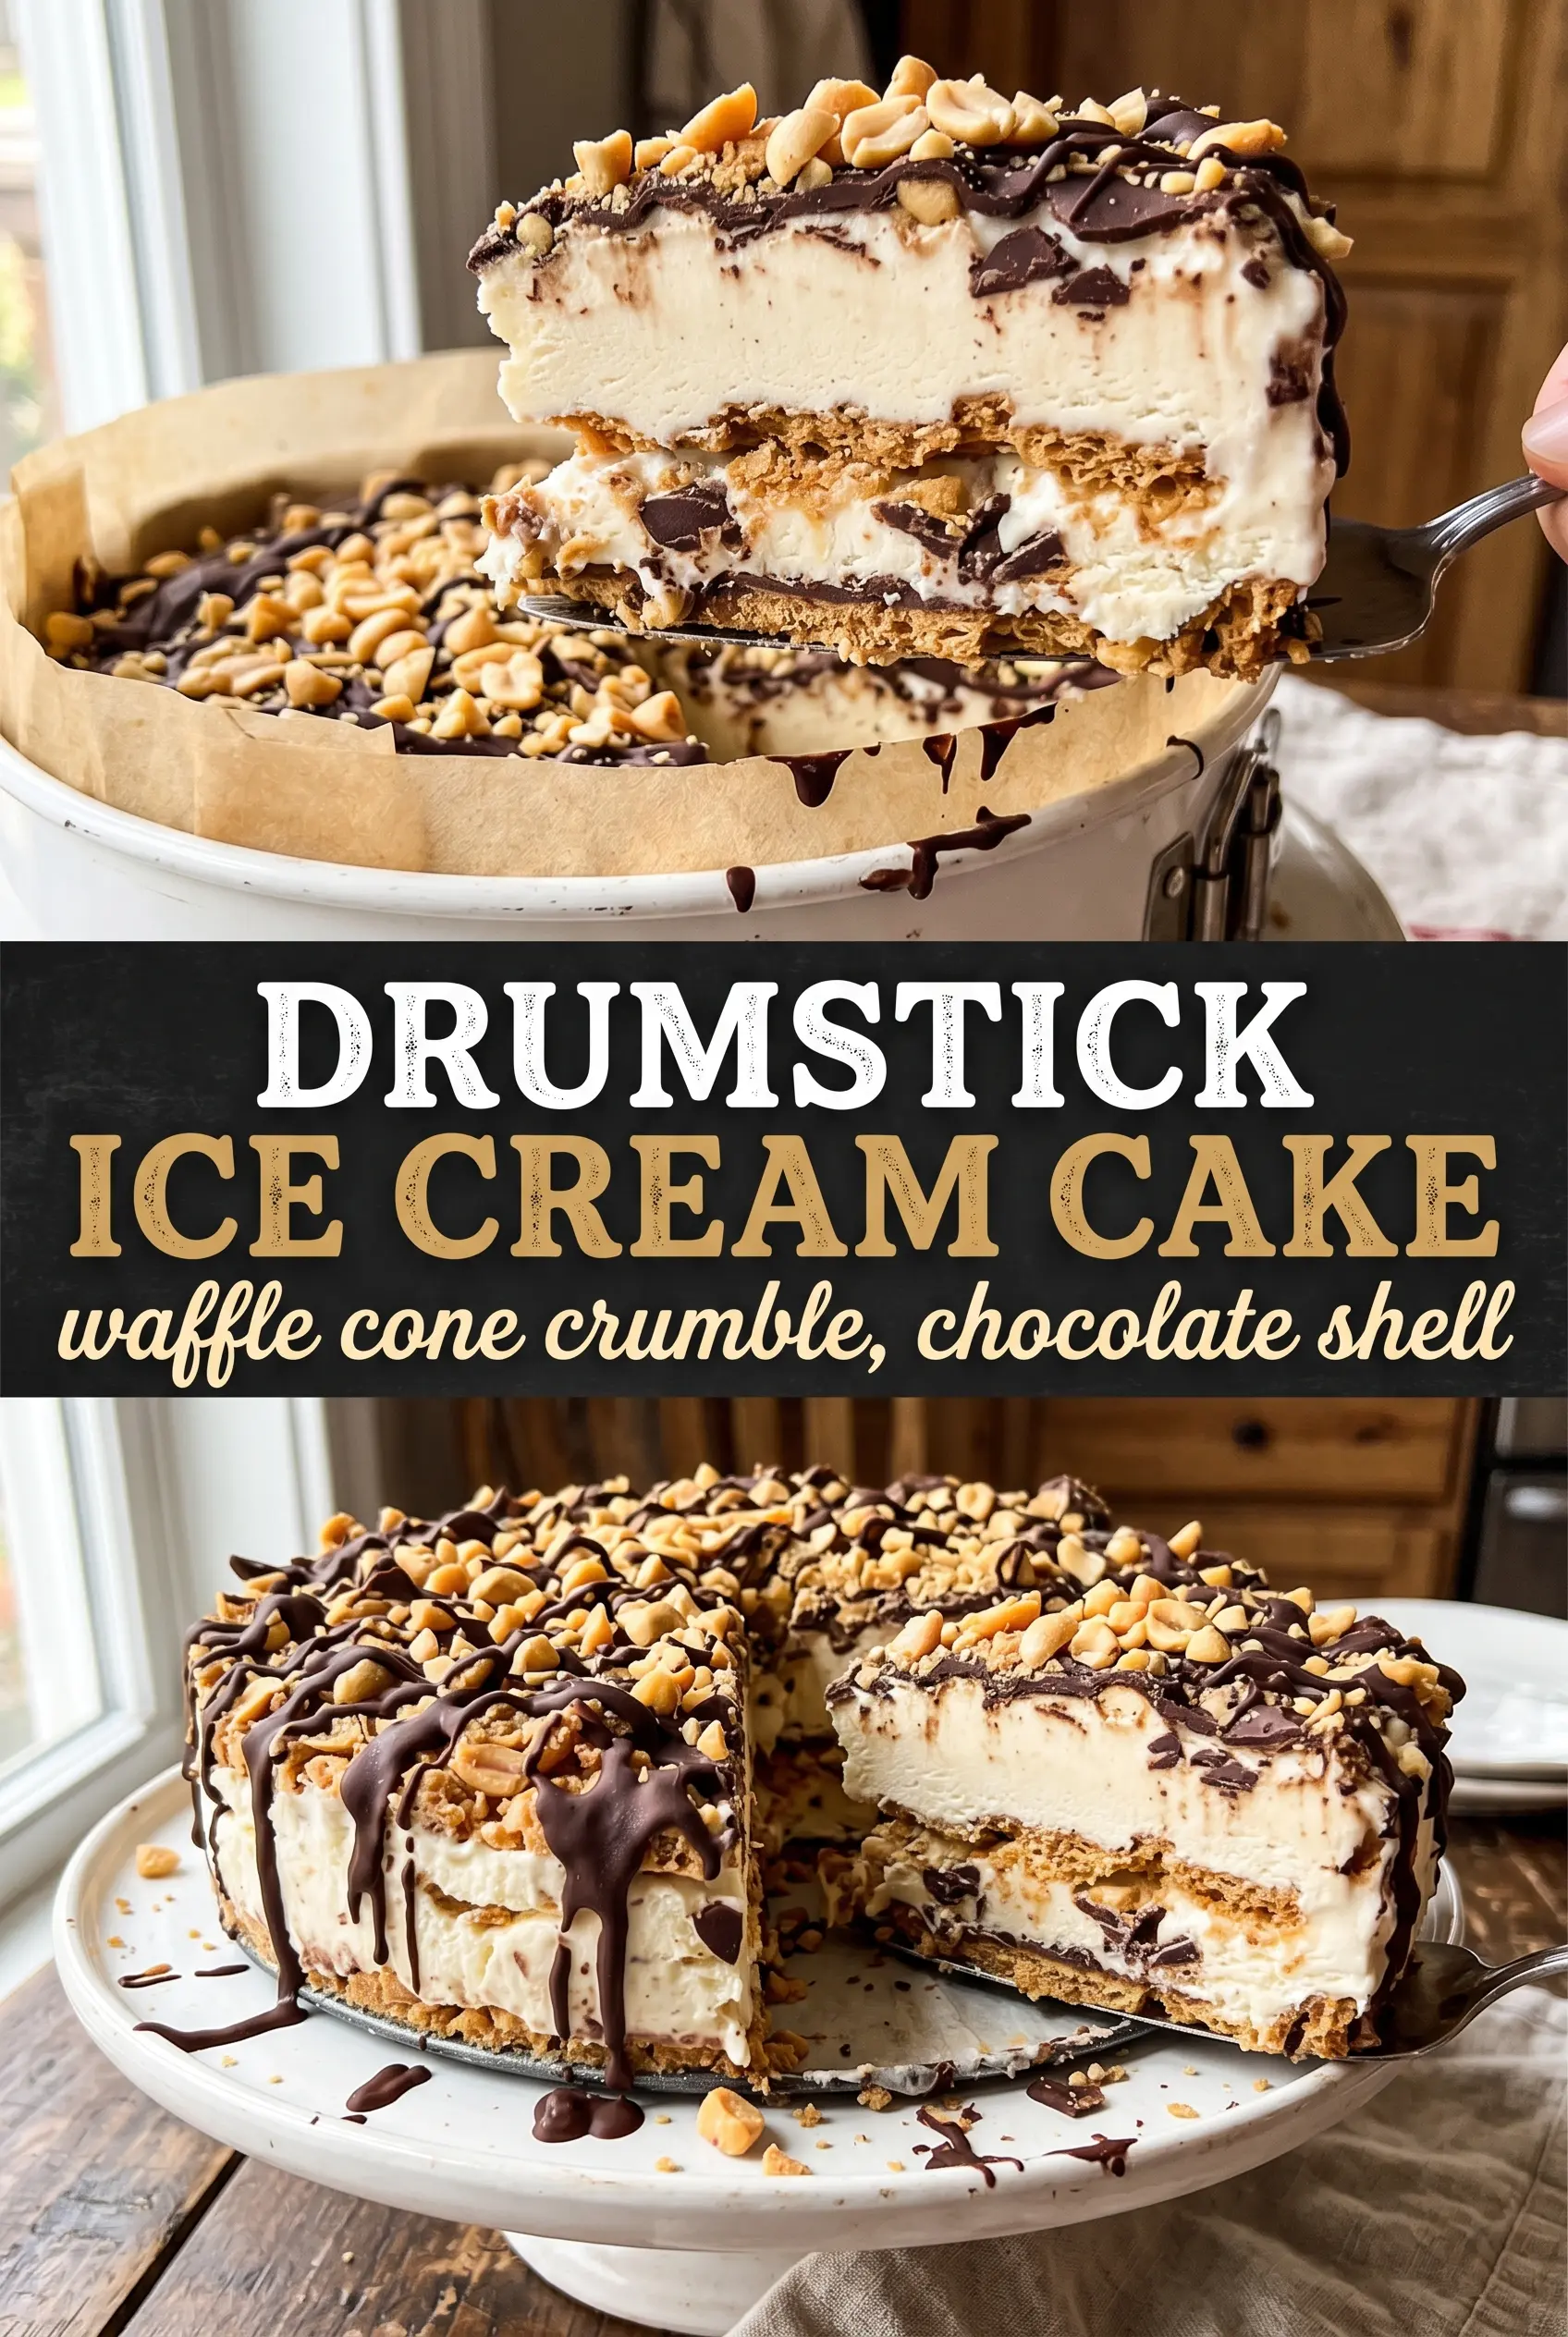
Drumstick Ice Cream Cake
Ingredients
Equipment
Method
- Combine crushed sugar or waffle cones, half the salted peanuts, sugar, and melted butter, then press firmly into a 9-inch springform pan. Freeze for 15 minutes until set at the edges (visual cue: crust looks lightly firm and dry).
- Drizzle caramel sauce over the crust in an even layer. Freeze for 10 minutes (visual cue: caramel looks slightly thickened but not fully hardened).
- Spread the softened vanilla ice cream over the caramel crust and smooth the top. Freeze for 4 hours (visual cue: layer is solid and sliceable with no visible wobble).
- Pour chocolate magic shell or ganache over the frozen cake. Immediately sprinkle the remaining salted peanuts over the chocolate before it sets (visual cue: peanuts adhere and the chocolate starts to turn glossy).
- Freeze for 2 more hours until the chocolate is completely firm. (Visual cue: chocolate surface is hard with a clean snap when lightly tapped.)
- Release the springform and slice the cake. Serve with whipped cream.