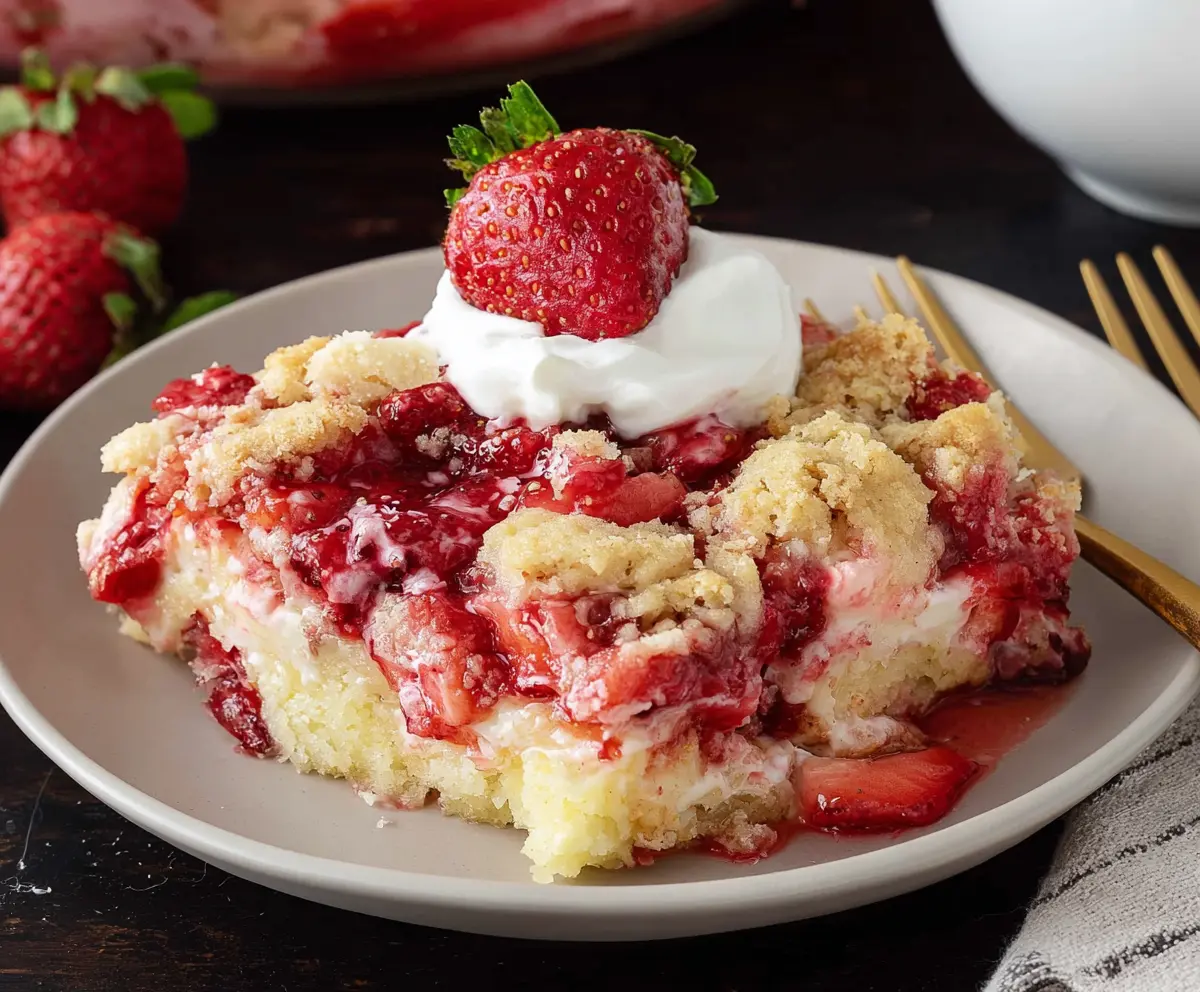
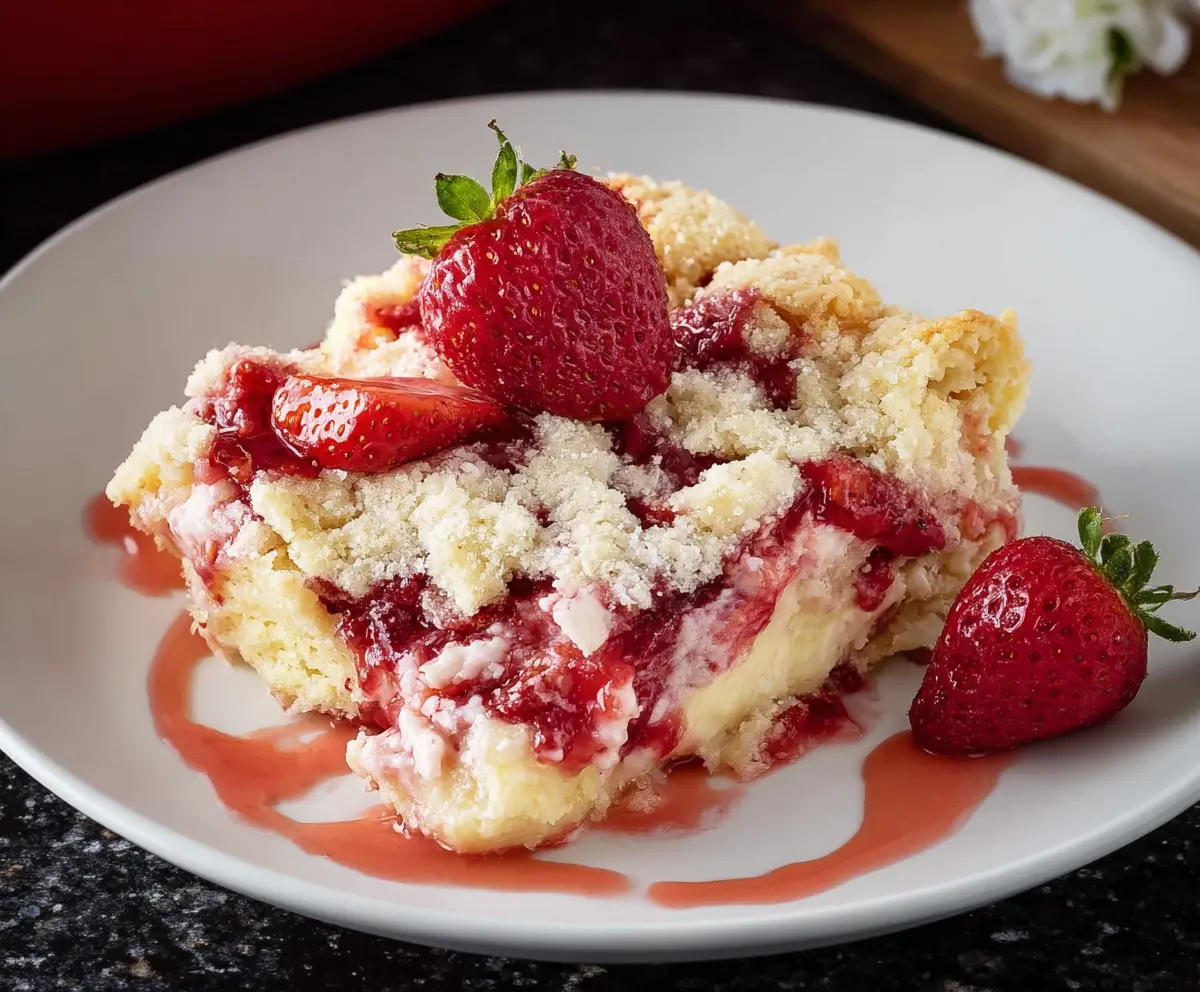
This colorful Easter Strawberry Cheesecake Dump Cake is a fun and easy dessert! It combines strawberries and cheesecake flavors with a crunchy cake topping that’s hard to resist.
You just mix everything together and let the oven do the magic! Honestly, I could eat this for breakfast just to keep the festive spirit alive. Who’s with me? 😄
Key Ingredients & Substitutions
Yellow Cake Mix: This is the base for your cake. You can use any flavor cake mix you prefer, like vanilla or strawberry, for a different twist. If you’re aiming for a homemade touch, a simple cake made from scratch will work too!
Cream Cheese: Using softened cream cheese is important for a smooth blend. If you’re looking for a lighter option, you can substitute with ricotta cheese or even Greek yogurt, but keep in mind the flavor and texture will vary.
Fresh Strawberries: Fresh strawberries bring vibrant flavor and color. If they’re out of season or unavailable, frozen strawberries work just as well; just thaw and drain them before using so the cake doesn’t get soggy!
Butter: Unsalted butter gives a nice richness. If you want to reduce dairy, you can use coconut oil or a non-dairy butter substitute for a similar effect without the dairy.
Whipped Cream: To top it off, whipped cream adds a luscious finish. For a dairy-free version, you can use whipped coconut cream or store-bought non-dairy whipped topping.
How Do You Get a Perfectly Layered Dump Cake?
Layering is key in a dump cake, and it’s easier than it sounds! Start by mixing your cream cheese for a smooth base. Next, your fresh strawberries should be spread evenly on top; this gives the fruit a chance to shine. Use the pie filling to create a juicy layer that brings the flavors together.
- Mix cream cheese with sugar and vanilla until smooth, then spread it out evenly in the dish.
- Arrange the fresh strawberries on top, making sure they’re evenly distributed for consistent flavor in every bite.
- Pour the strawberry pie filling gently over the fruit, using a spatula to spread it without disturbing the layers below.
- Finally, sprinkle your cake mix over the pie filling, ensuring it’s evenly distributed. Drizzle the melted butter evenly to help it bake uniformly.
Letting the cake cool before serving helps the layers set, making it easier to scoop. Enjoy your cake!
Easter Strawberry Cheesecake Dump Cake
Ingredients You’ll Need:
For the Cake Base:
- 1 box yellow cake mix (about 15.25 oz)
- 1/2 cup (1 stick) unsalted butter, melted
For the Cream Cheese Layer:
- 2 (8 oz) packages cream cheese, softened
- 1 cup granulated sugar
- 1 tsp vanilla extract
For the Strawberry Layers:
- 2 (16 oz) containers fresh strawberries, sliced (can substitute with frozen/thawed)
- 1 (21 oz) can strawberry pie filling
For Topping:
- Whipped cream, for topping
- Fresh strawberries, for garnish
How Much Time Will You Need?
This delicious dump cake will take about 15 minutes to prepare and around 45-50 minutes to bake, plus 15-20 minutes to cool before serving. Total time is approximately 1 hour and 20 minutes, but it’s worth every minute for a delightful dessert!
Step-by-Step Instructions:
1. Preheat the Oven:
Start by preheating your oven to 350°F (175°C). This ensures the cake bakes evenly. While the oven heats up, lightly grease a 9×13-inch baking dish to prevent sticking.
2. Prepare the Cream Cheese Mixture:
In a mixing bowl, beat together the softened cream cheese, granulated sugar, and vanilla extract until you have a smooth and creamy mixture. This will be the delicious base for your dump cake.
3. Assemble the Cake Layers:
Spread the cream cheese mixture evenly over the bottom of your prepared baking dish. It’s okay if it’s not perfect—this is a dump cake, after all! Next, layer the sliced fresh strawberries over the cream cheese. Make sure they are distributed evenly for a wonderful fruity flavor in every bite.
4. Add the Strawberry Pie Filling:
Pour the can of strawberry pie filling over the fresh strawberries. Spread it gently to cover them completely, making sure you get a nice mix of flavors in every layer.
5. Top with Cake Mix:
Sprinkle the yellow cake mix evenly over the strawberry layer. No need to stir! Just let the dry mix sit on top—you’ll get a lovely cake texture this way.
6. Drizzle with Butter:
Finally, drizzle the melted butter evenly over the dry cake mix. This will help the top get golden and crispy while baking.
7. Bake the Cake:
Place the baking dish in the preheated oven and bake for 45-50 minutes. Keep an eye on it until the top is golden brown and the filling is bubbly. Your kitchen will smell amazing!
8. Cool and Serve:
Once baked, remove the cake from the oven and let it cool for about 15-20 minutes before serving. This will help the layers set nicely.
9. Add Toppings:
Serve your Easter Strawberry Cheesecake Dump Cake warm or at room temperature. Top each serving with a dollop of whipped cream and garnish with fresh strawberries for that extra festive touch.
Enjoy your creamy, fruity Easter Strawberry Cheesecake Dump Cake with family and friends!
Can I Use Frozen Strawberries Instead of Fresh?
Absolutely! If you choose to use frozen strawberries, just be sure to thaw and drain them before layering. This will prevent excess moisture from affecting the texture of your cake.
Is There a Dairy-Free Alternative for Cream Cheese?
Yes! You can substitute cream cheese with dairy-free cream cheese or use blended silken tofu for a lighter, dairy-free option. Just blend it well with sugar and vanilla for a smooth consistency.
How Long Can I Store Leftovers?
Leftovers can be stored in an airtight container in the fridge for up to 3 days. This dessert is best enjoyed fresh, but it’s still delicious when reheated or eaten cold!
Can I Make This Cake in Advance?
You can prepare the dessert a day ahead! Just assemble the layers as directed, cover with foil, and refrigerate. Bake it just before serving for the best taste! Allow for extra baking time if it’s chilled.