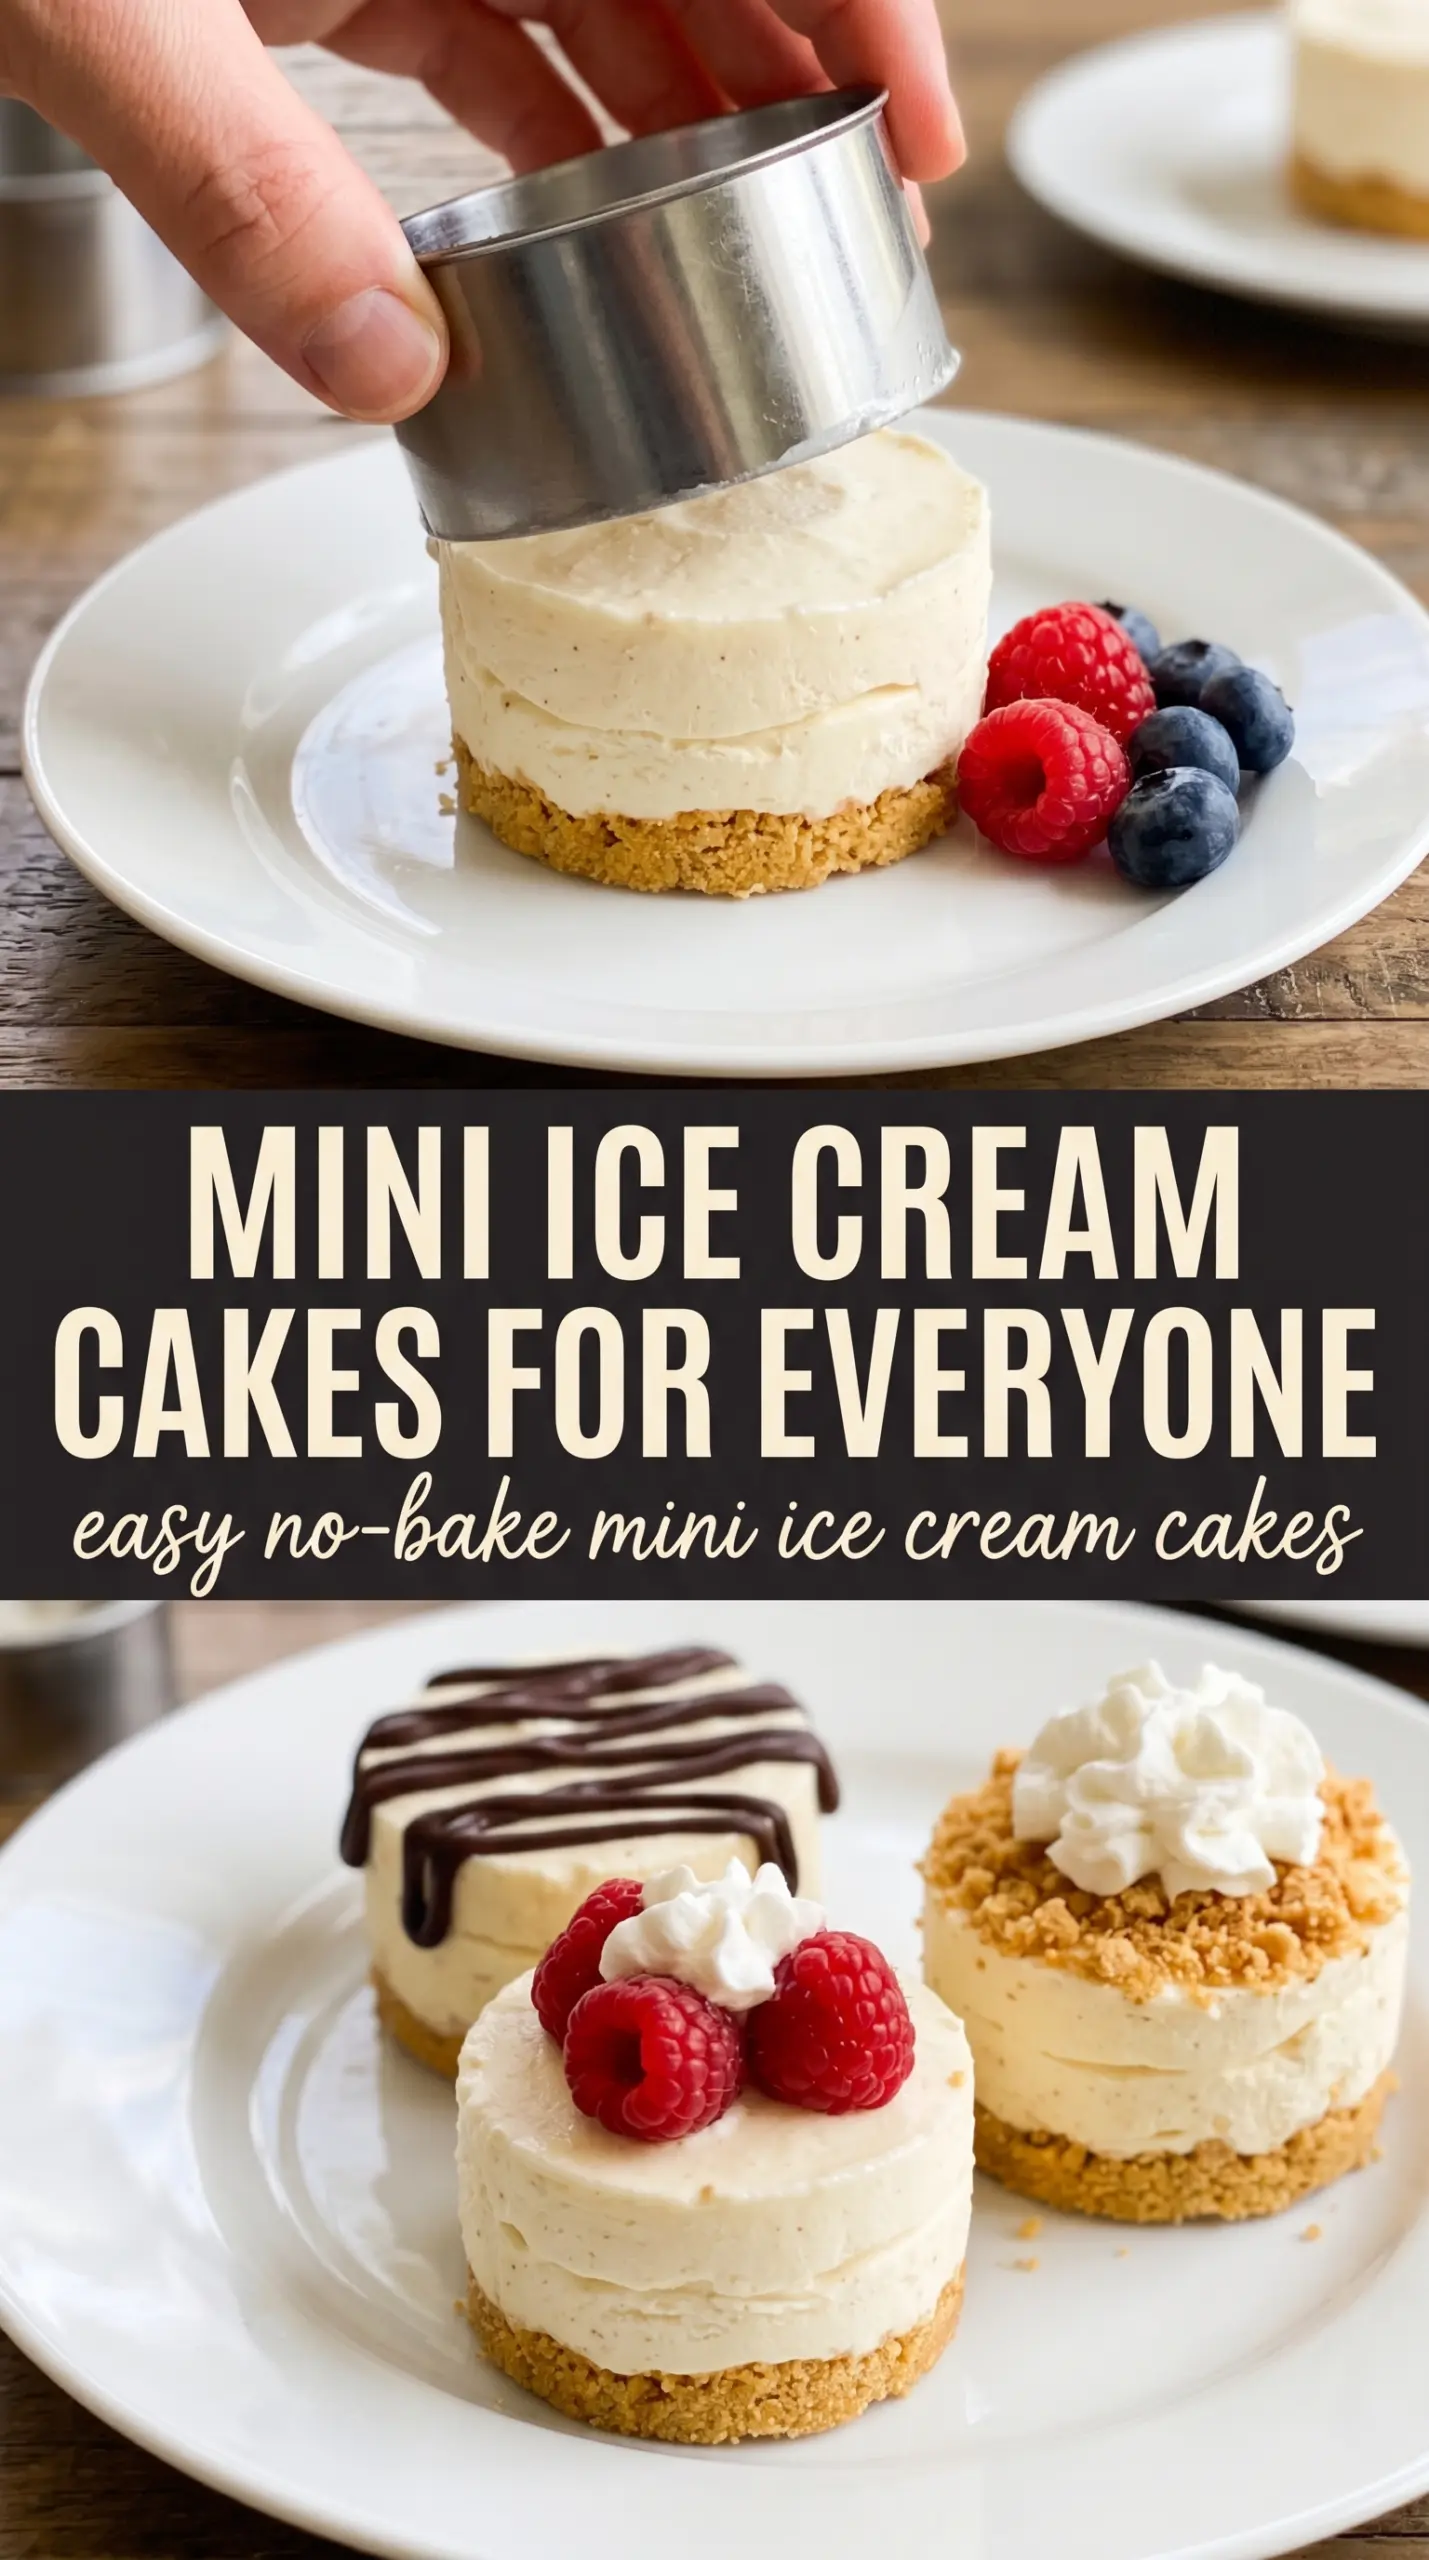
These mini ice cream cakes land right in that sweet spot between nostalgic and practical: crisp Oreo crust, creamy ice cream in the center, and a whipped topping finish that looks party-ready without turning on the oven. Each one comes out neatly portioned, which means no awkward slicing, no melting mess at the table, and no fighting over the biggest piece.
The trick is in the freeze times and the order you build them. A firm crust keeps the bottom from crumbling when you peel off the liners, and softened ice cream spreads into the cups without leaving gaps. If the ice cream is too hard, you’ll end up with hollow spots; if it’s too soft, the layers blur together before they set. The short freeze between layers keeps each mini cake defined and helps the whipped topping sit on top instead of sinking in.
Below, I’ve included the details that matter most: how to press the crust so it holds, which ice cream flavors work best, and a few variations for birthdays, fruit toppings, and different dietary needs.
The Oreo crust held together perfectly and the liners peeled off cleanly after that last hour in the freezer. I used strawberry ice cream and added sprinkles for my daughter’s birthday, and they disappeared fast.
These Oreo-crusted mini ice cream cakes are the kind of freezer dessert that looks festive and stays tidy.
The Freeze That Keeps the Layers Separate
Most mini ice cream desserts go wrong when every layer is added too quickly. The crust needs that first 15-minute freeze so the butter sets and the crumbs lock together; otherwise, the ice cream softens the base and you lose the clean bottom layer. After the ice cream goes in, the longer freeze is what gives you those neat edges and makes the whipped topping sit on top instead of melting into the center.
The other place people get tripped up is using ice cream that is either rock hard or soupy. Softened ice cream should scoop easily and press into the liner without tearing the crust, but it should still hold its shape. If it slumps like a milkshake, it has gone too far and the cakes will freeze with uneven tops.
What the Oreo Crust and Ice Cream Are Doing Here
- Oreo cookies — These do more than flavor the crust. The chocolate wafers bring enough structure and moisture balance to hold up once the butter firms in the freezer. Any plain chocolate sandwich cookie will work in a pinch, but Oreo crumbs give the crust the most reliable set.
- Butter — Melted butter is the binder that turns crumbs into a sliceable frozen crust. If you cut it back, the base turns sandy and falls apart when the liner comes off. Use real butter here; margarine won’t firm up the same way.
- Ice cream — The flavor is the personality of the dessert, so this is the place to use something you love. Vanilla, chocolate, strawberry, or cookies and cream all freeze cleanly. Let it soften at room temperature just until scoopable; microwave-softened ice cream tends to melt unevenly and freeze icy.
- Whipped topping — This gives you that classic ice cream cake finish and stays stable in the freezer better than freshly whipped cream. If you want to use homemade whipped cream, pipe it on right before serving because it won’t hold as long once frozen.
- Linters and muffin tin — The liners are part of the structure. Without them, the cakes stick to the tin and the edges can break when you try to remove them.
Building the Mini Cakes So They Pop Out Cleanly
Press the crust with intent
Mix the crushed Oreos with melted butter until every crumb looks damp, then divide the mixture evenly among the liners. Press it down firmly with the bottom of a small glass or measuring spoon; loose crumbs will fall apart after freezing. You want a tight, compact base that feels like packed wet sand before it goes into the freezer.
Add the ice cream while it’s soft, not melted
Scoop the softened ice cream over the chilled crusts and press it in gently so it fills the liner all the way to the edges. Stop just below the rim so there’s room for the topping. If your ice cream has started to melt around the edges, pause and put it back in the freezer for a few minutes, because overly soft ice cream freezes with icy pockets and uneven domes.
Finish with a full freeze
Once the ice cream layer is smoothed, freeze the cakes until they are firm enough that the centers don’t give when touched. That final hour after adding the whipped topping matters more than people think; it sets the top decoration and makes the liners peel away cleanly. Pull them too early and the sides drag, taking the crust with them.
Birthday Sprinkle Version
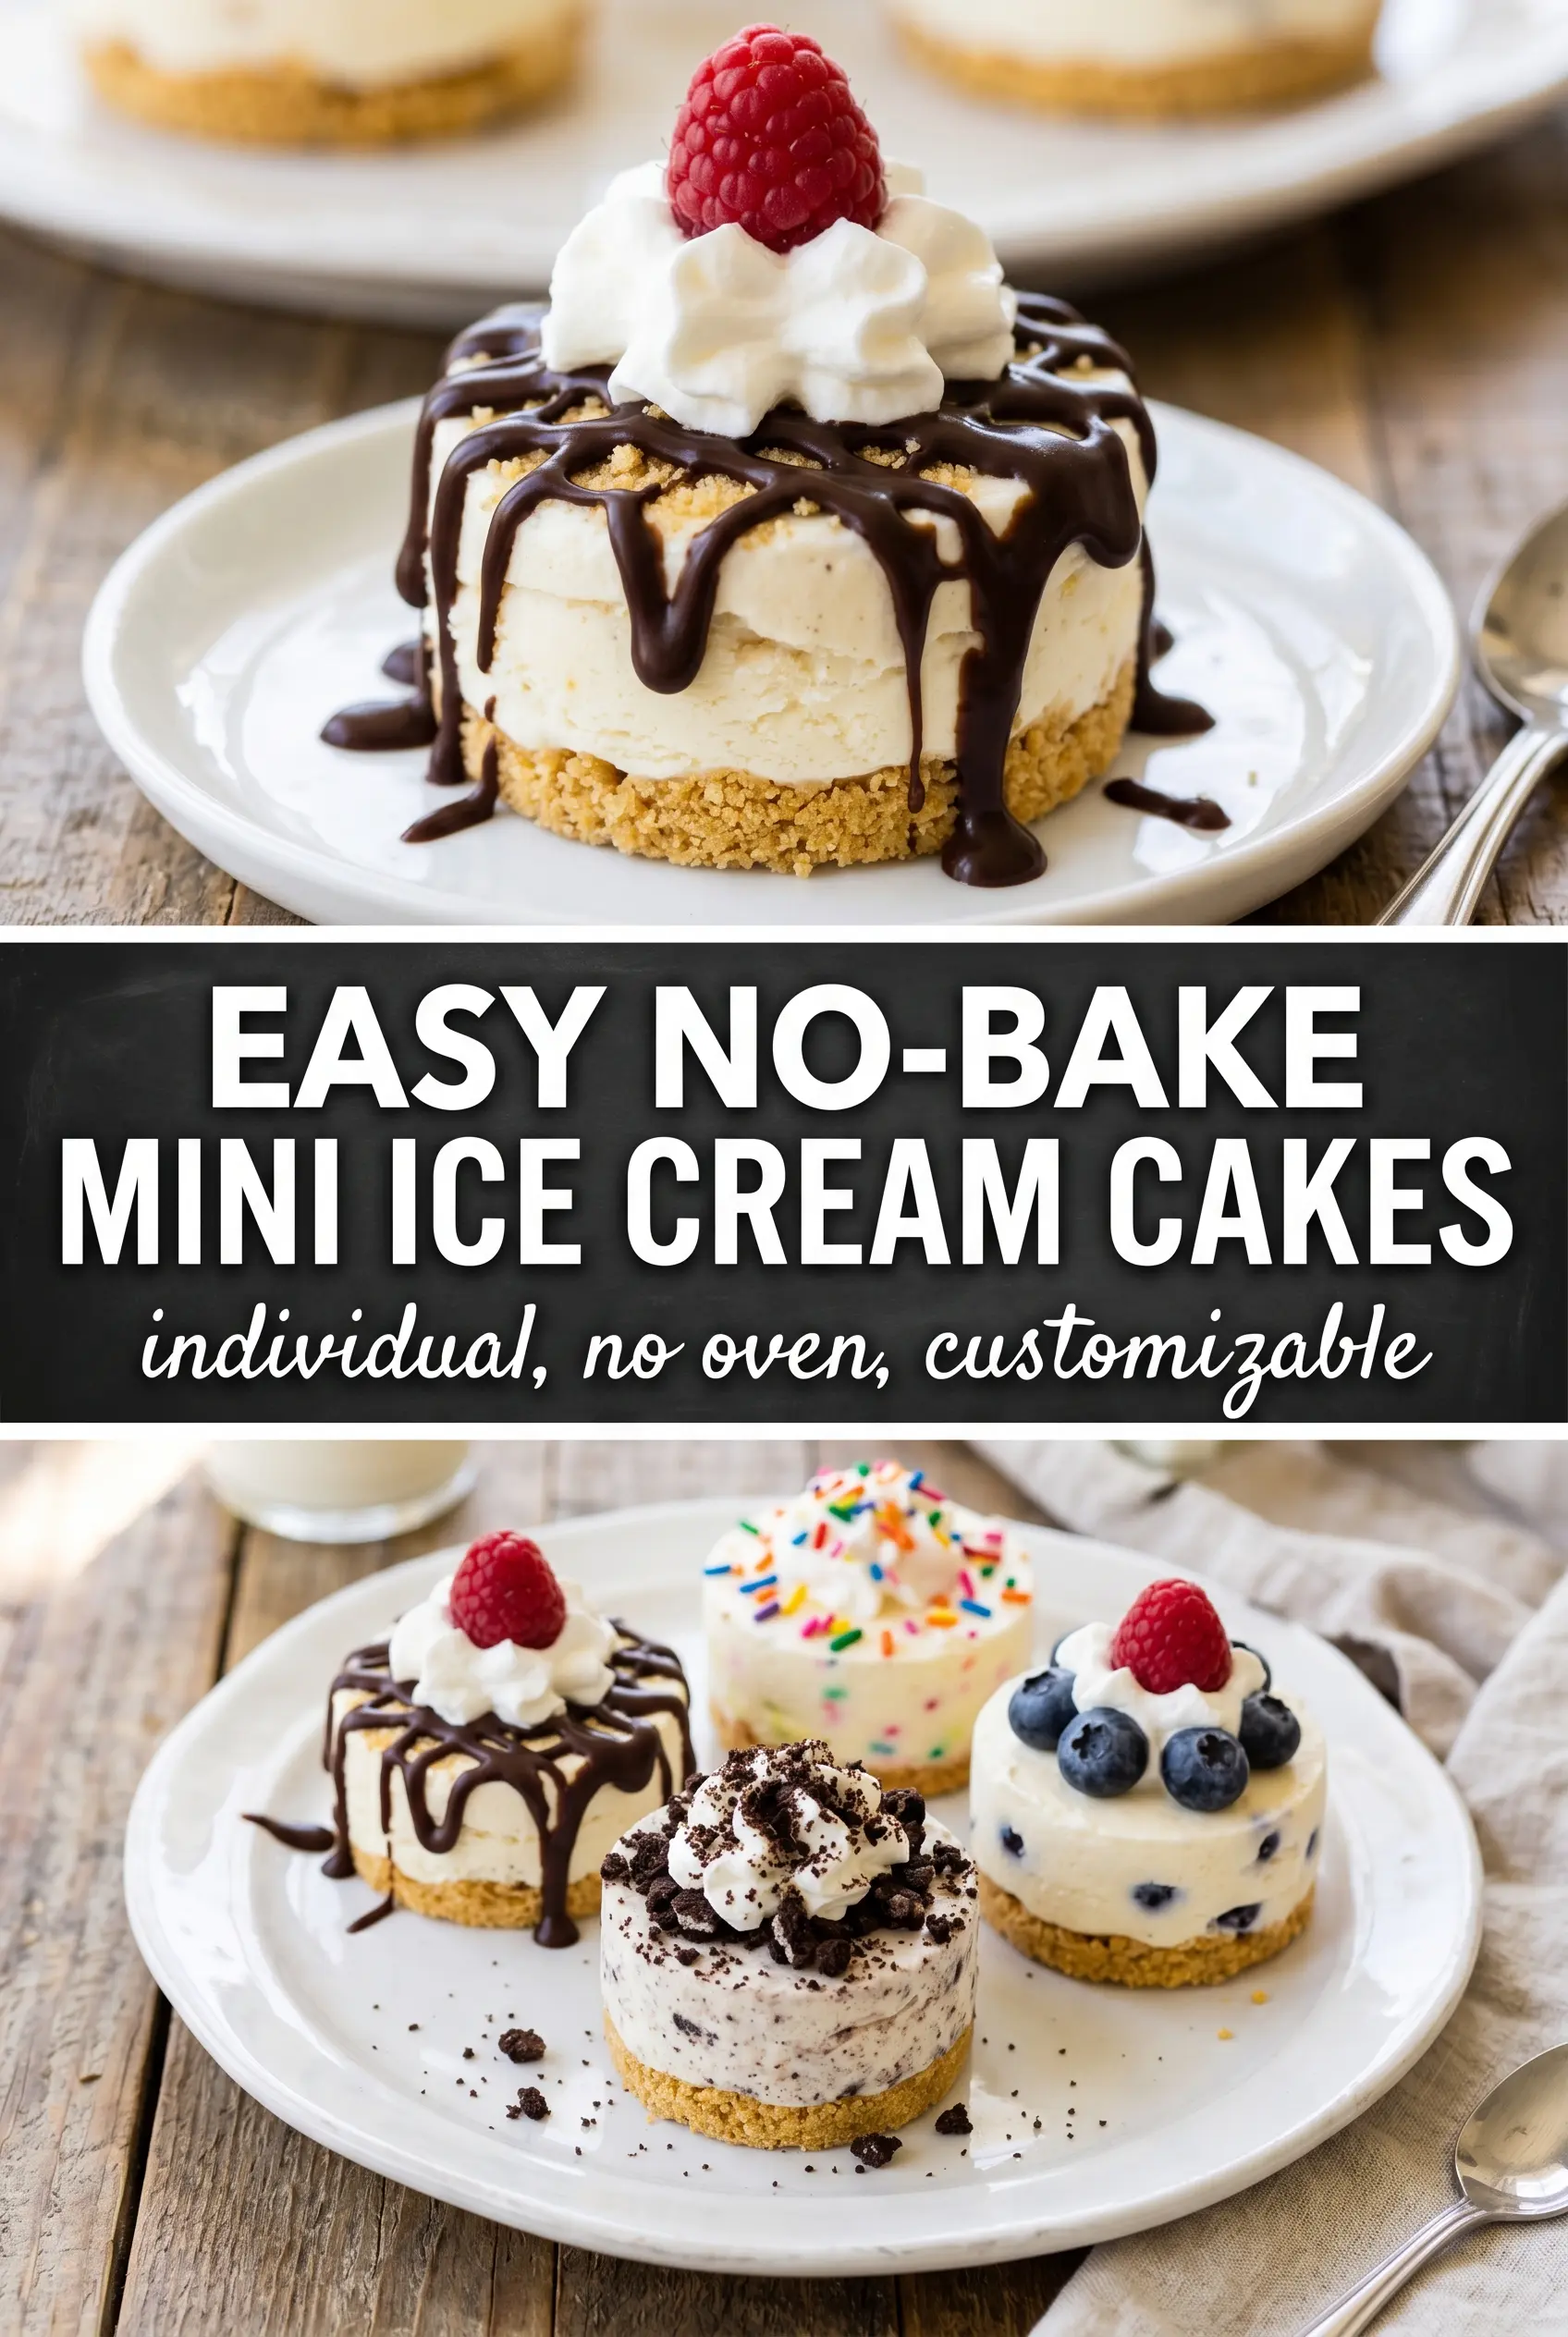
Use funfetti-style sprinkles on top and a vanilla or cake batter ice cream in the middle. The color pops make these feel like a real birthday dessert, and the flavor stays simple enough for kids and adults to go back for seconds.
Dairy-Free Mini Ice Cream Cakes
Use dairy-free sandwich cookies, plant-based butter, coconut or almond milk ice cream, and a non-dairy whipped topping. The texture stays close to the original, though coconut-based ice cream tends to freeze a little firmer, so let the cakes sit out for 5 minutes before serving.
Fruit-Topped Summer Shortcut
Top the whipped layer with sliced strawberries, raspberries, or blueberries instead of sprinkles. Fresh fruit gives you a lighter finish and a little tart contrast, but keep the pieces dry so they don’t bleed color or ice over in the freezer.
Chocolate Lover’s Version
Use chocolate ice cream and top with mini chocolate chips or crushed cookies. This version tastes richest once it has rested in the freezer long enough to fully firm up, since chocolate ice cream can soften faster than vanilla when you’re portioning it into the cups.
Storage and Reheating
- Refrigerator: Not recommended. These are meant to stay frozen, and the crust turns soft fast once they warm up.
- Freezer: Store wrapped in an airtight container for up to 2 weeks. The topping stays neat best if you keep them in a single layer.
- Reheating: No reheating needed. For serving, let them sit at room temperature for 3 to 5 minutes so the liner peels away cleanly without cracking the crust.
Questions I Get Asked About This Recipe
Easy No-Bake Mini Ice Cream Cakes
Ingredients
Equipment
Method
- Line a standard 12-cup muffin tin with cupcake liners, ensuring each cavity is fully covered for clean release.
- Combine crushed Oreo cookies and melted butter, then place 2 tablespoons into each liner and press down firmly to make an even base.
- Freeze the muffin tin for 15 minutes to set the crust before adding ice cream.
- Scoop softened ice cream into each cup over the Oreo crust, filling to just below the rim so the tops can smooth easily.
- Smooth the tops and freeze for 3 hours until very firm, so the cakes hold their shape when topped.
- Pipe or dollop whipped topping on each mini cake for a thick, creamy finish.
- Decorate with rainbow sprinkles, mini Oreos, or fruit so each cake looks festive.
- Freeze 1 more hour, then peel off the liners before serving for neat, individual mini cakes.