Eggnog ice cream turns a familiar holiday drink into something even better: a custard-rich frozen dessert with a clean eggnog flavor, warm spice, and a scoopable texture that lands somewhere between silky and indulgent. The best part is that it tastes like the carton you love, just deeper and smoother, with the chill making the nutmeg and cinnamon stand out in a way cold drinks never quite manage.
This version starts with real custard, which gives the ice cream body instead of that thin, icy feel you get from eggnog frozen straight in the freezer. Cooking the base to 175°F thickens the yolks enough to create a stable, creamy finish without scrambling them, and straining the custard keeps the texture polished. A small splash of rum or bourbon adds flavor and helps keep the ice cream softer after freezing, but it still works beautifully without it.
Below, I’ve included the one step that matters most for preventing grainy custard, plus a few smart swaps and storage notes for making this ahead without losing that velvety scoop.
The custard came out smooth and the ice cream churned up with that soft, creamy texture that held its shape in a bowl. The nutmeg flavor was spot on, and the little splash of bourbon kept it from freezing rock solid.
Creamy eggnog ice cream with nutmeg and cinnamon belongs on your holiday dessert table and in the freezer for late-night scoops.
The Custard Step That Keeps Eggnog Ice Cream from Turning Grainy
The biggest mistake with eggnog ice cream is rushing the custard. Egg yolks need gentle heat to thicken into a smooth base, and once they go past the right point, the texture turns from silky to speckled fast. Heating the eggnog and cream first, then whisking that slowly into the yolks, keeps the eggs from scrambling and gives you better control over the final texture.
Cooking to 175°F matters more than the clock. At that point the custard has enough body to coat a spoon, but it hasn’t crossed into curdled territory. If you take it off the heat too early, the ice cream freezes soft but thin; too late, and the base can look slightly grainy even after churning.
What Each Ingredient Is Actually Doing in This Frozen Custard
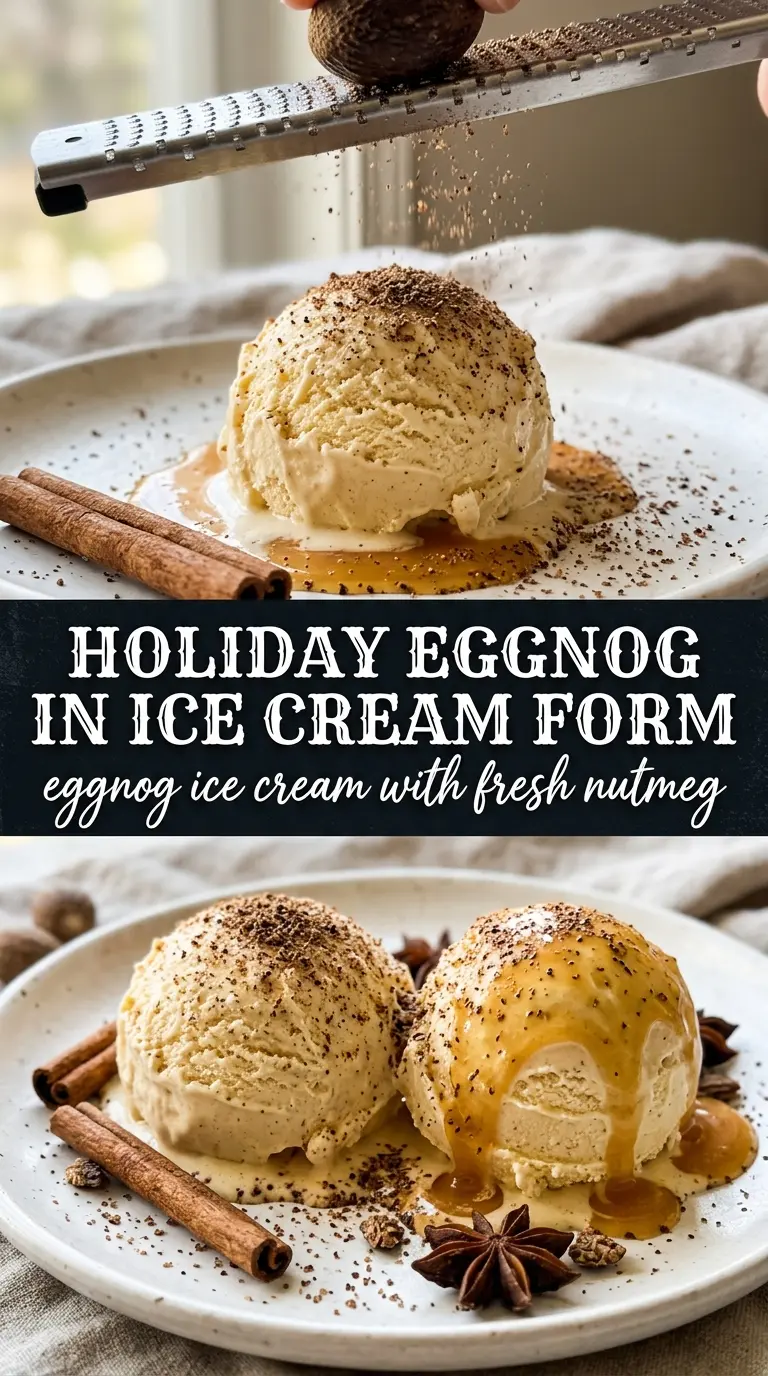
Eggnog — Store-bought eggnog brings the signature holiday spice and sweetness already built in. A richer, full-fat eggnog gives the best flavor and freezes creamier than a thin light version.
Heavy cream — This softens the eggnog and adds enough fat to keep the ice cream lush after freezing. I wouldn’t swap in milk here; the base gets too icy and loses that plush finish.
Egg yolks — Yolks turn this from frozen mixture into custard ice cream. They emulsify the dairy and create that smooth scoop, so don’t skip them unless you’re intentionally making a different style of dessert.
Rum or bourbon — Optional, but useful. A small amount adds warmth and keeps the ice cream from freezing as hard, though too much will make the base soft and slushy.
Nutmeg and cinnamon — Eggnog already leans spicy, but these two sharpen the flavor once it’s cold. Freshly grated nutmeg is worth using if you have it; it tastes brighter than the pre-ground kind.
From Steaming Base to Scoopable Ice Cream
Warming the Dairy
Combine the eggnog and cream in a saucepan and heat it until it’s steaming, not boiling. You’re looking for small wisps of steam and tiny bubbles around the edge, not a simmer. If the dairy boils, it can start to taste cooked before the custard is even made.
Tempering the Yolks
Whisk the yolks and sugar together until they look smooth and slightly paler, then slowly stream in the hot dairy while whisking constantly. This gradual addition raises the temperature of the yolks without shocking them. If you dump it in all at once, you’ll get little bits of scrambled egg in the base.
Cooking the Custard
Pour everything back into the pan and cook over medium-low heat, stirring constantly and scraping the bottom and corners. The mixture should thicken enough to coat a spoon, and the thermometer should hit 175°F. Pull it off the heat as soon as it reaches that point; going higher is the fastest way to lose the silky texture.
Finishing and Chilling
Strain the custard into a clean bowl, then stir in the vanilla, spices, rum if using, and salt. Straining catches any tiny cooked bits before they can show up in the final ice cream. Chill the base completely in the fridge for at least 4 hours, because a warm custard churns poorly and usually freezes with a coarse texture.
Churning and Firming Up
Churn the chilled base in your ice cream maker until it looks like soft-serve and holds ribbons on the paddle. It will still seem a little loose when it’s done, and that’s normal. Transfer it to a container and freeze until firm enough to scoop, usually a few more hours.
How to Adapt Eggnog Ice Cream Without Losing the Creamy Texture
Dairy-Free Version with Coconut Cream
Use a dairy-free eggnog and swap the heavy cream for full-fat coconut cream. The result will be a little more tropical and less classic custard-like, but the fat content keeps it scoopable. Skip the bourbon if you want the coconut flavor to stay front and center.
No Alcohol, Same Soft Scoop
Leave out the rum or bourbon and the ice cream still works perfectly. It will freeze a little firmer, so let it sit on the counter for 5 to 10 minutes before scooping.
Extra Nutmeg for a More Holiday-Spiced Finish
If you like a bolder spice note, add a little more nutmeg after straining, then taste before chilling. Cold dulls spice, so the base should taste a touch stronger than you want the finished ice cream to taste.
Storage and Reheating
- Refrigerator: Store the custard base up to 2 days before churning, covered tightly. Once churned, keep the ice cream in the freezer instead.
- Freezer: The finished ice cream keeps well for about 2 weeks with a piece of parchment pressed on top. After that, it can pick up ice crystals and lose some of its smoothness.
- Reheating: Not needed here. For scooping, let the container sit at room temperature for 5 to 10 minutes so the edges soften before you dig in.
Answers to the Questions Worth Asking
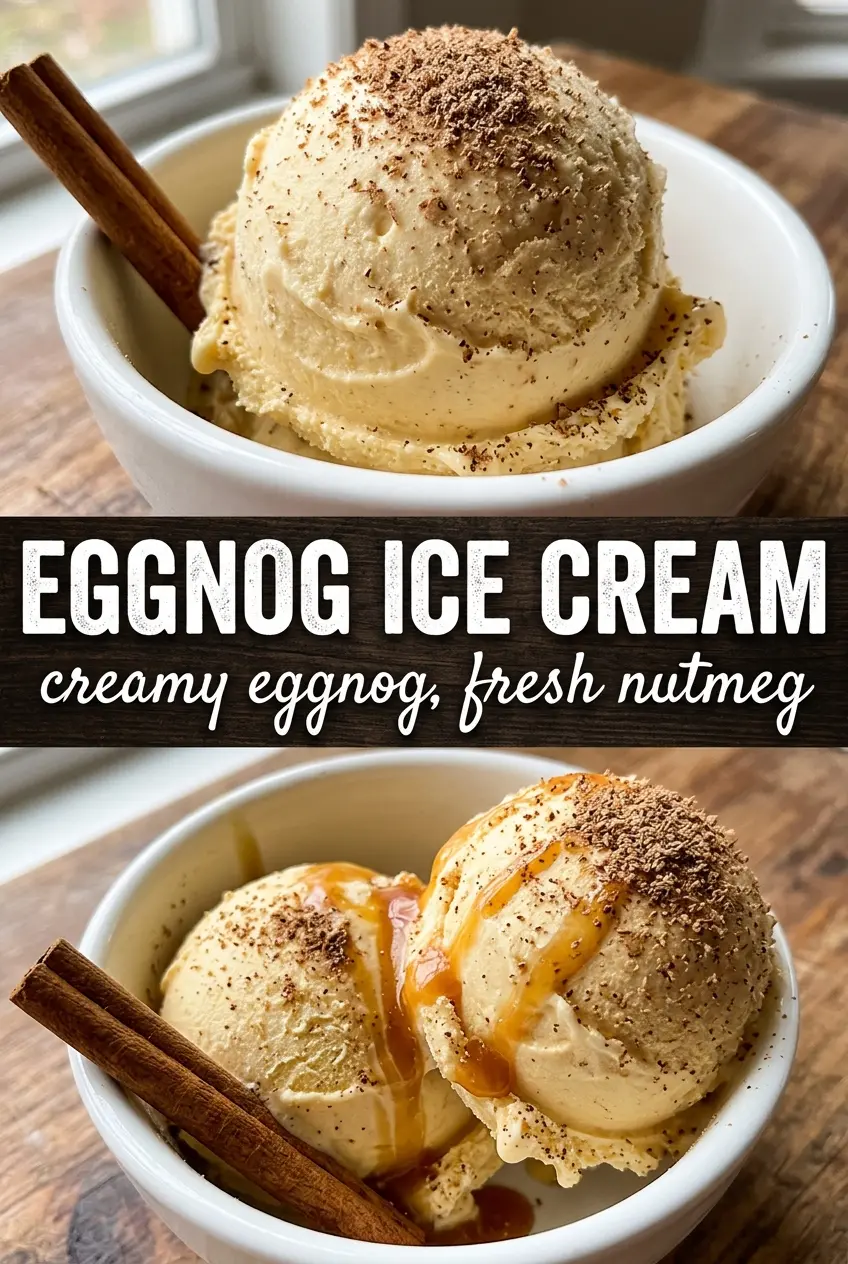
Eggnog Ice Cream
Ingredients
Equipment
Method
- In a saucepan, heat the store-bought eggnog and heavy cream together until steaming, then lower the heat to maintain a gentle simmer.
- Whisk the egg yolks and granulated sugar in a bowl, then slowly whisk the steaming eggnog mixture into the yolks to temper.
- Return the mixture to the saucepan and cook over medium-low heat, stirring constantly, until the custard reaches 175°F.
- Strain the custard, then stir in vanilla extract, nutmeg, cinnamon, rum or bourbon if using, and salt until smooth.
- Cool the custard completely, then refrigerate for at least 4 hours until thoroughly chilled.
- Churn the chilled custard in an ice cream maker until thick and creamy, then transfer to a container and freeze until firm.
- Grate fresh nutmeg over each serving just before eating for a vivid holiday aroma.