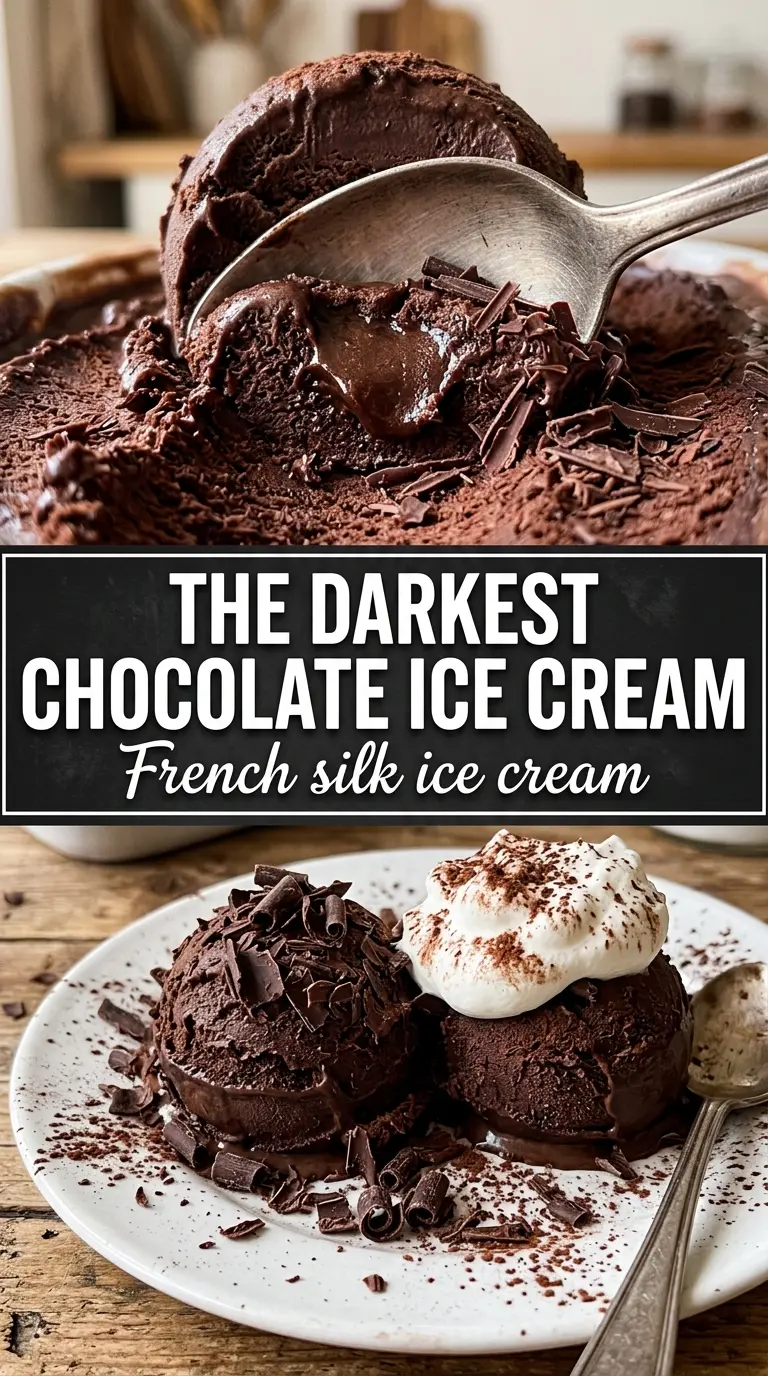
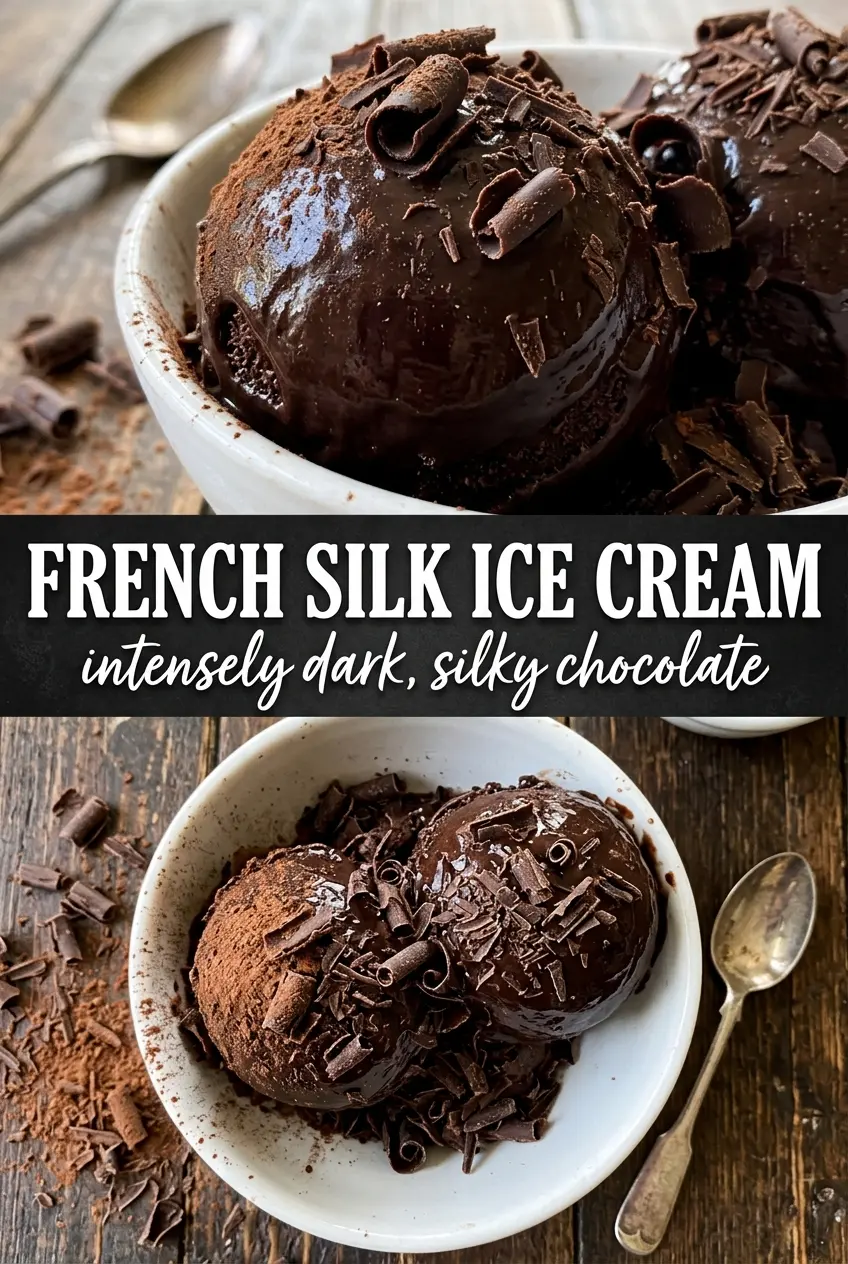
French silk ice cream lands in that perfect middle ground between frozen mousse and classic chocolate ice cream. It’s dense without feeling heavy, intensely chocolatey without tipping into bitterness, and smooth enough that every spoonful looks glossy. The first bite should melt slowly on your tongue with a rich, custard-like finish, then leave behind that clean dark chocolate depth that makes you reach back in for another scoop.
The texture depends on a few small decisions that matter. Egg yolks build the base into something custardy, while the cocoa gets whisked into the dairy before the yolks go in, which helps the chocolate flavor bloom instead of tasting flat. The melted chocolate gets added off the heat, and that matters too — too much heat at the wrong time can make the mixture grainy instead of silky. The whipped cream folded in at the end gives the churned ice cream that French silk pie feeling without making it fluffy or airy.
Below, I’ve included the exact cues I watch for when the custard is ready, the mistake that most often ruins the texture, and the substitutions that still keep this dessert in that ultra-smooth lane.
The custard turned out unbelievably smooth, and the chocolate flavor was deep without being bitter. I chilled it overnight, churned it the next day, and it scooped like a dream after just a short freeze.
Love that mousse-like chocolate texture? Save this French Silk Ice Cream for the nights when only deep, silky chocolate will do.
The Step That Keeps This Chocolate Base Silky Instead of Grainy
This recipe lives or dies by how gently you cook the custard. Once the yolks and hot dairy are combined, the mixture needs steady stirring over moderate heat until it reaches 175F. Go much hotter and the yolks can tighten into tiny bits, which gives you a sandy texture that no amount of churning can hide.
The other place people slip is when the melted chocolate goes in. Add it off the heat and whisk until the base turns completely glossy before moving on. If the mixture looks streaky or thick in patches, it usually means the chocolate hit a base that was still too hot or wasn’t fully melted first.
What Each Ingredient Is Actually Doing in This Ice Cream
- Heavy cream — This is what gives the finished ice cream its plush body. The full 2 cups matter here because lower-fat dairy won’t give the same velvety mouthfeel or the soft, scoopable finish.
- Whole milk — Milk keeps the base from becoming cloying and lets the chocolate read clearly instead of feeling thick and heavy. Skim milk won’t work the same way; the base needs enough fat to stay smooth after freezing.
- Egg yolks — The yolks are what make this taste like frozen custard instead of plain chocolate ice cream. They thicken the base and give it that rich, French silk pie character.
- Dark chocolate — Use a bar with real cocoa butter and a 70% cacao range if you want the deep, bittersweet finish the recipe is built around. Chocolate chips usually contain stabilizers that can make the texture less fluid and the flavor a little duller.
- Cocoa powder — This sharpens the chocolate flavor and makes the base taste more layered. It’s especially useful because it brings intensity without adding more sweetness.
- Whipped cream folded in at the end — That half-cup of soft peaks lightens the custard just enough to create the mousse-like texture once churned. Don’t whip it stiff; soft peaks blend in more cleanly and keep the texture supple.
- Vanilla and salt — They round out the chocolate. The salt is small, but it keeps the dessert from tasting flat and helps the bittersweet notes show up.
Building the Custard, Chilling It, and Churning It at the Right Time
Melting the Chocolate First
Set the chopped chocolate over a double boiler and let it melt slowly until it’s smooth and glossy. If a few small pieces are left, keep stirring off the heat and they’ll usually melt from the residual warmth. Don’t let any steam or water splash into the bowl; even a few drops can make the chocolate seize and turn pasty.
Tempering the Yolks Without Scrambling Them
Heat the cream, milk, and cocoa until steaming, then whisk a little of that hot mixture into the yolks and sugar before adding the rest. That gradual process raises the yolks’ temperature without shocking them. If you pour everything in at once, you’ll get cooked bits instead of a smooth base.
Cooking to the Right Thickness
Return the mixture to the saucepan and cook, stirring constantly, until it reaches 175F and lightly coats the back of a spoon. It should look slightly thicker than when it went in, but not pudding-thick. Pull it early and the base stays loose; push it too far and the yolks can curdle.
Finishing, Straining, and Freezing
Whisk in the melted chocolate, then the vanilla and salt, and strain the custard into a clean bowl. Straining catches any tiny cooked bits before they become texture problems later. Chill it completely, fold in the softly whipped cream, then refrigerate again before churning so the ice cream maker starts with a cold, stable base. After churning, freeze until firm enough to scoop cleanly.
How to Adapt This for Different Freezers, Diets, and Chocolate Intensities
Dairy-Free Version
Use full-fat coconut milk in place of the cream and milk, but expect a lighter chocolate note and a faint coconut background. The texture will still be rich, though not quite as clean and mousse-like as the dairy version.
Extra-Bittersweet Chocolate
Swap part of the 70% chocolate for a darker bar if you want a more intense finish, but keep the total amount the same. The ice cream will taste less sweet and more like chocolate mousse, which is exactly what some people want in a dessert like this.
No Ice Cream Maker
Pour the chilled base into a shallow freezer-safe dish and stir it every 30 minutes as it freezes, breaking up the edges each time. The result won’t be quite as airy or smooth as churned ice cream, but it will still give you a rich frozen chocolate custard.
Storage and Reheating
- Refrigerator: The custard base can be kept chilled for up to 24 hours before churning. After that, the texture is still safe, but the whipped cream folds in less evenly.
- Freezer: Once churned, it keeps well for about 2 weeks. Press parchment or plastic wrap directly on the surface to limit ice crystals, and expect it to firm up more than standard vanilla ice cream because of the dense chocolate base.
- Reheating: Not applicable, but let the container sit at room temperature for 5 to 10 minutes before scooping. If you try to serve it straight from a hard-freeze state, the texture will seem firmer than it actually is.
Answers to the Questions Worth Asking
French Silk Ice Cream
Ingredients
Equipment
Method
- Melt the dark chocolate over a double boiler, then set it aside to cool slightly.
- In a saucepan, heat 1-1/2 cups heavy cream, whole milk, and cocoa until steaming, then slowly whisk into the egg yolks beaten with granulated sugar.
- Return the mixture to the saucepan and cook, stirring constantly, until it reaches 175°F, then remove from heat.
- Whisk the melted dark chocolate into the hot custard until smooth and glossy.
- Stir in the vanilla extract and salt, then strain and cool completely.
- Whip the remaining 1/2 cup heavy cream to soft peaks, then fold it into the cooled chocolate custard for extra silkiness.
- Refrigerate for 4 hours, then churn in an ice cream maker and freeze until firm.