Frozen brownie sundae layers hit that sweet spot between nostalgic and downright smart: a fudgy brownie base, a thick block of vanilla ice cream, and a ribbon of hot fudge that freezes into spoonable pockets instead of turning into a hard candy shell. It scoops cleanly, feeds a crowd, and lands on the table looking like you spent far more time on it than you did.
The trick is in the order and the temperature. The brownies need to be fully cool so they don’t melt the ice cream from underneath, and the ice cream has to be softened just enough to spread in an even layer without turning soupy. The fudge should be warm and pourable, not hot enough to melt through the top, because that gentle swirl is what gives you those marbled, bakery-style slices after freezing.
Below, I’m sharing the small details that keep the layers distinct, plus a few smart variations if you want to change up the pan or make it work for a different crowd.
The brownie layer stayed fudgy even after freezing, and the hot fudge swirled through the ice cream instead of sinking. I cut it after about 10 minutes on the counter and it served up like a dream.
Frozen brownie sundae layers are the make-ahead dessert you want when you need clean slices, hot fudge ribbons, and zero last-minute baking.
The Shortcut That Keeps the Ice Cream Layer Clean
The biggest failure point in a frozen brownie sundae is usually the middle layer. If the brownies are still warm, the ice cream melts into them and you lose that neat, bar-style slice. If the ice cream is rock-hard, you’ll tear the brownies trying to spread it. The sweet spot is softened enough to mound and smooth, but still cold. It should spread like thick frosting, not pour like a milkshake.
Hot fudge is the other place people go wrong. If it’s steaming hot, it melts channels straight through the ice cream and puddles at the bottom of the pan. Warm it until it flows easily from the spoon, then drizzle it in thick ribbons and give it just a gentle swirl with a knife. You want distinct layers with a little marbling, not a fully mixed dessert.
What Each Layer Is Doing in the Freezer
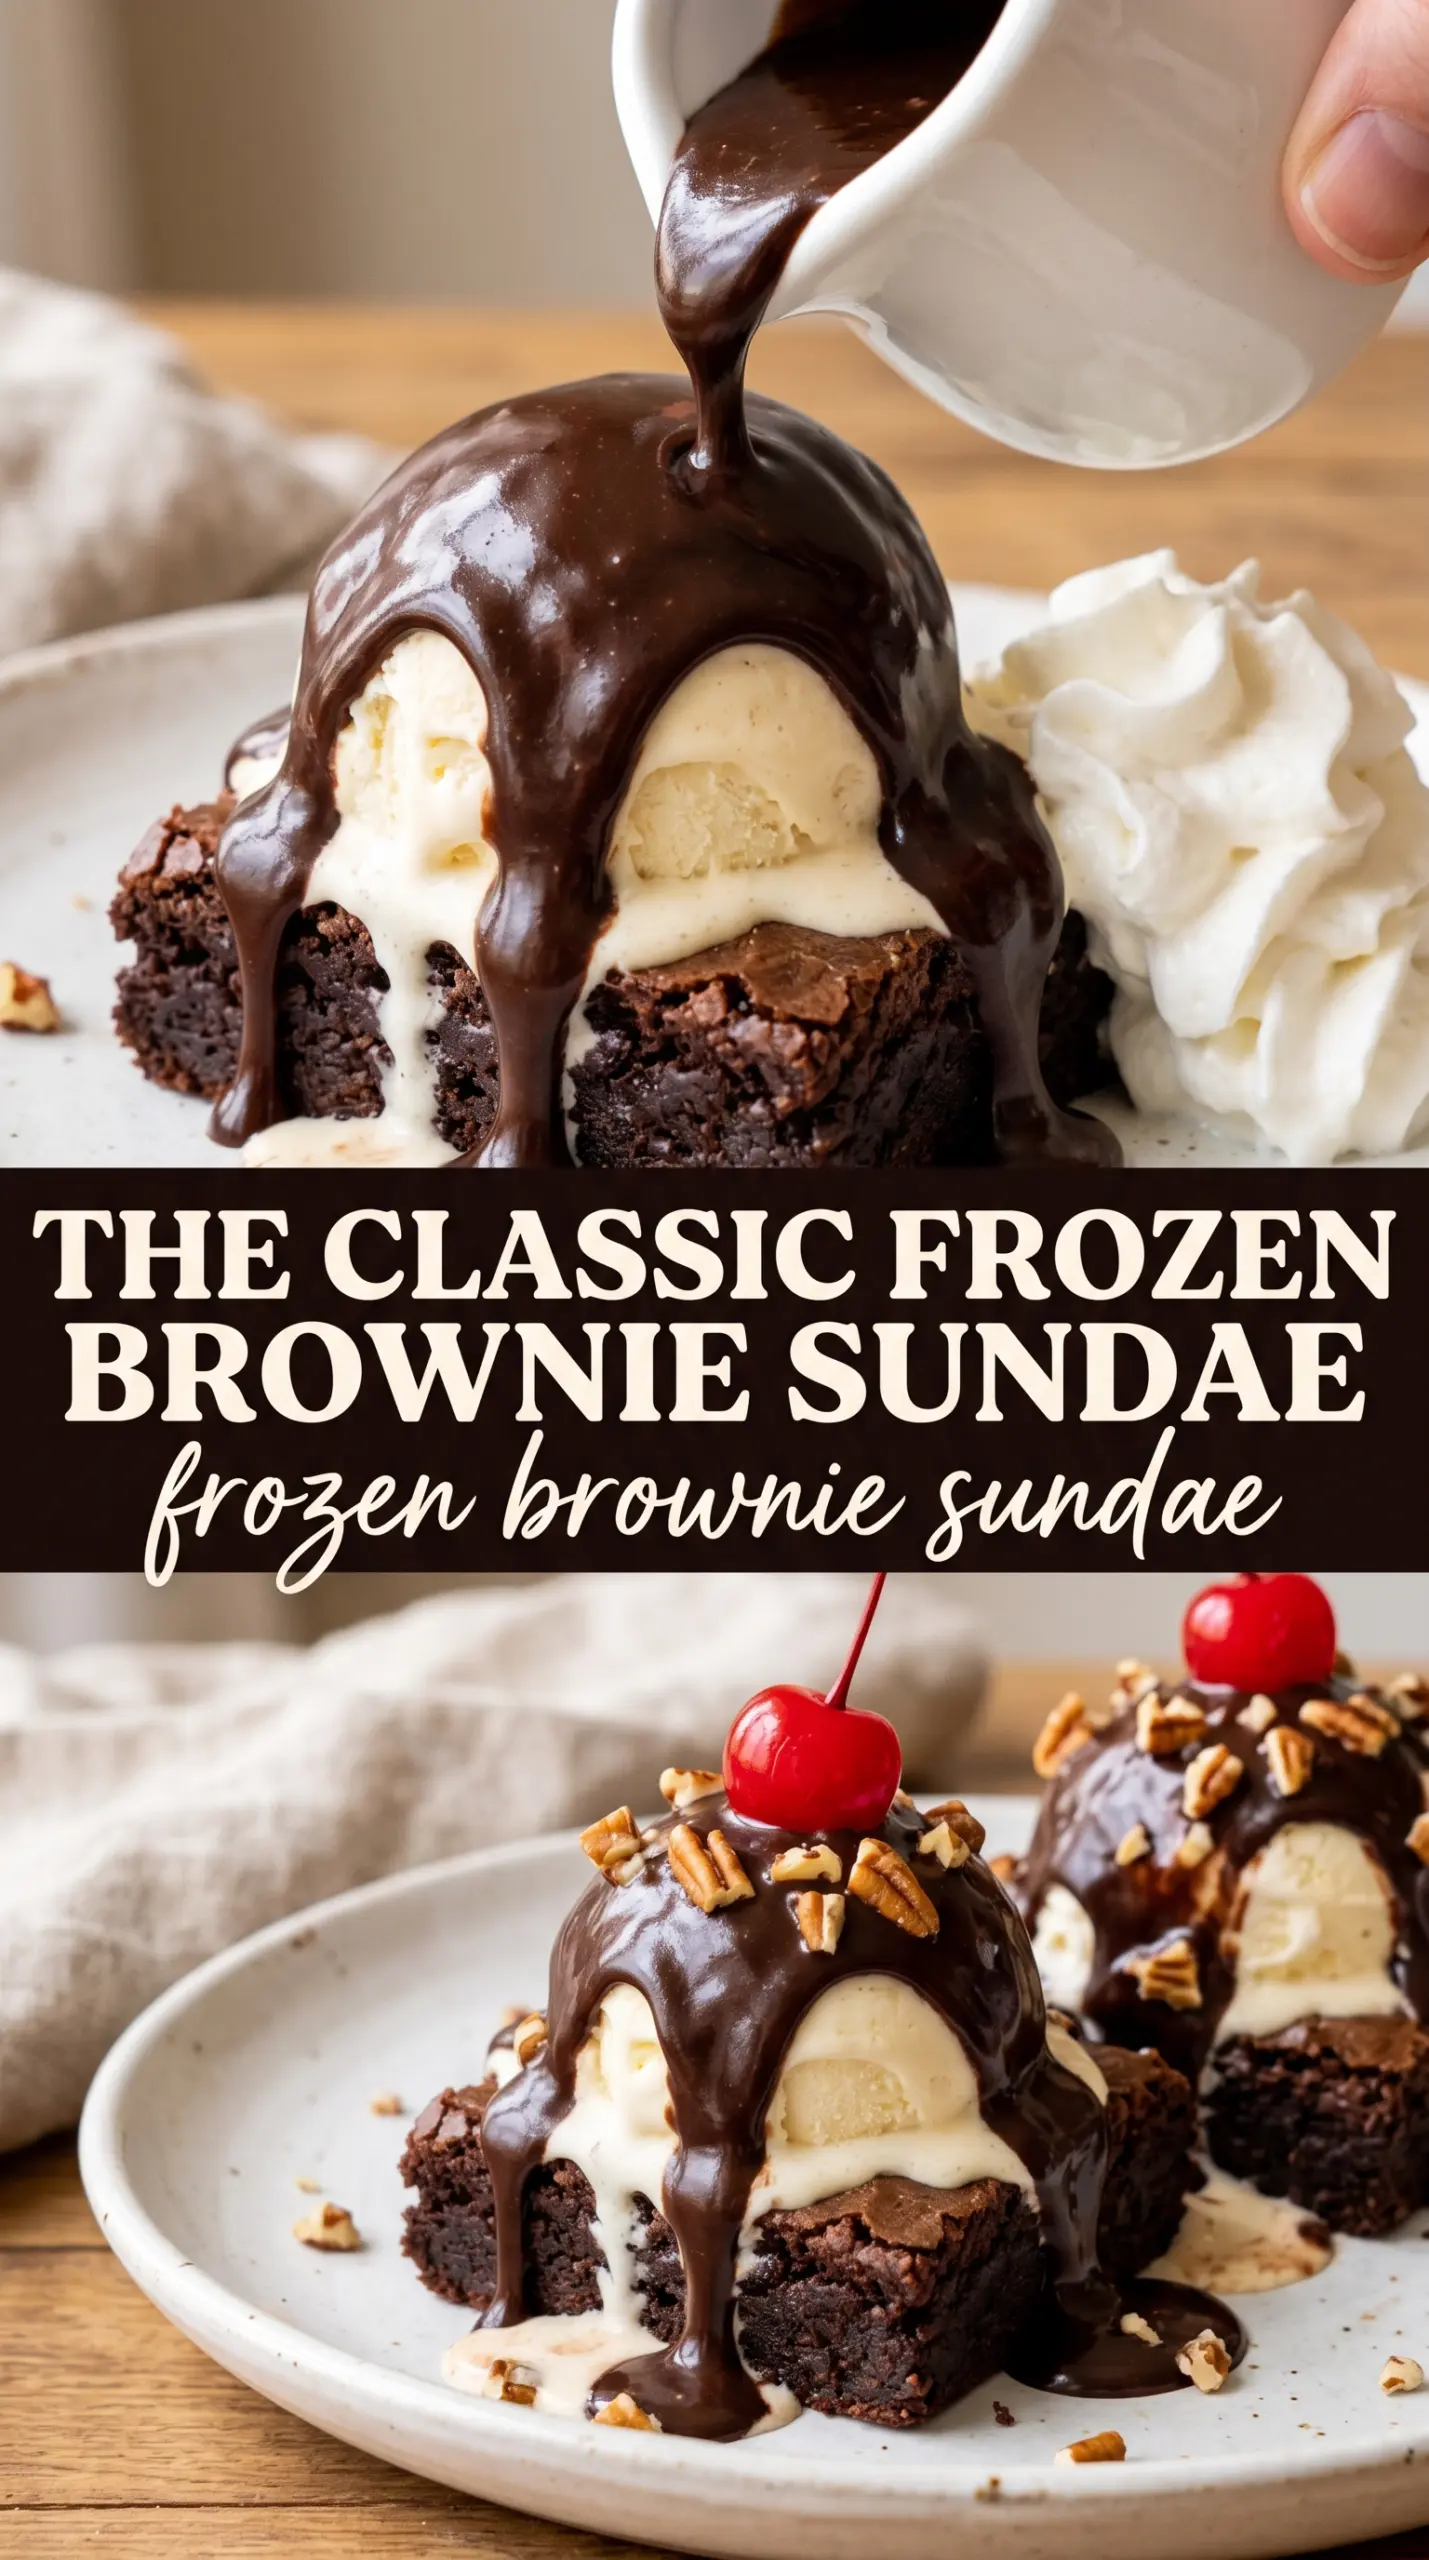
- Brownies — A dense, fudgy brownie base gives this dessert structure and keeps every scoop anchored. Box mix works fine here, but bake it in a 9×13 pan and cool it completely before adding anything else. A cakier brownie won’t slice as cleanly after freezing.
- Vanilla ice cream — This is the creamy middle that makes the whole thing taste like a classic sundae in sliceable form. Quality matters more here than anywhere else, because a rich, full-fat ice cream stays smoother after freezing. Let it sit just until spreadable; if it starts melting around the edges, it went too far.
- Hot fudge sauce — Warm fudge gives you that glossy ribbon through the ice cream layer. Store-bought sauce is perfectly fine, and I’d spend the extra money on a good one rather than making a thin homemade version that freezes dull. Heat it only until loose and pourable.
- Whipped cream, cherries, and sprinkles — These are the finishers that make the dessert feel like a real sundae instead of just a frozen bar. Add them right before serving so they stay soft, bright, and clean-looking. Chopped peanuts are optional, but they add a nice salty crunch if you want that old-school diner feel.
Building the Pan So It Freezes Into Neat Scoops
Start With a Fully Cool Brownie Base
Bake the brownies in a 9×13 pan and let them cool all the way to room temperature before you move on. If there’s any warmth left in the center, the ice cream layer will soften unevenly and the whole pan will slump instead of freezing into defined layers. A cooled brownie layer should feel firm to the touch and pull cleanly from the edges of the pan.
Spread the Ice Cream Without Churning It
Spoon softened vanilla ice cream over the brownies in thick mounds, then press and smooth it into an even layer. Don’t stir it or whip it around the pan; that adds air and creates thin spots that freeze into icy patches. A bench scraper or offset spatula helps, but the real goal is even coverage from corner to corner.
Drizzle the Fudge in Thick Ribbons
Warm the hot fudge just until it flows easily, then drizzle it over the ice cream in broad stripes. Use the tip of a knife to make a few lazy swirls, stopping before the fudge disappears into the ice cream. If you overmix at this stage, you lose the contrast between the creamy white top and the dark fudge marbling.
Freeze Until the Center Is Solid
Give the pan at least 4 hours in the freezer, and longer if your freezer runs warm or the pan is deep-cold from the ice cream. The dessert should feel firm all the way through before you try to slice it. If you rush this, the center will collapse and you’ll end up with a messy scoop instead of a clean portion.
Three Ways to Make This Frozen Brownie Sundae Work for Your Crowd
Gluten-Free Brownie Base
Use a gluten-free brownie mix or your favorite homemade gluten-free brownie recipe. The texture matters here, so choose one that bakes up fudgy rather than dry and cakey. The rest of the dessert is naturally gluten-free as long as your hot fudge and toppings are labeled accordingly.
Dairy-Free Version
Swap in a dairy-free brownie, a coconut- or almond-based vanilla ice cream, and a dairy-free hot fudge sauce. The flavor will be a little less classic and a little more coconut-forward depending on the brand, but the sliceable structure still works. Chill the ice cream well before spreading so it doesn’t soften too fast.
Chocolate Lover’s Version
Use chocolate ice cream instead of vanilla and finish with extra fudge plus chopped peanuts. The result is richer and less nostalgic-soda-shop, but it’s ideal if you want the chocolate to carry every bite. Keep the toppings light so the pan still slices neatly.
Storage and Reheating
- Refrigerator: Don’t store this in the fridge; it melts into a mess. Keep it frozen until serving.
- Freezer: Wrap the pan tightly and freeze for up to 1 week for the best texture. After that, the ice cream can start to pick up freezer flavor.
- Reheating: There’s no reheating here. Let the pan sit at room temperature for 5 to 10 minutes before slicing so the brownie layer gives a little and the scoop comes out cleanly.
Answers to the Questions Worth Asking
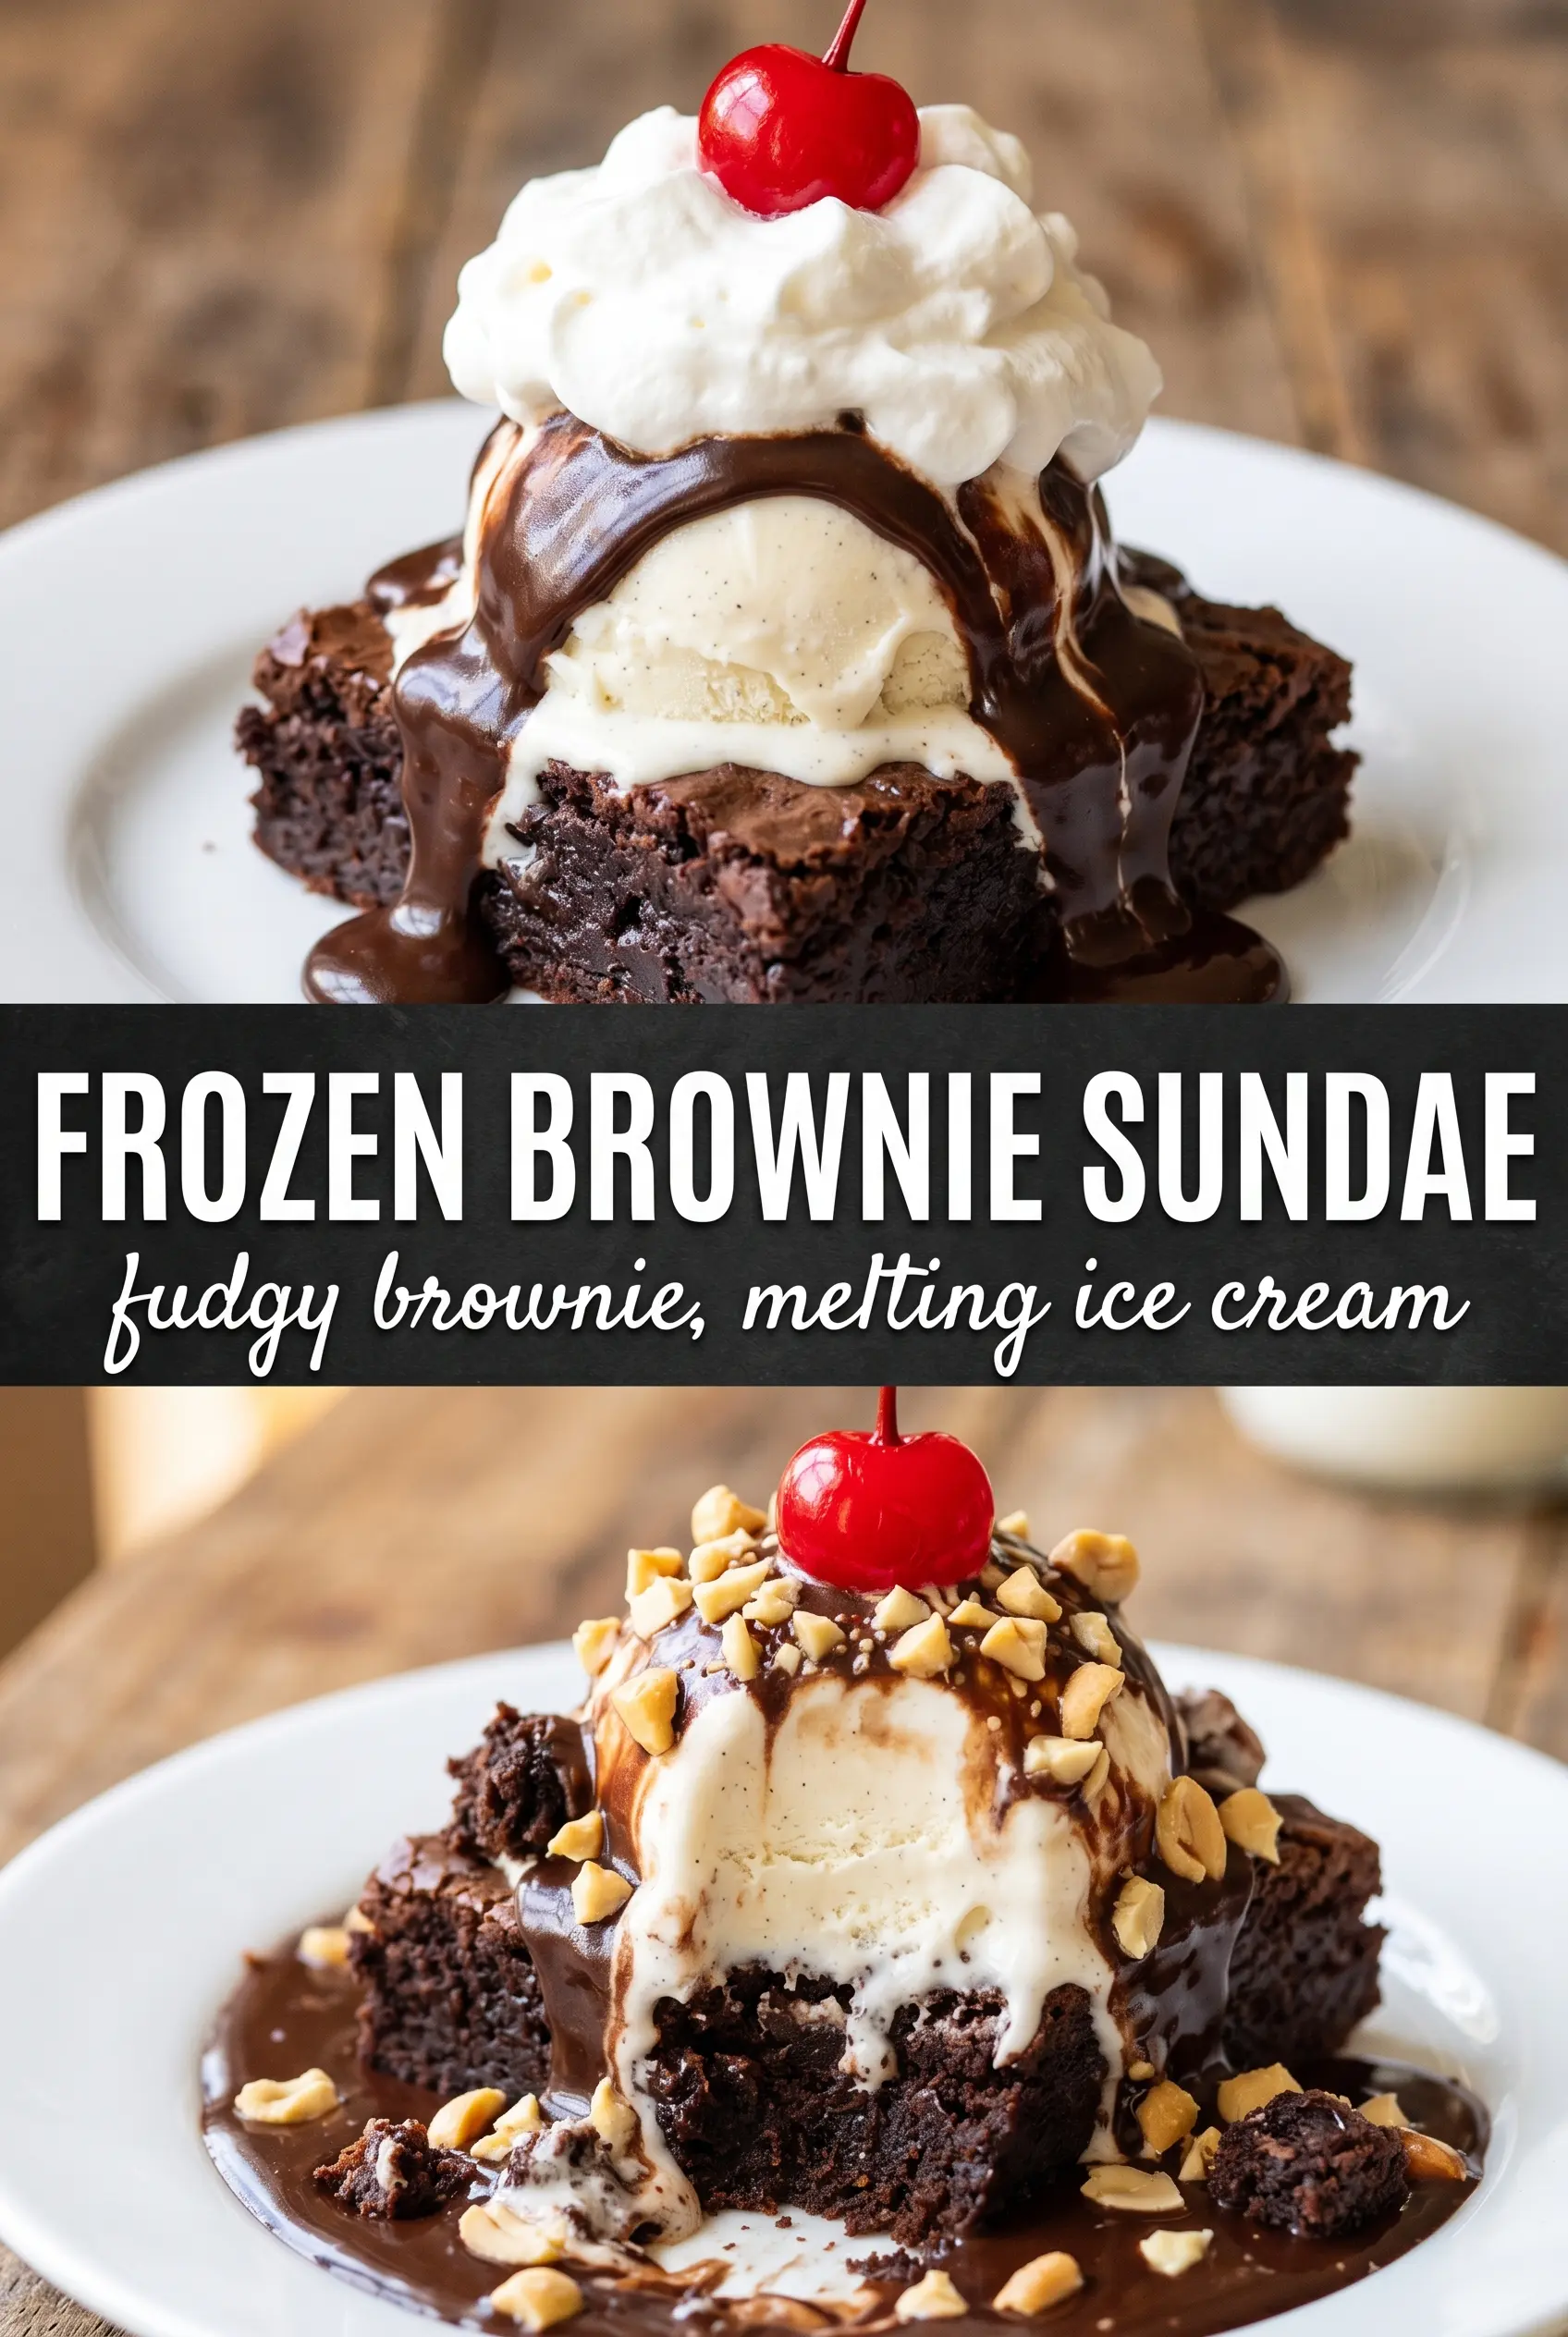
Frozen Brownie Sundae
Ingredients
Equipment
Method
- Bake the brownie mix in a 9x13 pan according to package directions, then cool completely (about 30 minutes after baking) until no longer warm to the touch, for a firm foundation.
- Spread the softened vanilla ice cream in a thick, even layer over the cooled brownies so the surface looks level and fully covered.
- Drizzle the warmed hot fudge sauce in thick ribbons over the ice cream and swirl gently with a spoon so dark fudgy streaks remain visible.
- Freeze for 4 hours until completely firm, with the top fully set so you can lift clean portions.
- Top individual portions with whipped cream, then add an extra drizzle of hot fudge so each scoop has both ice cream and fudgy sauce.
- Finish with rainbow sprinkles and a maraschino cherry (plus chopped peanuts if using) for a classic sundae look.
- Scoop using an ice cream scoop for neat portions; wipe the scoop between cuts if needed for clean edges.