Golden, crumbly fruit crisp topping is what turns a bowl of baked fruit into something people remember. The best version isn’t sandy or uniform. It bakes into those chunky, buttery clumps that shatter a little when you dig your spoon through them, with oats for chew, brown sugar for caramel depth, and just enough cinnamon to pull the whole thing together.
This topping works because the butter stays cold and the mix stays shaggy. That’s what creates the bigger crumbles instead of a paste. I also like the balance of brown sugar and a small amount of granulated sugar here: the brown sugar gives warmth and moisture, while the white sugar helps the edges crisp up in the oven. A little nutmeg adds that classic bakery note without taking over.
Below you’ll find the exact texture to look for when you’re mixing, the add-ins that work without throwing off the crumble, and a few smart ways to store it so you can keep a batch ready for last-minute desserts.
The topping baked up in big buttery clumps instead of turning sandy, and the cinnamon smell was amazing. I froze half of it and it still baked beautifully over peaches the next week.
Save this fruit crisp topping for the kind of desserts that need big buttery crumbles and a golden finish.
The Crisp Topping Mistake That Leaves You With Sand Instead of Clumps
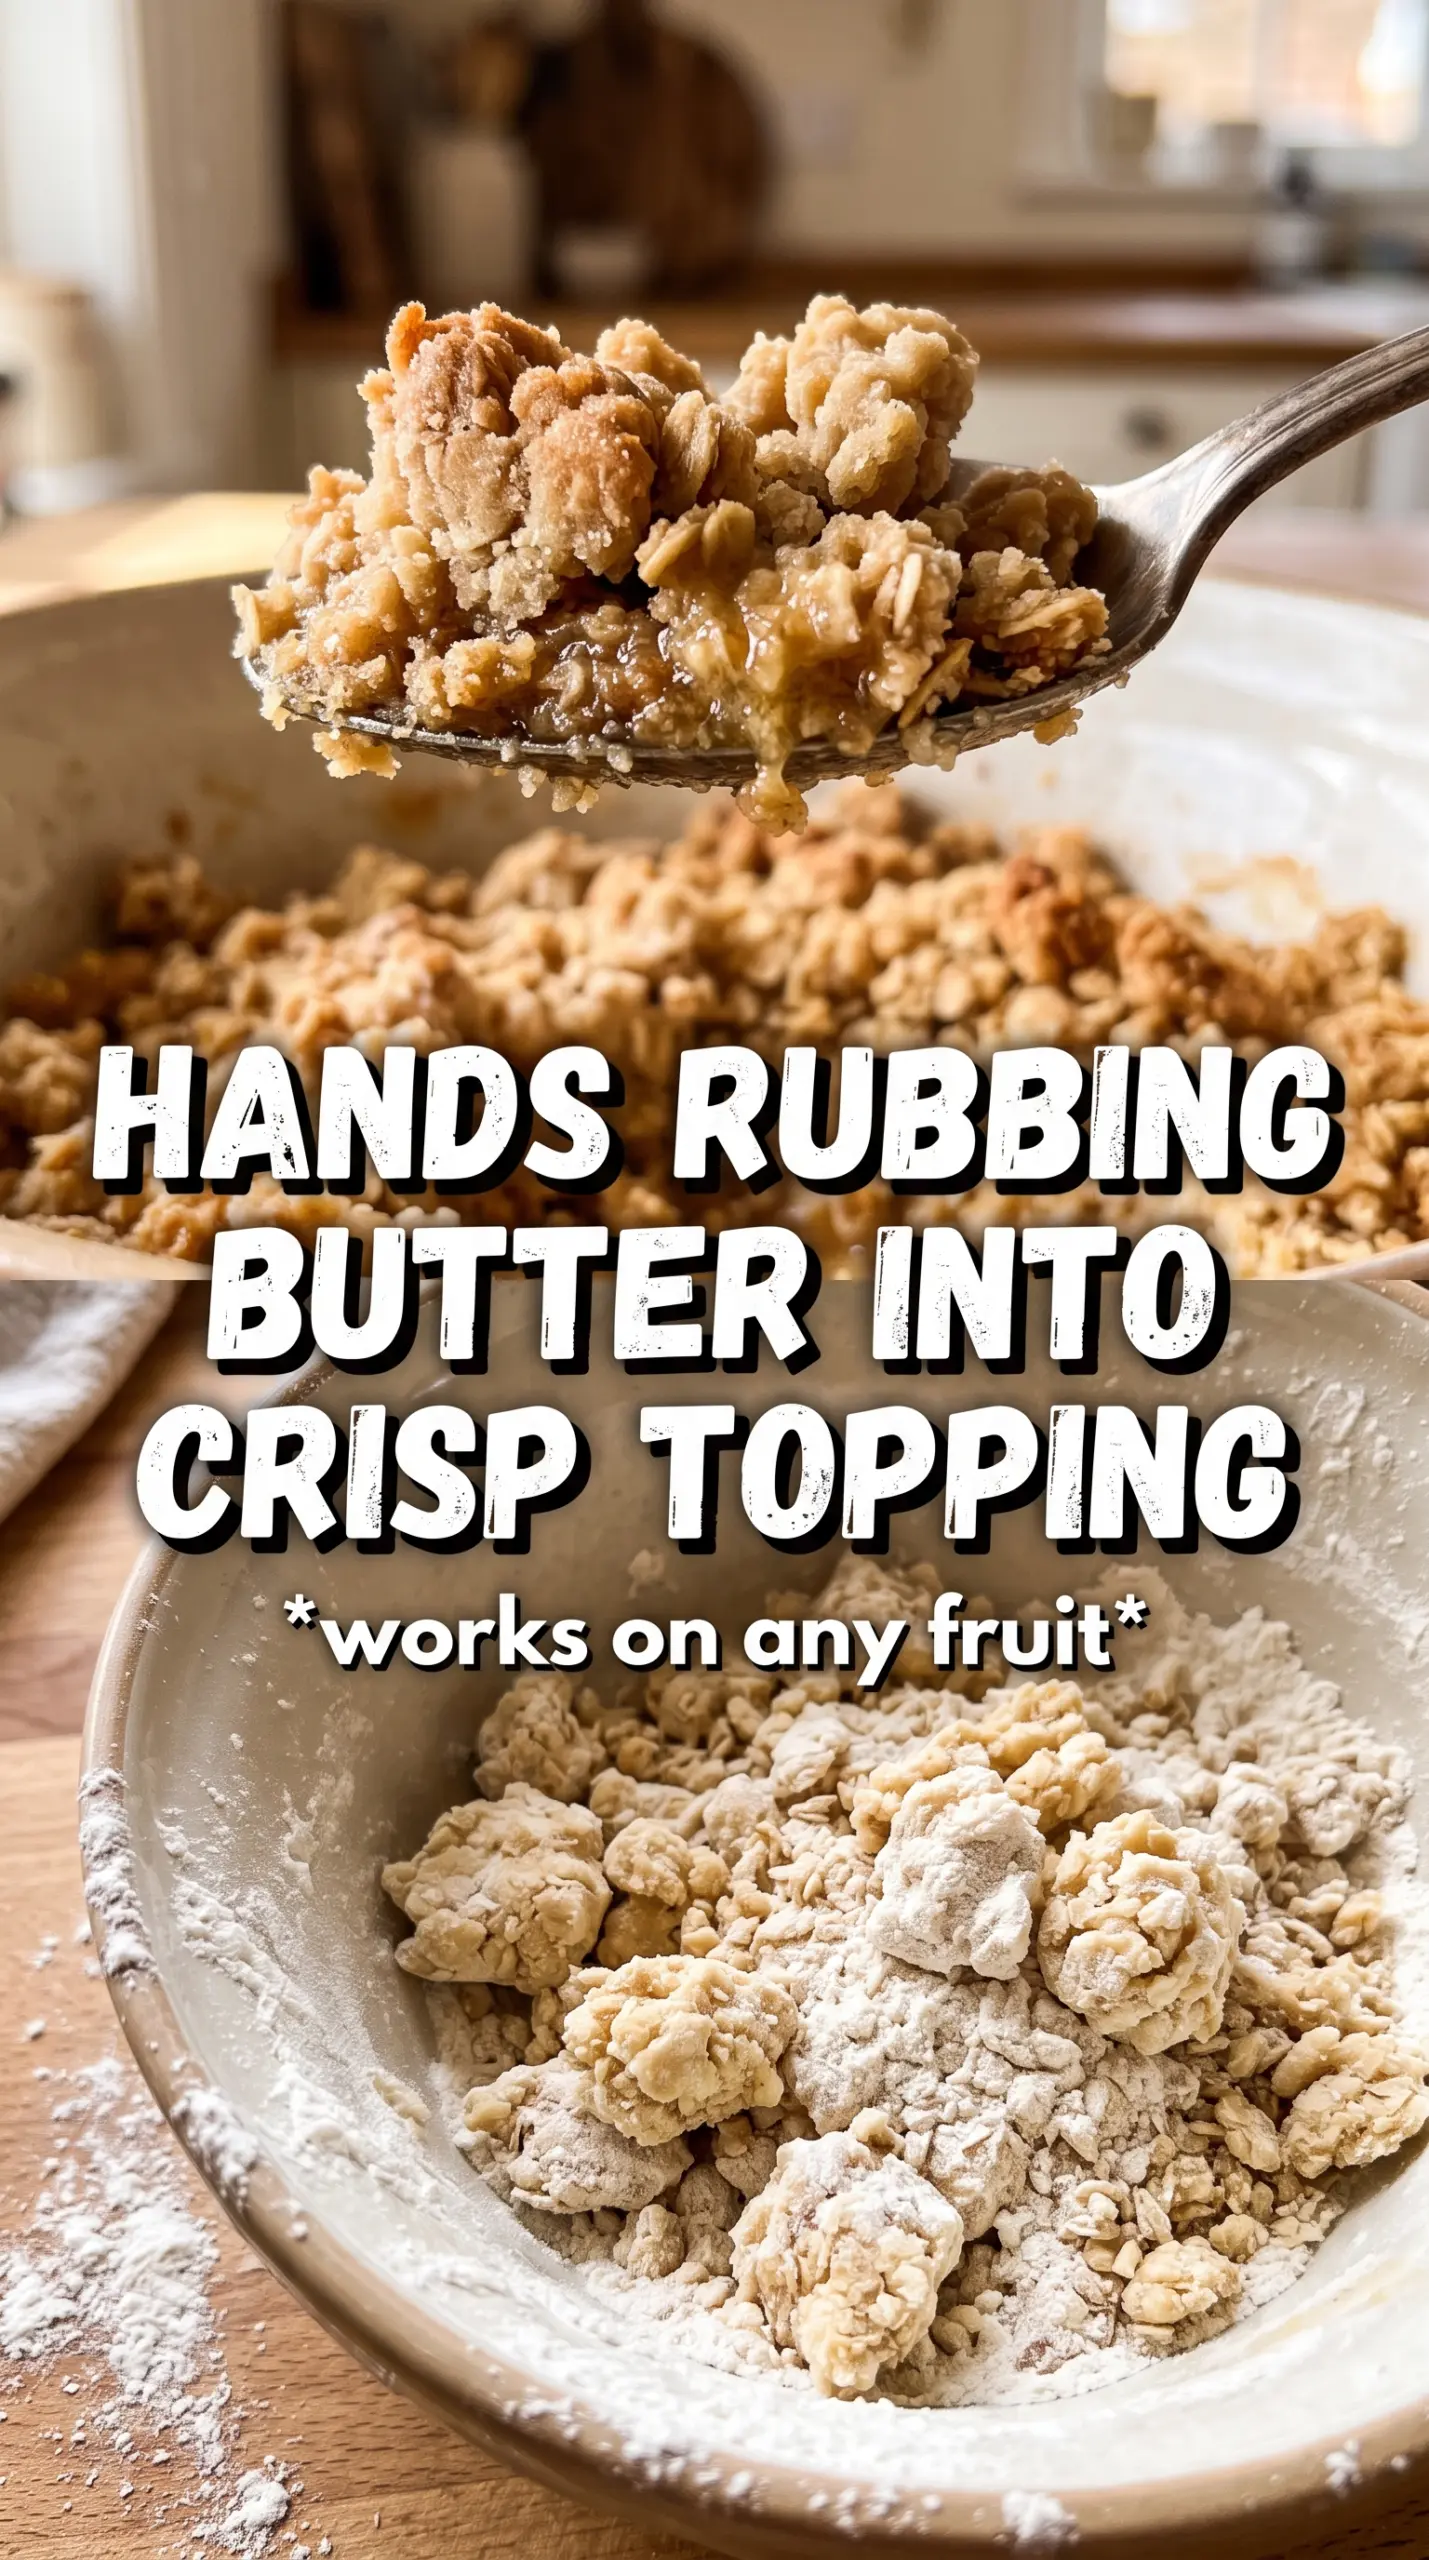
The difference between good crisp topping and forgettable crisp topping comes down to how the butter is worked in. If the butter melts or disappears into the flour, you get a dry, even crumble that bakes up dusty. What you want is a mixture with uneven pieces of butter still visible, because those little pockets steam in the oven and create the crunchy, craggy texture people actually want on top of fruit.
The other mistake is overmixing after the butter goes in. Stop when the mixture holds together in rough chunks when you squeeze it in your hand. If it looks too neat, it usually bakes too flat. If it looks a little messy, you’re probably on the right track.
- Cold butter — This is what gives you those big, bakery-style clumps. Straight-from-the-fridge butter works best, and if your kitchen is warm, chill the cubed butter for 10 minutes before mixing.
- Rolled oats — They add chew and structure. Quick oats work in a pinch, but the texture will be softer and less distinct.
- Brown sugar — Packed brown sugar adds moisture and a caramel note that white sugar can’t match on its own. The little bit of granulated sugar helps the topping crisp at the edges.
- Optional nuts or coconut — Nuts add crunch, and coconut brings extra toasty flavor. Add them only if you want more texture; the recipe works fine without either one.
What Each Ingredient Is Actually Doing in This Recipe
- Primary ingredient (the star) — Quality matters most. Choose the best you can find.
- Cooking medium (oil, butter, or broth) — This carries flavors and prevents dryness.
- Seasonings (salt, pepper, spices, herbs) — Layer flavors so nothing overpowers. Build depth gradually.
- Aromatics (garlic, onion, herbs) — Cook with fat to bloom flavors. Become the foundation.
- Supporting ingredients — Complement the main ingredient without overpowering it.
- Sauce or liquid (if applicable) — Brings flavors together. Balance richness with acid.
- Acid (lemon, vinegar, wine, or other) — Brightens and prevents flat-tasting results.
- Final finish (garnish, glaze, or sauce) — Prevents one-dimensional taste and adds visual appeal.
Mixing It Until It Holds, Not Until It Looks Perfect
Dry Ingredients First
Stir the oats, flour, sugars, cinnamon, nutmeg, and salt together before the butter goes in. That gives you an even base, so you don’t end up with one bite that tastes like cinnamon and another that tastes plain. If you’re using nuts or coconut, toss them in now so they spread through the topping instead of clumping in one corner.
Cutting in the Butter
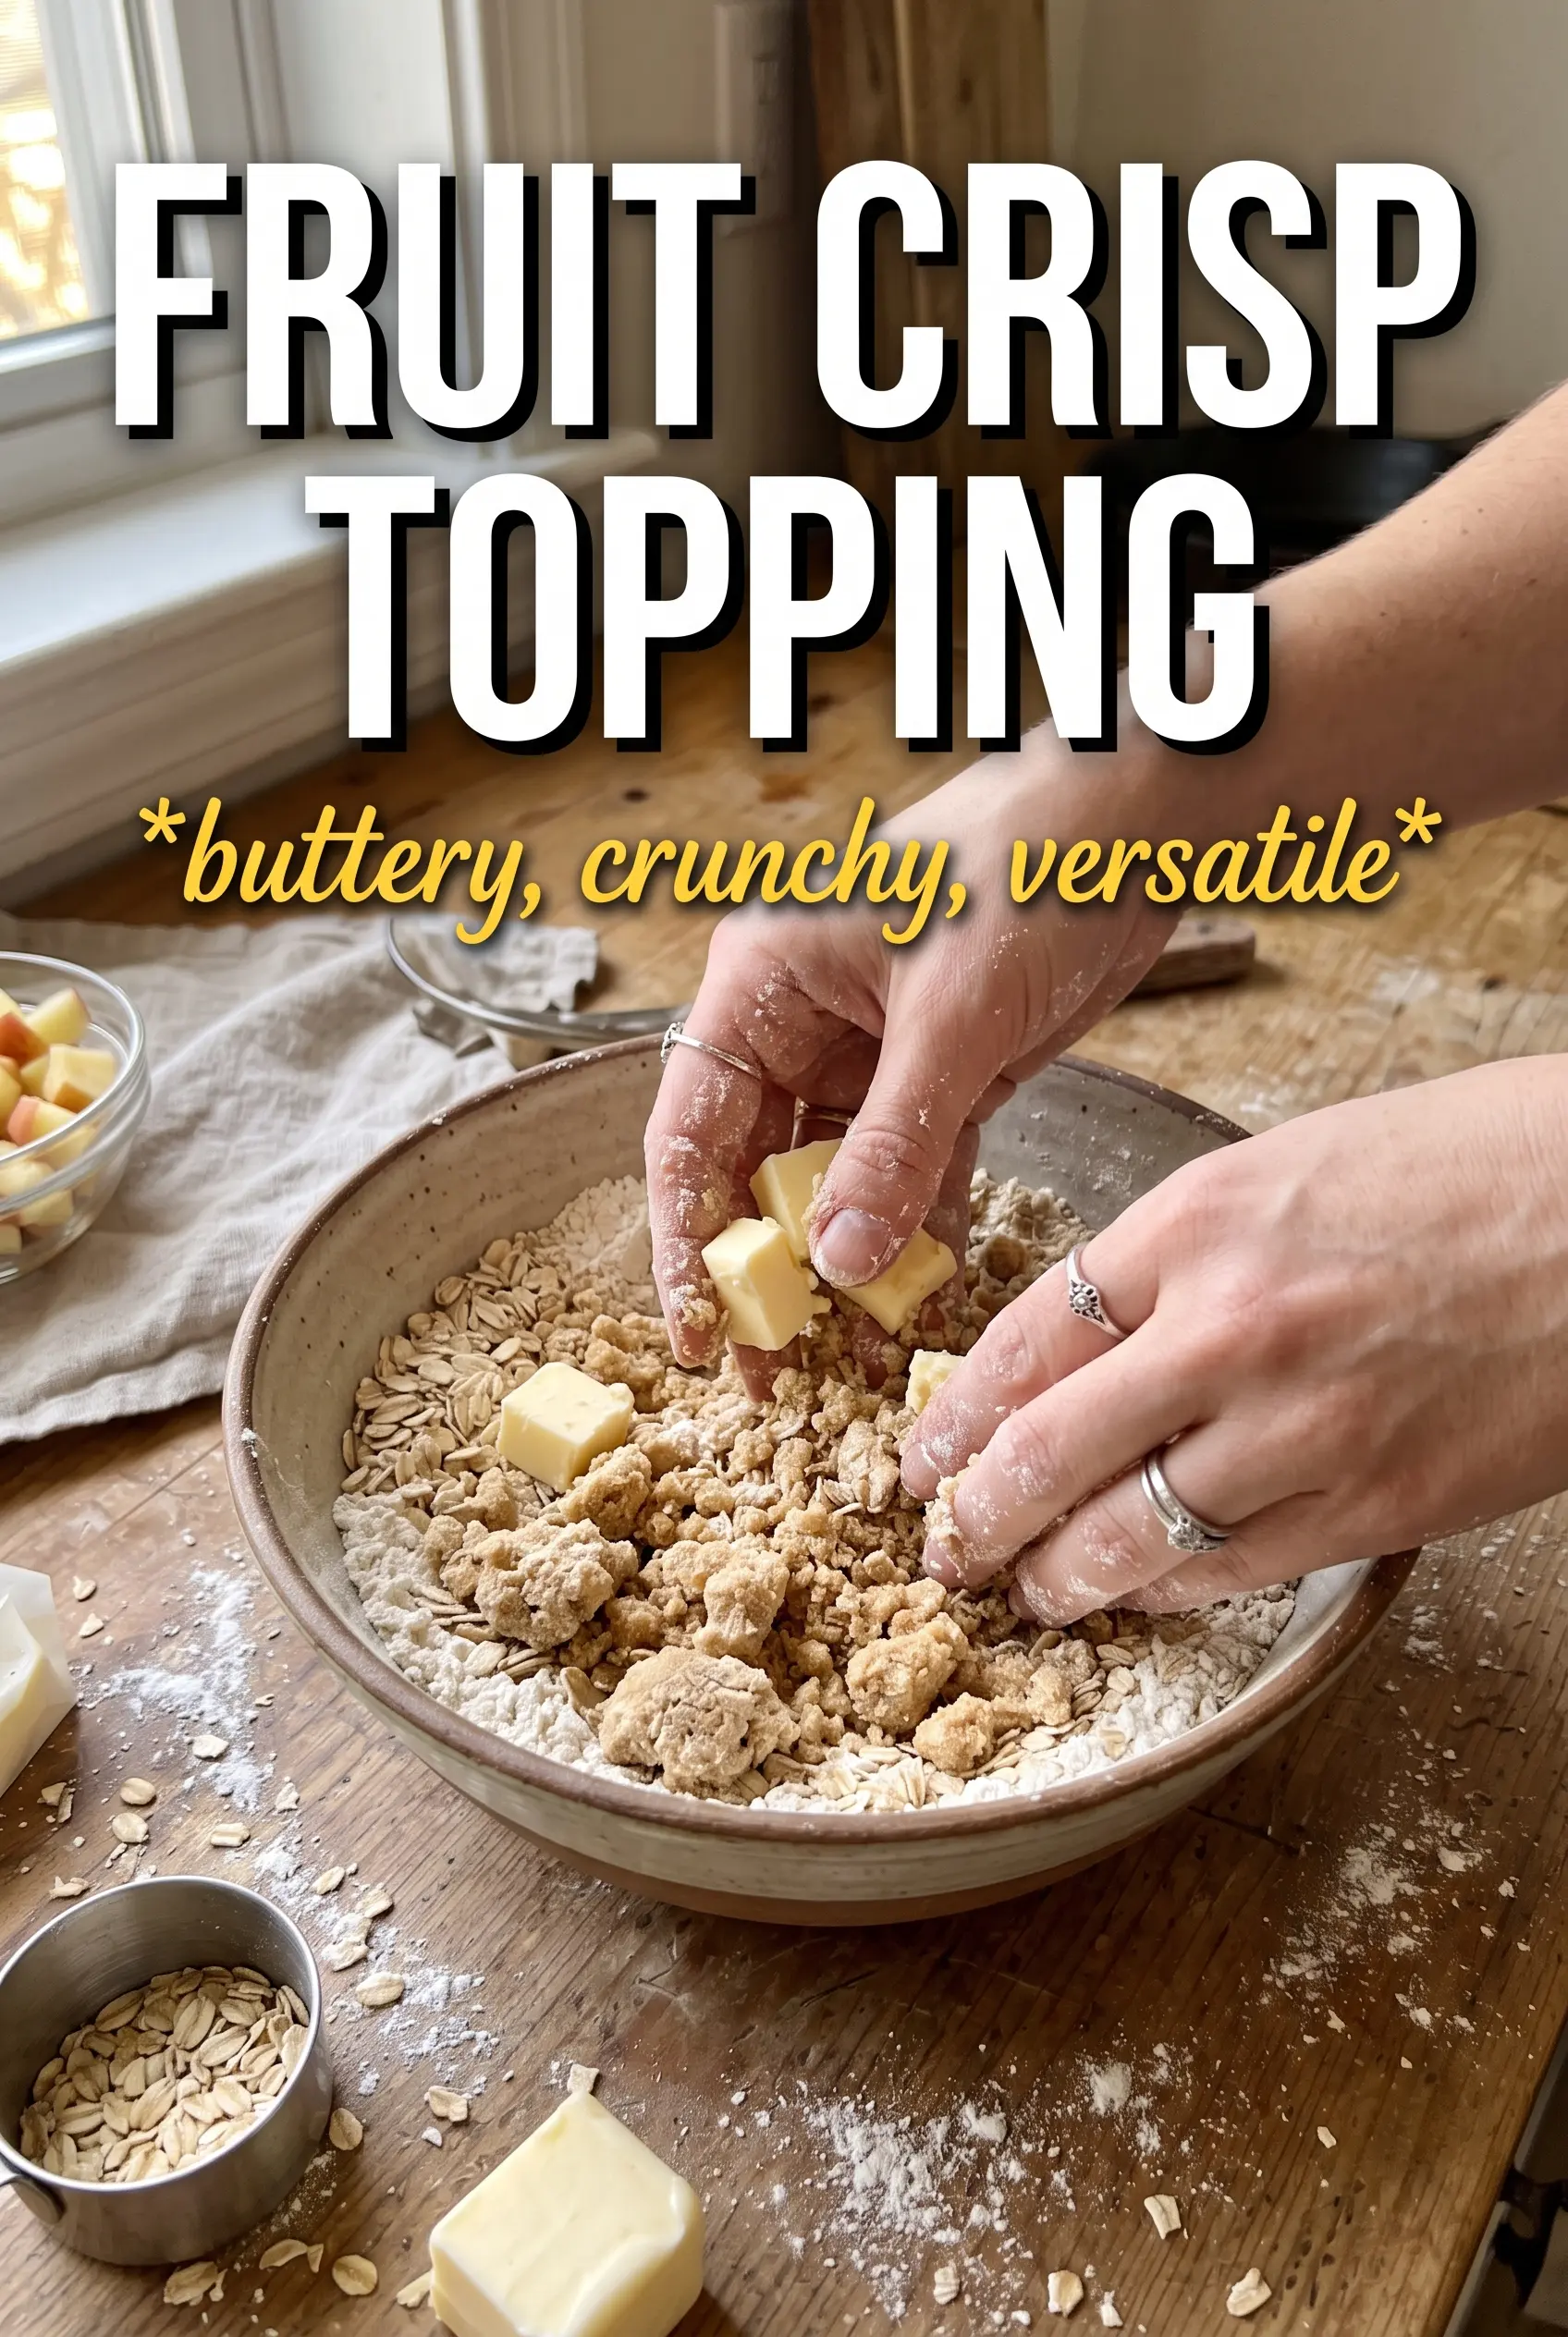
Add the cold cubed butter and work it in with your fingertips, two forks, or a pastry cutter until the mixture looks like rough damp gravel with some pea-sized bits still visible. That uneven texture is the goal. If the butter fully disappears, the topping will bake up dry and compact instead of crisp and craggy.
Using It Over Fruit
Spoon or scatter the topping over prepared fruit filling without pressing it down. A loose layer lets heat move through the crumbs and brown them properly. Bake at 375°F until the top is deeply golden and the fruit is bubbling at the edges; that bubbling matters because it tells you the filling underneath has thickened enough.
Make It Nutty and Extra Crunchy
Add up to 1/2 cup chopped pecans, walnuts, or almonds. Nuts deepen the flavor and add a firmer bite, but they also make the topping a little less delicate. If you want the crispiest finish, use pecans or walnuts and keep the pieces fairly small.
Add Coconut for a Toastier Edge
Stir in 1/4 cup shredded coconut for a sweeter, more fragrant topping. Unsweetened coconut keeps the topping from becoming overly sugary. It toasts fast, so watch the last 10 minutes of baking closely if you use it.
Gluten-Free Version
Swap the all-purpose flour for a good 1:1 gluten-free baking blend. The oats still give you structure, but the blend helps the topping hold together instead of turning sandy. Don’t use almond flour alone here; it makes the crumble too delicate and greasy.
Storage and Reheating
- Refrigerator: Store the unbaked topping in an airtight container for up to 5 days. It may firm up a little, which actually helps the texture when baked.
- Freezer: Freeze for up to 3 months in a sealed bag or container. I like to freeze it in a flat layer so it thaws fast and stays easy to sprinkle.
- Reheating: No reheating needed if it’s going on fruit, but if you’ve baked a crisp ahead of time, warm it in a 325°F oven until the top crisps again. The mistake is using the microwave, which softens the crumbs and kills the texture.
Questions I Get Asked About This Recipe
Fruit Crisp Topping
Ingredients
Equipment
Method
- Combine rolled oats, all-purpose flour, brown sugar, granulated sugar, cinnamon, nutmeg, and salt in a large bowl.
- Add chopped nuts and/or shredded coconut, if using, and toss until evenly distributed.
- Add cold cubed unsalted butter and work it into the mixture with your fingertips, two forks, or a pastry cutter until large chunky clumps form, with some pea-sized butter pieces remaining.
- Use immediately by scattering the topping over your prepared fruit filling.
- If not using right away, refrigerate the crumble in an airtight container up to 5 days, or freeze up to 3 months.
- Bake over any fruit filling at 375F for 35-45 minutes until deeply golden.