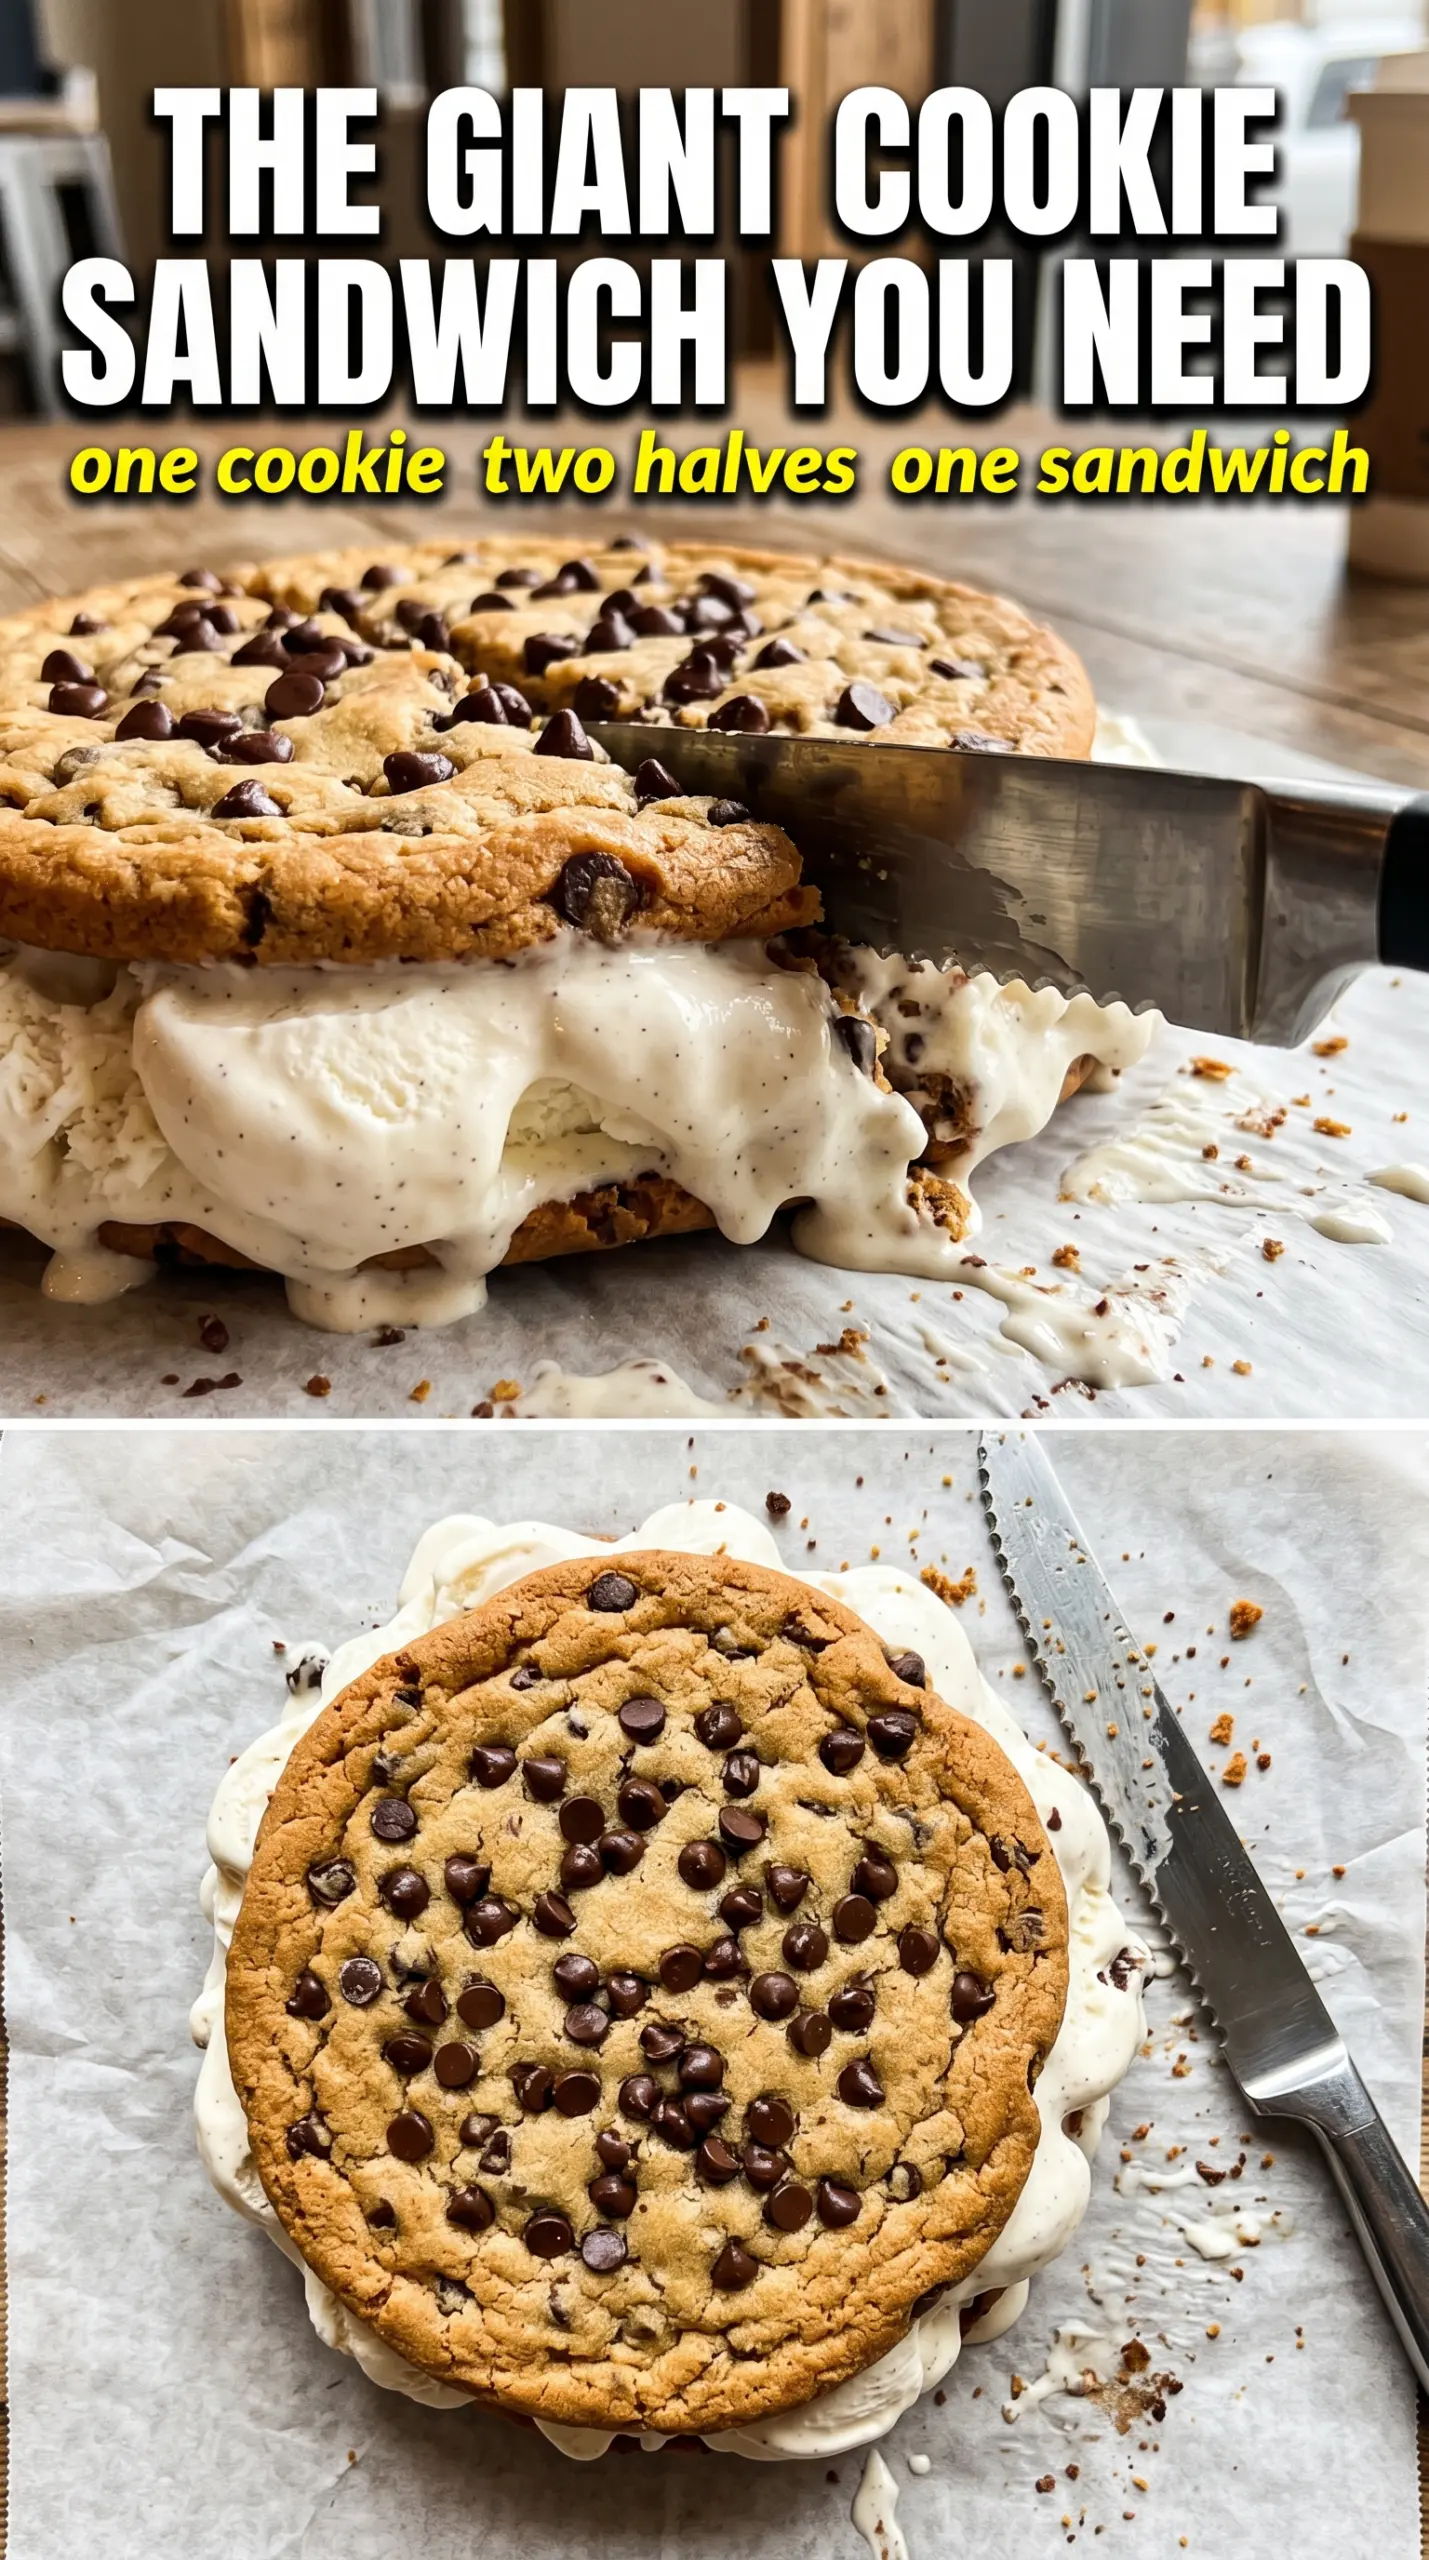
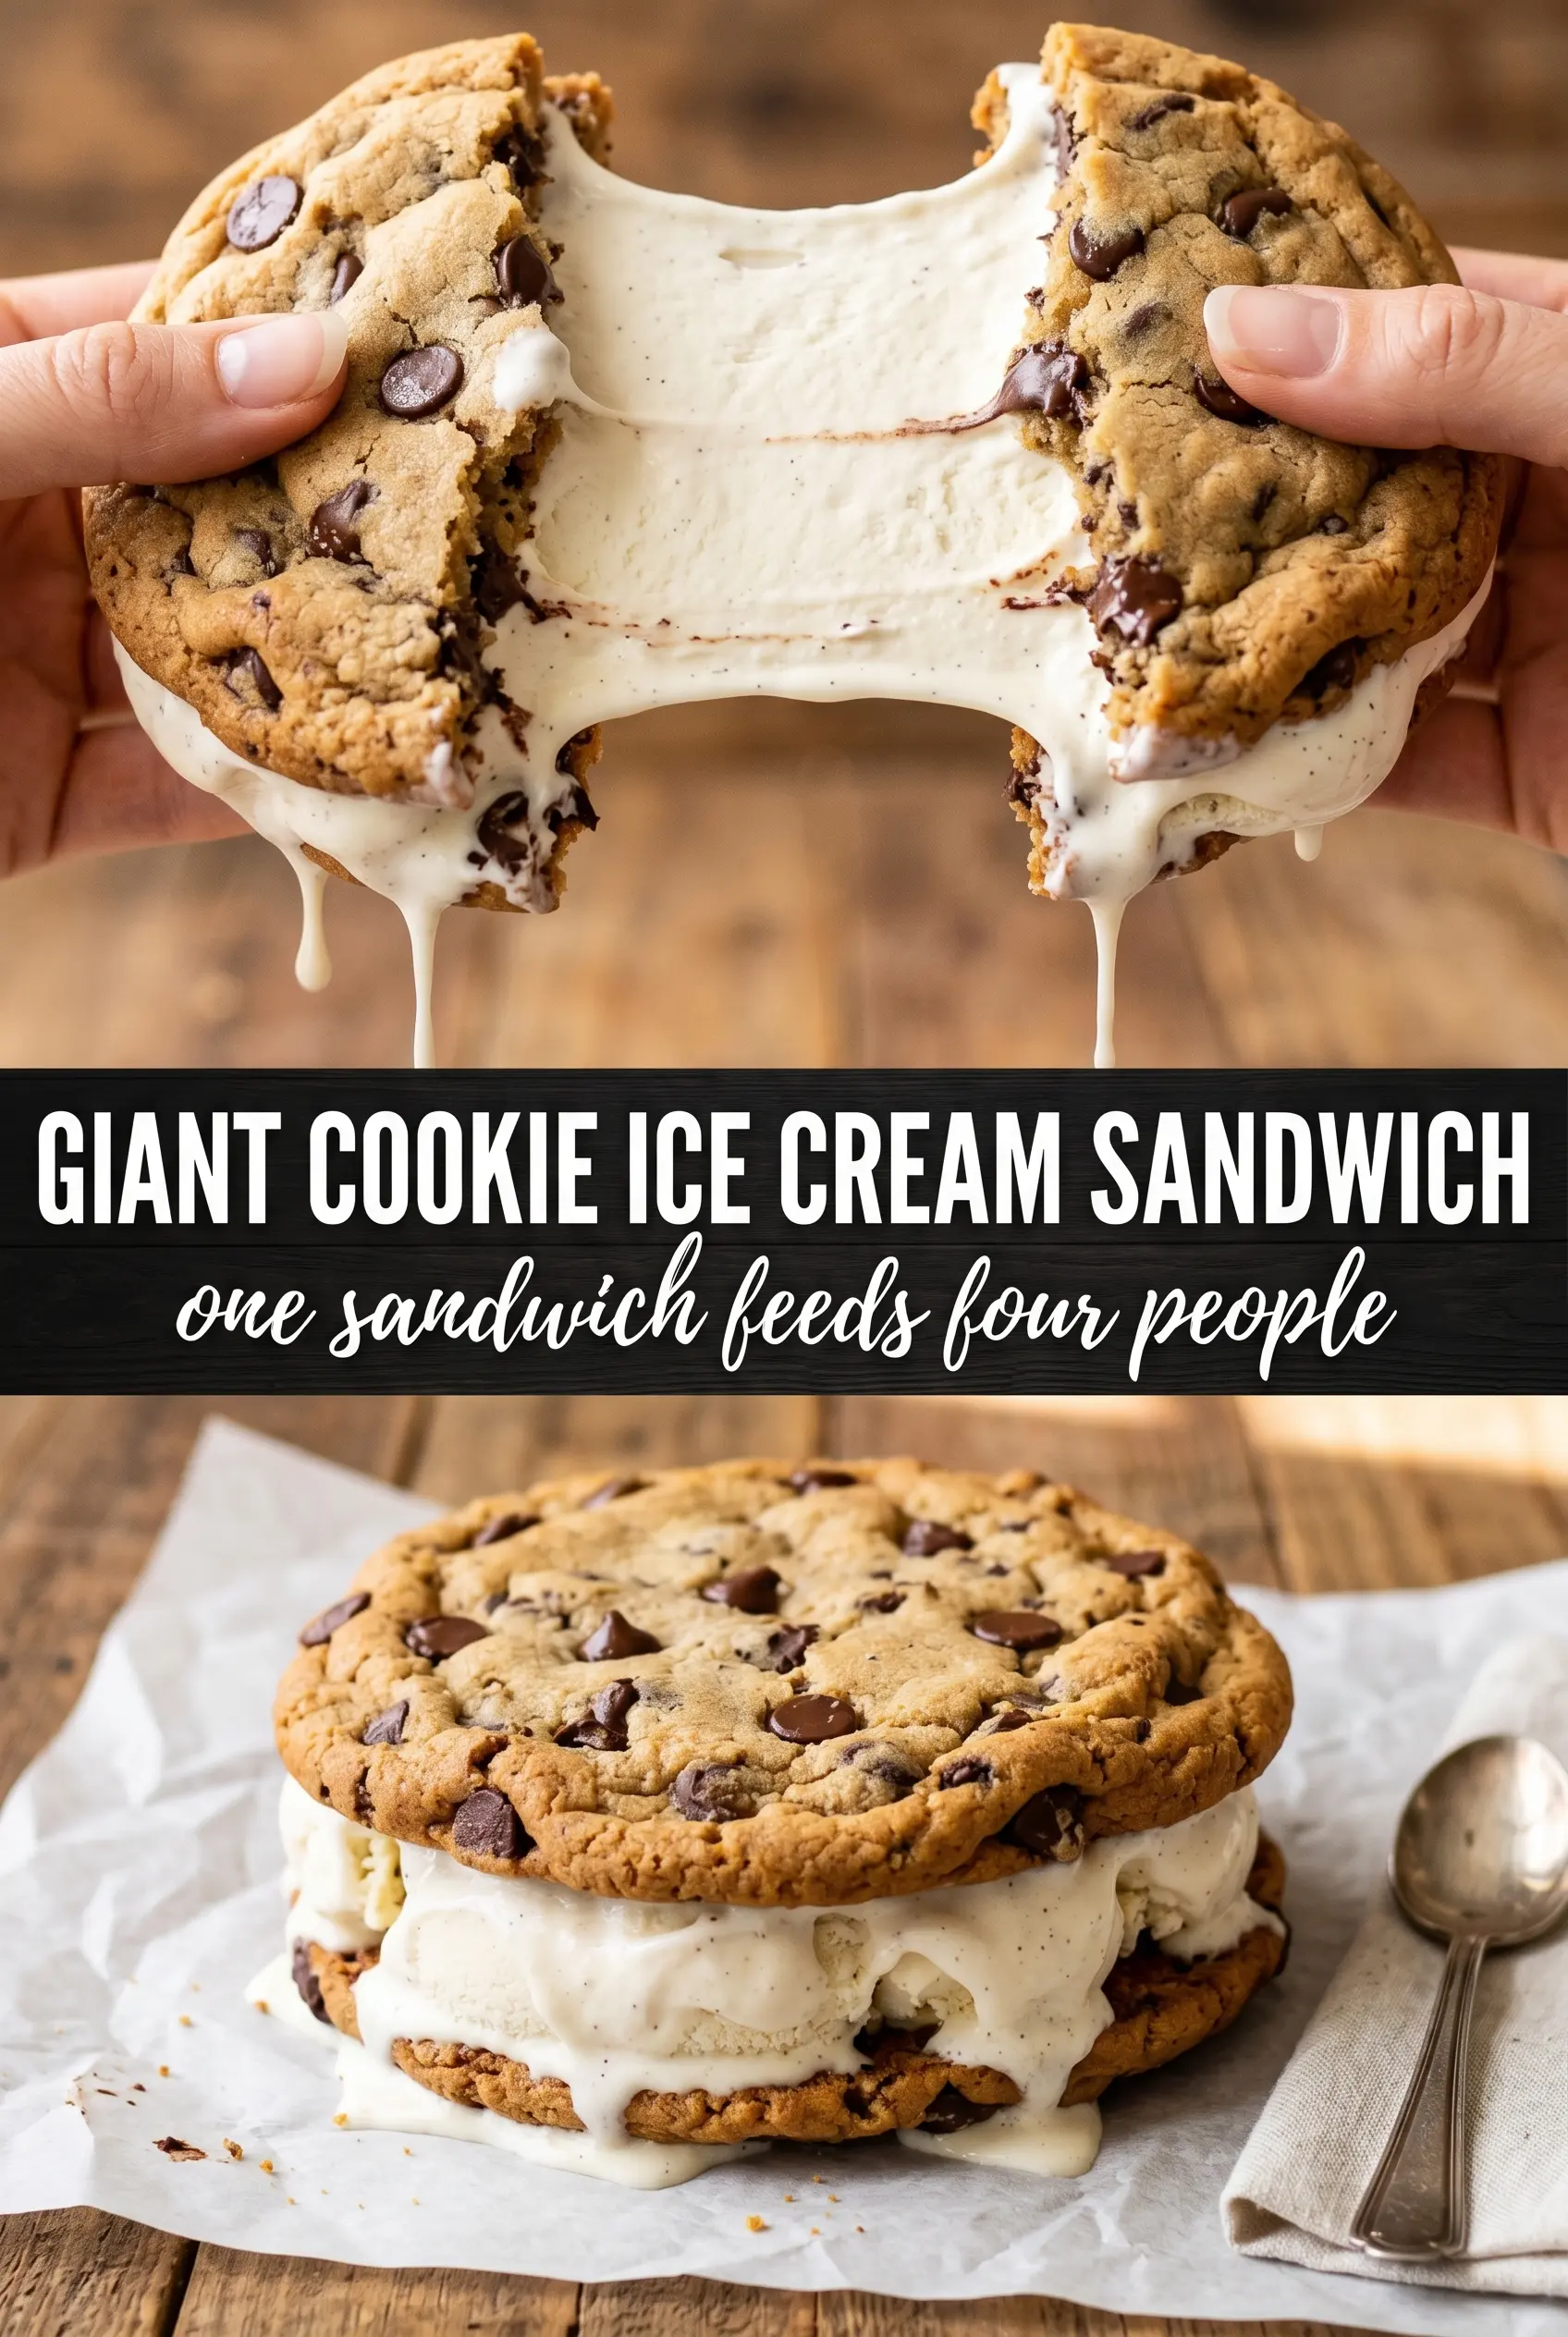
Two giant chocolate chip cookies with a thick layer of vanilla ice cream in the middle turn an ordinary dessert into something people stop talking about after the plates are cleared. The cookies bake into sturdy, chewy rounds with crisp edges, and the ice cream settles into a clean, cold center that slices beautifully once it firms back up. It’s the kind of dessert that looks dramatic on the table but still tastes like the best parts of a classic cookie and ice cream combo.
The key is baking the cookies just until the centers still look a little soft. That slight underbake keeps them bendy enough to bite cleanly after freezing instead of turning dry and crumbly. Softening the ice cream before assembly matters too, because you want it spreadable, not melted. A thick, even layer gives you that full, satisfying cross-section when you cut the sandwich into wedges.
Below, I’ve included the timing trick that keeps the ice cream from squeezing out the sides, plus a few ways to adapt this for different flavors or make-ahead serving.
The cookies held together perfectly after freezing, and the ice cream layer was thick enough to slice into neat wedges without cracking the whole thing apart. We made it for a birthday and everyone asked for seconds.
Love the giant cookie-to-ice-cream ratio? Save these oversized ice cream sandwich wedges for your next birthday or backyard get-together.
The Cookie Centers That Stay Soft After Freezing
The mistake most people make with ice cream sandwiches is baking the cookies all the way through like they’re meant to be eaten on their own. That gives you a dry bite once the whole thing is frozen. Here, the cookies should come out golden at the edges and just set in the middle, because they firm up as they cool and then soften again slightly once the ice cream comes in.
Size matters here too. An 8-inch round gives you enough surface area to hold a thick layer of ice cream without it spilling everywhere the second you press the top cookie on. If the dough looks uneven, press it with your hands instead of rolling it thin; you want a thick, sturdy round that bakes into a chewy shell, not a brittle cookie wafer.
What Each Ingredient Is Doing in the Cookie-and-Ice-Cream Build
- All-purpose flour — Gives the cookies enough structure to hold the ice cream without collapsing. Weighing it is best if you have a scale, but if you’re measuring by cups, don’t pack it down or the cookies will bake up dense.
- Brown sugar — This is what keeps the cookie chewy after freezing. It brings moisture and a deeper caramel note that stands up to the cold.
- Butter — Softened butter creams with the sugars to create lift and a tender crumb. Cold butter won’t whip properly, and melted butter makes the dough spread too much.
- Semi-sweet chocolate chips — Regular chips work best because they hold their shape and give you those classic cookie bites in every wedge. Chopped chocolate melts more, which can make the sandwich messier when you slice it.
- Vanilla ice cream — Use a good, dense vanilla here. A very airy ice cream gets soft too fast and can smear out when you assemble the sandwich.
Building the Sandwich Before the Ice Cream Gets Too Soft
Mixing the Cookie Dough
Start by whisking the dry ingredients together so the baking soda and salt are evenly distributed. Cream the butter with both sugars until the mixture looks pale and fluffy; that’s where you trap the air that gives the cookies a little lift. Add the eggs one at a time if you want the dough to come together more smoothly, then stir in the vanilla before adding the flour mixture. Once the flour goes in, mix only until you stop seeing streaks, or the cookies can turn tough.
Shaping the Giant Rounds
Split the dough into two equal portions and press each one into an 8-inch circle on parchment. The edges should be fairly even so the cookies match after baking; if one round is much thicker than the other, the sandwich will tilt when you stack it. Keep the dough thick enough to bake into a proper cookie, not a slab, because thin rounds dry out before the center sets.
Baking to the Right Center
Bake until the edges are golden and the centers still look slightly underdone. That center will finish setting on the pan as the cookies cool, and that’s exactly what you want for a cookie sandwich that stays chewy after freezing. If you wait until the middle looks fully baked in the oven, the finished dessert will eat dry and firm instead of soft and bendable.
Assembling and Freezing
Let both cookies cool completely before adding the ice cream, or the filling will melt into the crumbs and slip out the sides. Spread the softened ice cream in an even layer over one cookie, then place the second cookie on top and press just enough to settle it. Freeze the whole sandwich for at least an hour so the ice cream firms up and the layers slice cleanly. If you try to cut it too soon, the top cookie will slide and the filling will ooze instead of holding a neat wedge.
How to Change the Flavor Without Losing the Structure
Use chocolate ice cream for a brownie-like version
Swap the vanilla ice cream for chocolate if you want a deeper, richer dessert that tastes closer to a giant cookie sundae. The sandwich will still hold the same way, but the overall flavor gets less classic and more decadent.
Make it dairy-free with plant-based butter and ice cream
Use a solid plant-based butter and a dense non-dairy vanilla ice cream. The cookies won’t taste exactly the same, but the structure works well as long as the butter alternative is made for baking and the ice cream isn’t too icy or soft.
Add chopped nuts for extra crunch
Fold in up to 1 cup of chopped toasted pecans or walnuts with the chocolate chips. You’ll get a little more texture and a toasted flavor that plays well with the vanilla ice cream, but the sandwich will cut a little more roughly because of the added crunch.
Make smaller individual sandwiches
Instead of two large rounds, portion the dough into six to eight smaller cookies and pair them up after baking. This is easier for casual serving and portion control, but you lose some of the dramatic sliced-wedge presentation that makes the giant version stand out.
Storage and Reheating
- Refrigerator: Not ideal for long storage. The ice cream softens quickly, so keep leftovers wrapped tightly in the freezer instead of the fridge.
- Freezer: Wrap the assembled sandwich tightly in plastic wrap and foil, then freeze up to 1 week for best texture. After that, the cookies can pick up freezer flavor and the ice cream starts to get icy.
- Reheating: No reheating needed. Let slices sit at room temperature for 5 to 10 minutes before serving so the cookies give a little under the knife; cutting straight from the freezer is how you crack the top cookie.
Answers to the Questions Worth Asking
Giant Cookie Ice Cream Sandwiches
Ingredients
Equipment
Method
- Preheat the oven to 350F and line 2 sheet pans with parchment paper, using a marker to lightly outline 8-inch circles if you like. Whisk all-purpose flour, baking soda, and salt in a bowl until evenly combined.
- Beat the softened unsalted butter, granulated sugar, and brown sugar until fluffy, scraping the bowl once as needed. Add the eggs and vanilla extract and mix until smooth.
- Stir the flour mixture into the wet ingredients until just combined. Fold in the semi-sweet chocolate chips so the dough stays thick and studded.
- Divide the dough into 2 equal halves and press each into an 8-inch circle on the parchment-lined sheet pans. Bake at 350F for 14-16 minutes, until golden but slightly underdone in the center (look for set edges with a softer middle).
- Cool the cookie rounds completely on the sheet pans so they hold together for filling.
- Spread a thick layer of softened vanilla ice cream over one giant cookie, aiming for about an inch of ice cream at the center. Carefully top with the second giant cookie and press gently to create a sealed sandwich.
- Freeze for at least 1 hour until firm, then slice into wedges like a pizza to serve (use a sharp knife for clean cuts).