Golden, bubbling apple crisp with a buttery almond-oat topping is one of those desserts that disappears fast, whether it lands on a weeknight table or a holiday spread. The filling turns soft and syrupy under a crumble that bakes up crisp at the edges and tender in the middle, and nobody misses the gluten once that cold butter does its job.
What makes this version work is the balance: enough cornstarch to thicken the juices without turning the filling gluey, enough lemon juice to keep the apples bright, and a topping built from certified gluten-free oats, almond flour, and a GF flour blend so the crumble holds together instead of baking into sand. Cold butter matters here. Warm butter melts out too fast and leaves you with a flat, greasy layer instead of those chunky, craggy bits that brown well.
Below, I’ve included the one thing that keeps the topping crisp instead of soggy, plus a few smart swaps if you need dairy-free or want to change up the fruit.
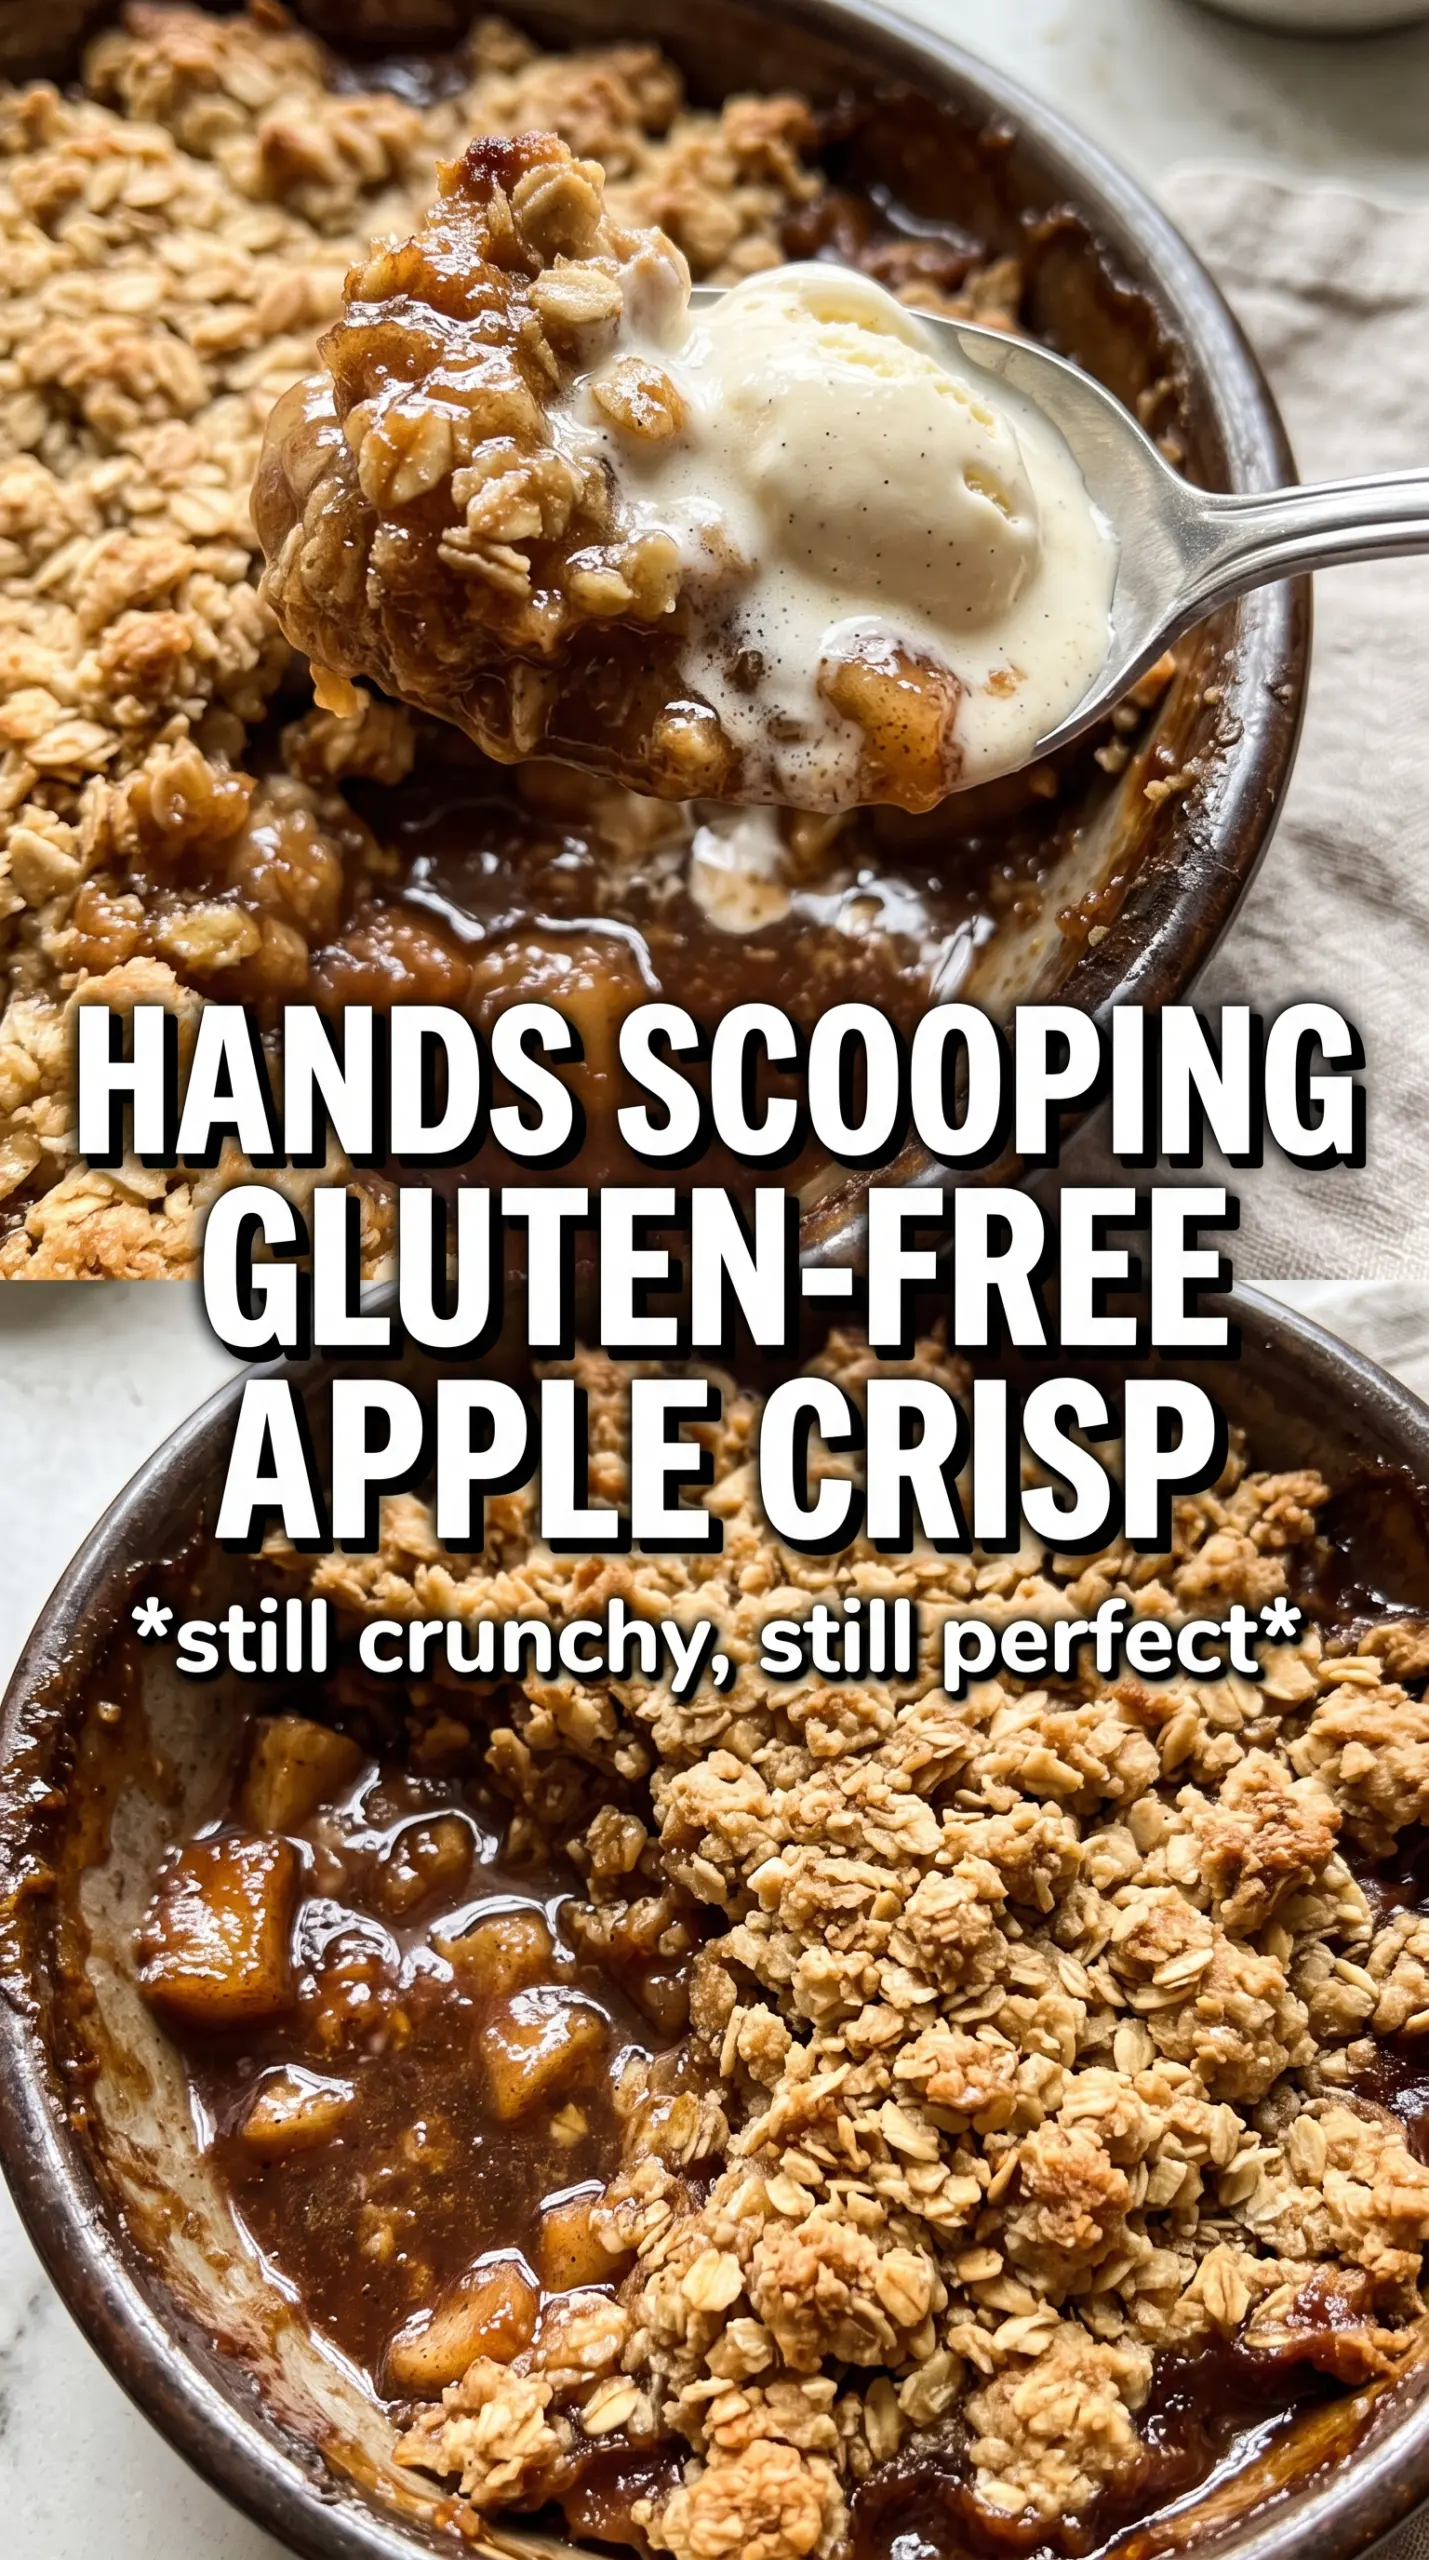
The topping turned out crisp and nubbly, and the apples baked down into a thick filling instead of pooling at the bottom. I used Granny Smith and Honeycrisp together, and it was the perfect sweet-tart balance.
Save this gluten-free apple crisp for the nights when you want bubbling apples and a crunchy almond-oat topping without any guesswork.
The Trick to Keeping a Gluten-Free Crisp Topping Crisp, Not Sandy
The biggest mistake with gluten-free crisps is treating the topping like a cookie dough. It isn’t. You want dry, uneven clumps, not a smooth mixture, because those clumps are what brown into crisp little craggy pieces in the oven. If you overwork it, the butter softens into the dry ingredients and the topping bakes up dense instead of light and crunchy.
The other thing that matters is the oats. Certified gluten-free rolled oats hold their shape better than quick oats and give the crumble enough structure to stay pleasantly nubbly after baking. Almond flour adds richness and helps the topping brown, while the gluten-free flour blend fills in the gaps so the texture doesn’t fall apart. Keep the butter cold until the last second, and stop cutting it in when you still see pea-sized bits.
What Each Ingredient Is Actually Doing in This Apple Crisp
- Apples — Use firm apples that can take heat without collapsing into applesauce. Granny Smith gives you tartness and structure, while Honeycrisp or Fuji add sweetness and a softer bite. A mix gives the best balance.
- Cornstarch — This thickens the apple juices as they bake, turning them into a spoonable filling instead of a watery puddle. Flour can work in a pinch, but it won’t give you the same clean, glossy thickness.
- Certified gluten-free rolled oats — These are the backbone of the crumble. Old-fashioned oats stay chewy in the center and crisp at the edges; quick oats break down too much and make the topping pasty.
- Almond flour — This adds richness and helps the topping brown faster. It also keeps the crumble tender, which matters in gluten-free baking because you need more than oats alone for texture.
- Gluten-free flour blend — A good all-purpose blend helps bind the topping so it clumps instead of falling into dry crumbs. If your blend already contains xanthan gum, that’s fine; if it doesn’t, this recipe still works because the butter and oats carry most of the structure.
- Cold butter — This is what creates the crisp, sandy-to-clubby topping. If the butter melts before the pan goes into the oven, you’ll lose the distinct crumble texture and end up with a flatter crust.
Building the Filling and Baking It Until the Edges Bubble
Coating the Apples Evenly
Start by tossing the sliced apples with the sugar, spices, cornstarch, and lemon juice until every piece looks lightly coated. The cornstarch needs to be distributed well or you’ll get pockets of thickened filling and other spots that stay runny. Spread the apples into the dish in an even layer so they cook at the same rate. If the slices are piled high in one corner, the top will brown before the center bubbles.
Cutting in the Butter Without Melting It
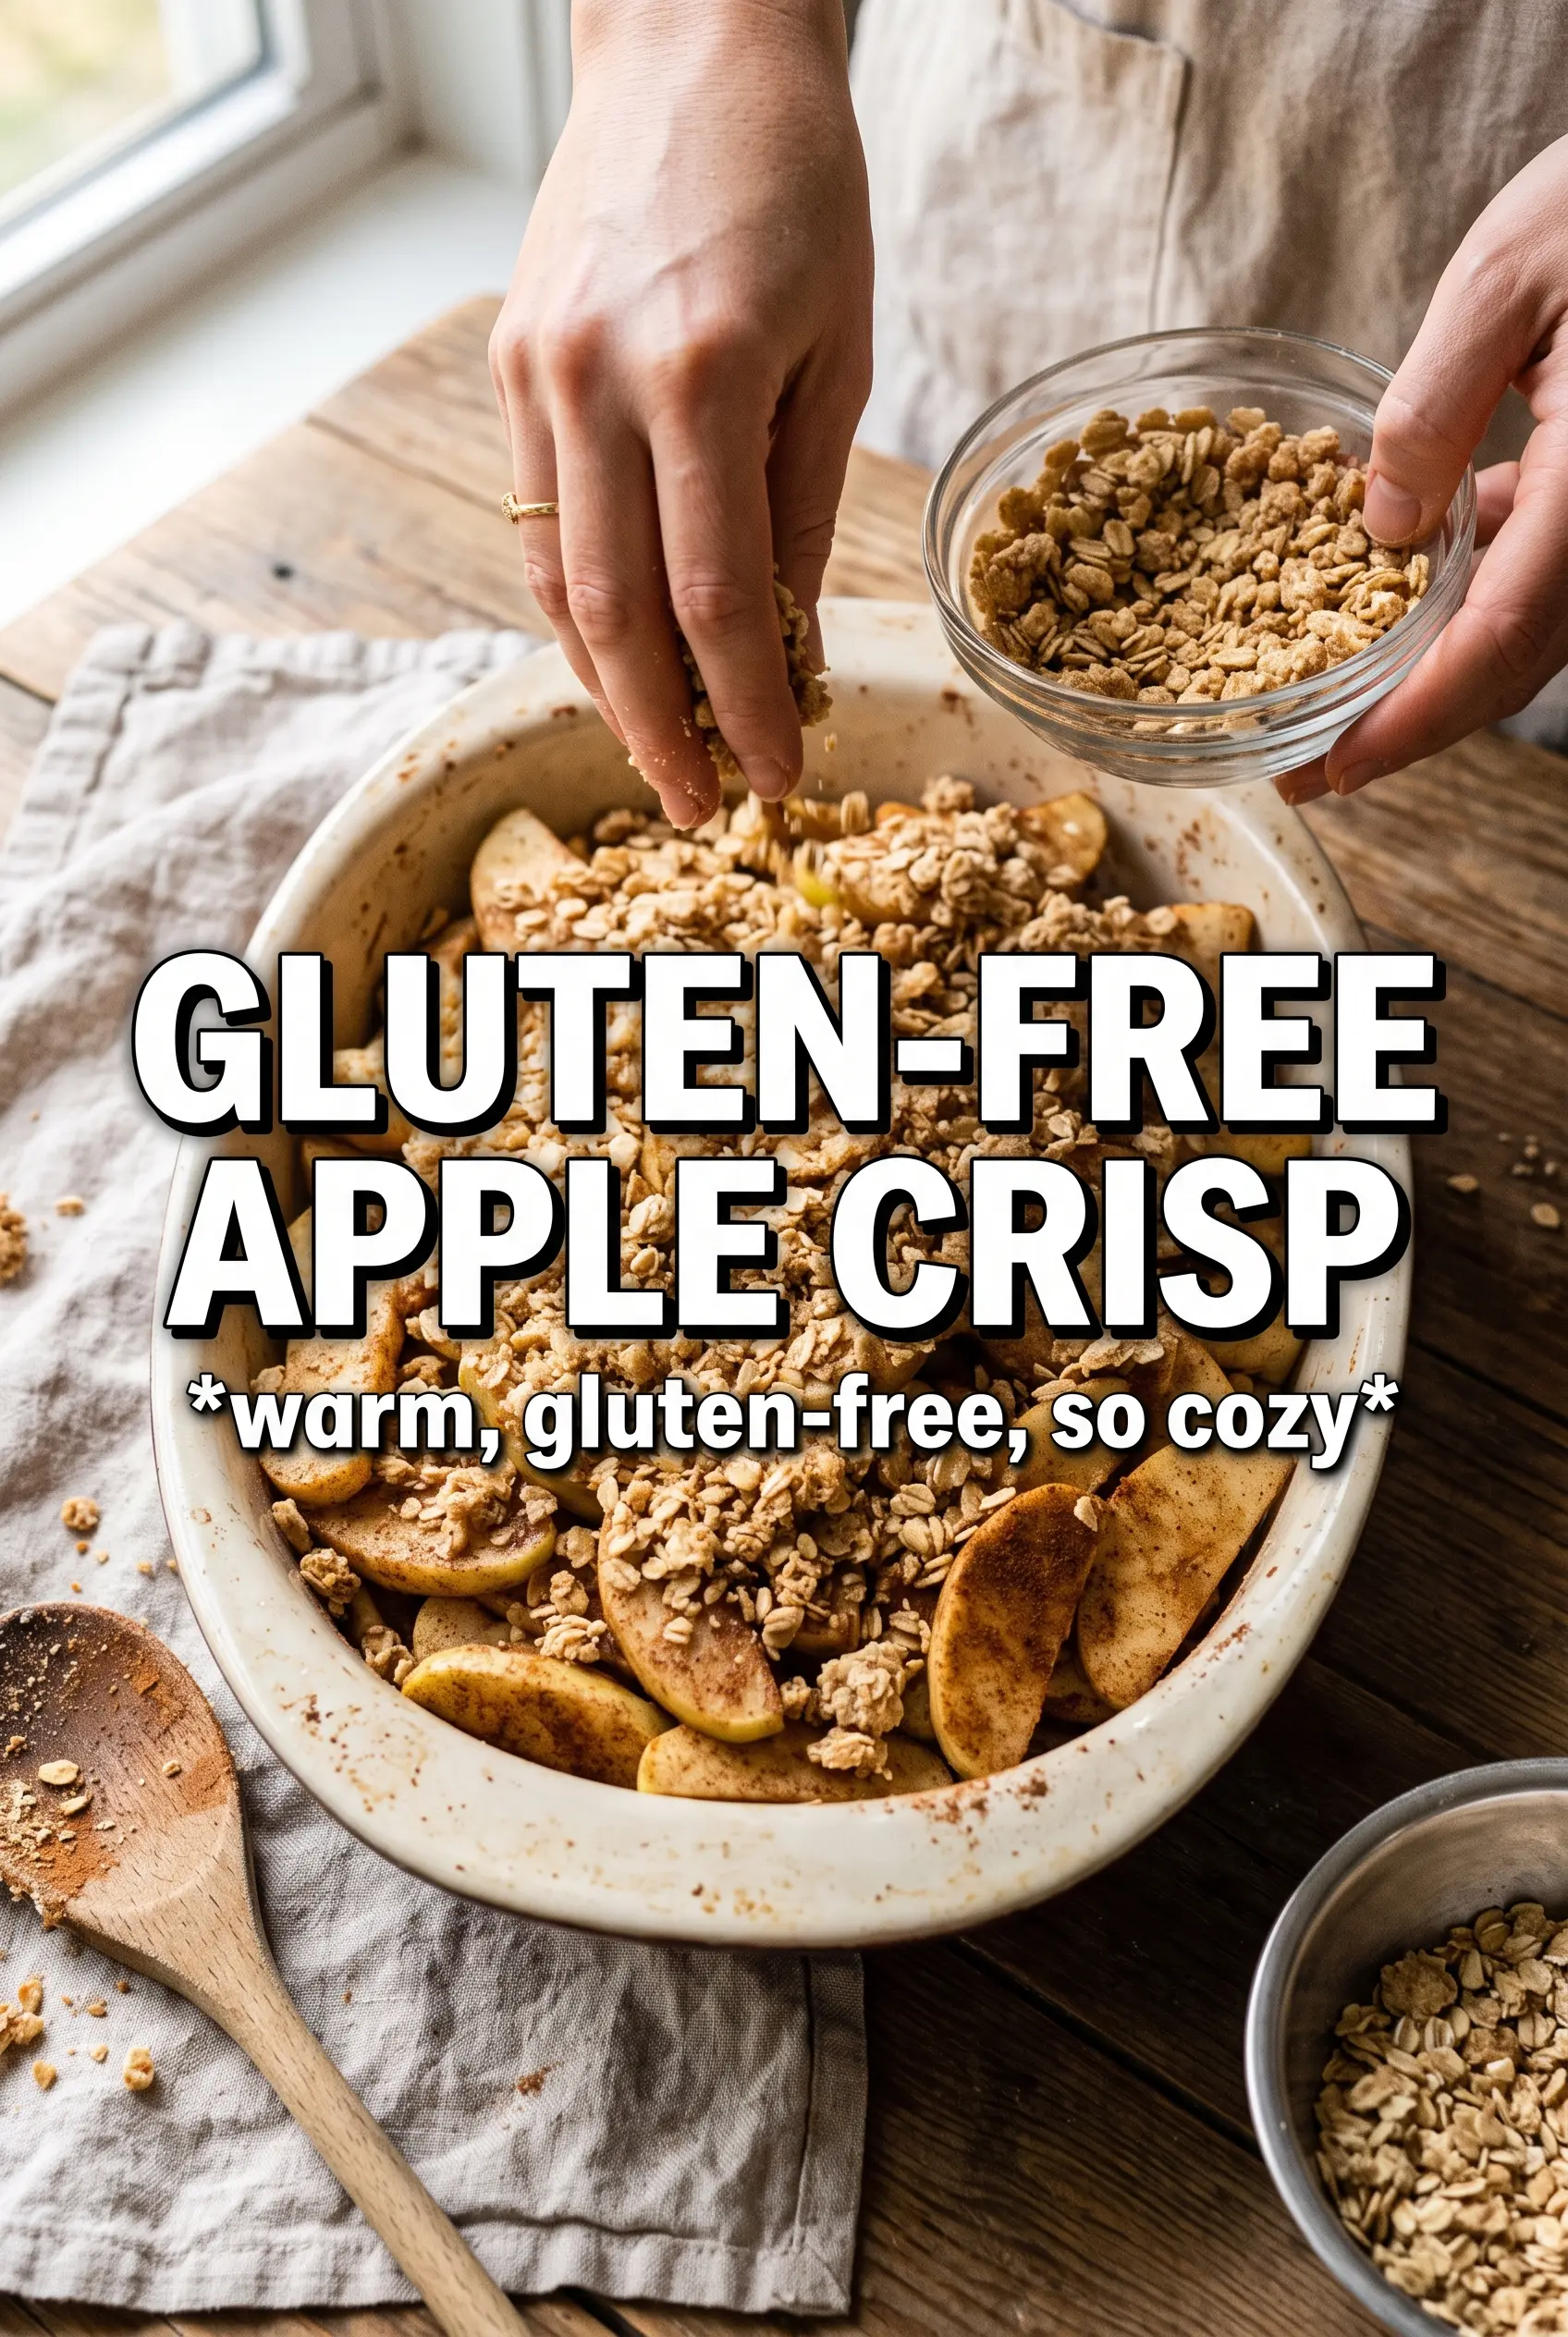
Mix the oats, almond flour, GF flour blend, brown sugar, cinnamon, and salt first, then cut in the cold butter until you have chunky, uneven clumps. Those clumps should hold when squeezed but still look rough. If the mixture turns paste-like, the butter was too soft or you worked it too long. Pop the bowl into the fridge for a few minutes if the kitchen is warm and the butter starts to smear.
Baking Until the Filling Bursts at the Edges
Scatter the crumble over the apples and bake until the top is deeply golden and you can see the filling actively bubbling around the sides and through the middle. That bubbling is the cue that the cornstarch has fully thickened the juices; if you pull it early, the apples can taste raw and the filling will stay thin. Let it rest for 10 minutes before serving so the juices settle. Cut into it too soon and the filling will run all over the pan.
How to Adapt This Crisp for Different Kitchens and Different Apple Pies
Dairy-Free Version
Swap the butter for a plant-based butter block, not a tub spread. The block-style versions hold their shape better in the oven and give you closer-to-real crumble texture. The topping won’t taste exactly the same, but it will still bake up crisp and brown.
Different Apple Combinations
Use all tart apples if you like a brighter dessert, or mix in a sweeter variety for a softer, rounder flavor. Just keep the apples firm enough to hold their shape while baking. Very soft apples can disappear before the topping is done.
Gluten-Free Flour Blend Swaps
Any good all-purpose gluten-free flour blend should work here, but the texture can shift a little depending on the starches in the blend. If yours is very fine and starchy, the crumble may brown a touch faster. If it feels dry after mixing, add another tablespoon or two of cold butter until the clumps form.
Storage and Reheating
- Refrigerator: Store covered for up to 4 days. The topping will soften a little, but the flavor holds well.
- Freezer: Freeze baked crisp in a tight layer of wrap and foil for up to 2 months. Thaw overnight in the fridge before reheating.
- Reheating: Warm in a 350F oven until the edges are bubbling again and the top crisps back up, usually 15 to 20 minutes. The microwave will heat it, but it also turns the crumble soft.
Answers to the Questions Worth Asking
Gluten-Free Apple Crisp
Ingredients
Equipment
Method
- Preheat the oven to 375°F and grease a 9x13 baking dish so the apples don’t stick.
- Slice and prep the apples, then set them aside for filling.
- Toss the apple slices with granulated sugar, cinnamon, nutmeg, cornstarch, and lemon juice until the apples look evenly coated and the mixture starts to clump slightly.
- Spread the coated apples in the greased baking dish in an even layer so they bake uniformly.
- Combine the gluten-free rolled oats, almond flour, gluten-free all-purpose flour blend, brown sugar, cinnamon, and salt until evenly mixed.
- Cut the cold cubed butter into the dry mixture until chunky clumps form and no large dry pockets remain.
- Scatter the crumble evenly over the apples, covering the surface for a crisp topping.
- Bake for 40–45 minutes at 375°F, until the topping is golden and the filling is visibly bubbling around the edges.
- Rest for 10 minutes before serving so the filling thickens and slices scoop cleanly.
- Serve with vanilla ice cream alongside each portion.