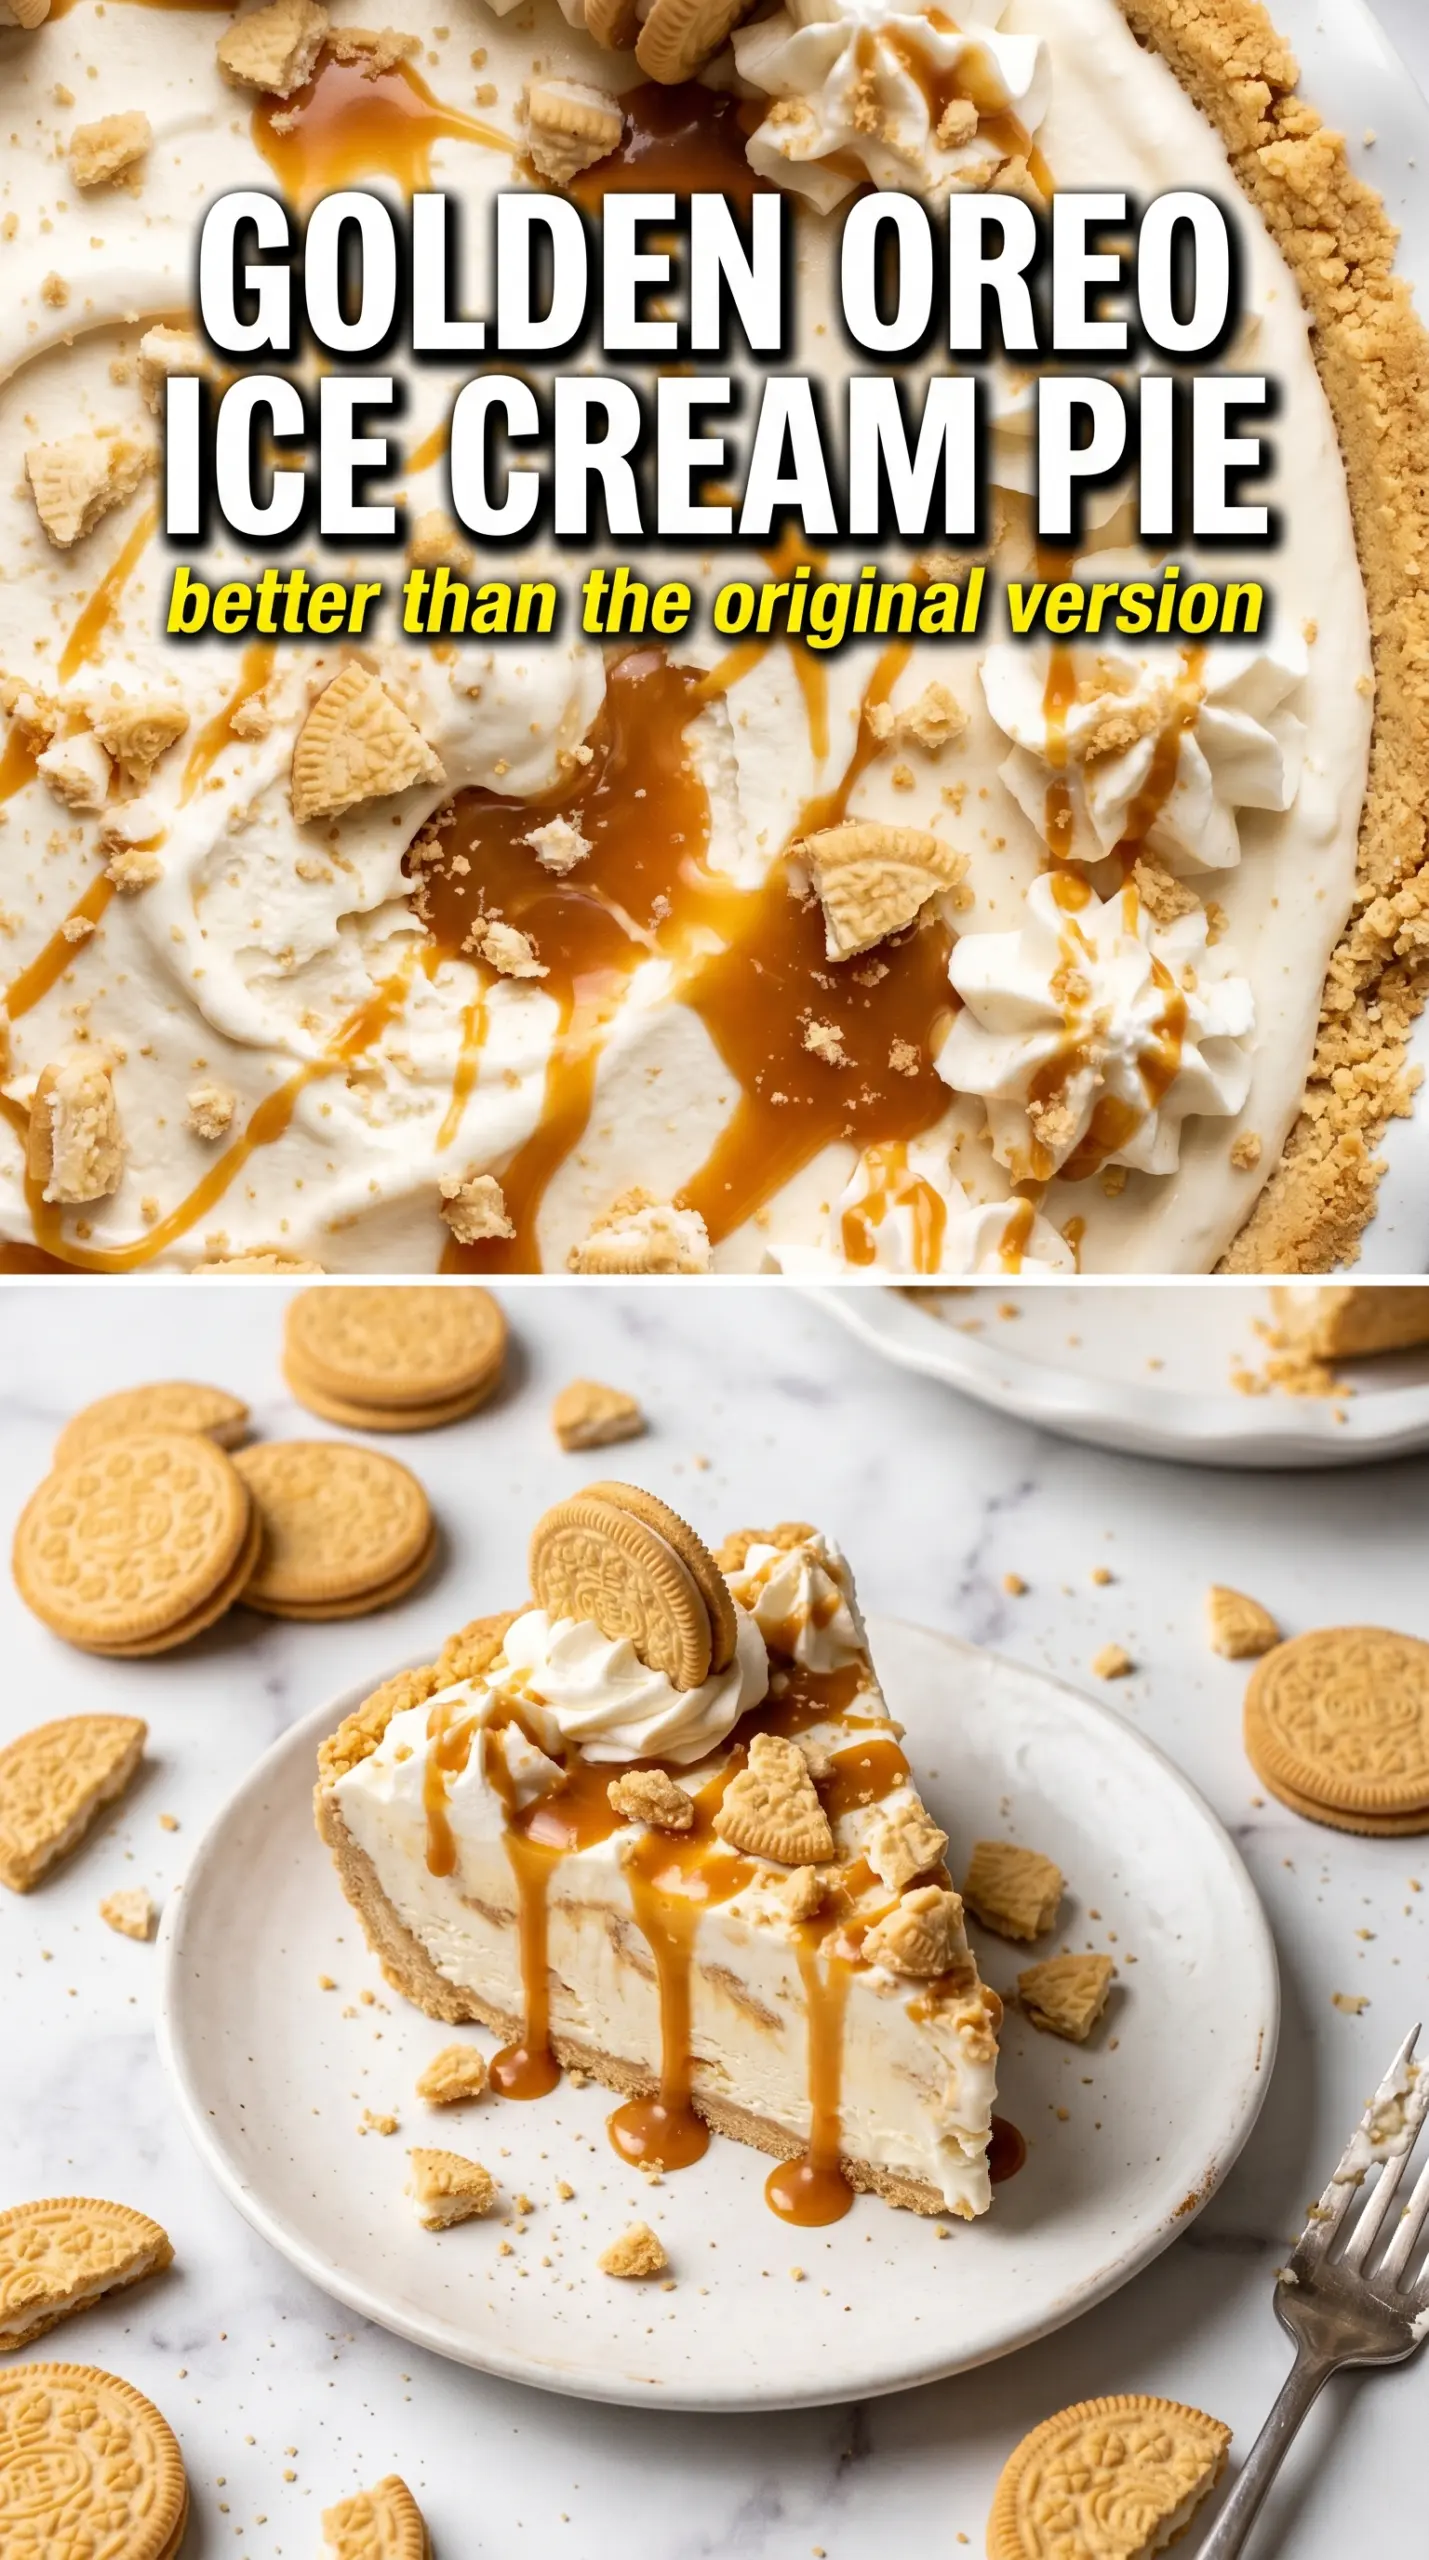
Golden Oreo Ice Cream Pie lands with that perfect mix of cold, creamy filling and a cookie crust that stays crisp enough to slice cleanly. The vanilla ice cream softens into a smooth layer that tastes richer than a basic scoop-and-freeze dessert, and the caramel on top gives it just enough salty-sweet contrast to keep every bite interesting.
What makes this version work is the crust. Golden Oreos already have the sweetness and vanilla flavor built in, so you only need melted butter to turn them into a sturdy base. Pressing the crumbs firmly up the sides and freezing the crust before the ice cream goes in keeps the pie from slumping or turning sandy when you cut it. Softened ice cream matters too — if it’s too hard, you’ll tear the crust trying to spread it.
Below, I’ve included the little details that keep this pie neat and sliceable, plus a few smart variations if you want to change up the toppings or make it work for a different occasion.
The crust held together beautifully and the ice cream sliced cleanly after 5 minutes on the counter. My kids kept asking for the caramel drizzle on every piece.
Save this Golden Oreo Ice Cream Pie for birthdays, cookouts, or any night that calls for a no-bake frozen dessert with a buttery cookie crust.
The Part That Keeps the Crust from Going Soft
Ice cream pie sounds simple, but the crust is what decides whether the first slice comes out neat or collapses into crumbs. Golden Oreos have more moisture and fat than graham crackers, which helps them pack tightly and hold their shape once the butter chills. The mistake is stopping at “mixed” — you want crumbs that look like damp sand and a crust that feels dense when you press it with the bottom of a measuring cup.
Freezing the crust before the filling goes in matters more than most people think. If you skip that short chill, the softened ice cream starts to melt the butter in the crust and you lose the clean edge that makes this pie look finished. A firm crust also gives you a little insurance when you slice it after the final freeze.
What the Ingredients Are Doing in This Pie
- Golden Oreos — These give you the vanilla-cookie flavor that makes the crust taste like part of the dessert instead of just a base. Regular Oreos will work, but they push the pie into chocolate territory fast. If you want the cleanest slice and the best flavor match for vanilla ice cream, keep the Golden Oreos.
- Unsalted butter — This is what turns loose crumbs into a sliceable crust. Melted butter gets distributed evenly without overworking the crumbs, and unsalted butter keeps the crust from tasting salty against the caramel topping.
- Vanilla bean ice cream — This is the center of the pie, so use one you’d happily eat by the spoonful. A good vanilla bean ice cream has enough body to freeze into a smooth, creamy layer instead of icy crystals. Let it soften on the counter until it spreads without resistance, but don’t let it turn soupy.
- Whipped cream or whipped topping — Whipped cream gives you a lighter, fresher finish, while whipped topping stays a little firmer in the freezer. If you’re making the pie ahead, whipped topping holds its shape longer; if you’re serving it the same day, homemade whipped cream tastes best.
- Caramel sauce — This is the contrast that keeps the pie from tasting one-note. A thick caramel sauce clings to the whipped cream and adds that glossy finish. If yours is too stiff, warm it for a few seconds so it drizzles instead of tearing the topping.
How to Build the Pie So It Slices Cleanly
Making the Crust
Stir the crushed Golden Oreos with the melted butter until every crumb looks evenly coated. Press the mixture into a 9-inch pie dish, pushing it firmly into the bottom and up the sides so there are no loose patches. The back of a measuring cup works well here because it compacts the crumbs without sticking to them. Freeze the crust for 15 minutes so it sets before the ice cream goes in.
Spreading the Ice Cream
Scoop the softened vanilla ice cream into the chilled crust and spread it into an even layer. Work quickly, because once the crust starts to warm, the filling can drag crumbs into the ice cream and make the surface look messy. If the ice cream is still too firm, let it sit a few more minutes; if it’s melting at the edges, it’s gone too far and will freeze with a grainy texture.
Freezing Until Firm
Freeze the filled pie for about 4 hours, or until the center is solid all the way through. The top should feel hard to the touch and not give when you press it lightly in the center. If you rush this part, the pie will smear when sliced and the crust may separate from the filling.
Finishing and Slicing
Top the frozen pie with whipped cream, drizzle on the caramel sauce, and scatter over crushed Golden Oreos and sprinkles. Put the pie back in the freezer after decorating so the topping sets before serving. Let it sit at room temperature for about 5 minutes before slicing; that short rest softens the outer edge just enough for a clean knife cut.
How to Change the Pie Without Losing the Texture
Make It Chocolate-Drizzled Instead of Caramel
Swap the caramel sauce for warmed hot fudge or chocolate sauce if you want a more classic ice cream parlor finish. The pie gets a deeper, sweeter profile, but the chocolate will cover some of the vanilla-cookie flavor that makes Golden Oreos special.
Use Dairy-Free Ice Cream and Whipped Topping
A good dairy-free vanilla frozen dessert works here as long as it’s firm enough to scoop cleanly. Use plant-based whipped topping for the finish, and chill the pie a little longer if needed because dairy-free ice cream can soften faster once it’s plated.
Turn It Into a Birthday Pie
Add rainbow sprinkles to the top and use a birthday cake–style vanilla ice cream if that’s what you have. It keeps the same no-bake structure, but the pie tastes more playful and a little sweeter. Just don’t bury the caramel under too many toppings or the surface gets messy fast.
Make It Ahead for a Crowd
This pie is a strong make-ahead dessert because it needs that long freeze anyway. Assemble it a day in advance, then add the whipped cream, caramel, and crushed cookies closer to serving so the topping stays pretty and doesn’t pick up freezer frost.
Storage and Reheating
- Refrigerator: This pie doesn’t belong in the fridge for long; it softens too fast and loses its shape. If you need to hold it briefly, keep it there only long enough to serve.
- Freezer: Store covered for up to 1 week for the best texture. After that, the crust can pick up freezer flavor and the whipped topping may start to lose its clean look.
- Reheating: No reheating needed. For clean slices, let the pie sit at room temperature for 5 minutes before cutting, and wipe the knife between slices so the filling doesn’t drag.
Answers to the Questions Worth Asking

Golden Oreo Ice Cream Pie
Ingredients
Equipment
Method
- Combine crushed Golden Oreos and melted butter, then press the mixture firmly into a 9-inch pie dish to cover the bottom and up the sides. Make the crust compact and smooth around the edges (no gaps).
- Freeze the crust for 15 minutes, until it feels set and holds its shape when touched lightly. Visual cue: the crust looks matte and firm.
- Spread the softened vanilla bean ice cream over the crust in an even layer and smooth the top with a flat surface for a level finish. Visual cue: the ice cream layer covers the crust completely.
- Freeze for 4 hours, until completely firm. Visual cue: the center cannot be dented and the edges look solid.
- Top with whipped cream and drizzle caramel sauce decoratively over the surface. Visual cue: a white cream layer with caramel ribbons.
- Scatter crushed Golden Oreos and sprinkles over the top, lightly covering the whipped cream without burying it. Visual cue: visible golden crumb specks across the surface.
- Return the pie to the freezer until serving, then let it sit for 5 minutes before slicing. Visual cue: after resting, the center cuts cleanly without crumbling.