Green bean bundles hit that sweet spot where the vegetables stay bright and tender while the bacon turns crisp at the edges and the glaze sinks into every bite. The contrast is what makes them stick in your memory: a little smoky, a little sweet, and just salty enough to keep you reaching for another bundle.
The trick is giving the green beans a quick blanch before they go into the oven. That short boil keeps them from turning dull or leathery during baking, and the ice bath stops the cooking so they hold onto their snap. The bacon goes on raw and finishes in the oven with the brown sugar garlic butter, which means the bundles baste themselves as they cook instead of drying out.
Below, I’ll walk through the small details that keep the beans green, the bacon crisp, and the glaze glossy instead of burnt. There’s also a storage note for making these ahead, plus a few easy swaps if you want to adapt them for a different crowd.
The beans stayed bright and tender, and the bacon got crisp even with the brown sugar glaze. I served them straight from the dish and the pan sauce got spooned over everything — not a bite was left.
Save these green bean bundles for the side dish that brings crisp bacon, tender beans, and sticky garlic butter together.
The Step That Keeps Green Beans Crisp Under the Bacon
Most green bean bundles go wrong in one of two places: the beans stay undercooked and squeaky, or they sit in the oven long enough to turn drab and soft. The blanching step solves both problems. Three minutes in boiling water is just enough to take the raw edge off the beans, and the ice bath locks in that bright color and crisp-tender bite before the bacon has time to overcook them.
The other thing that matters here is bundle size. Eight to ten beans is the sweet spot. If the bundles are too thick, the bacon won’t wrap tightly and the glaze won’t coat evenly. If they’re too small, the beans can dry out before the bacon reaches the crisp point.
Why the Brown Sugar Garlic Butter Works Here
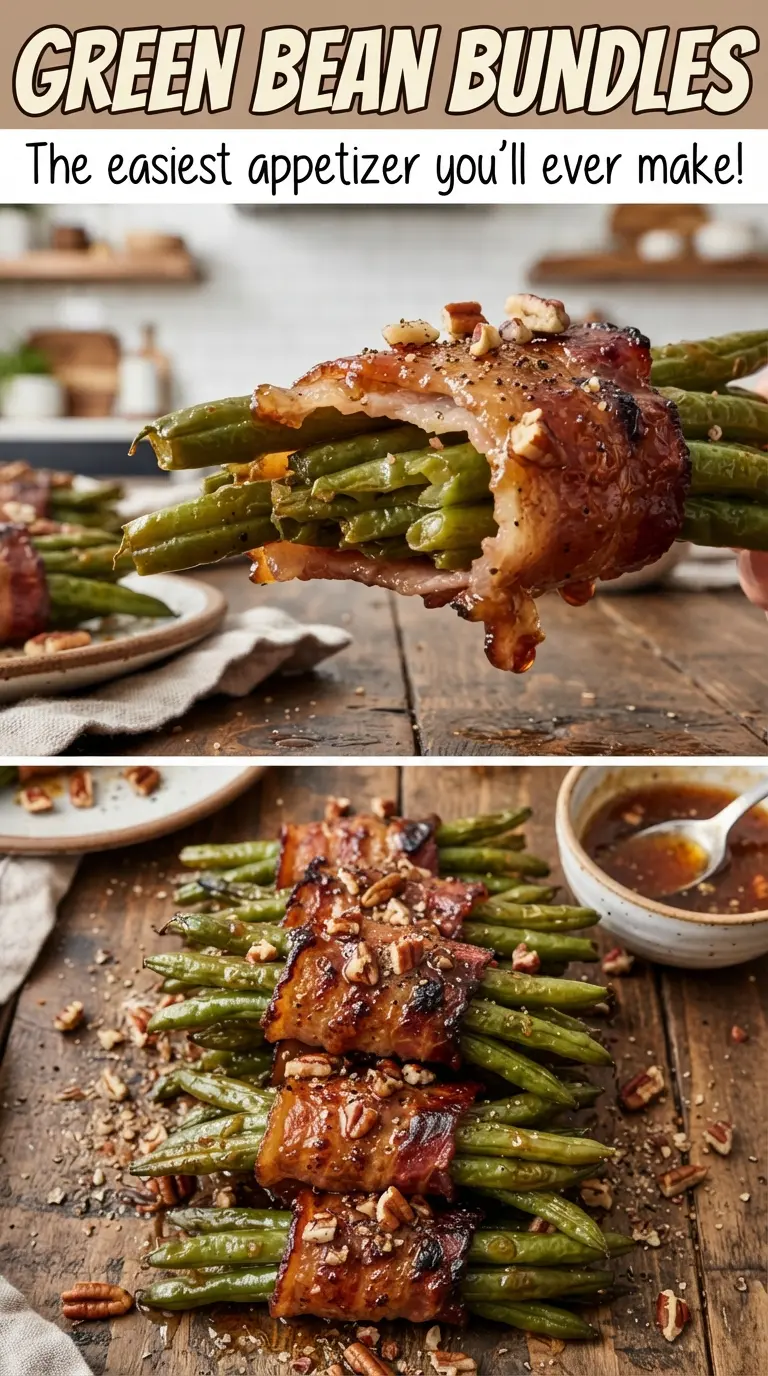
- Fresh green beans — Fresh beans hold their shape and stay snappy after blanching and baking. Frozen beans go soft too fast and won’t give you that clean bite under the bacon. Trim the ends before you start so the bundles look neat and cook evenly.
- Bacon — Regular sliced bacon is the right choice here because it has enough fat to crisp and baste the beans as it cooks. Thick-cut bacon takes longer to render and can leave the beans overdone before it crisps. Halving the slices crosswise gives you the right amount of wrap for each bundle.
- Brown sugar — This is what gives the glaze its sticky finish and caramel note. Light or dark brown sugar both work; dark brown sugar will give you a deeper molasses flavor and a slightly darker glaze. Granulated sugar won’t thicken the same way or cling as well.
- Soy sauce — Just a tablespoon is enough to pull the sweetness back and add depth. It also helps the glaze taste more rounded instead of candy-sweet. If you need a gluten-free version, use tamari in the same amount.
- Butter and garlic — Melted butter carries the sugar and garlic into every bundle, and the garlic perfumes the glaze as it bakes. Fresh minced garlic gives the best flavor here. Jarred garlic can taste harsh once it cooks this long.
How to Build the Bundles So the Bacon Stays Put
Blanching and shocking the beans
Bring a pot of water to a full boil before the beans go in. Three minutes is enough to soften them slightly without losing their bite. Drain them straight into ice water, then drain again really well so extra water doesn’t thin the glaze in the pan.
Wrapping the bundles tightly
Gather 8 to 10 beans per bundle and wrap a half slice of bacon around the middle. Put the seam-side down in the baking dish so the bacon ends stay tucked under as they cook. If the bundles are loose, the bacon can shrink away from the beans and leave bare spots.
Pouring the glaze at the right moment
Whisk the melted butter, brown sugar, garlic, soy sauce, and pepper until the sugar looks mostly dissolved, then pour it evenly over the bundles. The glaze should settle around the bottoms of the bundles and pool slightly in the dish. Bake until the bacon is crisp and the sauce bubbles around the edges; if the glaze starts to darken too fast, tent loosely with foil for the last few minutes.
Serving with the pan glaze
Spoon the hot glaze over the bundles right before serving. That last pass adds shine and catches the bits of garlic and caramelized sugar left in the pan. Serve them warm, while the bacon is still crisp at the edges.
Ways to Adjust These Bundles for Different Tables
Make-ahead for a dinner party
Blanch and dry the beans, wrap the bundles, and refrigerate them up to a day ahead. Hold the glaze separately until right before baking so the bacon doesn’t sit in liquid and turn slippery. That keeps the texture tighter and helps the bacon crisp instead of steaming.
Gluten-free version
Swap the soy sauce for tamari or coconut aminos. Tamari keeps the glaze closest to the original flavor, while coconut aminos will taste a little sweeter and lighter. The rest of the recipe can stay exactly the same.
Less sweet, more savory
Cut the brown sugar back to 1/4 cup and add an extra pinch of black pepper. You’ll lose a little of the sticky candy-like finish, but the bacon and garlic come forward more. This version works especially well if you’re serving the bundles alongside richer mains.
Using thin green beans instead of standard beans
Haricots verts or extra-thin beans cook faster and can go soft if you blanch them too long. Drop the blanching time to 1 to 2 minutes, then keep a close eye on the oven. They’ll give you a more delicate bite and a tidier look on the plate.
Storage and Reheating
- Refrigerator: Store leftovers in an airtight container for up to 3 days. The bacon will soften a bit in the fridge, but the flavor holds well.
- Freezer: These don’t freeze well once baked because the beans lose their texture and the glaze turns watery after thawing. If you need to prep ahead, freeze the wrapped raw bundles without glaze, then thaw and bake fresh.
- Reheating: Reheat in a 375F oven until warmed through and the bacon re-crisps, about 10 to 12 minutes. The microwave will make the bacon limp and the beans dull, so use the oven if you want the best texture.
Questions I Get Asked About This Recipe
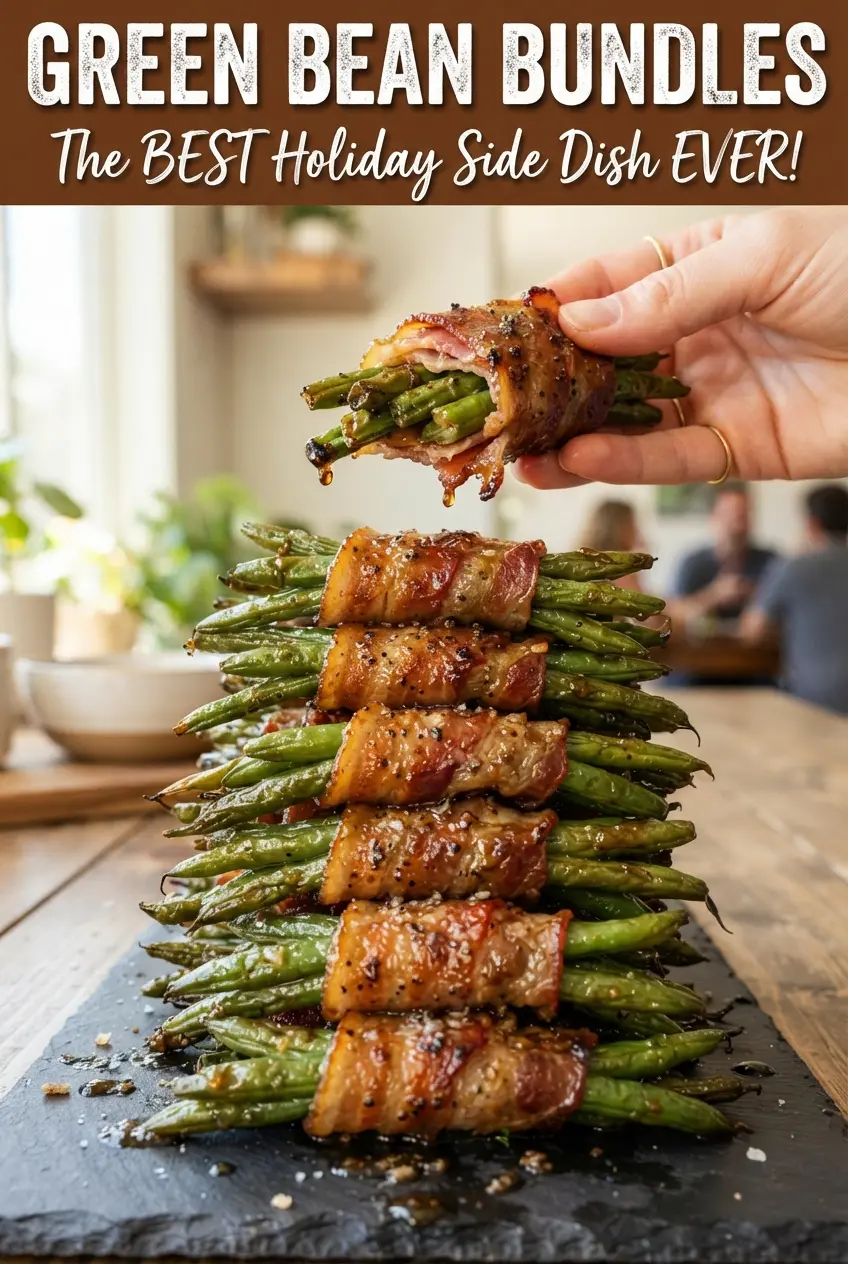
Green Bean Bundles
Ingredients
Equipment
Method
- Preheat oven to 400F. Blanch the trimmed green beans in boiling water for 3 minutes until bright green and crisp-tender.
- Plunge the blanched green beans into ice water and drain thoroughly. Let them drain well so the bacon crisps properly.
- Gather 8-10 green beans into a tight bundle and wrap each with a half slice of bacon, placing seam-side down in a baking dish. Keep the bundles snug for even browning.
- Whisk the melted butter, brown sugar, garlic, soy sauce, and black pepper until smooth. The glaze should look glossy and thickened slightly from the sugar.
- Pour the glaze evenly over the bacon-wrapped bundles. Aim to coat the top surfaces so it bubbles as it bakes.
- Bake at 400F for 25-30 minutes until the bacon is crisp and the glaze is bubbly. If the bacon browns too fast, tent loosely with foil.
- Spoon the pan glaze over the bundles. Serve warm while the bacon stays crisp.