Hickory Bridge Farm Apple Crisp bakes up with a thick, buttery oat crumble that stays crisp on top while the apples underneath turn soft, spiced, and just a little jammy around the edges. It’s the kind of dessert that disappears fast because it tastes old-fashioned in the best way: generous, simple, and built for a cold scoop of vanilla ice cream on top.
What makes this version work is the balance. The filling gets enough sugar and spice to taste like baked apples instead of plain fruit, but the cornstarch keeps the juices from flooding the pan. The topping is packed on thick and kept cold enough that it bakes into clumps instead of sanding into a dry layer of crumbs.
Below, I’ll walk through the one step that keeps the topping crisp, the ingredient choices that matter most, and a few smart ways to adapt it without losing that farmhouse feel.
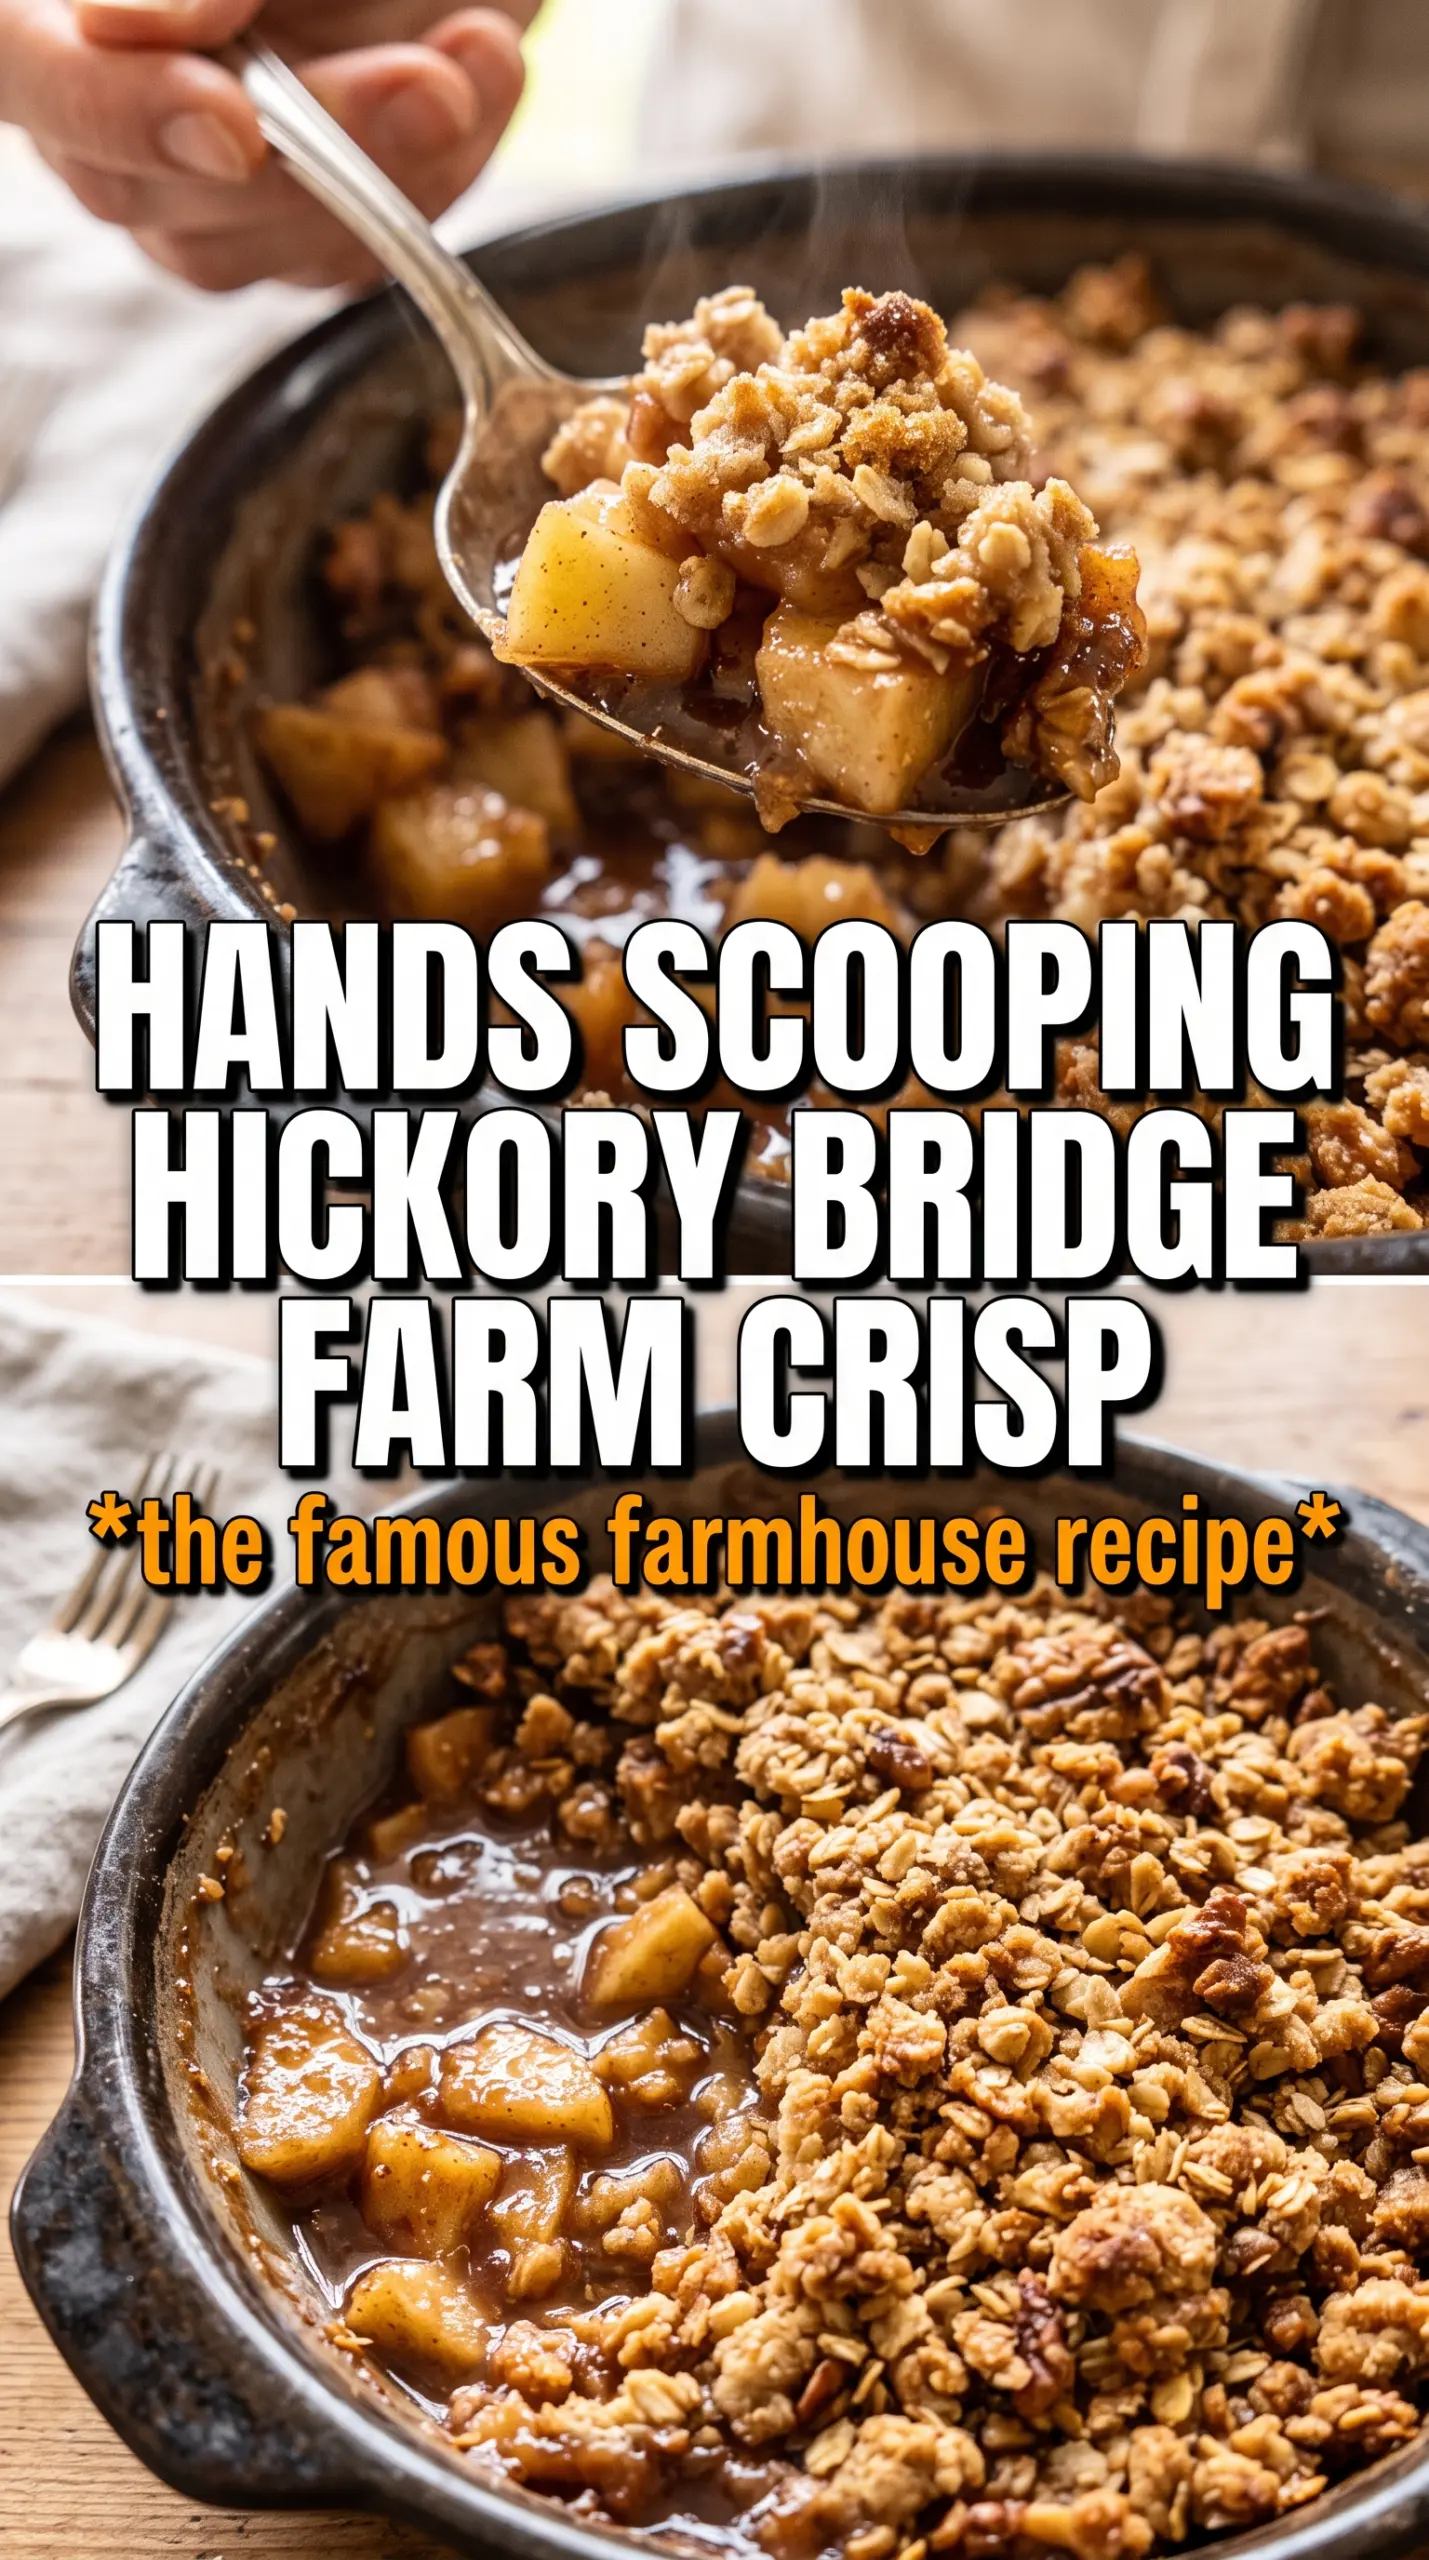
The topping baked up in big buttery clusters and the filling thickened right at the edges instead of running all over the plate. I served it warm with vanilla ice cream and there wasn’t a spoonful left.
Save this Hickory Bridge Farm Apple Crisp for the nights when you want a thick oat crumble and soft spiced apples that hold their shape.
The Secret to a Crisp Topping That Stays Craggy
The biggest mistake with apple crisp is working the topping until it looks uniform. That’s how you lose the chunky, bakery-style texture and end up with a fine, dry layer that bakes flat. Cold butter is the difference here. When it goes into the dry ingredients in cubes and gets worked in just until the mixture forms big clumps, those butter pockets melt in the oven and create the rough, craggy surface you want.
The filling needs the same kind of restraint. Apples release a lot of juice, and if you skip the cornstarch or underbake the crisp, the bottom turns soupy. Bake until you see bubbling around the edges of the dish; that’s the cue that the starch has done its job and the juices have thickened enough to spoon cleanly.
- Cold butter — Keep it cold right up until it hits the bowl. Soft butter blends too smoothly and gives you a sandy topping instead of thick clusters.
- Cornstarch — It thickens the apple juices without making the filling gummy. Flour can work in a pinch, but it needs more time and the filling won’t set as cleanly.
- Rolled oats — These give the topping its hearty, farmhouse texture. Quick oats will work, but the crumble will be finer and less nubby.
- Apples — A mix of tart and sweet apples gives the best result. If you use only one variety, choose one that holds its shape when baked, not one that turns to applesauce.
What Each Ingredient Is Doing in the Pan
- Apples — The whole dessert depends on the apples staying tender but not collapsing. If your apples are very juicy, slice them a little thicker so they don’t vanish during baking.
- Granulated sugar and brown sugar — The white sugar brightens the fruit, while the brown sugar adds a deeper, molasses note that feels right with the crumble topping.
- Cinnamon, nutmeg, and allspice — This trio gives the filling warmth without turning it into pumpkin pie territory. The allspice is subtle, but it’s what makes the flavor taste rounded instead of flat.
- Flour and oats — Flour helps bind the topping so it bakes into clumps, while oats keep it rustic and chewy on top. If you reduce the flour too much, the crumble won’t hold together.
- Lemon juice — It keeps the apples from tasting dull and helps the filling stay bright after baking. Fresh lemon juice is best here because the flavor is clean and sharp.
Building the Crisp So the Bottom Cooks and the Top Stays Thick
Mixing the Apple Filling
Toss the sliced apples with both sugars, spices, cornstarch, and lemon juice until every piece is coated. The mixture should look glossy, not watery. If you see a puddle forming immediately, the apples are already releasing juice; get them into the dish right away so the cornstarch can catch it during baking.
Making the Butter-Streaked Crumble
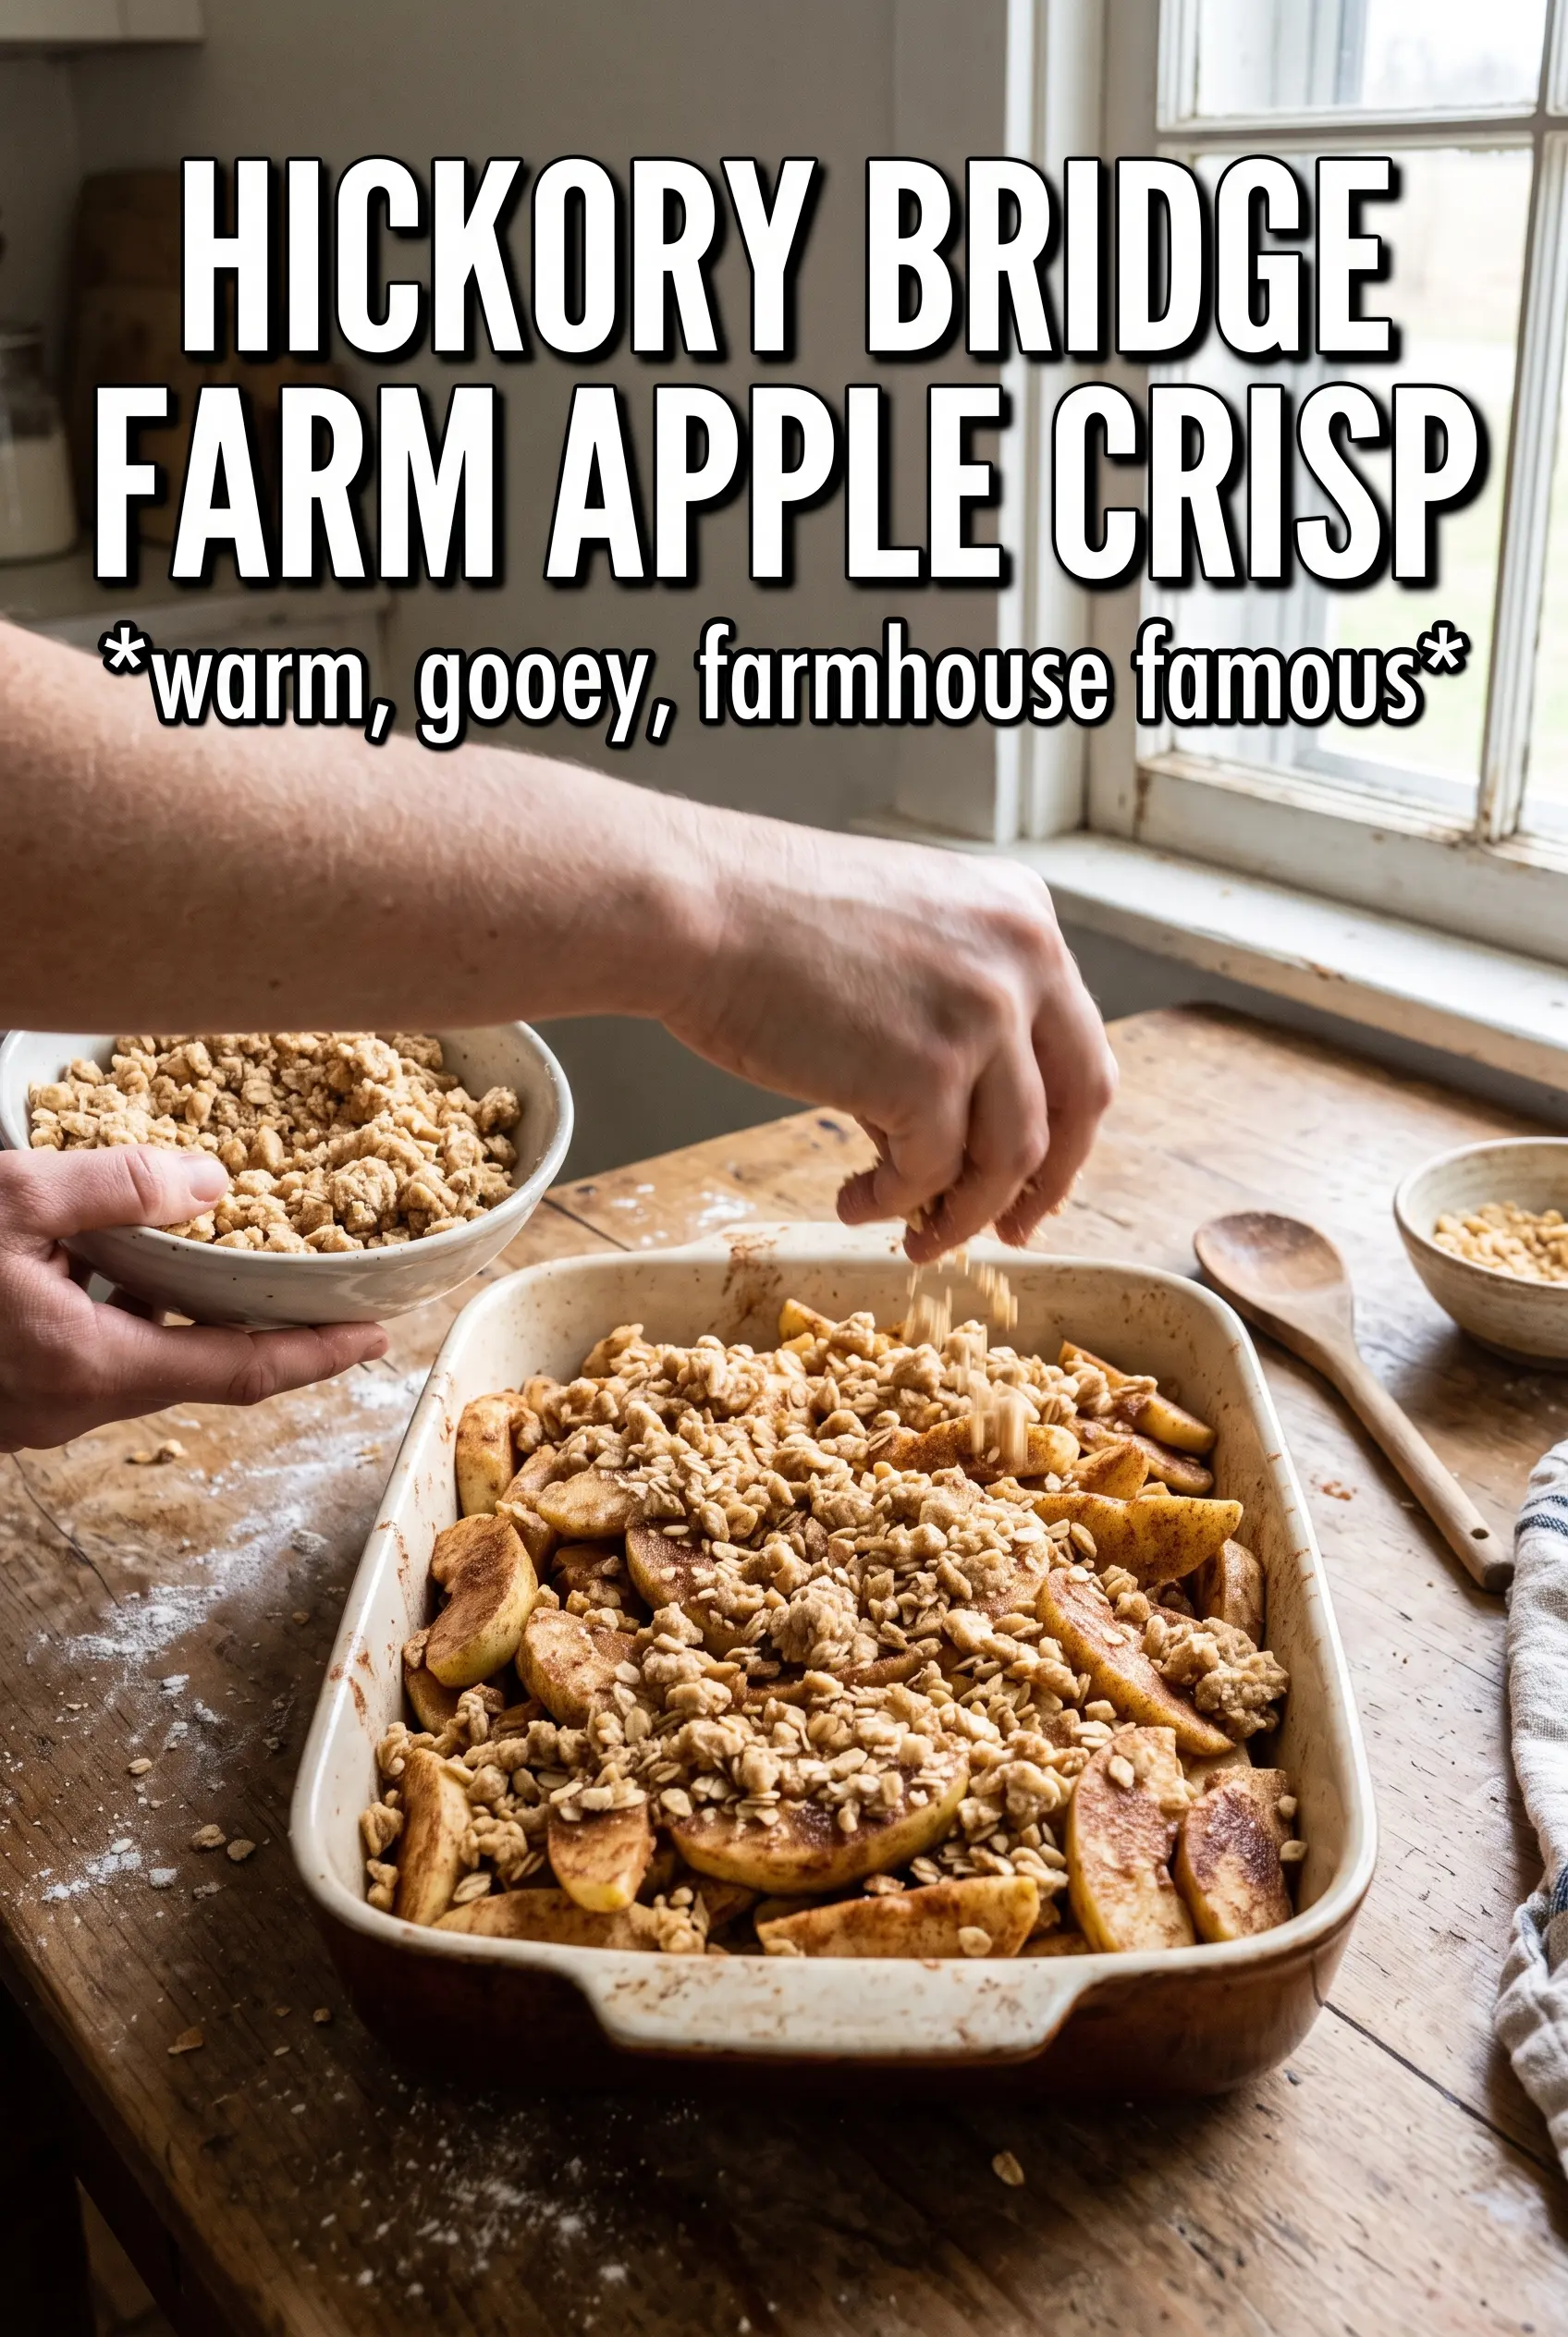
Combine the oats, flour, brown sugar, cinnamon, and salt first, then work in the cold butter with your hands until the mixture forms large clumps. Stop before it turns uniform. The best topping looks a little messy, with visible butter streaks and chunks that will melt into crisp ridges in the oven.
Baking Until the Edges Bubble
Spread the crumble over the apples in a thick layer and bake until the top is deep golden and the filling bubbles all around the edges, usually 50 to 55 minutes. If the top is browning too fast before the fruit is bubbling, lay a loose piece of foil over it for the last stretch. That keeps the crust from scorching while the apples finish softening underneath.
Letting It Rest Before Serving
Give the crisp 15 minutes on the counter before you scoop it. The filling thickens as it cools, and that short rest keeps it from running everywhere the second you cut in. It’s still best warm, when the topping is crisp and the center is tender but not molten.
How to Adjust This Crisp Without Losing the Farmhouse Feel
Make it gluten-free
Use a 1:1 gluten-free flour blend in place of the all-purpose flour, and check that your oats are certified gluten-free. The texture stays close to the original, though the topping may bake a little more tender and less structured.
Use a different apple mix
A mix of tart and sweet apples gives the best balance, but you can use all Honeycrisp, all Granny Smith, or a similar baking apple if that’s what you have. Sweeter apples give a softer, rounder filling, while tart apples keep the dessert bright and a little sharper.
Cut the dairy
Swap the butter for a cold plant-based baking stick that behaves like butter in the oven. Coconut oil will work, but it changes the flavor and the topping can set a little harder, so the baking stick gives the closest result.
Make it ahead for serving later
Assemble the crisp up to a day ahead, cover it, and refrigerate it unbaked. Bake it straight from the fridge, adding a few extra minutes if needed. The topping stays better when it bakes fresh rather than after reheating.
Storage and Reheating
- Refrigerator: Store covered for up to 4 days. The topping softens a bit, but the flavor stays strong.
- Freezer: Freeze baked crisp in a tight layer of wrap and foil for up to 2 months. Thaw overnight in the refrigerator before reheating.
- Reheating: Warm in a 325F oven until heated through and the topping perks back up, about 15 to 20 minutes. The microwave softens the crumble, so use it only if you don’t mind losing the crisp top.
Answers to the Questions Worth Asking
Hickory Bridge Farm Apple Crisp
Ingredients
Equipment
Method
- Preheat the oven to 350°F and generously grease a 9x13 baking dish for easy release. You should see the oven fully come up to temperature before baking.
- Toss the apple slices with granulated sugar, brown sugar, cinnamon, nutmeg, allspice, cornstarch, and lemon juice until the apples look evenly coated. Spread the apple mixture in the prepared dish in a thick, even layer.
- Combine the rolled oats, all-purpose flour, brown sugar, cinnamon, and salt, then work in the cold unsalted butter by hand until the topping forms large butter-streaked clumps. Keep clumps chunky for the crisp texture.
- Pour and spread the crumble topping generously over the apples, piling it thick so the top bakes up golden. Make sure the apples are well covered.
- Bake for 50-55 minutes at 350°F until the topping is deeply golden and you can see the apple filling bubbling all around the edges. If the top browns too quickly, rotate the dish and continue baking.
- Rest the apple crisp for 15 minutes before scooping to let the filling set slightly. The surface should look set and still crisp at the edges.
- Serve warm with vanilla ice cream or whipped cream. Add right before eating so the topping stays crisp.