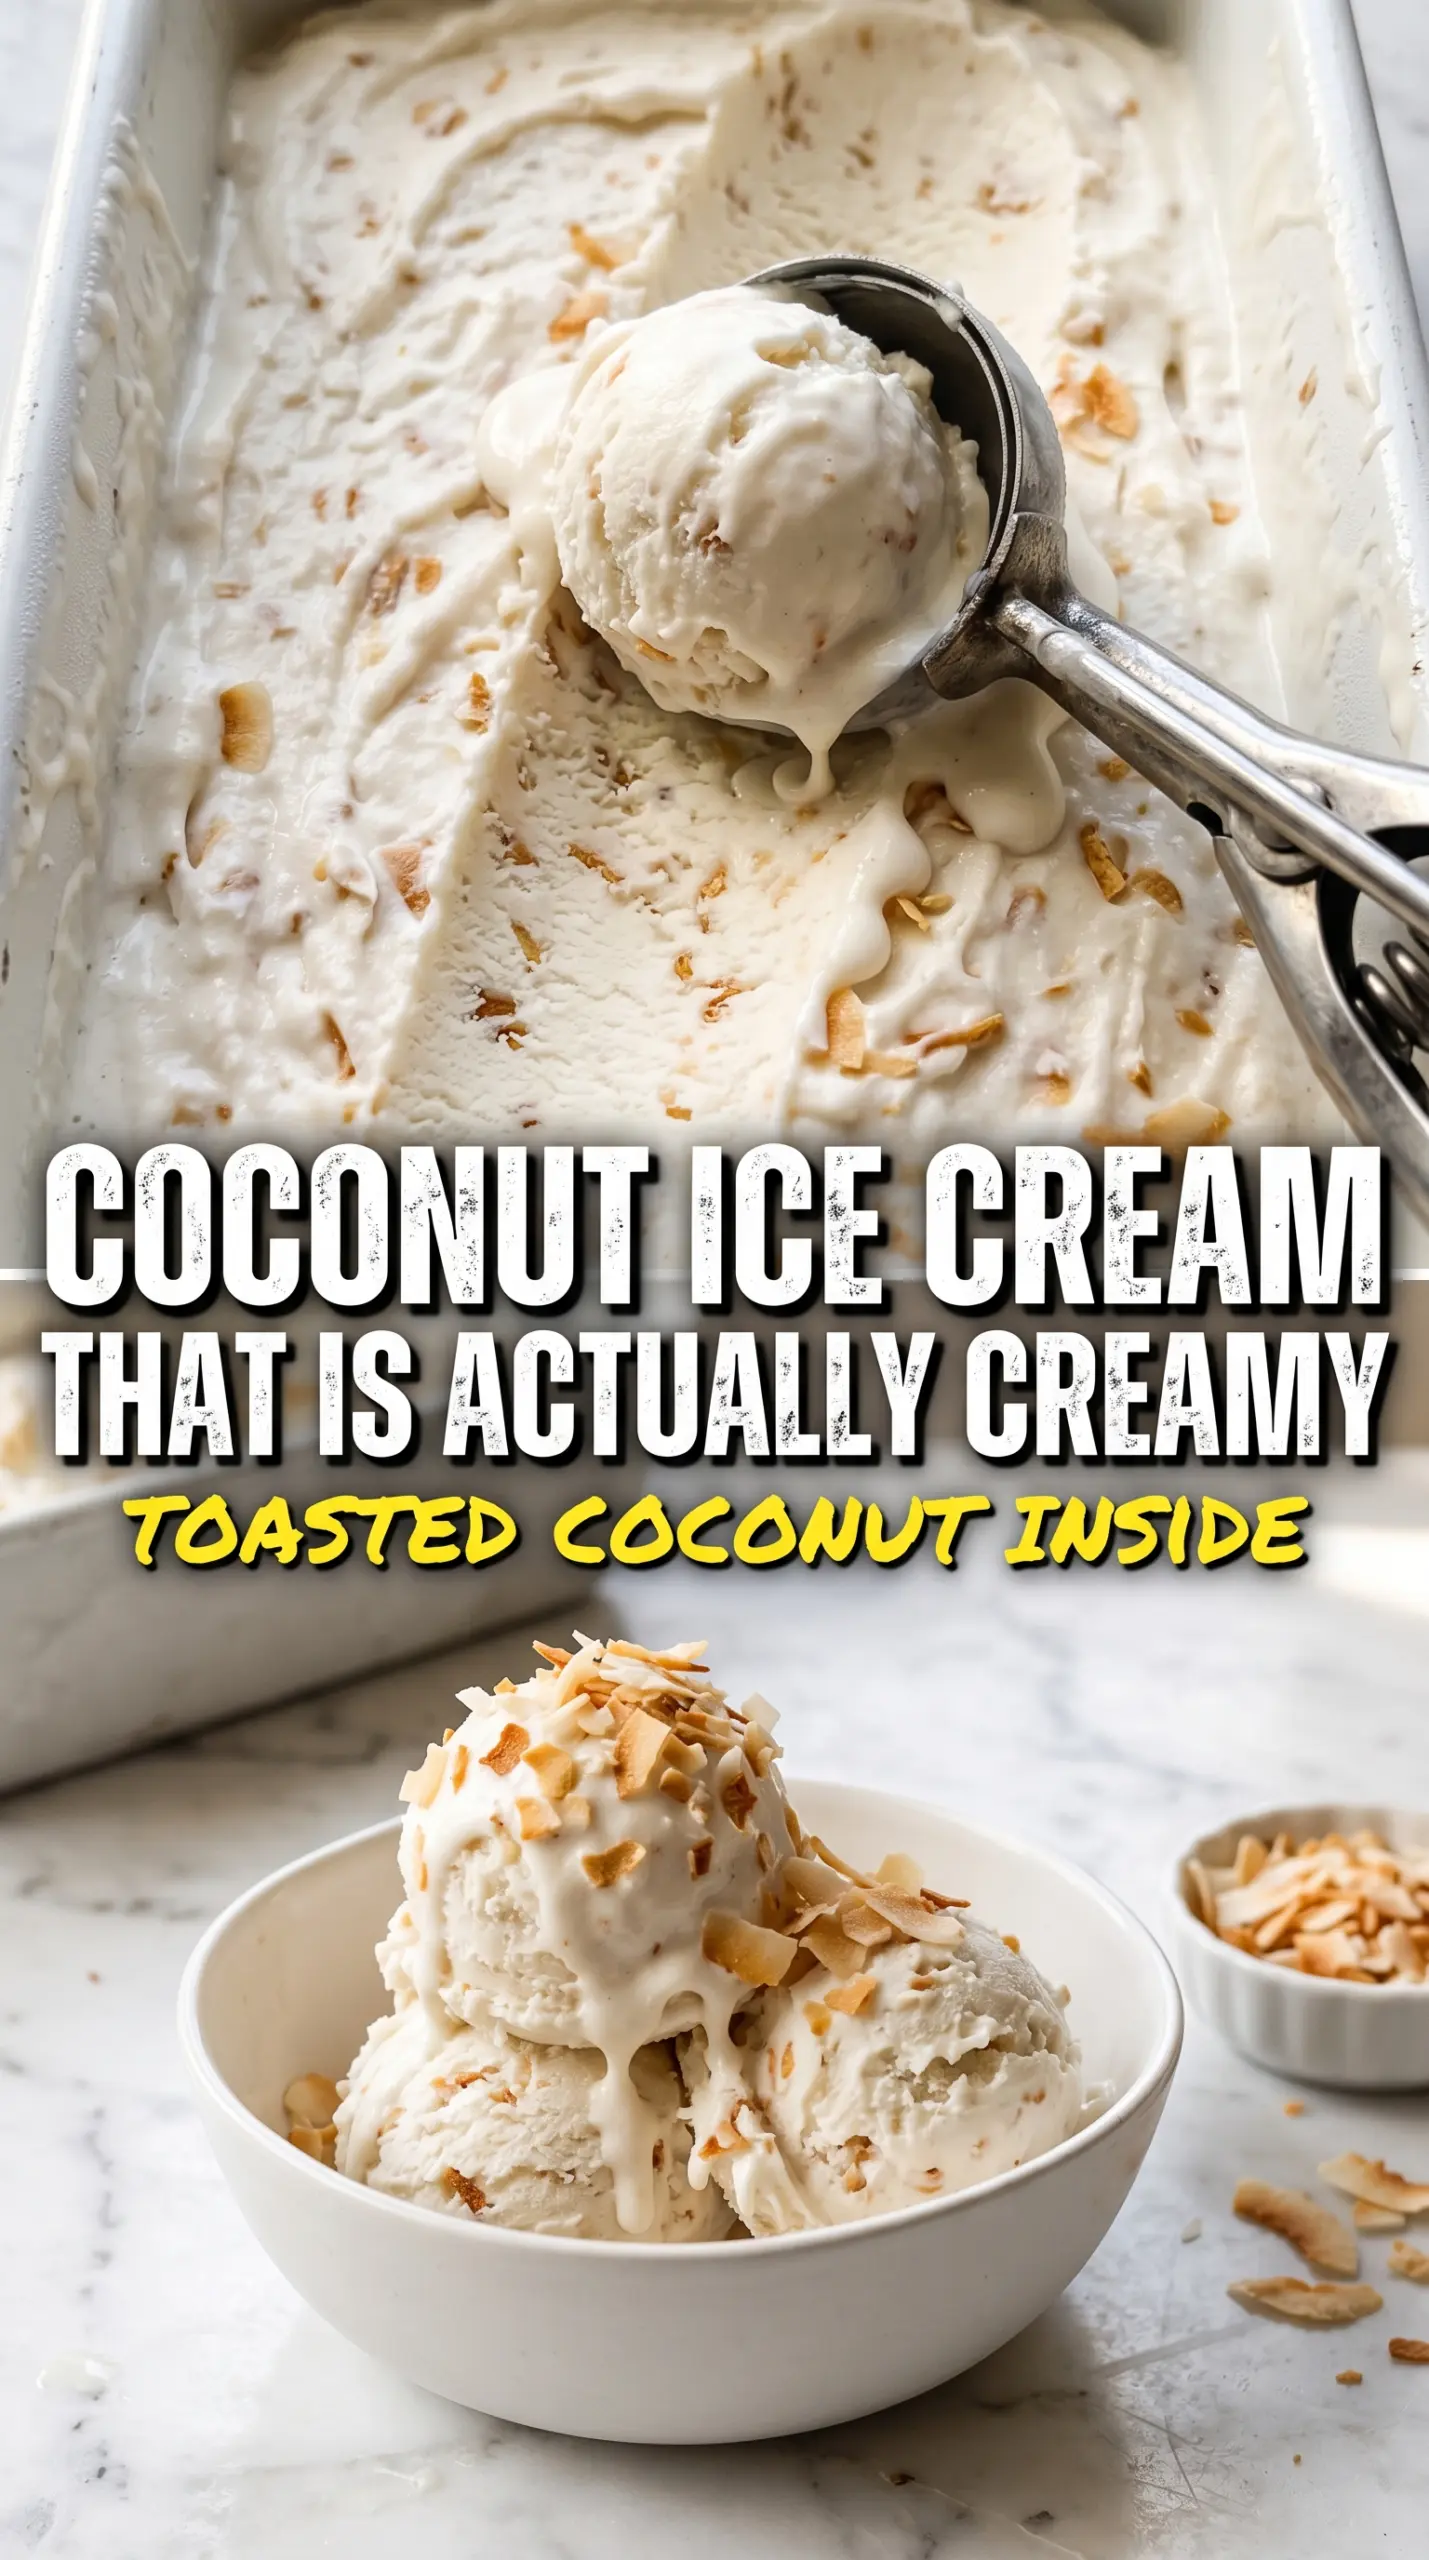
Silky coconut ice cream has a way of tasting richer than you expect from such a short ingredient list. The coconut milk gives it that dense, spoon-coating body, while the toasted coconut folded in at the end adds little chewy bites and a nutty finish that keeps each scoop from tasting flat. It freezes up creamy instead of icy when the custard is cooked gently and chilled all the way through.
The key here is treating it like a real custard, not just a sweetened dairy-free base. Egg yolks bring the body, and the slow tempering step keeps them from scrambling. A little coconut extract sharpens the flavor without making it perfume-y, and toasting the coconut first makes a bigger difference than people expect. Raw coconut fades into the background; toasted coconut tastes like part of the ice cream, not just a mix-in.
Below, I’ll walk through the small details that keep the custard smooth and the final texture scoopable. If your homemade ice cream has ever turned grainy or hard as a rock, the notes here will help.
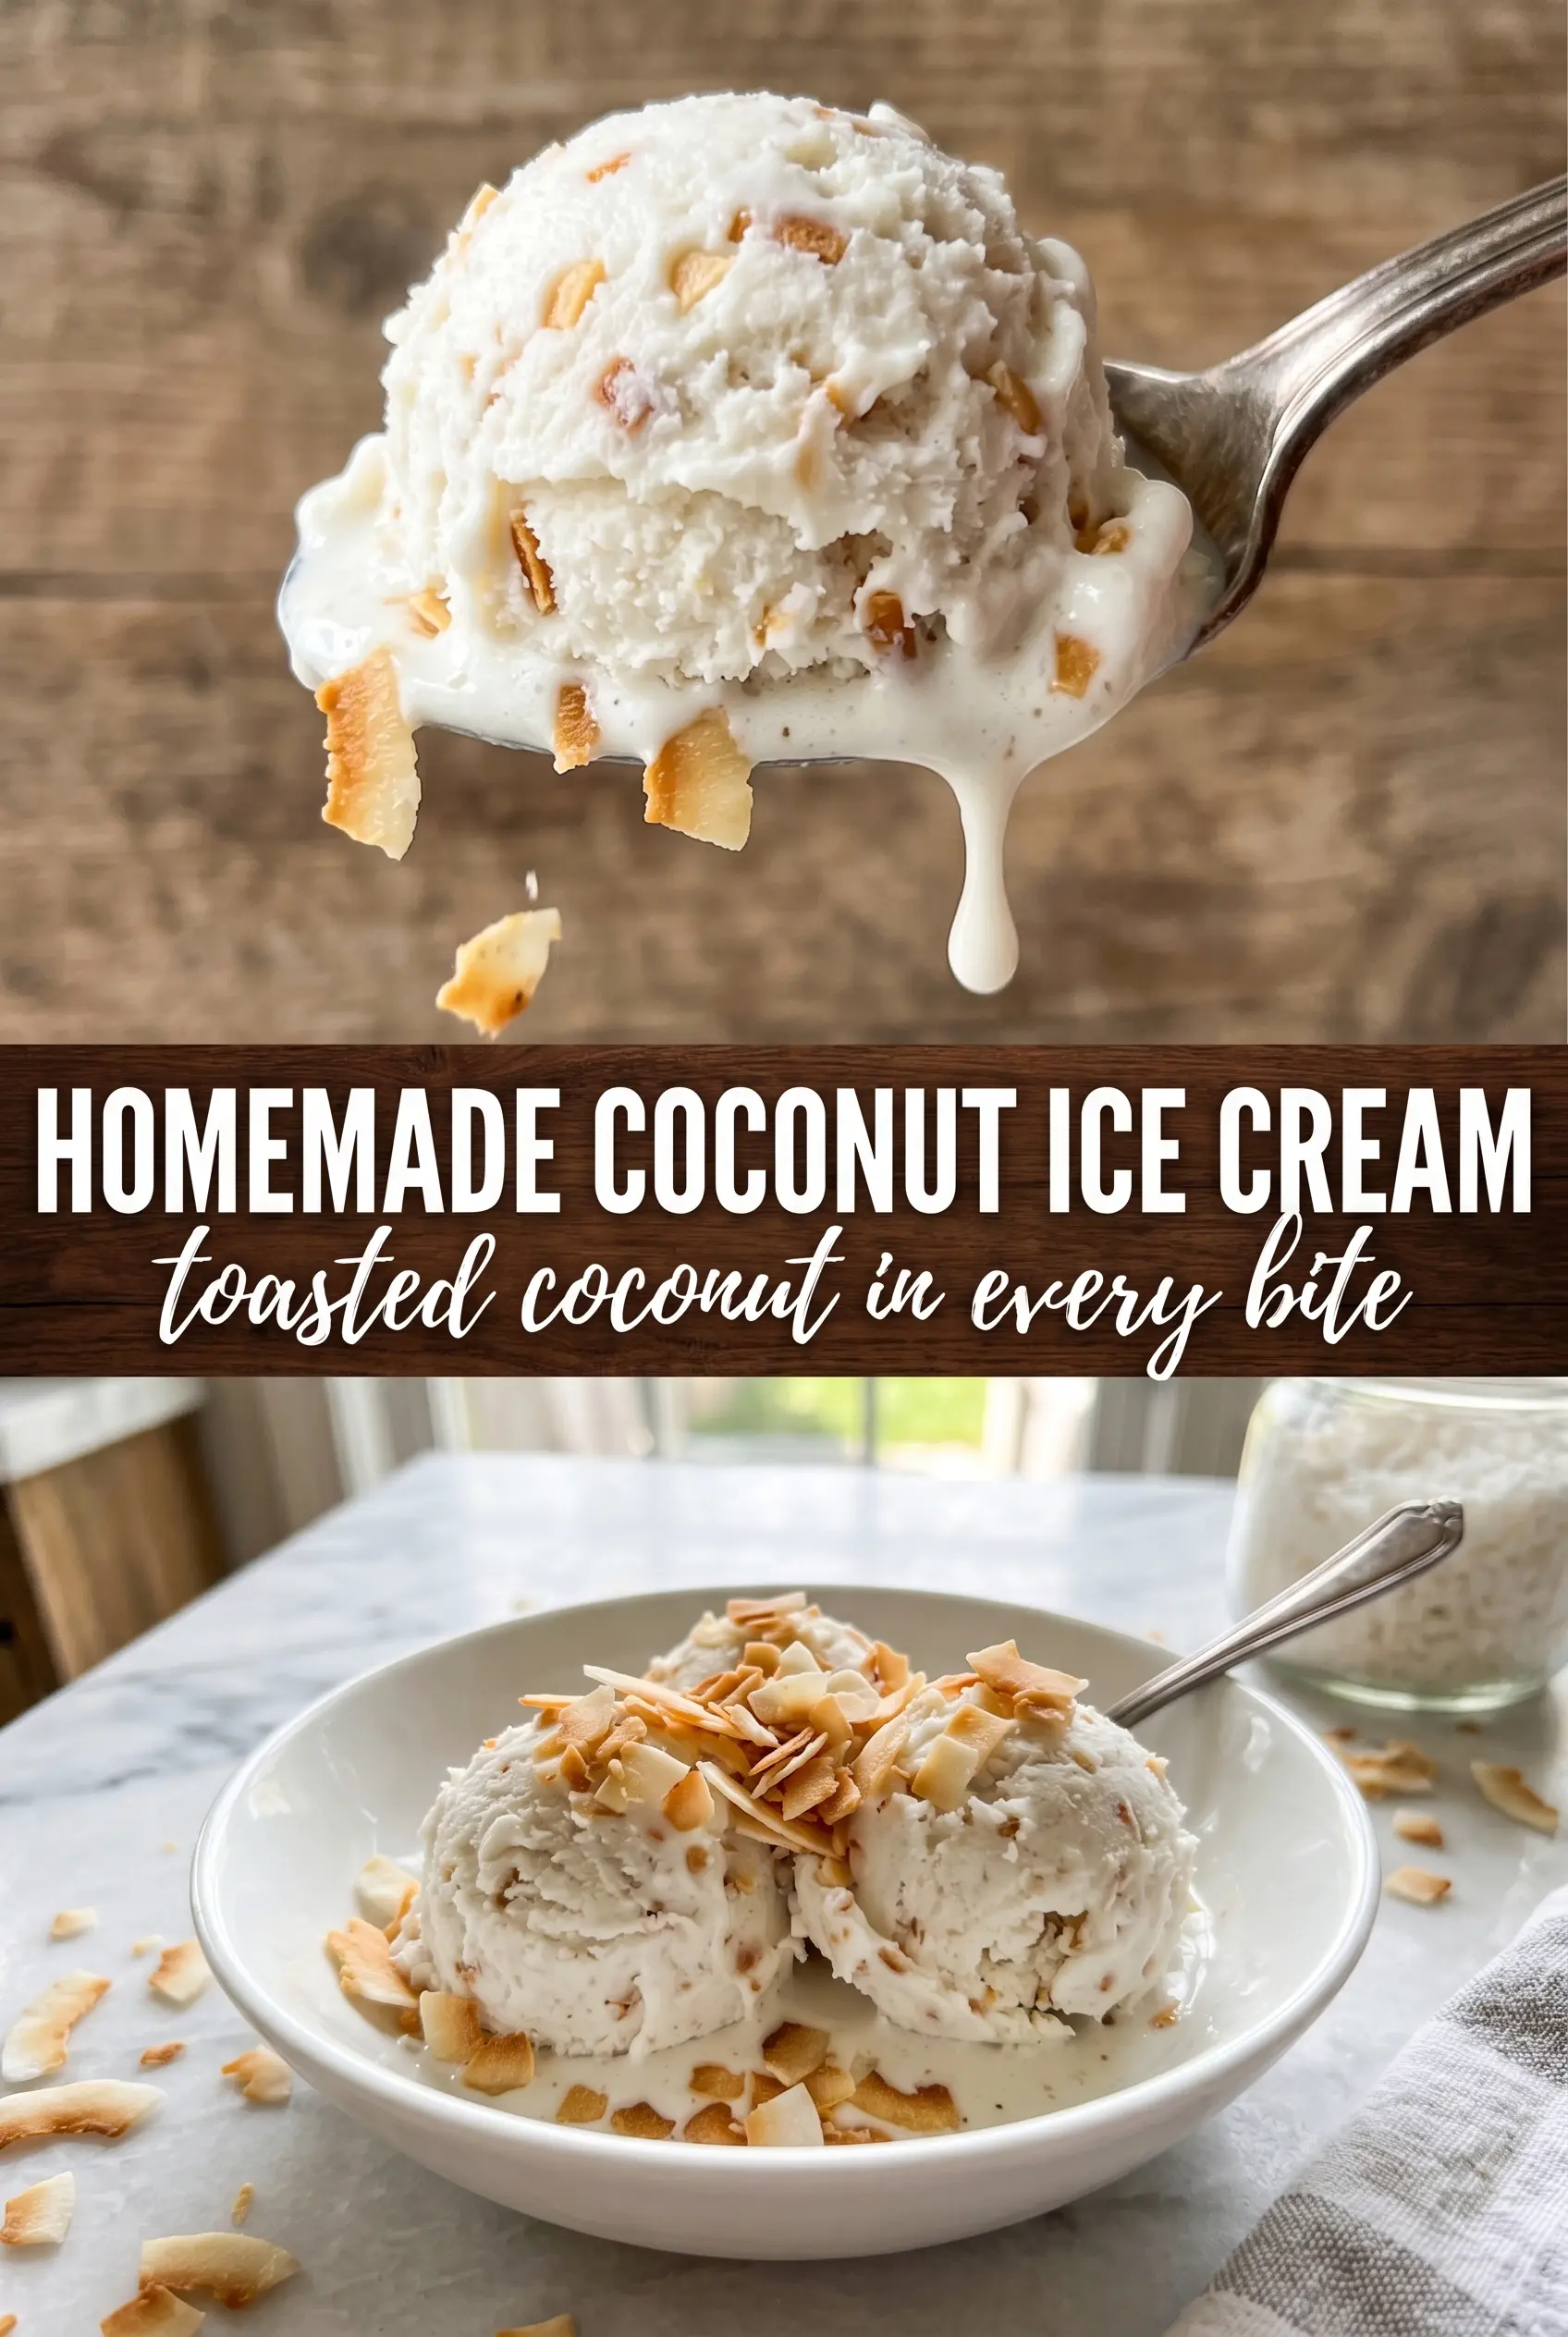
The custard turned out smooth and the toasted coconut stayed pleasantly chewy even after freezing overnight. I loved that the coconut flavor was deep without tasting artificial.
Like this toasted coconut ice cream? Save it to Pinterest for the nights when you want a deeply creamy custard base with real coconut flavor and crunchy-sweet flakes in every scoop.
The Custard Step That Keeps Coconut Ice Cream Creamy Instead of Grainy
The part that separates smooth coconut ice cream from a sandy, eggy one is the temperature control during the custard stage. Coconut milk can handle heat, but egg yolks can’t. If the base goes from warm to boiling in a hurry, the yolks tighten up and you end up with tiny bits of cooked egg that never fully disappear, even after churning.
Cook it slowly over medium-low and pay attention to the way it moves in the pan. You’re looking for a custard that thickens enough to coat a spoon and leaves a clean line when you drag a finger across the back. Stop there. It will continue to thicken a little as it cools, and overcooking is the fastest way to lose that velvety texture.
What Each Ingredient Is Actually Doing in This Coconut Ice Cream
- Full-fat coconut milk — This is the backbone of the ice cream, and the full-fat part matters. Light coconut milk won’t give you the same body, and the finished ice cream will freeze icier. Shake the cans before opening so the cream and liquid are evenly distributed.
- Egg yolks — The yolks make the base custardy and help it churn into a smoother, richer scoop. If you skip them, you’ll get something closer to a coconut frozen dessert than classic ice cream. Temper them slowly so they thicken the base instead of scrambling in it.
- Sugar — Sugar is doing more than sweetening here. It keeps the base from freezing into a hard block and helps the texture stay scoopable straight from the freezer. Cutting it too far changes the final texture, not just the sweetness.
- Toasted shredded coconut — Toasting turns this from a bland add-in into a real part of the flavor. A pale, barely warm coconut won’t carry the same nutty crunch. Toast it until the edges are golden and the aroma turns fragrant, then cool it before folding it in so it doesn’t melt into the base.
- Coconut extract — A little goes a long way. It boosts the coconut milk without making the ice cream taste artificial, but too much can take over and turn sharp. If you don’t have it, add a little more vanilla and lean on toasted coconut for the flavor lift.
The Freezing Window That Makes the Difference Between Soft-Scoop and Brick
Tempering the Yolks
Whisk the yolks until they’re smooth and lighter in color, then drizzle in the hot coconut milk slowly while whisking constantly. That gradual addition raises the temperature without shocking the eggs. If you dump the hot mixture in all at once, you’ll get streaks of cooked yolk instead of a smooth custard.
Cooking the Base
Return everything to the saucepan and cook over medium-low heat, stirring all the way across the bottom and corners of the pan. The custard should thicken enough to lightly coat a spoon at 175°F. Don’t push it much higher, because coconut-based custards can go from silky to curdled fast once the yolks overheat.
Straining and Chilling Completely
Strain the custard into a clean bowl to catch any tiny cooked bits, then stir in the vanilla, coconut extract, and salt once it’s off the heat. Cool it down before refrigerating it, and give it the full chilling time. If the base goes into the churner still warm, the ice cream machine has to work too hard and the result freezes looser and icier.
Churning and Folding in the Coconut
Churn until the texture looks like soft serve and the machine starts to leave obvious ridges in the mixture. Add the toasted coconut in the last couple of minutes so it stays suspended instead of sinking. After churning, pack it into a container and freeze until firm enough to scoop cleanly, which usually takes a few hours.
Dairy-Free Version
Use canned coconut milk and skip the egg yolks if you want a fully dairy-free frozen dessert, but expect a firmer, less custardy texture. The base will still be creamy, just a little lighter and more icy than the original. A small spoonful of vodka or coconut liqueur can help keep it scoopable if you’re serving it straight from the freezer.
Less Sweet, More Coconut
You can cut the sugar a little if you want the coconut flavor to come forward, but don’t reduce it too aggressively. Sugar keeps the texture soft, so too little turns the ice cream hard and brittle after freezing. If you want it less sweet without changing the freeze, serve it with unsweetened whipped cream or fresh fruit.
No Ice Cream Maker
Freeze the custard in a shallow container and stir it every 30 minutes for the first 2 to 3 hours to break up the ice crystals. You won’t get the exact same airy texture, but it still works. The important part is frequent agitation early on, before the base has a chance to set solid.
Storage and Reheating
- Refrigerator: The churned base should be used right away for freezing; once finished, store the ice cream in the freezer, not the fridge.
- Freezer: Keeps well for about 2 weeks in a tightly sealed container with parchment pressed on top. After that, the texture starts to pick up more ice crystals.
- Reheating: Let it sit at room temperature for 5 to 10 minutes before scooping. If it’s rock hard, the usual mistake is pulling it too early from the freezer before the custard has had time to soften.
Answers to the Questions Worth Asking
Homemade Coconut Ice Cream
Ingredients
Equipment
Method
- Heat full-fat coconut milk and granulated sugar in a saucepan over medium heat until the mixture steams and the sugar dissolves.
- Whisk egg yolks in a bowl until smooth, then slowly whisk the hot coconut milk into the yolks to temper.
- Return the mixture to the saucepan and cook over medium-low heat, stirring constantly, until the custard reaches 175°F and coats the back of a spoon.
- Strain the custard, then stir in vanilla extract, coconut extract, and salt.
- Cool completely to room temperature, then refrigerate at least 4 hours until cold.
- Toast shredded sweetened coconut until lightly golden and fragrant, then cool.
- Churn the chilled coconut custard in an ice cream maker until thickened and the texture resembles soft-serve.
- Fold in toasted shredded sweetened coconut during the last 2 minutes of churning.
- Transfer to a container and freeze until firm.