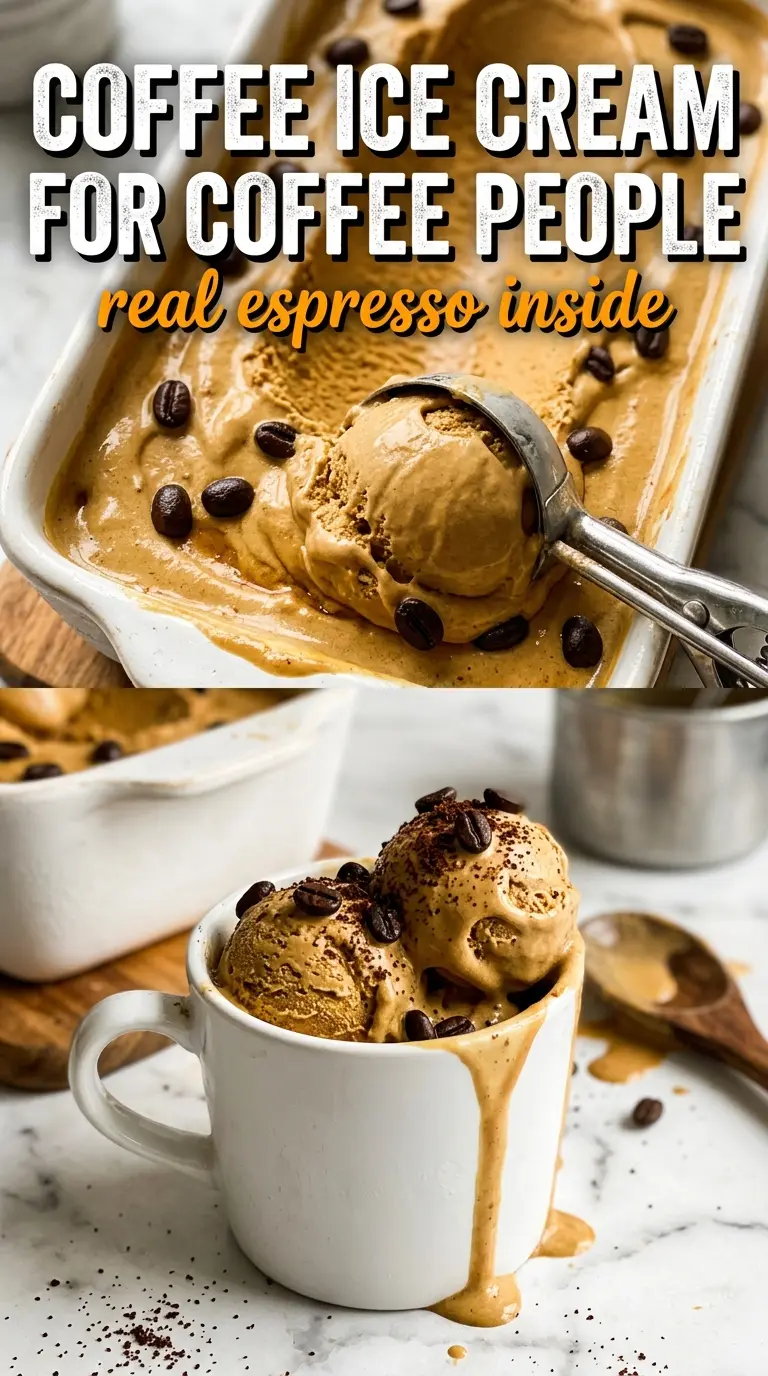
Deep, mahogany-toned coffee ice cream hits differently when the base is a true custard. It scoops dense and silky instead of icy, and the roasted espresso flavor stays bold all the way through each spoonful. The bitterness keeps the sweetness in check, which is what makes this version feel grown-up without tasting sharp or thin.
The trick is building enough coffee flavor before the custard ever goes onto the stove. Instant espresso powder gives the base an immediate punch, while the optional coffee beans add a rounder, more aromatic edge during the steep. Egg yolks bring the body, and cooking the custard gently to 175°F keeps it smooth instead of scrambled.
Below you’ll find the exact moment to strain, the texture cue that tells you the custard is ready, and a few variations if you want to push it toward mocha, dairy-free, or a stronger espresso finish.
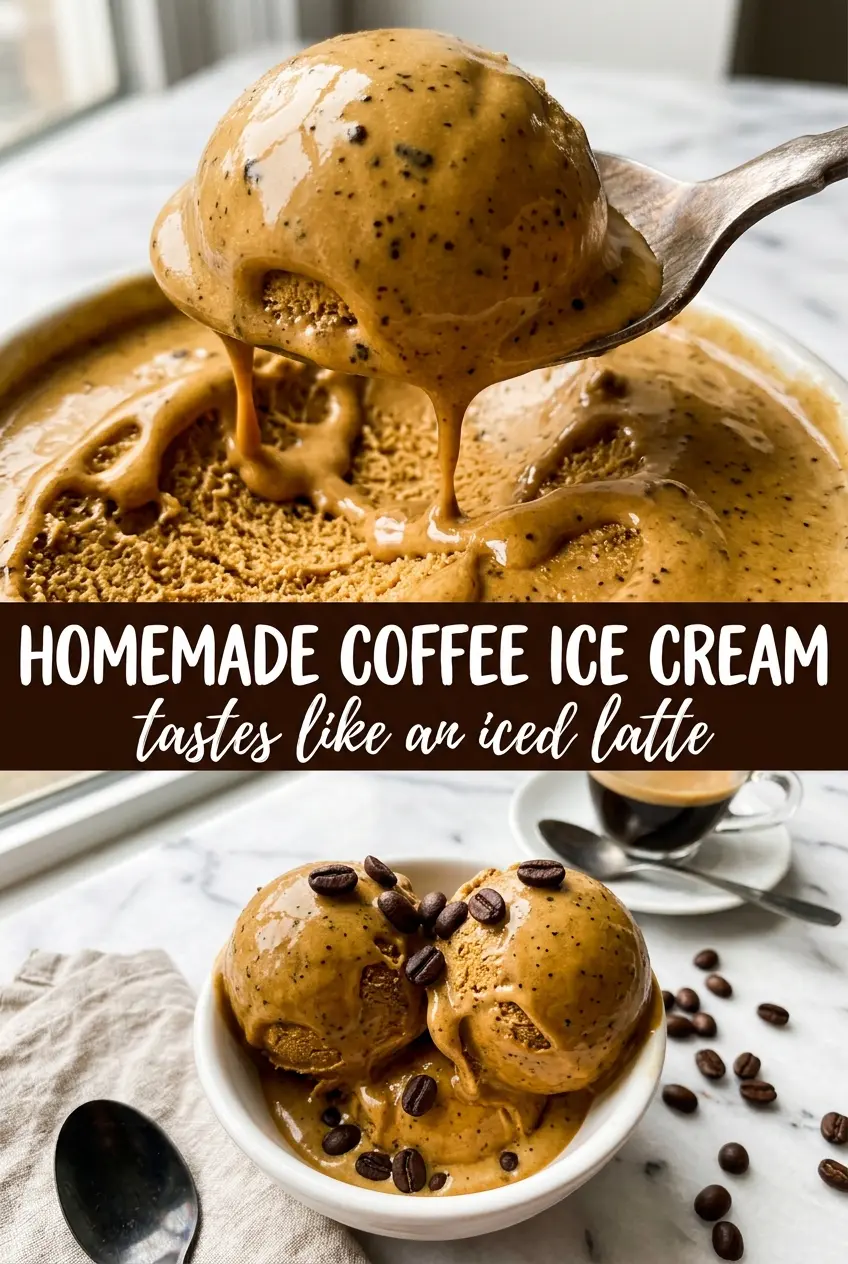
The custard turned out silky and the coffee flavor stayed strong even after freezing. I used the coffee beans for steeping and it tasted like a scoopable iced latte, not just sweet vanilla with a hint of coffee.
Save this homemade coffee ice cream for the nights when you want a bold espresso custard with a smooth, scoopable finish.
The Reason Coffee Ice Cream Tastes Flat Unless You Build the Base Correctly
Most coffee ice cream goes wrong in one of two ways: it tastes muddy, or it tastes like sweet cream with a faint coffee whisper. The fix is layering the coffee twice. Steeping coffee beans gives the custard depth and aroma, while espresso powder dissolves completely and delivers the sharper, more recognizable coffee bite that survives freezing.
The custard matters just as much. A churned base made with egg yolks holds onto flavor better than a thin no-cook mix, and that richness keeps the ice cream from freezing hard and brittle. Cook it low and steady until it lightly coats the spoon. If it boils, the eggs tighten up and the texture turns grainy.
What Each Ingredient Is Doing in This Coffee Custard
- Heavy cream — This is what gives the ice cream its lush, scoopable body. You need the fat here; swapping in lighter cream makes the final texture lean and icy.
- Whole milk — Milk softens the richness of the cream so the base doesn’t feel heavy. Lower-fat milk will work in a pinch, but the ice cream will freeze firmer.
- Instant espresso powder — This is the main flavor driver. It dissolves cleanly and keeps the coffee flavor bold after freezing, which brewed coffee often can’t do.
- Coffee beans — Optional, but useful if you want a rounder, fresher coffee note. Steep them in the hot dairy, then strain them out before adding the yolk mixture.
- Egg yolks — They thicken the custard and give the finished ice cream that dense, glossy texture. Don’t rush the cooking stage, or you’ll end up with sweet coffee milk instead of custard.
- Vanilla and salt — Vanilla smooths the bitterness, and salt keeps the coffee flavor from tasting hollow. Neither one should stand out on its own; they just sharpen everything else.
Cooking the Custard Without Scrambling the Eggs
Steeping the Coffee Into the Dairy
Heat the cream, milk, and coffee beans until the mixture is steaming, not boiling, then let it sit for 15 minutes. That steep gives the beans time to release their aroma without pulling out harsh bitterness. Strain the beans before moving on, then whisk in the espresso powder while the dairy is still warm so it dissolves completely. If you add it too late, you’ll end up with gritty specks and a weaker flavor.
Tempering the Yolks Slowly
Whisk the egg yolks and sugar until they look pale and slightly thickened, then add the hot coffee cream in a slow stream while whisking constantly. That gradual tempering keeps the yolks from turning into bits of cooked egg the second they hit the heat. A little patience here pays off in a smoother custard. If the mixture looks clumpy at this stage, the dairy went in too fast and the yolks started to scramble.
Cooking to the Spoon-Coating Stage
Return everything to the saucepan and cook over medium-low heat, stirring constantly and scraping the bottom and corners of the pan. You’re looking for the custard to thicken enough to coat the back of a spoon and hold a clean line when you drag a finger through it, or about 175°F. Pull it off the heat before it reaches a simmer. Once it bubbles, the eggs can overcook in a matter of seconds.
Straining and Chilling Until Cold
Strain the custard through a fine mesh sieve, stir in the vanilla and salt, then cool it over an ice bath before moving it to the fridge. That straining step catches any tiny cooked bits before they show up in the churned ice cream. Don’t skip the full chill time. Warm custard won’t churn properly, and it can leave you with a soft, slushy base instead of a creamy one.
Make It More Mocha
Stir in 2 to 3 tablespoons of unsweetened cocoa powder with the sugar before tempering the yolks. That gives the base a deeper mocha edge without flattening the coffee flavor, but it does make the custard a touch more intense and slightly less clean-tasting.
Skip the Coffee Beans, Keep the Espresso
If you don’t have whole beans, leave them out and lean on the espresso powder. The ice cream will still taste bold and roasted, just a little less aromatic and rounded on the finish.
Dairy-Free Coffee Ice Cream
Use full-fat coconut milk in place of the cream and milk, then keep the same yolk-based custard method if you still want the richest texture. The coconut brings a mild background note, so the coffee reads a little softer, but the custard still churns into a creamy scoop.
Stronger Espresso Bite
Increase the espresso powder by 1 additional teaspoon if you want the flavor to land more like a shot of coffee than a dessert. That sharper edge works well if you’re serving it with biscotti or warm brownies, but it can taste a little bitter if you overdo it.
Storage and Reheating
- Refrigerator: Keep the churned base covered and cold for up to 4 days before freezing if you need to break up the process. Once frozen, the texture is best within 2 weeks.
- Freezer: This freezes well. Press parchment or plastic wrap directly on the surface before sealing it in an airtight container so ice crystals don’t build up.
- Reheating: Not applicable. Let the container sit at room temperature for 5 to 10 minutes before scooping so the edges soften first; microwaving turns the custard slushy and uneven.
Questions I Get Asked About This Recipe
Homemade Coffee Ice Cream
Ingredients
Equipment
Method
- Combine heavy cream, whole milk, and whole coffee beans (if using) in a saucepan and heat until steaming; keep it steaming, not boiling, for a full 15 minutes, then strain out the beans.
- Whisk instant espresso powder into the warm cream until fully dissolved, creating a deep, evenly colored coffee base.
- Whisk egg yolks and granulated sugar until pale, then slowly whisk in the hot coffee cream so the yolks temper without scrambling.
- Return the mixture to the saucepan and cook over medium-low heat, stirring constantly, until the custard coats the back of a spoon, about 175°F.
- Strain the custard, then stir in vanilla extract and salt, and cool completely over an ice bath until no longer warm.
- Refrigerate at least 4 hours to chill thoroughly, then churn in an ice cream maker until thick and creamy.
- Transfer to a container and freeze until firm for scoopable texture.