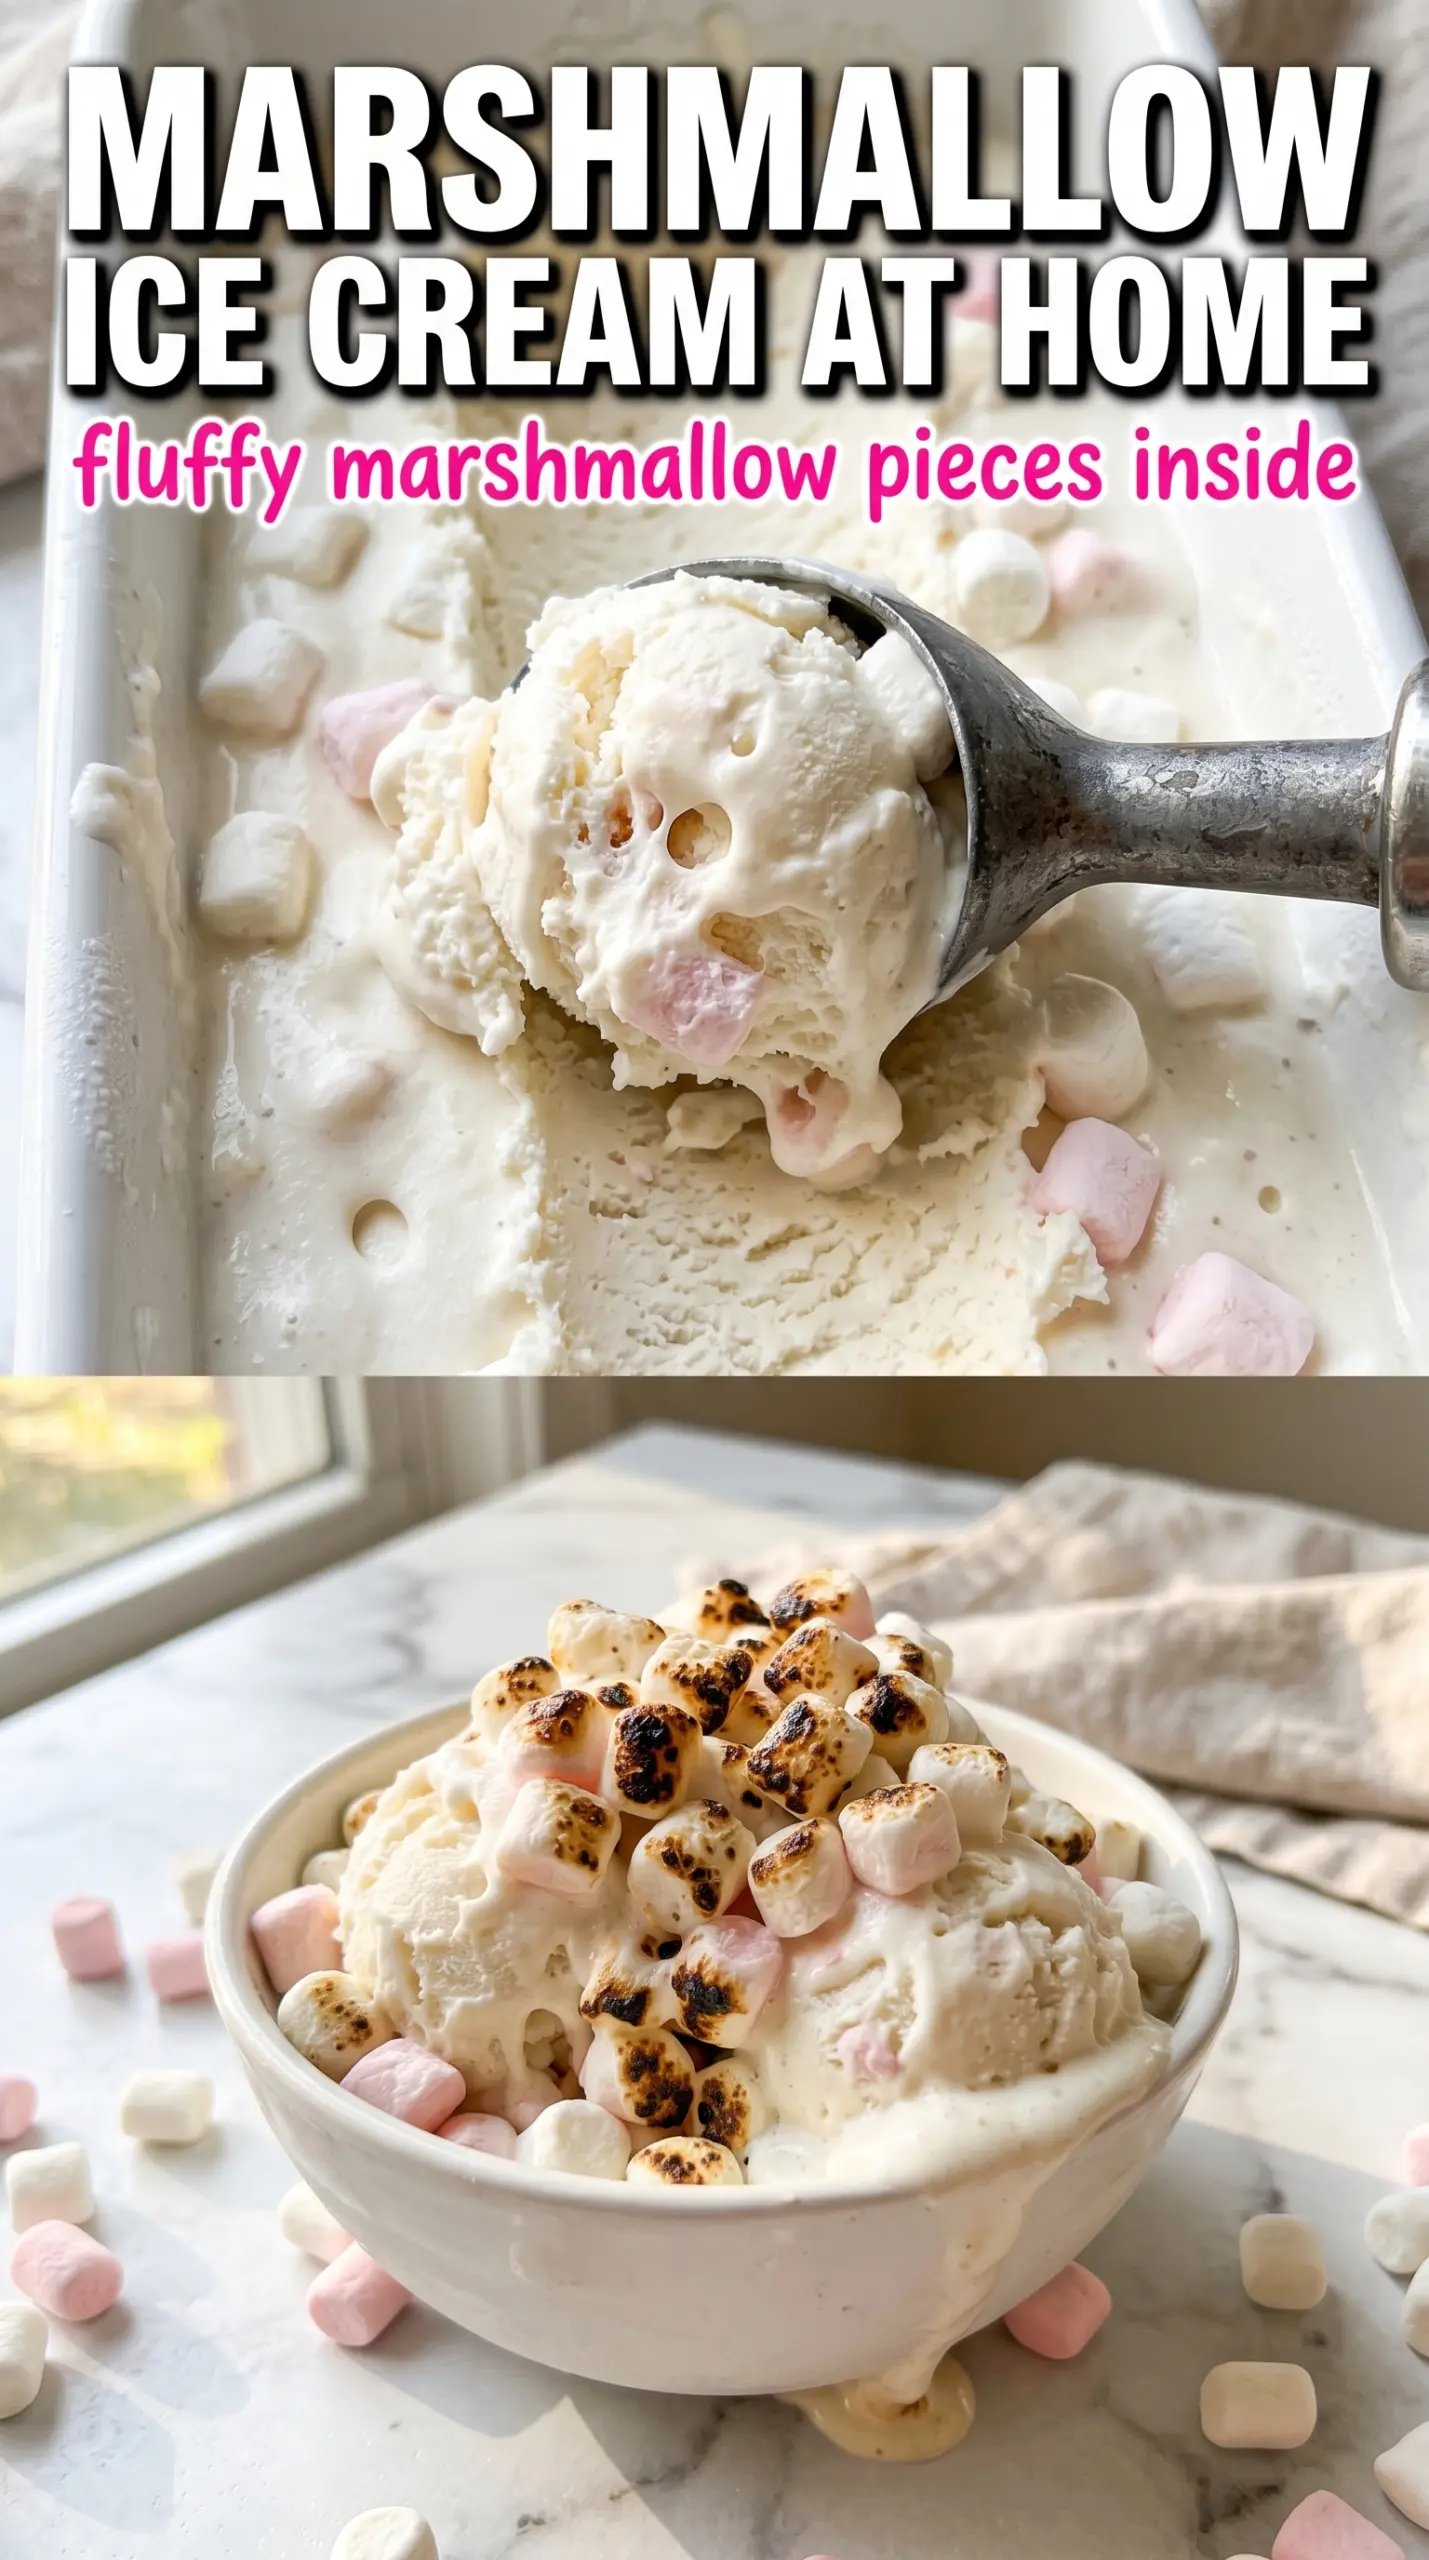
Cloud-white marshmallow ice cream lands with a soft, billowy texture that feels lighter than most custard-based ice creams, but still rich enough to scoop cleanly. The marshmallow creme gives it that unmistakable sweet, fluffy flavor, and the mini marshmallows keep the finished ice cream from tasting one-note. It’s the kind of dessert that disappears fast because each bite melts almost instantly on the tongue.
What makes this version work is the balance: enough egg yolk to give the base body, but not so much that it turns heavy, and enough marshmallow creme to flavor the custard without making it gummy. The custard is cooked to just 175°F, which is hot enough to thicken slightly without scrambling the yolks. Once it’s chilled, the churned base stays smooth and airy instead of dense or icy.
Below, I’ll show you the exact point where the marshmallow creme goes in, why the mini marshmallows are added at the end, and how to coax a toasted-marshmallow note out of the same recipe if you want a little more depth.
The custard came out silky, and the marshmallow creme melted in without any lumps. I loved that the mini marshmallows stayed soft instead of turning icy after freezing.
Like this cloud-like marshmallow ice cream? Save it to Pinterest for the nights when you want a fluffy, old-fashioned frozen dessert with almost no effort at serving time.
The Step Most Ice Cream Bases Rush Past
The mistake with marshmallow ice cream is treating the custard like a standard vanilla base and pushing it too hot, too fast. Egg yolks thicken around 170-175°F, and once you go past that, the texture turns grainy before you’ve even added the marshmallow creme. This recipe stays on the right side of that line, which keeps the base smooth and gives the marshmallow flavor a clean finish instead of a cooked-egg taste.
- Egg yolks — They build body and help the ice cream scoop properly after freezing. Whole eggs would make this feel heavier and less silky.
- Marshmallow creme — This is the main flavor driver, and there’s no substitute that behaves quite the same way. Regular melted marshmallows won’t dissolve as smoothly or give the same fluffy sweetness.
- Heavy cream and whole milk — The cream gives richness, while the milk keeps the texture from becoming too dense. Using all cream would mute the marshmallow note and make the finished ice cream feel thick instead of cloud-like.
- Mini marshmallows — They’re stirred in at the end so they stay soft and slightly chewy. If you add them too early, they’ll disappear into the base and lose their texture.
What Each Ingredient Is Actually Doing in This Ice Cream
- Base ingredient (cream, milk, or custard) — This provides the foundation and richness. Quality matters.
- Sweetener (sugar, honey, or condensed milk) — This sweetens and prevents ice crystals. The ratio is critical.
- Flavor element (vanilla, fruit, chocolate, coffee, or other) — This defines the ice cream personality. Use quality ingredients.
- Egg yolks (if making custard base) — These create richness and silky texture. Optional but elevates ice cream.
- Churning (if using ice cream maker) — This incorporates air and prevents ice crystals. Critical for smooth texture.
- Freezing temperature and time — Proper freezing prevents rock-hard texture. Store at 0°F or below.
- Mix-ins (chocolate, cookies, fruit, or swirls) — These add texture and prevent one-dimensional flavor. Add near end of churning.
- Serving temperature (slightly soft, not rock hard) — This provides creamy mouthfeel. Remove from freezer 5 minutes before serving.
How to Build the Custard Without Scrambling the Yolks
Warming the Dairy
Heat the cream and milk until they’re steaming and small bubbles form around the edge of the pan. Don’t let it boil. Boiling pushes the temperature too far and makes the yolks much harder to temper smoothly. While that dairy heats, whisk the yolks and sugar until they look pale and slightly thickened; that extra air helps them take the hot liquid more evenly.
Tempering the Eggs
Pour the hot milk mixture into the yolks in a slow stream while whisking constantly. The goal is to raise the egg temperature gradually so they thicken instead of turning into sweet scrambled eggs. Once the two mixtures are combined, pour everything back into the saucepan and cook gently, stirring all the time, until it reaches 175°F and lightly coats the back of a spoon.
Melting in the Marshmallow Creme
Take the pan off the heat before adding the marshmallow creme. Residual heat is enough to melt it fully, and that keeps the base smooth instead of sticky or overcooked. Whisk until the mixture looks glossy and uniform with no pale streaks left behind, then stir in the vanilla and salt. Chill it completely before churning; if the base is still warm, the ice cream maker can’t build enough structure and the texture ends up loose.
Finishing the Churn
Churn until the ice cream is soft-serve thick and holds ridges from the paddle. Add the mini marshmallows during the last couple of minutes so they’re dispersed but not broken down. If you want that toasted-marshmallow note, torch the mini marshmallows briefly before folding them in. Freeze the churned ice cream until firm enough to scoop, but don’t leave it uncovered or it will pick up icy crystals on the surface.
What to Change When You Want a Different Kind of Marshmallow Ice Cream
Toasted marshmallow version
Torch the mini marshmallows before folding them in, then let them cool for a minute so they don’t melt into the churned base. You’ll get a deeper, campfire-style note and a few caramelized edges throughout the ice cream.
Dairy-free adaptation
Use full-fat canned coconut milk in place of the cream and milk, but expect a slight coconut background note. The texture will still be creamy, though a little less clean and custard-like than the original.
No ice cream maker
Freeze the custard in a loaf pan and stir it every 30 to 40 minutes until it firms up. This won’t be as airy as churned ice cream, but it keeps large ice crystals from taking over.
Extra-sweet, marshmallow-forward finish
Increase the marshmallow creme by a couple of tablespoons and hold back a little of the sugar if you want the marshmallow flavor to lead. The trade-off is a softer set, so give it extra freezing time before scooping.
Storage and Freezing
- Refrigerator: The churned base keeps up to 2 days before freezing, tightly covered, if you need to pause after chilling.
- Freezer: Freeze in an airtight container for up to 2 weeks for the best texture. After that, it starts to pick up more ice crystals and the marshmallow pieces get firmer.
- Reheating: Let the container sit at room temperature for 5 to 10 minutes before scooping. If it’s rock hard, dip the scoop in warm water instead of microwaving the ice cream, which only melts the edges.
The Questions Worth Asking Before You Churn
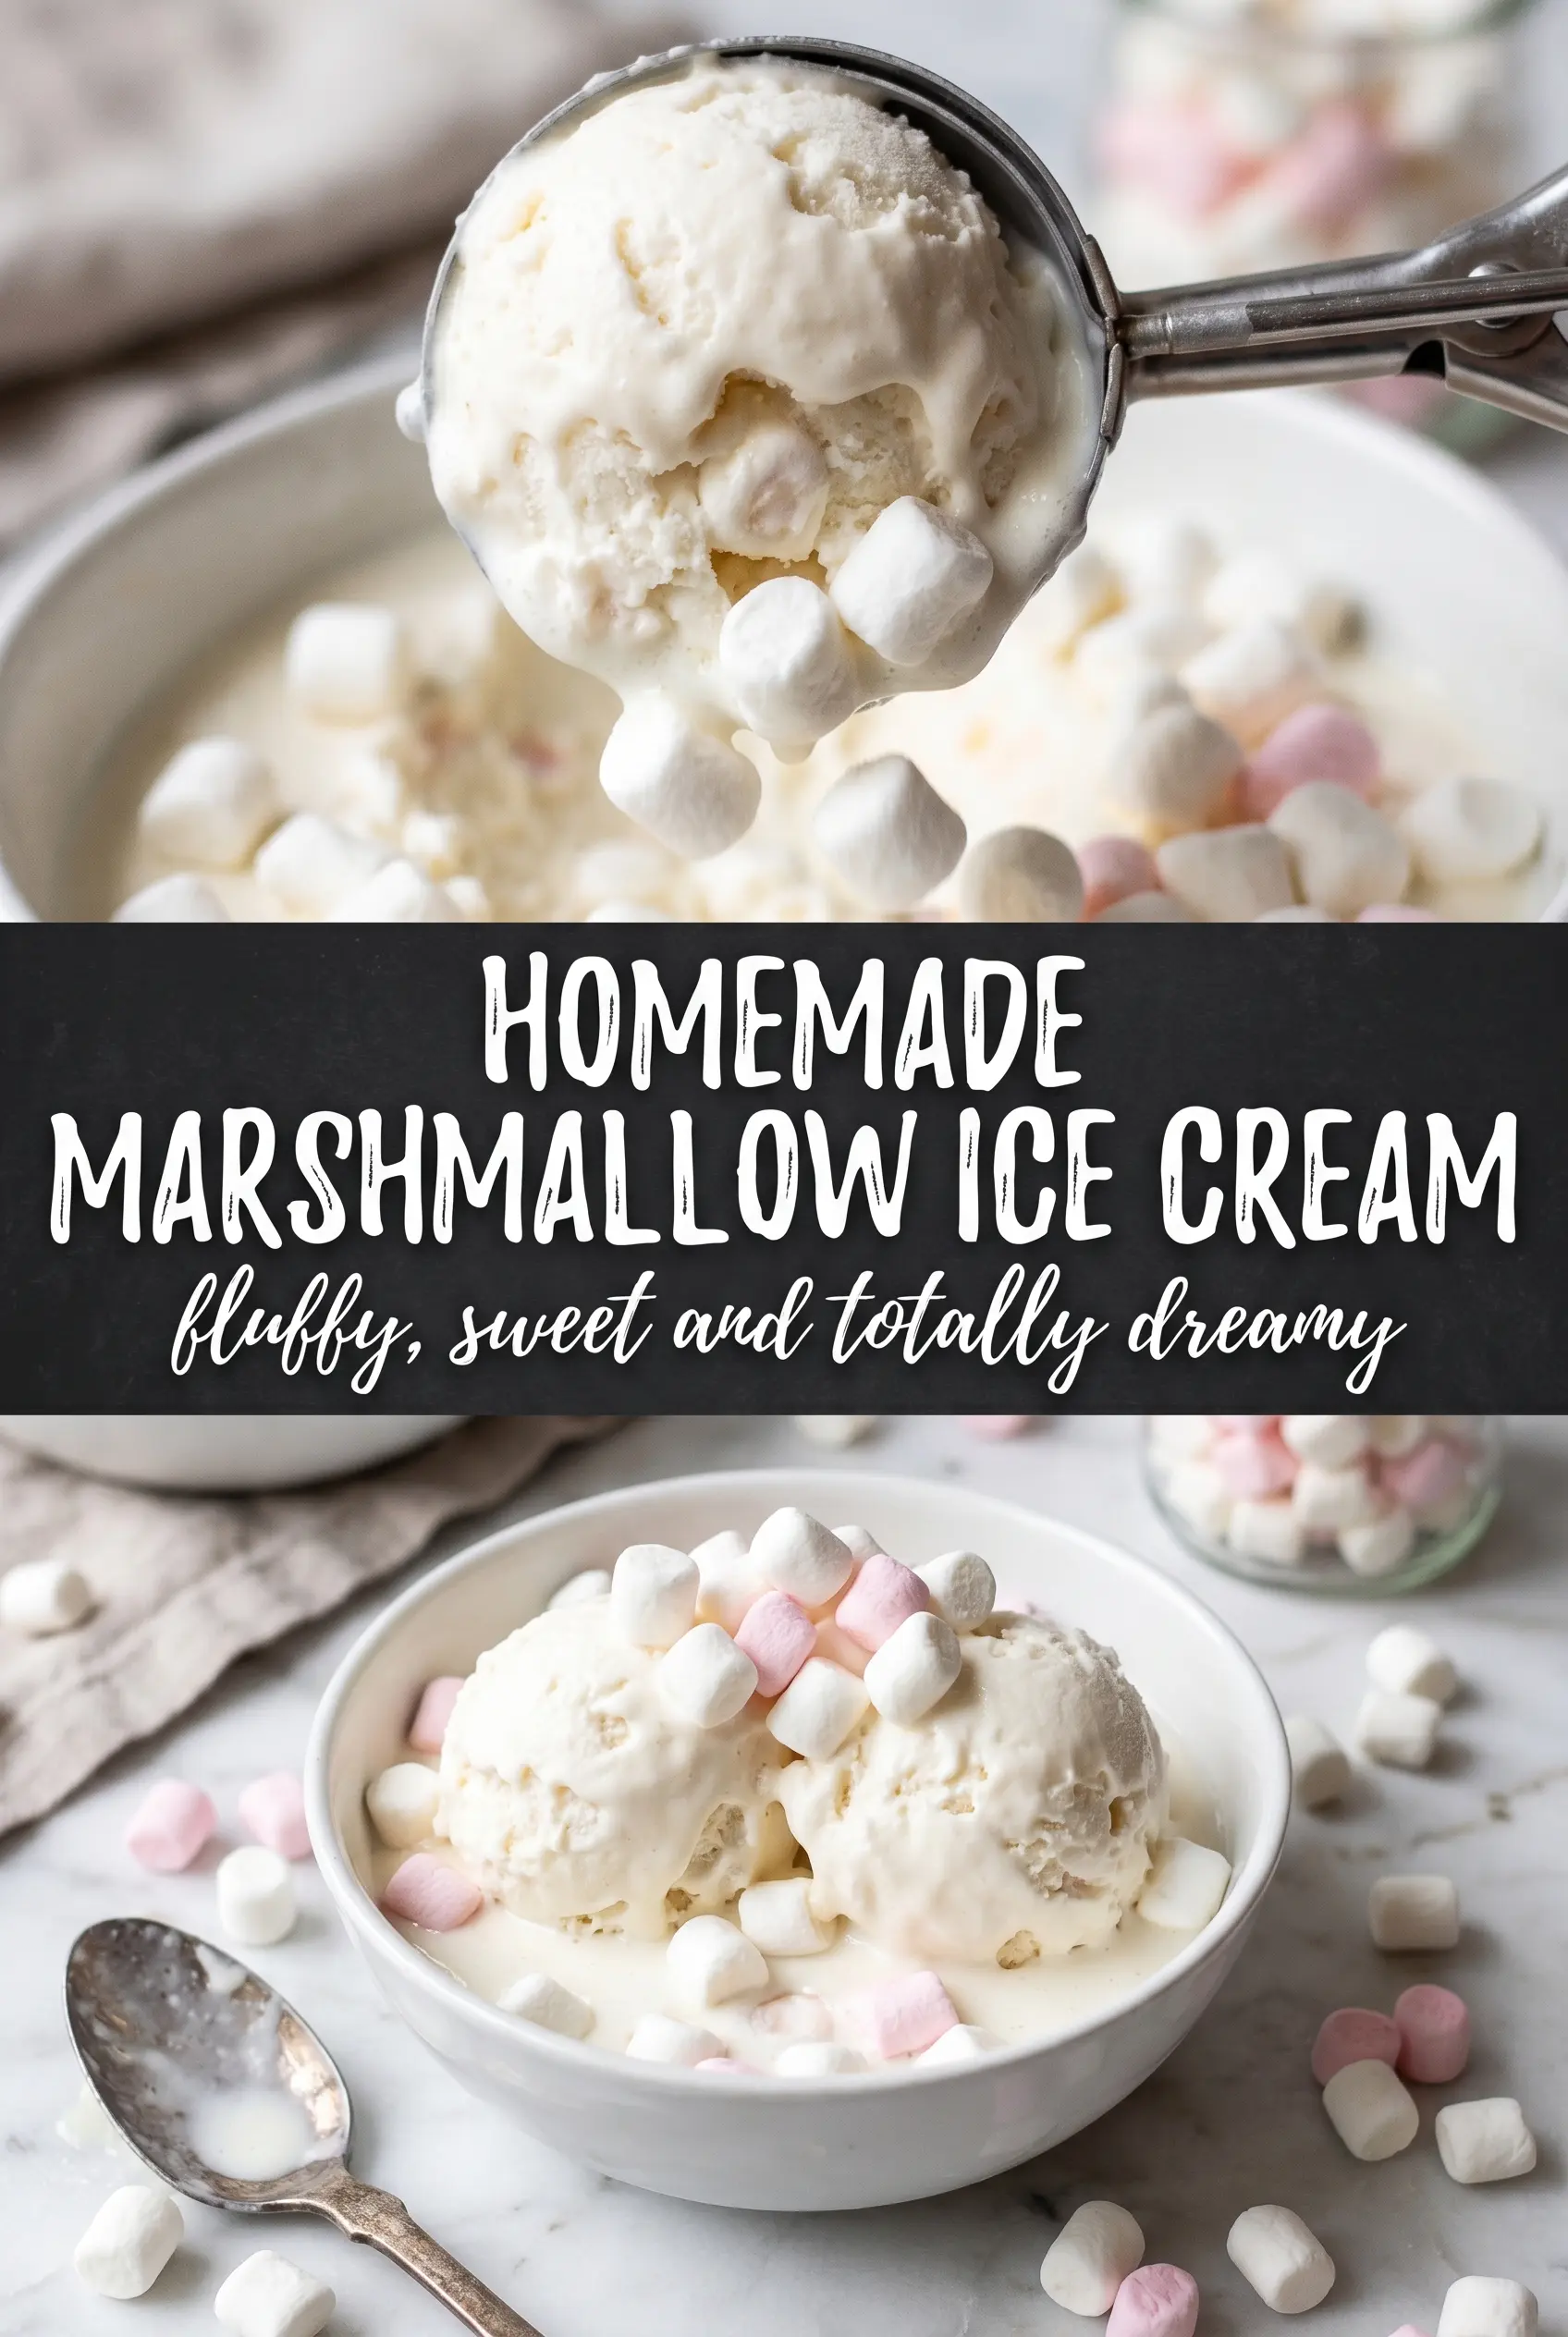
Homemade Marshmallow Ice Cream
Ingredients
Equipment
Method
- In a saucepan, heat the heavy cream and whole milk until steaming and you see small bubbles at the edges, 3-5 minutes. Visual cue: the mixture should look hot and steamy but not boiling.
- Whisk the egg yolks and granulated sugar together in a bowl until smooth and slightly paler, about 1 minute. Visual cue: the yolk mixture should look glossy and thick enough to ribbon briefly.
- Slowly whisk the hot cream mixture into the egg yolks to temper, adding a thin stream while whisking, 1-2 minutes. Visual cue: the mixture becomes lighter and cohesive without scrambling.
- Return everything to the saucepan and cook, stirring constantly, until it reaches 175F, 5-7 minutes. Visual cue: it coats the back of a spoon and the surface looks lightly thickened.
- Remove from heat and whisk in the marshmallow creme until completely melted and smooth, 1-2 minutes. Visual cue: no white streaks remain and the custard looks silky and pale.
- Whisk in vanilla extract and salt, 30-60 seconds. Visual cue: the mixture turns evenly creamy with a uniform color.
- Cool the mixture completely, then refrigerate for 4 hours. Visual cue: it becomes cold and thicker, like pourable cream.
- While the base chills, briefly torch the mini marshmallows (optional) until lightly browned, 20-30 seconds. Visual cue: the outside gets toasted spots but doesn’t fully melt.
- Churn the chilled mixture in an ice cream maker until thick and soft-serve consistency, about 20-25 minutes. Visual cue: it looks fluffy, billowy, and holds gentle ridges.
- Add the mini marshmallows in the last 2 minutes of churning and mix just until distributed. Visual cue: marshmallow pieces are evenly speckled through the cloud-like ice cream.
- Transfer to a freezer-safe container and freeze until firm, at least 4 hours. Visual cue: the ice cream is scoopable but holds shape after a few seconds at room temperature.