Homemade apple cider pours out golden and fragrant, with a deep apple taste that store-bought versions usually miss. The long simmer pulls out the fruit’s natural sweetness, the citrus sharpens it, and the spices settle in without taking over. What you end up with is warm, aromatic cider that tastes like actual apples first, spice second.
The trick is starting with a mix of sweet and tart apples and leaving the skins and cores on. That gives the cider better color, better body, and a little pectin that helps it feel round instead of thin. Simmering uncovered matters too, because it lets the liquid reduce into something concentrated before you strain it.
Below, I’ll walk through the small details that make a big difference, including when to mash the apples, how to strain without losing too much liquid, and how to adjust the sweetness at the end so the cider tastes balanced instead of flat.
The cider came out clear, deeply spiced, and not watery at all. Mashing the apples halfway through made a huge difference, and the orange slice gave it the best fresh finish.
Save this homemade apple cider for the days when you want a warm mug packed with real apple flavor and cinnamon spice.
The Simmer That Builds Real Apple Flavor
Apple cider gets flat when the fruit is rushed. A hard boil can make it taste sharp and one-note, while a slow uncovered simmer gives the apples time to collapse and the liquid time to concentrate. That reduction is where the flavor deepens, so don’t shorten the cooking time unless you’re fine with something thin and sweet instead of full and spiced.
Mashing the apples partway through is the move most people skip. It releases more juice and pulp into the pot, which means more apple character in the finished cider. The final strain cleans up the texture, but the pot still gets all that flavor payoff first.
- Unpeeled apples — The skins give the cider its amber color and help build body. Peeling them strips out both, and you’ll end up with a paler, lighter-tasting drink.
- Mix of sweet and tart apples — Sweet apples bring roundness, tart apples keep the cider from tasting dull. One kind on its own works, but the blend tastes more complete.
- Orange slices — These brighten the pot without making the cider taste citrusy. Slice them thin so the peel releases aroma quickly during the long simmer.
What Each Spice Is Actually Doing in the Pot
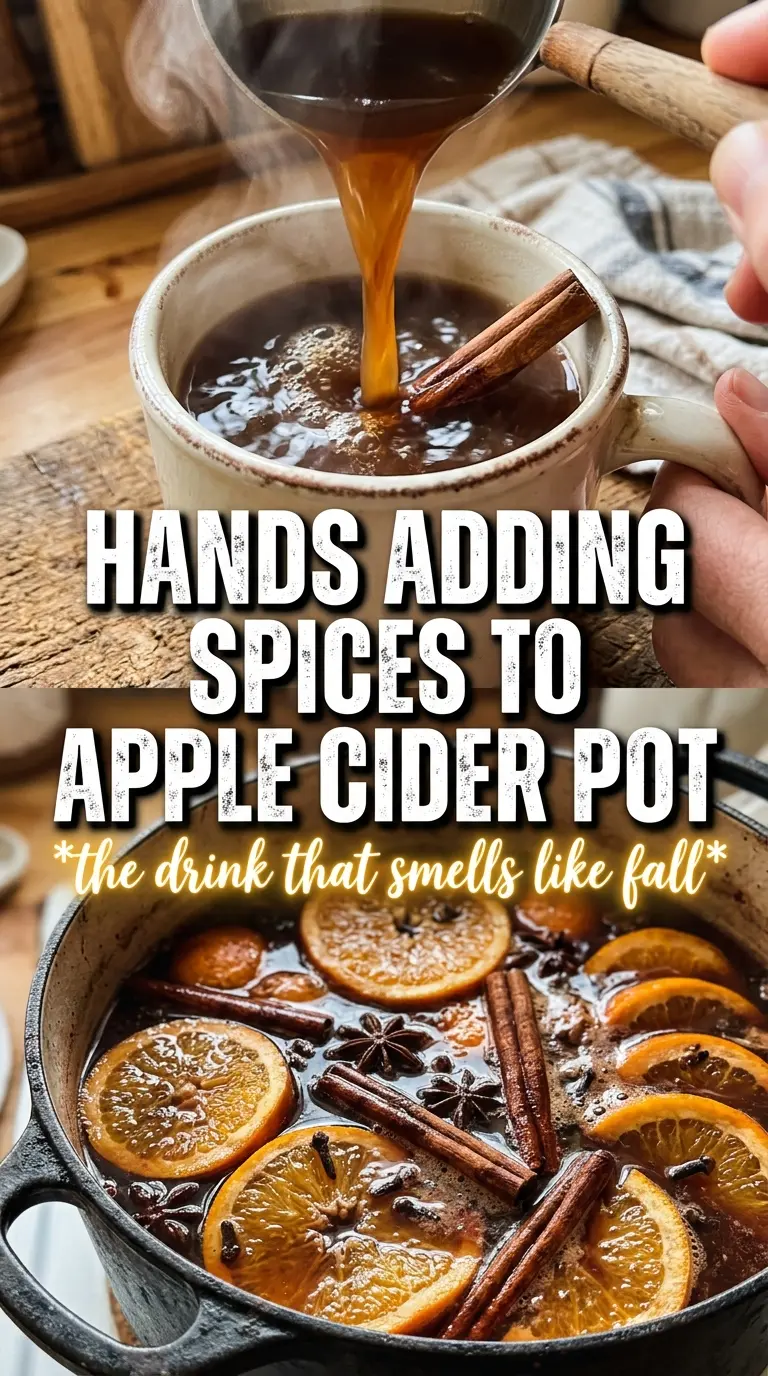
- Cinnamon sticks — These infuse slowly and cleanly. Ground cinnamon would cloud the cider and leave you with gritty sediment, so stick with whole sticks here.
- Whole cloves — Cloves are powerful, so 10 is enough for a full pot. If you go heavier, they can dominate everything else and make the cider taste medicinal.
- Star anise — This adds a subtle licorice note that reads as warm and cozy, not loud, as long as it stays in balance with the cinnamon. Four pods is the right zone for this batch size.
- Brown sugar or maple syrup — Add this only after straining. The apples themselves provide a lot of natural sweetness, and adjusting at the end keeps you from over-sweetening the whole pot before you know what you’ve got.
- Vanilla extract — Stir it in at the end so the aroma stays fresh. Heat can dull vanilla, and this recipe works best when the vanilla lifts the cider instead of fading into the background.
From Collapsing Apples to a Clear Mug
Building the Pot
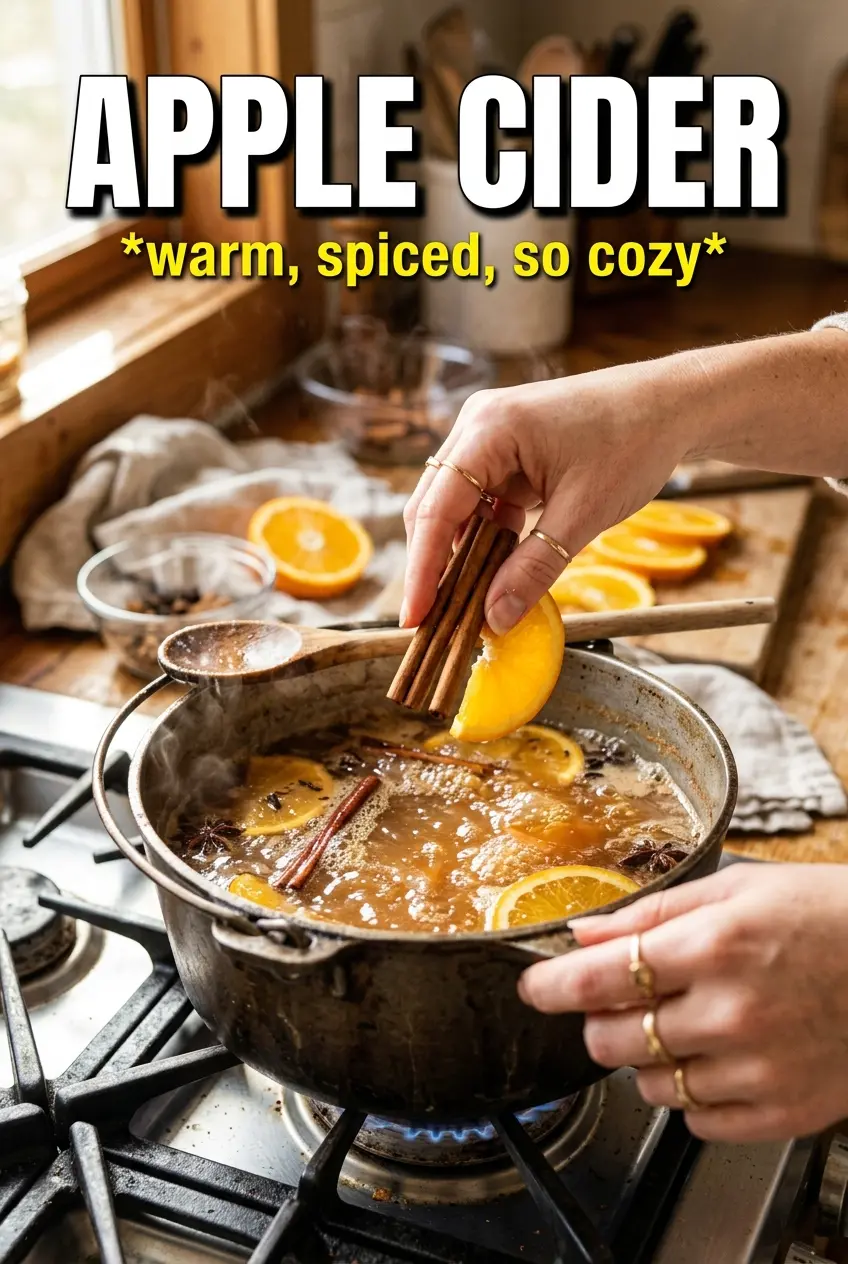
Put everything except the sugar and vanilla into a large pot and add just enough water to cover the fruit. If you add too much water, the cider needs extra reduction and the flavor gets diluted before it ever has a chance to build. Bring it to a boil first, then reduce to a steady uncovered simmer so the apples soften without turning the whole pot into a rolling mess.
Breaking Down the Fruit
After about 2 hours, the apples should be falling apart and the liquid should smell rich and spiced. Mash them with a potato masher to release the last bit of juice hiding in the fruit. If you skip this, you leave a lot of flavor in the pot solids instead of in the cider, and the finished drink won’t taste as full.
Straining and Finishing
Set a fine mesh sieve over a bowl or clean pot and press the pulp firmly with the back of a spoon. Don’t rush this part; the thicker liquid is what carries the best apple flavor. Stir in the brown sugar or maple syrup and the vanilla after straining, then taste and adjust. Serve it warm with cinnamon sticks and fresh orange slices while the steam is still carrying all that spice into the room.
Make It Sweeter or Let the Apples Stay Front and Center
Use the full 1/4 cup brown sugar or maple syrup if your apples lean tart, or pull back and taste before adding more if you want a cleaner apple finish. Maple syrup adds a deeper, rounder note, while brown sugar gives a more classic cider taste.
Skip the Dairy, Keep the Comfort
This cider is naturally dairy-free, so there’s nothing to replace. That’s part of why it works so well for a crowd, since the flavor comes entirely from fruit, spice, and reduction instead of any creamy add-ins.
Turn It Into a Brighter, Less Spiced Version
Cut the cloves and star anise in half if you want the apples and orange to lead. You’ll get a gentler cider with less holiday spice and a fresher fruit finish, which works well if you’re serving it alongside breakfast or brunch.
Storage and Reheating
- Refrigerator: Store in a covered container for up to 5 days. The spices keep infusing a bit, so the cider can taste slightly stronger on day two.
- Freezer: Freeze for up to 3 months in freezer-safe containers, leaving space for expansion. Thaw in the refrigerator overnight before reheating.
- Reheating: Warm gently on the stove over low heat until steaming. Don’t boil it again or the spice notes can turn harsh and the cider may taste cooked down instead of fresh.
Questions I Get Asked About This Recipe
Apple Cider
Ingredients
Equipment
Method
- Do not peel or core the apples, since skins add color and cores add pectin.
- Place apples, cinnamon sticks, cloves, star anise, and orange slices into a large pot.
- Add enough water to cover the apples, then bring the mixture to a boil.
- Reduce heat and simmer uncovered for 2 hours until apples are very soft and the liquid is flavorful.
- Mash the apples with a potato masher, then simmer for 30 more minutes to deepen the flavor.
- Strain the cider through a fine mesh sieve, pressing the pulp to extract all the liquid.
- Stir in brown sugar or maple syrup and vanilla extract, then taste and adjust sweetness.
- Serve warm with additional cinnamon sticks and orange slices.