Scoops of homemade strawberry ice cream should taste like ripe berries first and dessert second. That means a clean strawberry flavor, a creamy custard base, and enough real fruit in every bite that you can see where the berries end and the ice cream begins. This version leans into all of that. The result is smooth and rich, but it still keeps the bright, slightly tangy edge that makes strawberries worth putting in ice cream in the first place.
The trick is building two separate parts and bringing them together at the right time. The strawberries get macerated with sugar and lemon juice, which pulls out their juices and deepens the flavor before they ever hit the churn. The custard base is cooked just until it coats the spoon, then strained so it stays silk-smooth. That gentle approach keeps the eggs from scrambling and gives the finished ice cream a plush texture instead of an icy one.
Below, you’ll find the timing that matters, the temperature cue that keeps the custard from breaking, and a few swaps that still keep the texture on track.
The custard stayed perfectly smooth and the strawberry pieces stayed bright instead of turning dull. I loved that the berries went in at the end, because every scoop had real fruit flavor without getting icy.
Save this homemade strawberry ice cream for the days when you want real berry flavor, a silky custard base, and fresh pink scoops that churn up beautifully.
The Fastest Way to Lose Strawberry Flavor Is to Rush the Fruit
Strawberry ice cream often disappoints because the berries get cooked down too hard or diluted into a base that tastes more like sweet cream than fruit. Here, the strawberries are treated as a separate layer of flavor, not just another mix-in. Macerating them with sugar and lemon juice pulls out a syrupy juice that tastes rounder and brighter than plain pureed berries.
The custard matters just as much. If it goes past 175°F or sits over heat too long, the eggs can turn grainy and the texture loses that soft, scoopable finish. Pull it as soon as it coats the back of a spoon, then chill it fully before churning. Cold base equals finer ice crystals, which is what gives you that dense, creamy scoop instead of a slushy one.
What Each Ingredient Is Actually Doing in This Strawberry Ice Cream
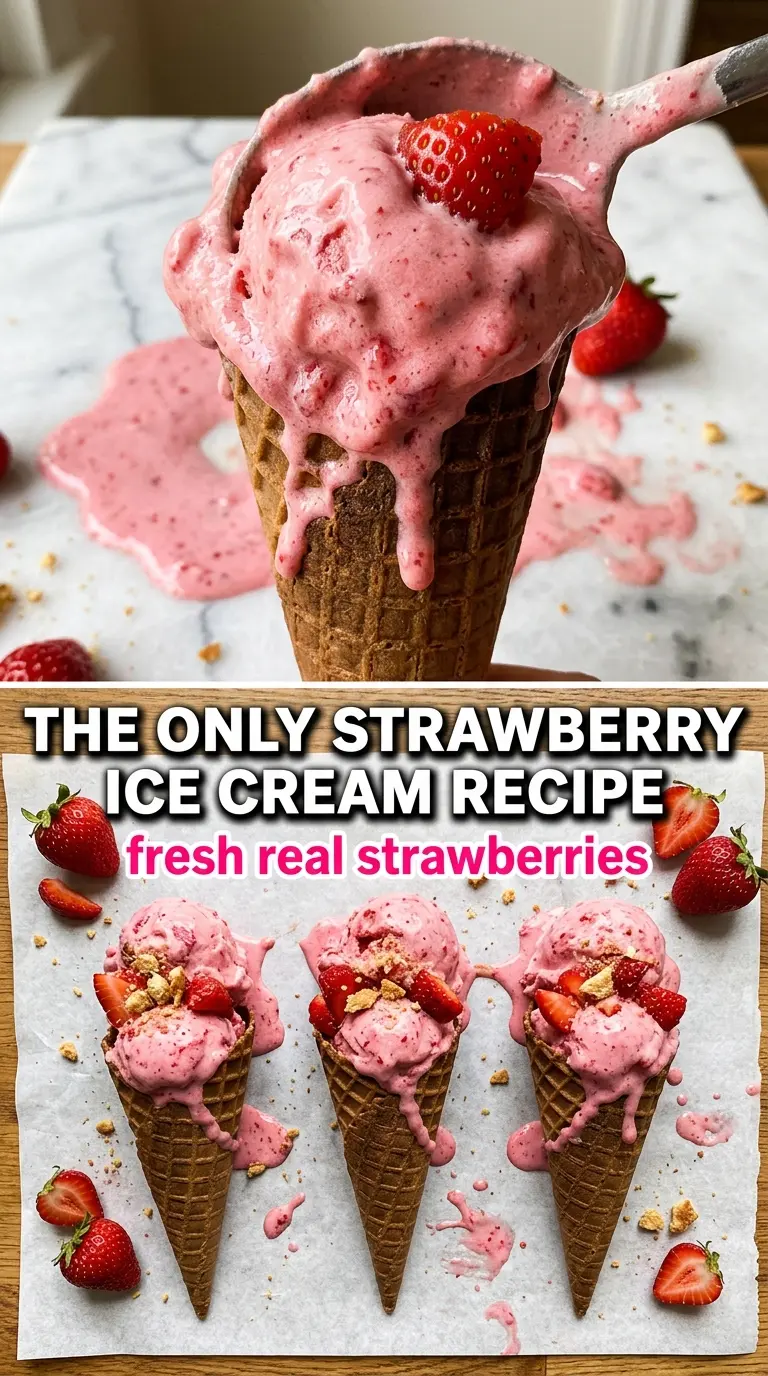
- Fresh strawberries — Fresh berries give this ice cream its real flavor and color. Frozen strawberries can work in a pinch, but they usually release more water, so the finished ice cream can turn a little less vivid and a little icier. If you do use frozen, thaw them first and reduce any extra liquid before churning.
- Sugar, split in two — The first portion draws juices out of the fruit. The second sweetens and stabilizes the custard. That split is worth keeping because it builds flavor in two places instead of dumping all the sweetness into one bowl.
- Lemon juice — This doesn’t make the ice cream taste sour. It sharpens the strawberry flavor so the berries taste more like themselves. Skip it and the fruit can fall flat after freezing.
- Heavy cream and whole milk — This combo gives the base enough fat for a smooth churn without making it heavy or greasy. Lower-fat milk will freeze harder and taste thinner, so don’t cut too far here if you want that classic scoopable texture.
- Egg yolks — Yolks thicken the base and help it stay rich after freezing. They’re what make this a custard-style ice cream, and they’re worth the extra minute of whisking because they give the finished texture a softer melt.
- Vanilla extract — Vanilla doesn’t overpower the strawberries. It rounds them out and makes the dairy taste fuller. Use a good one, since it shows up in the final flavor even in a small amount.
How to Keep the Custard Smooth and the Berries Bright
Macerating the Strawberries
Toss the sliced strawberries with part of the sugar and the lemon juice, then let them sit until they look glossy and juicy. Thirty minutes is enough to pull out a deep pink syrup and soften the berries without turning them mushy. If the mixture still looks dry, give it a few more minutes; if it sits too long, the fruit can lose its fresh edge.
Cooking the Egg Custard
Whisk the yolks with the remaining sugar until pale, then stream in the hot cream and milk slowly so the eggs warm gradually. Return everything to the pan and cook over medium-low heat, stirring constantly and scraping the bottom and corners. The custard is ready when it coats the spoon and leaves a clean line when you drag a finger through it. If you wait for a boil, it will be too late.
Cooling Before Churning
Strain the custard, then stir in the vanilla and salt once it’s off the heat. Cool it completely before it goes into the fridge, then chill it until it’s cold all the way through. Warm base in the machine is one of the main reasons homemade ice cream turns soft or grainy, because the churn can’t freeze it fast enough.
Adding the Fruit at the End
Churn the custard until it looks like soft serve, then add the strawberry mixture in the last few minutes. That keeps the fruit from getting overworked and helps you keep visible berry pieces instead of a fully blended pink base. If you add the fruit too early, the churn can break it down and the color goes muddy.
Dairy-Free Strawberry Ice Cream
Use full-fat canned coconut milk in place of the cream and milk, and swap the custard for a cornstarch-thickened base if you need to avoid eggs. The flavor will be a little less classic and a touch coconut-forward, but it still churns into a creamy scoop with good strawberry flavor.
Strawberry Swirl Style
Blend only half of the macerated strawberries into the base and fold the rest in at the end. This gives you deeper berry pockets and a more dramatic look, with little ribbons of fruit running through the ice cream instead of a uniform pink color.
No Ice Cream Maker
You can freeze the custard in a shallow pan and stir it every 30 minutes until firm, but the texture won’t be as smooth as the churned version. A food processor can help break up the ice crystals once it’s partially frozen, though the result is still a little denser and more rustic.
Storage and Reheating
- Refrigerator: Ice cream doesn’t belong in the fridge. Keep it frozen, covered tightly, and press parchment or plastic wrap directly against the surface to limit ice crystals.
- Freezer: It keeps well for about 2 weeks with the best texture in the first few days. After that, it can start to pick up freezer flavor and get harder at the edges.
- Reheating: Let it sit at room temperature for 5 to 10 minutes before scooping. If it’s rock hard, the freezer was too cold or the base wasn’t churned enough before freezing.
Questions I Get Asked About This Recipe
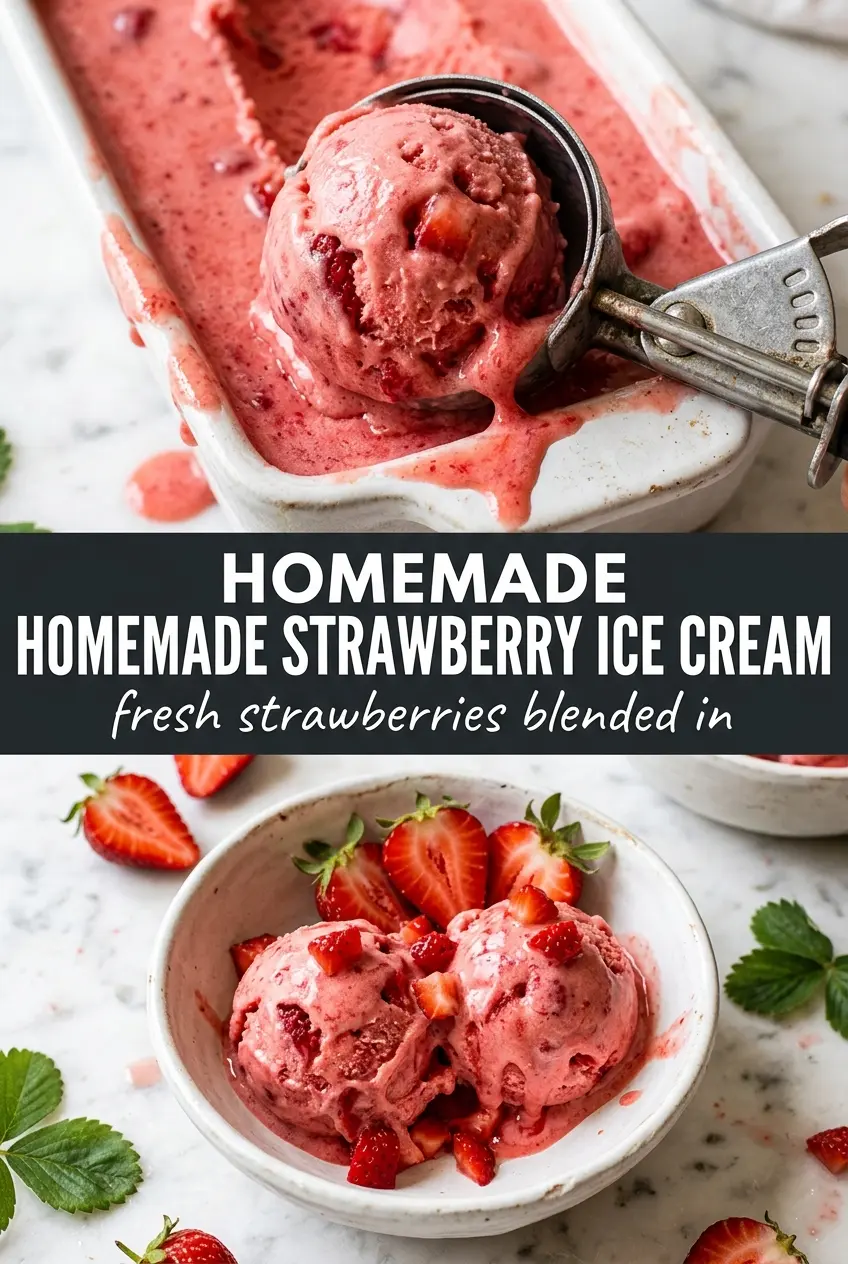
Homemade Strawberry Ice Cream
Ingredients
Equipment
Method
- Toss sliced strawberries with 1/4 cup sugar and lemon juice, then let macerate for 30 minutes in the refrigerator. Visual cue: the berries should look glossy and juicy with some liquid pooling.
- Mash or blend the strawberries into a chunky puree, then refrigerate until cold. Visual cue: you should still see visible berry pieces in the puree.
- Whisk egg yolks with the remaining 1/2 cup sugar until pale and thick. Visual cue: the mixture should lighten in color and ribbon off the whisk.
- Heat the heavy cream and whole milk in a saucepan over medium heat until steaming, then slowly whisk into the egg yolks. Visual cue: the custard should look smooth after tempering with no egg streaks.
- Return the mixture to the saucepan and cook over medium-low heat, stirring constantly, until it thickens to 170-175°F on a thermometer. Visual cue: it should coat the back of a spoon.
- Strain the custard, stir in vanilla extract and salt, then cool completely. Visual cue: the custard should look glossy and uniform after straining.
- Refrigerate the custard at least 2 hours until very cold. Visual cue: it should be fully chilled with a thicker, spoonable body.
- Churn in an ice cream maker according to the manufacturer’s instructions, adding the strawberry puree in the last 5 minutes. Visual cue: the ice cream should become visibly thicker and scoopable as it churns.
- Transfer the churned ice cream to a container, then freeze at least 2 hours until firm. Visual cue: the surface will look set and the texture will hold a clean scoop.