Homemade Viennetta brings that dramatic ripple of thin chocolate and vanilla ice cream to your own freezer, and the payoff is every bit as striking as the store-bought version. The layers slice cleanly, the chocolate snaps in delicate sheets, and the whole loaf looks like it took far more work than it actually did. It’s the kind of dessert that makes people pause before the first bite and then go back for a second slice just to get another look at the cross-section.
The trick is keeping the chocolate thin enough to set fast, but not so thin that it disappears into the ice cream. A little vegetable oil keeps the chocolate flexible, so it cracks into those signature ripples instead of breaking into dusty shards. Softened ice cream matters here too; if it’s too cold and hard, the layers won’t spread evenly, and if it’s too melty, the whole loaf turns slushy before it has a chance to freeze into neat bands.
Below, I’m walking through the layering order, the freezing windows that actually matter, and the one knife trick that gives you that clean Viennetta-style slice.
The chocolate set up into perfect thin sheets, and the layers stayed crisp when I sliced it after freezing overnight. My guests thought I bought it from a fancy dessert shop.
Save this homemade Viennetta for the nights when you want a frozen dessert with crisp chocolate ripples and a clean, elegant slice.
The Freeze-and-Pour Rhythm That Keeps the Layers Separate
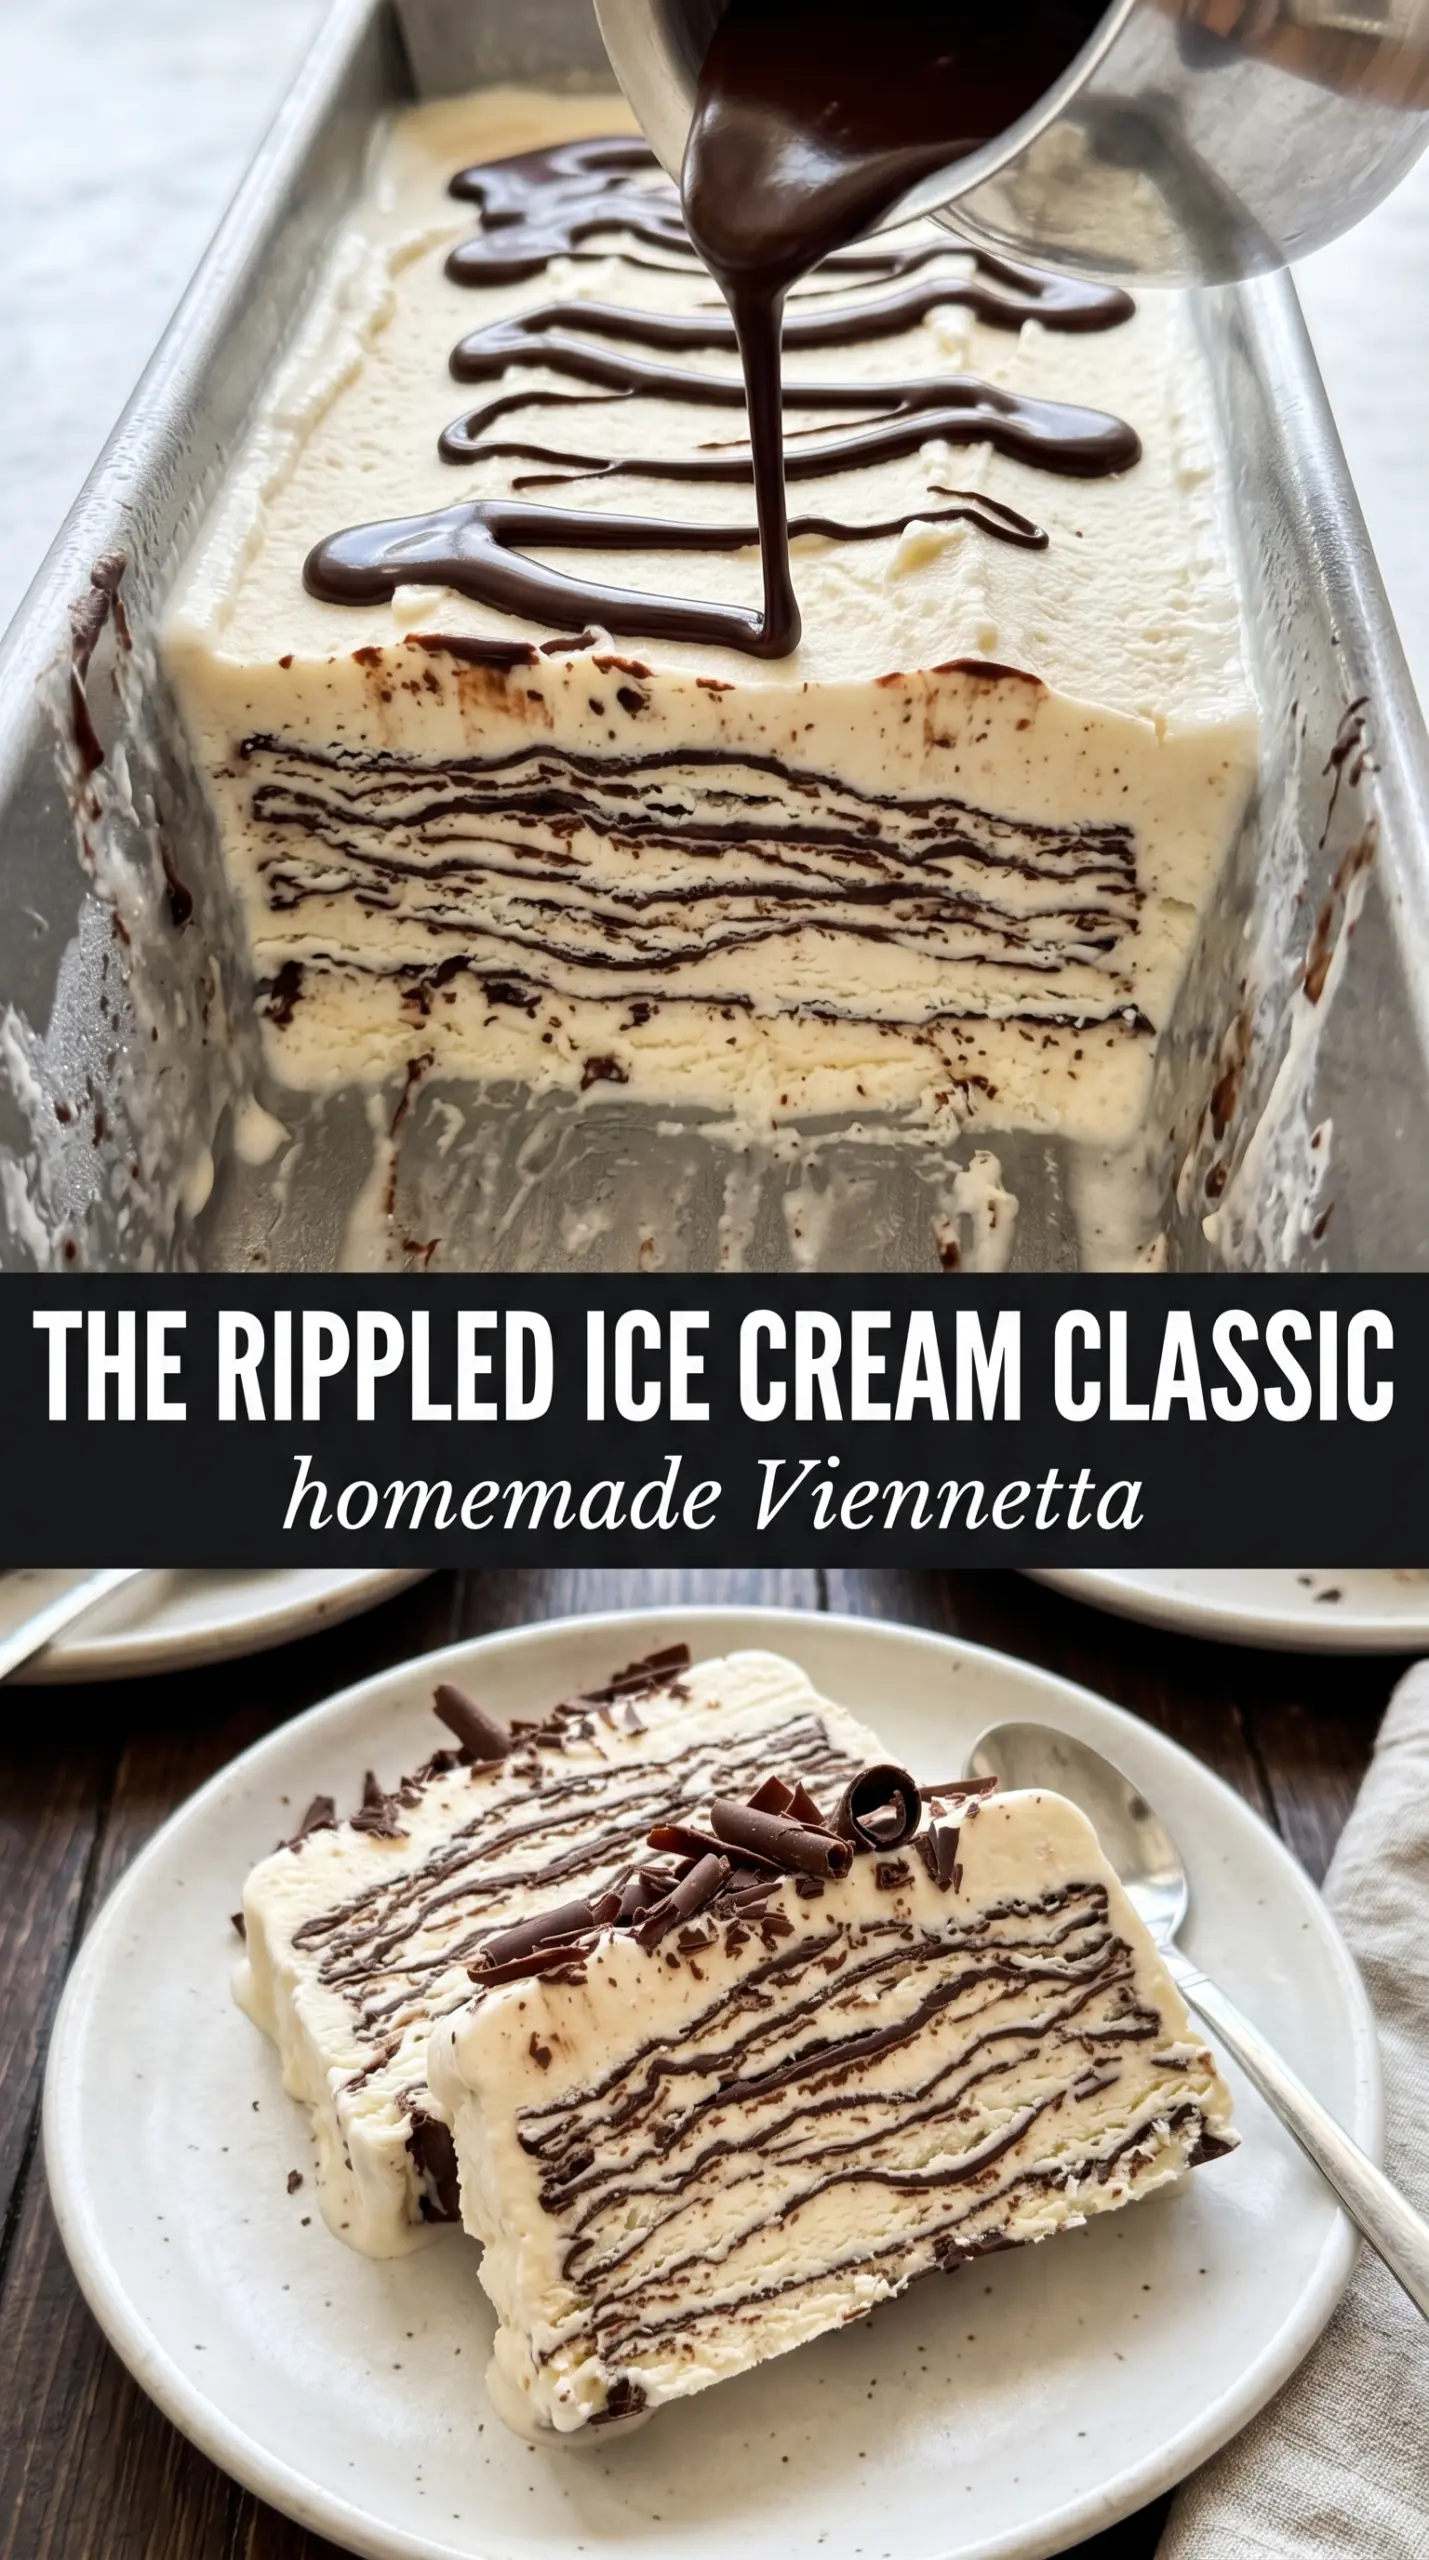
The biggest mistake with a layered ice cream loaf is rushing the middle of the process. If the vanilla is too soft when the chocolate goes on, the chocolate sinks and smears instead of setting into a distinct layer. If the chocolate is too hot, it melts a trench straight through the ice cream; if it’s too cool, it thickens before you can spread it. The goal is a warm, fluid chocolate that lands, sets, and cracks later.
Those short freezes between layers are not optional decoration. They give each band enough structure to hold the next one, which is what creates that sharp striped look when you slice it. You don’t need to freeze each layer solid for hours; you just need enough time for the surface to firm up so the next pour stays where you put it.
- Vanilla ice cream — Use a good vanilla here because there isn’t much else to hide behind. The better the base tastes on its own, the more like the original dessert this will feel. Let it soften until scoopable but still cold at the edges.
- Dark chocolate — Choose a chocolate you’d actually eat out of hand. The flavor comes through in thin layers, so a bland baking chocolate will taste flat. The 70% range gives a clean snap and keeps the dessert from becoming too sweet.
- Vegetable oil — This is what makes the chocolate flexible enough to crack into those delicate ribbons. Butter won’t give the same clean set, and plain melted chocolate can turn brittle enough to shatter instead of slice.
- Cocoa powder — This is the finishing touch, not just decoration. A light dusting gives the top that classic Viennetta look and helps telegraph the chocolate flavor before you even cut in.
What Each Ingredient Is Actually Doing in This Recipe
- Primary ingredient (the star) — Quality matters most. Choose the best you can find.
- Cooking medium (oil, butter, or broth) — This carries flavors and prevents dryness.
- Seasonings (salt, pepper, spices, herbs) — Layer flavors so nothing overpowers. Build depth gradually.
- Aromatics (garlic, onion, herbs) — Cook with fat to bloom flavors. Become the foundation.
- Supporting ingredients — Complement the main ingredient without overpowering it.
- Sauce or liquid (if applicable) — Brings flavors together. Balance richness with acid.
- Acid (lemon, vinegar, wine, or other) — Brightens and prevents flat-tasting results.
- Final finish (garnish, glaze, or sauce) — Prevents one-dimensional taste and adds visual appeal.
Building the Ripple Without Melting the Loaf
Preparing the Pan
Line the loaf pan with plastic wrap and leave enough overhang to lift the dessert out later. That overhang matters once the loaf is frozen solid and stuck to the sides of the pan. If you skip it, the edges warm too long while you wrestle it free, and the clean sides turn ragged.
Starting the Base Layer
Spread a thin layer of softened vanilla ice cream across the bottom and freeze it just long enough to firm up. You’re looking for a surface that doesn’t wobble when you touch it lightly with a spoon. If the base is too soft, the first chocolate layer will mix in instead of sitting on top.
Pouring the Chocolate in Thin Streams
Drizzle the melted chocolate in a thin stream over the ice cream, then tilt the pan so it coats in a very thin sheet. Don’t dump it in one spot. The chocolate should hit the cold surface and set into a rippled layer within minutes. If it pools thickly, it will freeze into a hard slab instead of the signature delicate sheet.
Repeating the Layers
Continue alternating vanilla and chocolate, freezing briefly between each addition. Keep the layers even and don’t chase perfection with each spread; the clean look comes from the contrast, not from perfectly level strata. The loaf pan should feel cold all the way through by the time you’re finished, and the top should be flat enough to wrap without pressing into the surface.
Unmolding and Slicing
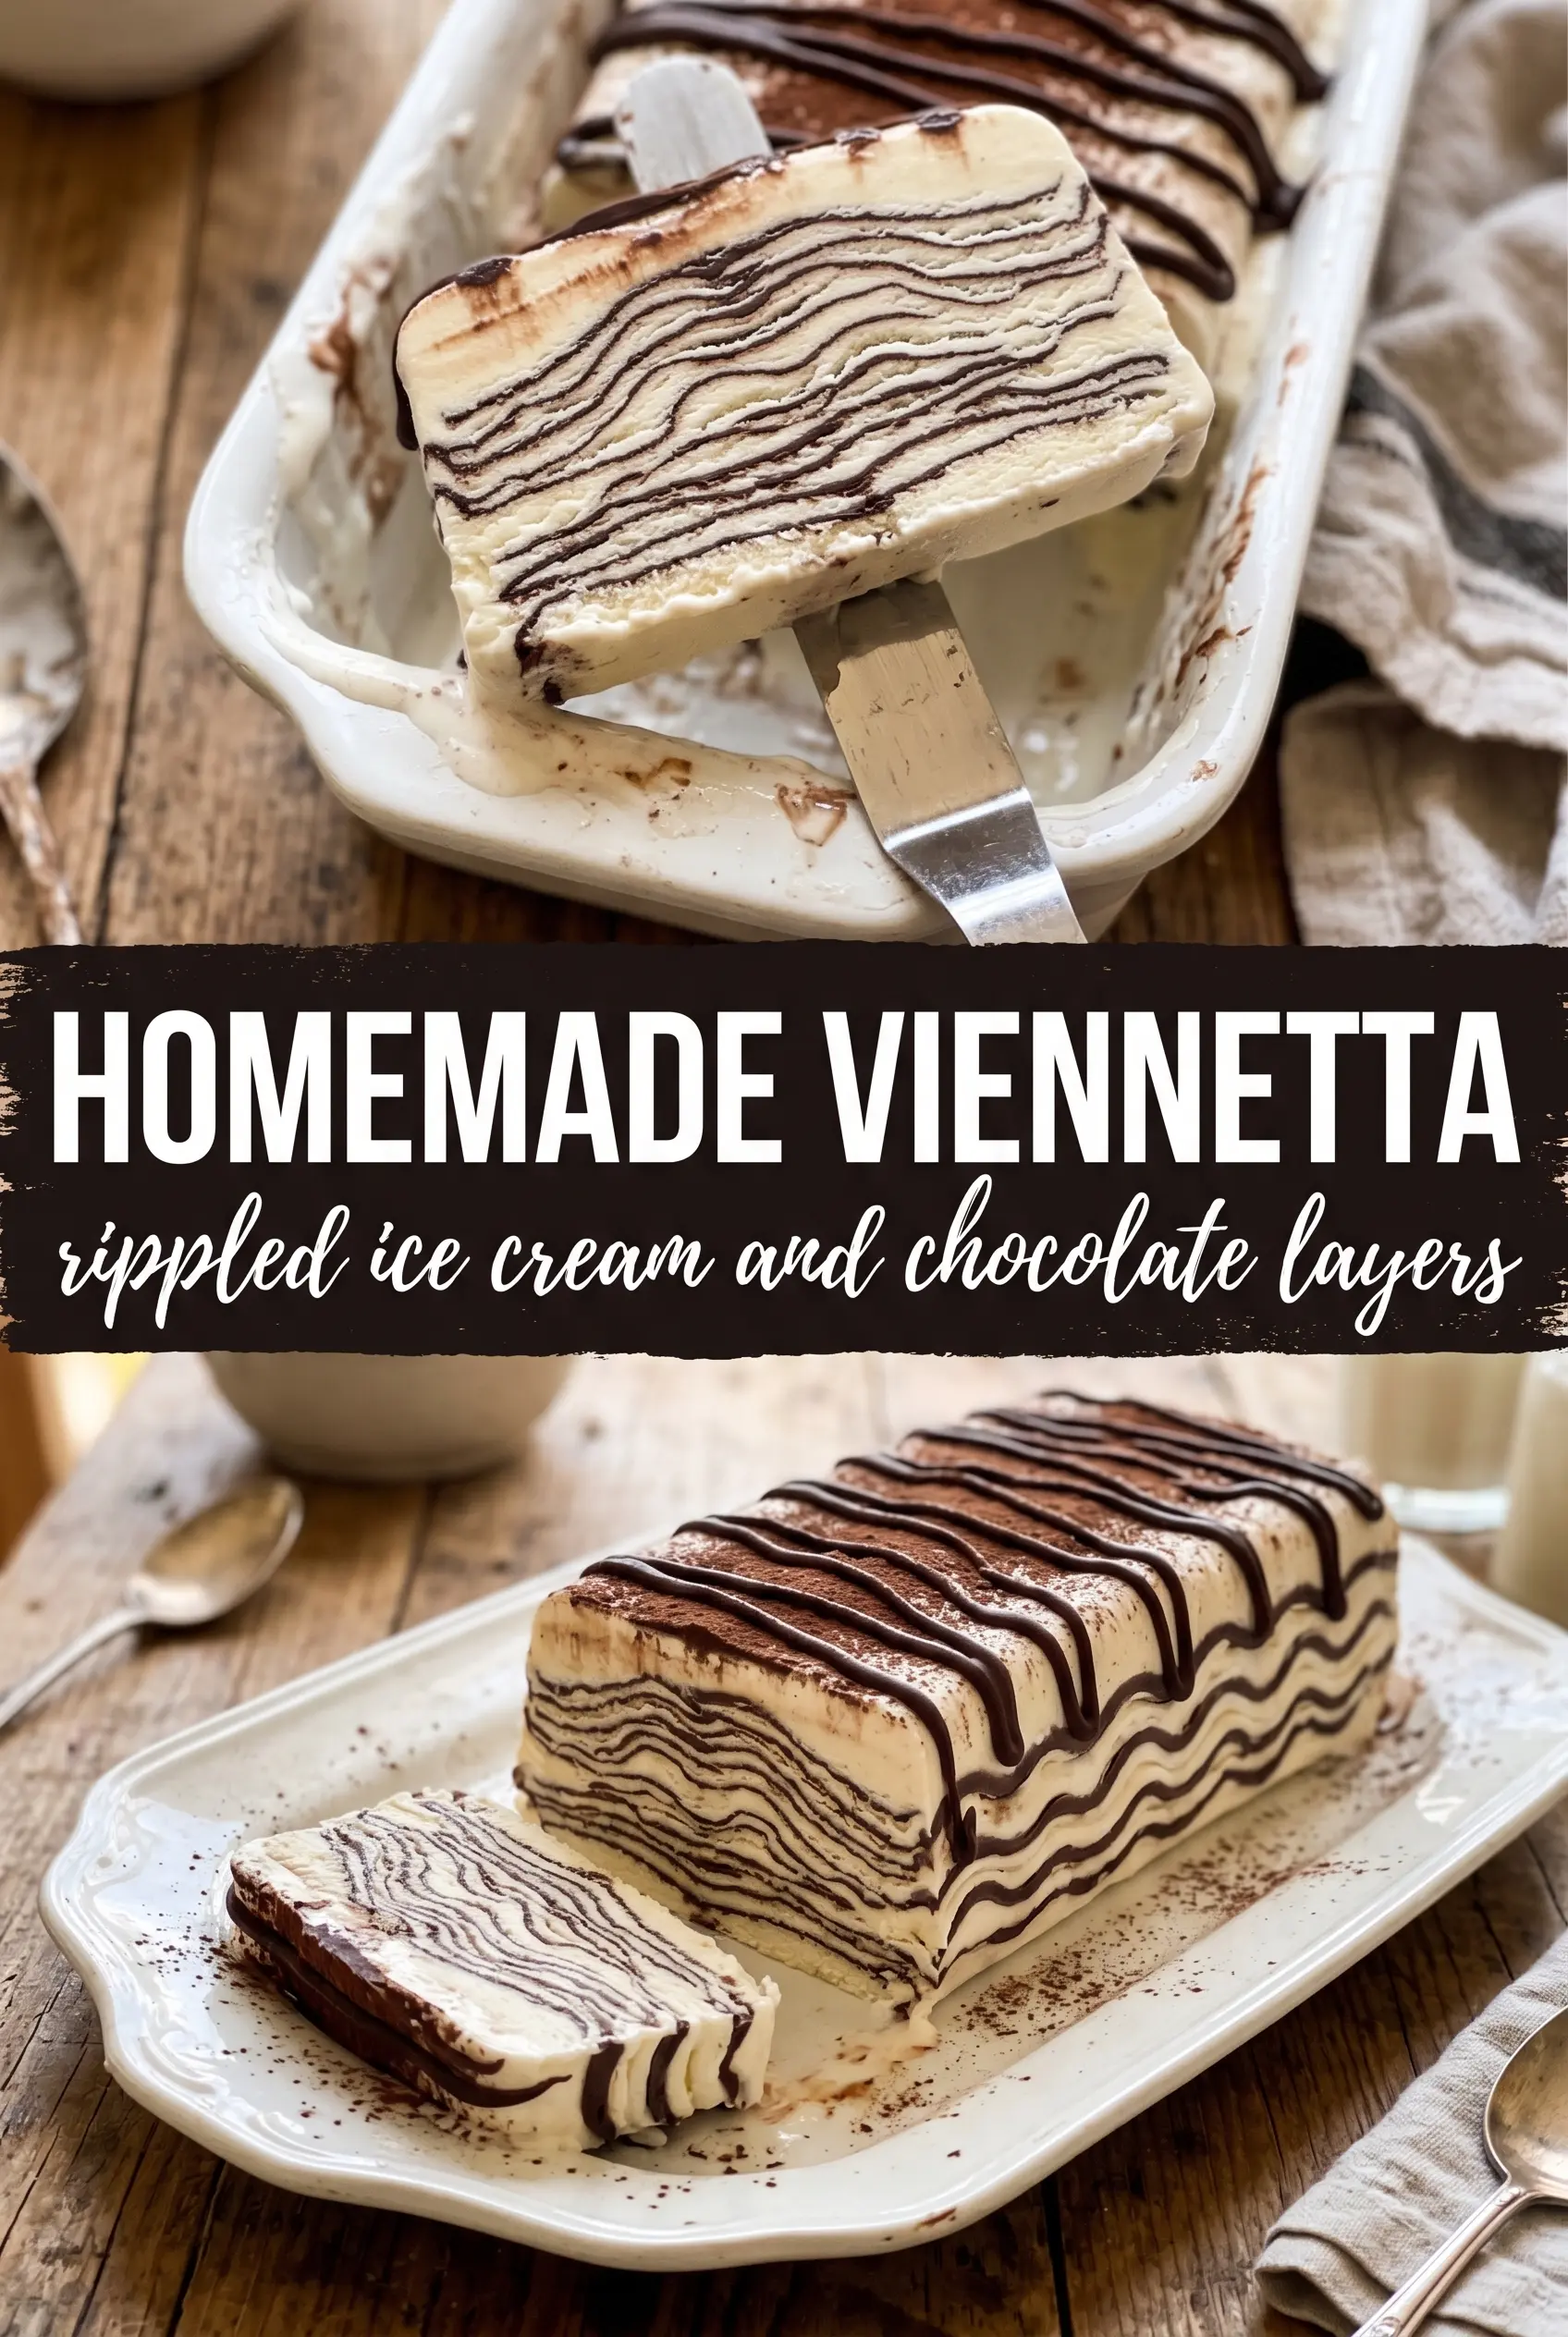
Freeze the finished loaf until it’s firm enough to lift cleanly, then use the plastic overhang to pull it out. Dust the top with cocoa powder before slicing, and run a knife under warm water between cuts for the neatest cross-sections. If the knife is cold, the chocolate layers chip; if it’s hot for too long, the ice cream softens and smears.
Three Ways to Make This Viennetta Fit Your Freezer
Dairy-Free Version
Use a rich dairy-free vanilla ice cream with a higher fat content so the layers stay creamy instead of icy. The chocolate layer works the same way as long as the dairy-free ice cream is fully softened before layering. The final texture will be a little softer at the edges, but the ripple effect still slices beautifully.
Extra-Intense Chocolate Layer
Swap part of the dark chocolate for bittersweet chocolate if you want a deeper, less sweet bite. Keep the oil ratio the same so the chocolate still sets into thin, flexible sheets. This version tastes closer to a dark chocolate truffle layered through vanilla cream.
Small Crowd, Smaller Pan
A narrower loaf pan makes taller layers and a more dramatic slice, but it also freezes a little more slowly. If you use a smaller pan, build fewer layers and give the finished loaf extra time in the freezer so the center firms all the way through before unmolding.
Storage and Reheating
- Refrigerator: Not a good hold time for this dessert. Once it leaves the freezer, it starts softening fast and loses the layered structure.
- Freezer: Wrap tightly and keep frozen for up to 2 weeks for the best texture. After that, the ice cream can pick up freezer taste and the chocolate layers lose some snap.
- Reheating: Reheating doesn’t apply here. For serving, let the loaf sit at room temperature for 3 to 5 minutes so the knife goes through cleanly, but don’t wait long enough for the edges to melt.
Answers to the Questions Worth Asking
Homemade Viennetta
Ingredients
Equipment
Method
- Line a 9x5 loaf pan with plastic wrap, leaving overhang for easy lifting. Make sure the wrap lies flat so the loaf sides release cleanly.
- Spread a thin layer of softened vanilla ice cream in the bottom of the pan. Freeze for 20 minutes until firm to the touch.
- Pour a thin stream of melted dark chocolate over the ice cream while tilting to coat. Freeze for 5 minutes until set, then let the surface look matte and firm.
- Repeat the vanilla and chocolate layering process, adding thin vanilla layers then thin chocolate streams. Freeze between each layer so each chocolate layer sets before the next one is added.
- Fold the plastic wrap over the top of the loaf pan and freeze for at least 4 hours. The finished loaf should be fully firm for clean slicing.
- Lift the loaf out, remove the plastic wrap, and dust the top with cocoa powder. Tap off any excess so the ridged chocolate-and-cream pattern stands out.
- Slice using a warm knife to reveal the elegant layered cross-section. Wipe and rewarm the knife between cuts for crisp, ripple-lined slices.